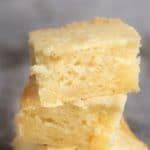
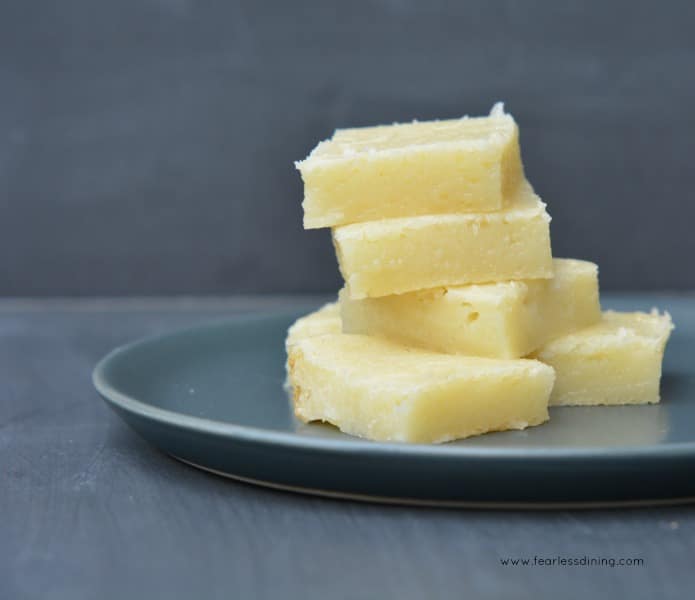
Hawaiian butter mochi is an easy lightly sweet dessert made with coconut and butter in a rice flour base. This butter mochi cake recipe makes a great gluten free dessert for any time. I also include a dairy-free option!
What Is Butter Mochi?
“Bata Mochi,” known as Butter Mochi, is a naturally gluten free Hawaiian local treat. You may be surprised how easy this butter mochi recipe is to make. Hawaiian mochi cake is naturally gluten-free; our kids love it as a snack or dessert. This mochi tastes like you are on a tropical vacation in Hawaii! Every time I make it, I fondly remember our Hawaiian vacation.
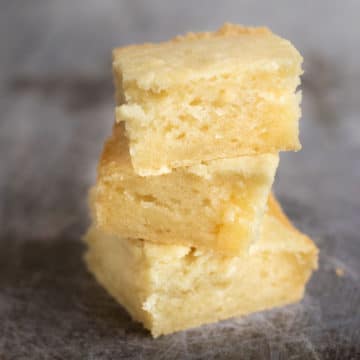
A lot of people have never heard of butter mochi. Think of it like a baked custard made with sweet rice flour. Butter mochi is a soft cake made with coconut (or regular) milk, sweet rice flour, sugar, and eggs. This mochi recipe is seriously good! It is made with very few ingredients, and it tastes delicious!
When Chef Nagano of Skool restaurant in San Francisco shared her amazing gluten free Black Sesame Banana Bread recipe with me, she also shared her Auntie Ellen’s family mochi recipe. I knew this was special and asked if I could write up this recipe for the blog.
Reader Rave
Yessa! So good! Thank you!” Bailey., Pinterest comment
If you haven’t tried mochi, this super easy butter mochi recipe is worth trying. Soft and creamy, this butter mochi melts in your mouth. If you love this matcha recipe, wait until you try my Matcha Mochi Recipe.
Allergen Information:
This easy butter mochi recipe is gluten-free, soy-free, oat-free, and nut-free.
Ingredient Notes:
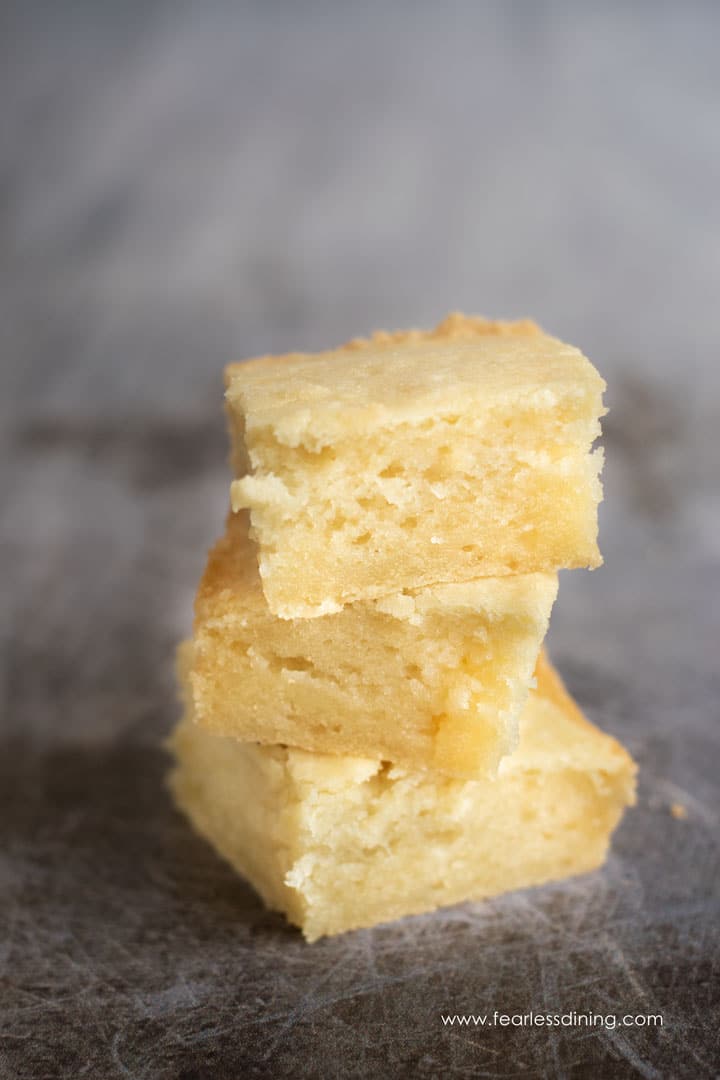
- Sweet rice flour—also called Mochiko—is the ingredient that gives this Hawaiian butter mochi its creamy texture. DO NOT substitute this with regular rice flour or brown rice flour, or your mochi will not turn out. Trust me on this. You can find sweet rice flour at many grocery stores. I prefer this brand by Koda Farms.
- Milk – I prefer to use coconut milk because it adds a little sweetness and flavor. You can use regular milk if you prefer, but the flavor will not have the famous light creamy coconut taste.
- Butter – Use unsalted butter. For dairy-free, use vegan butter!
- Eggs – Size Large.
- Baking Powder – Be sure to use aluminum-free baking powder!
How to Make Hawaiian Butter Mochi:
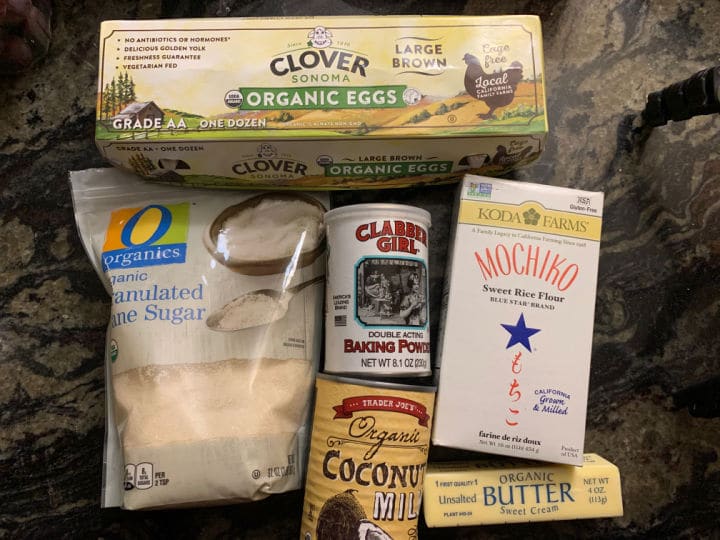
Step 1: Set the oven rack to the middle and preheat the oven to 325º F. Add the sweet rice flour (Mochiko), cane sugar, and other dry ingredients to a large bowl or standing mixer.
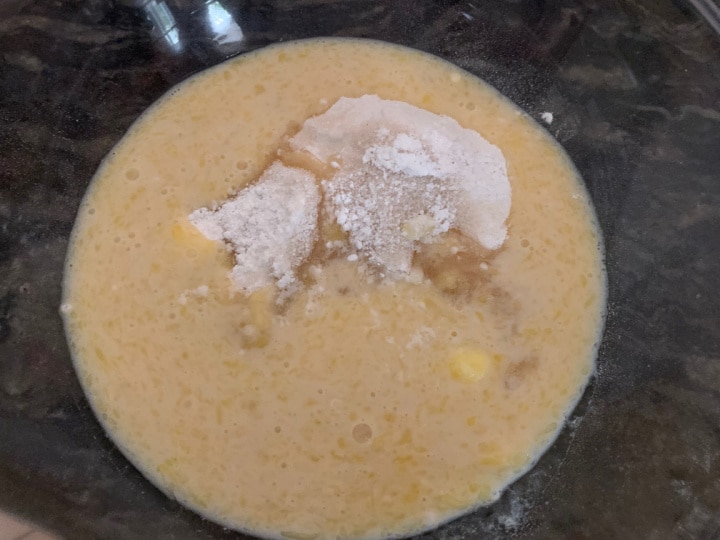
Step 2: Add your coconut milk, eggs, and melted butter to a small
If you are using a standing mixer, add the wet ingredients to the dry ingredients in the bowl. Be sure to use the paddle attachment.
Step 3: Use a spoon to mix the wet and dry ingredients in the
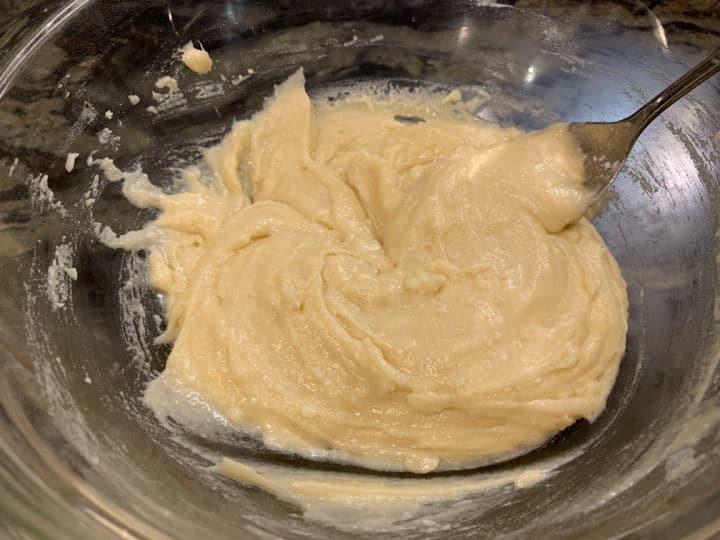
Here is a photo of the Hawaiian butter mochi batter so you can see the creamy consistency. The batter texture is creamy and smooth.
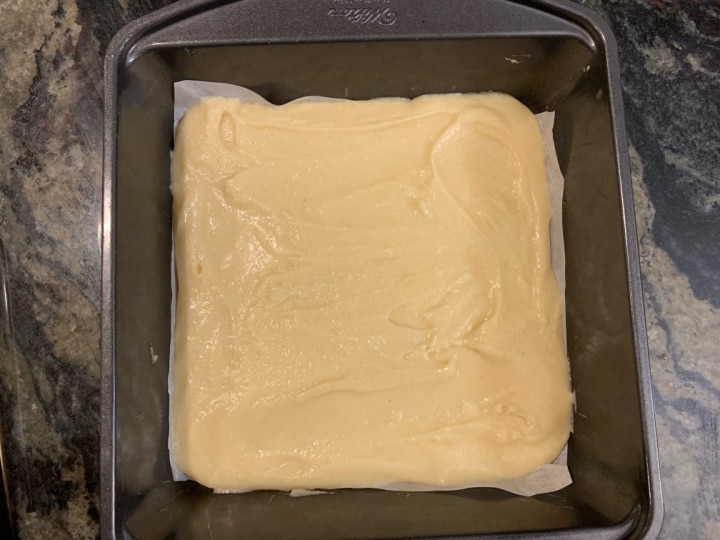
Step 4: You can either grease an 8×8 pan or line the pan with parchment paper. This butter mochi is easier to remove from the pan using parchment paper.
Carefully pour the mochi batter into a greased 8×8 baking pan. Bake the mochi cake for 25 minutes. Remove the mochi from the oven.
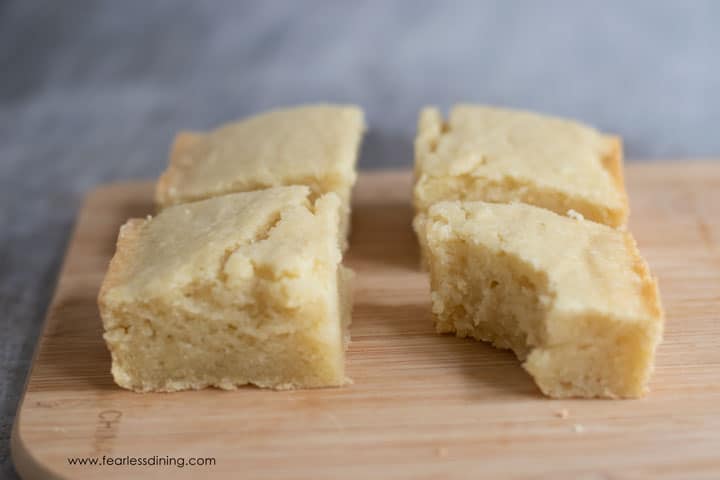
🔑 Sandi says: Allow this mochi to fully cool before cutting the mochi cake! Due to the texture, it will stick to the knife if you slice the mochi while it is warm.
If you love the texture of mochi, you will love these homemade black sesame mochi muffins, too!
Recipe FAQ:
Most mochi should be gluten free, but you will want to check the ingredients label every time!! Note the mochi at Whole Foods is not gluten free, at least in the Whole Foods near our store.
Some people say bata mochi should be refrigerated, while others don’t. Refrigerating the gluten free butter mochi is fine, but it will dry it out a little bit. Please reheat it before serving or eating. I like to microwave it for a few seconds to warm it up.
You can store your Hawaiian mochi on the countertop, but I really recommend storing it in the refrigerator. It will last for a few days. You will know when the mochi goes bad because it will seem dry, hard, and potentially have mold.
Yes, you can freeze Hawaiian butter mochi. It’s best to wrap the gluten free butter mochi in individual-sized pieces with plastic wrap. Then, place it in a freezer bag or other airtight container. It will last around 1 month in the freezer. Toss it in the microwave for a few seconds when you are ready to serve.
Yes, you can make butter mochi in a cupcake pan. This is ideal if you are serving a crowd and want individual portions. Just follow the instructions as directed.
They don’t take as long to cook when they are in cupcake tins unless you fill each section full. A muffin tin filled no more than ½ way should take about 30 minutes but up to 45 minutes if filled higher.
If you love coconut, you should try adding some shredded coconut. Put up to 1 cup of shredded coconut into the batter. You can go a little bit less if you want a subtle coconut texture. Another option is to toast some coconut and put it on top. Either way, it’s really.
Mochi is sweet and chewy. Hawaiian butter mochi has a sweet, buttery flavor.
Japanese mochi is typically filled with a sweetened mung bean or other fillings, while Hawaiian mochi is baked cake style without a filling.
Mochiko Substitute:
As much as I wish there were a good Mochiko substitute, there really isn’t. Some recipe sites will say to use potato or cornstarch, but I tested those replacements, which tasted like garbage. (Sorry, just the truth.) Mochiko is special, and it really can’t be replaced.
The good news is you can find Mochiko at many grocery stores and online. If you love mochi, check out these mochi waffles too!
More Gluten-Free Dessert Recipes:
- Easy Gluten Free Lemon Shortbread Cookies
- Gluten Free Dump Cake
- Gluten Free Peanut Butter Cookie Bars
- Lemony Gluten Free Lemon Tart
Love This Recipe?
If you made and enjoyed this recipe, I would be incredibly grateful if you could leave a comment below. Please include which flour blend you used. This helps others know that this recipe is delicious. Thank you!
Hawaiian Butter Mochi Recipe
Ingredients
- 1 cup sweet white rice flour
- 1 cup coconut milk or regular milk
- ½ cup organic sugar
- 1 large egg
- 2 tablespoons unsalted butter melted
- 1 teaspoon baking powder aluminum free!
Instructions
- Preheat oven to 325º F.
- Mix together rice flour, baking powder, and sugar in a medium mixing bowl. Whisk to blend it together. You can also use a standing mixer if you prefer.
- Add egg, coconut milk, and melted butter and mix well.
- Pour into a greased 8×8 baking dish. You can line the baking pan with parchment paper instead of greasing hte pan.
- Bake at 325º F for 25 minutes. Remove to a cooling rack.
- Allow the mochi to completely cool before slicing.
Video
Notes
SPECIAL NOTE
Please know that every gluten free flour blend has a different starch to grain ratio. If you use a blend I didn’t test, you may need to adjust your moisture levels in your baked goods.
Nutrition
Nutrition Disclaimer
Nutritional information is an estimate provided to you as a courtesy. You should calculate the actual nutritional information with the products and brands you are using with your preferred nutritional calculator.
(*This post was updated from a December 2016 post.)
