
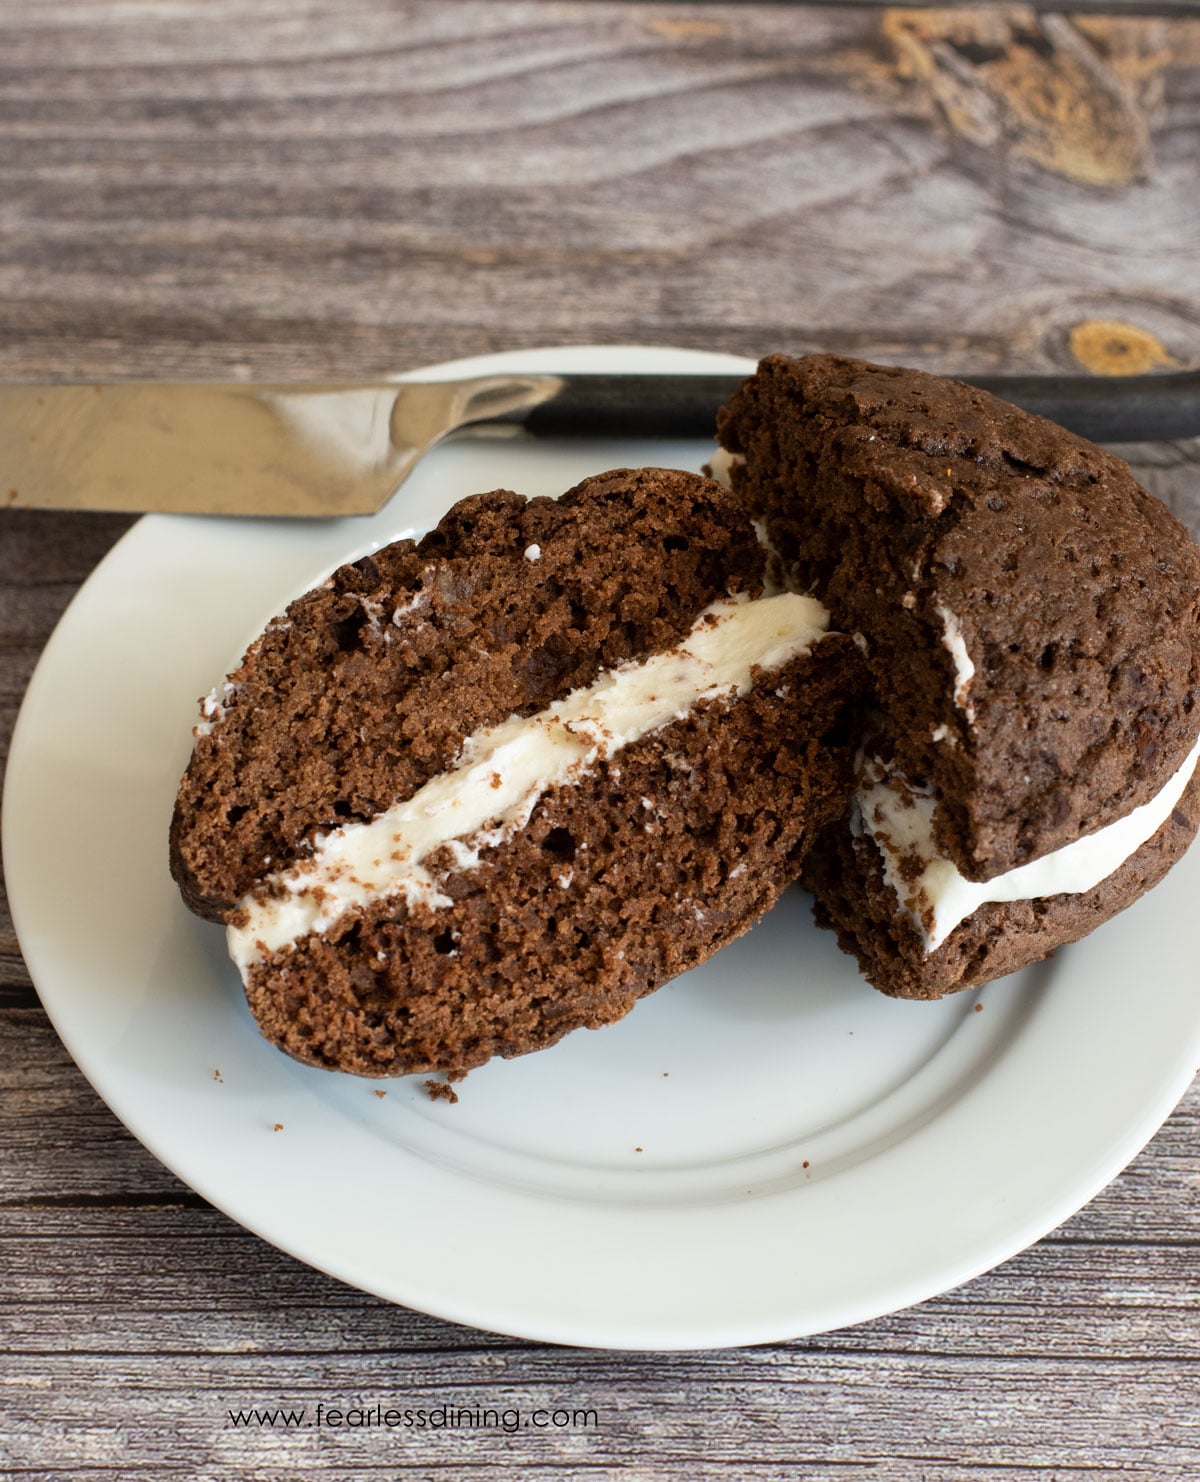
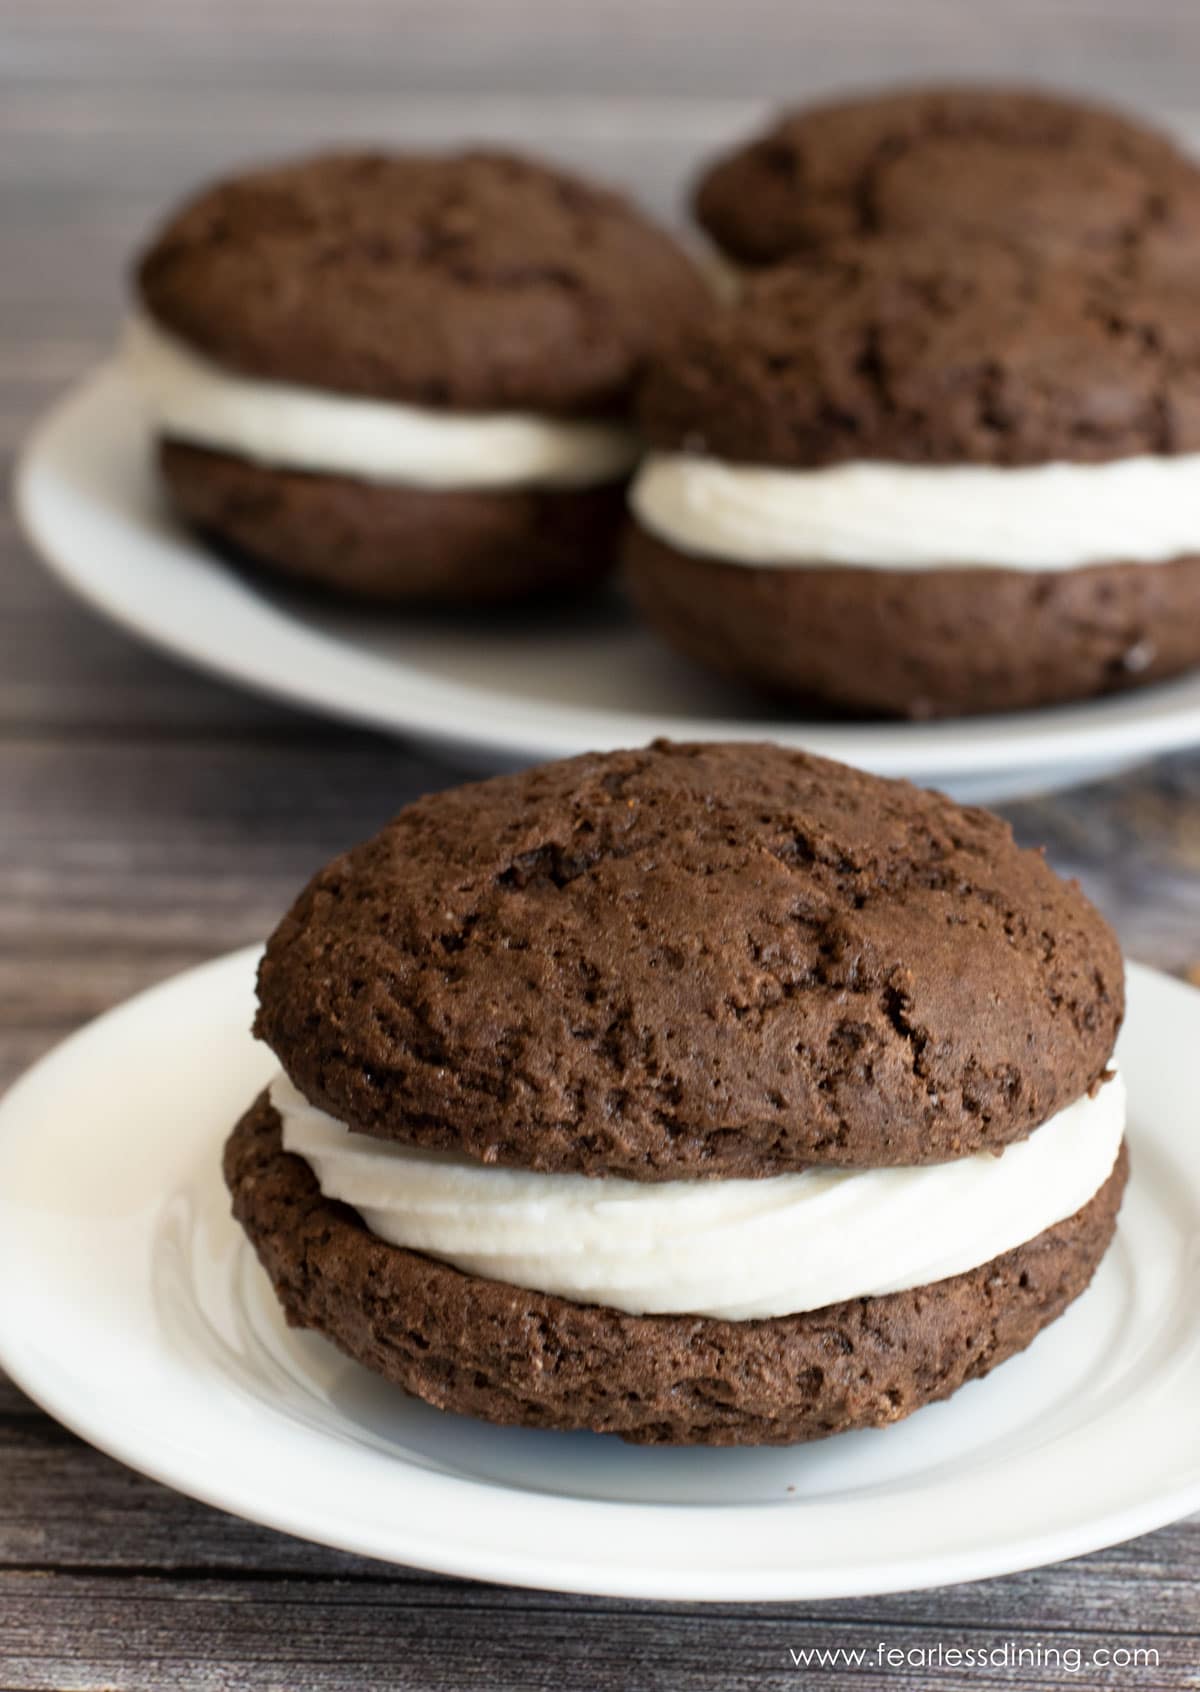
This gluten free whoopie pie recipe makes the perfect chocolate cakes with a sweet vanilla buttercream nestled between the cookie layers. If you are looking for a dessert that melts in your mouth, these soft chocolate cookies are the perfect recipe to make!
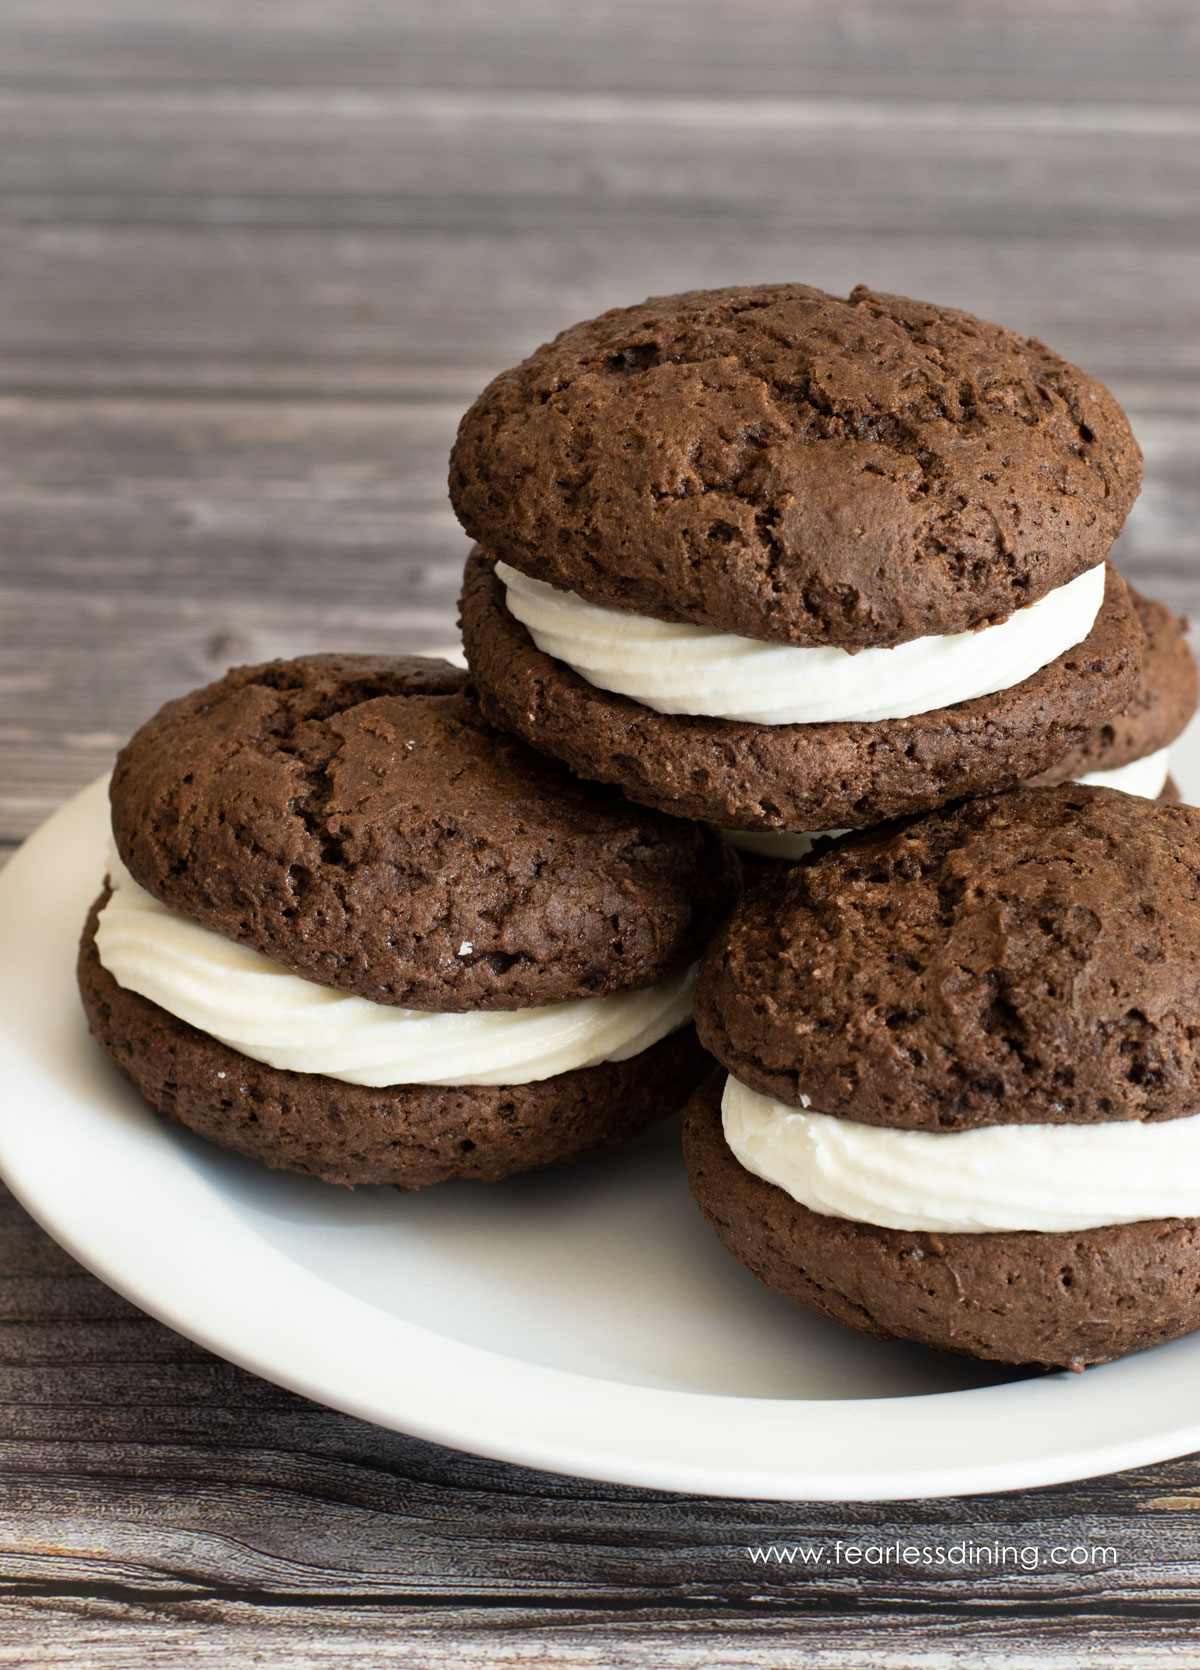
Traditional chocolate whoopie pies are one of those desserts that can be customized in so many ways. Make them with chocolate or vanilla cake, and fill them with all sorts of delicious fillings. They have just the right sweetness, making this a delicious recipe.
These gluten free whoopie pies are perfect for a bake sale, party, or any occasion! If you are looking for a fun new gluten free dessert recipe, these homemade whoopie pies are better than any packaged chocolate snack cakes you can find.
Why These Gluten Free Whoopie Pies Are Great:
- Whoopie pies are a lot like a handheld cake. You can make them big or small bite-sized treats.
- This whoopie pies recipe freezes really easily so you can make them ahead, or have them any time you like.
- I use simple ingredients that you can find at your local grocery store. There are no crazy hard-to-find ingredients.
- Fill them with all sorts of yummy things. I include all of my favorite filling recipes below.
Thank you so much for your inspiration and creativity. I recently made the Whoopi pie recipe. It was amazingly delicious! I got creative and put peanut butter in the creme filling. Once again thank you so much for a delicious dessert.”
Jean, reader email
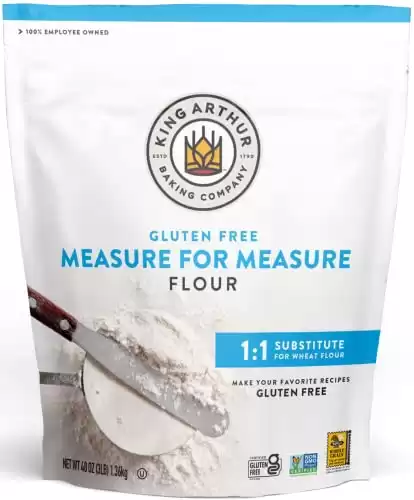
This is one of my favorite gluten-free flour blends for cookies, cakes, pie crust, biscuits, and muffins! (Do not use this flour blend for yeast recipes.)
Ingredient Notes:
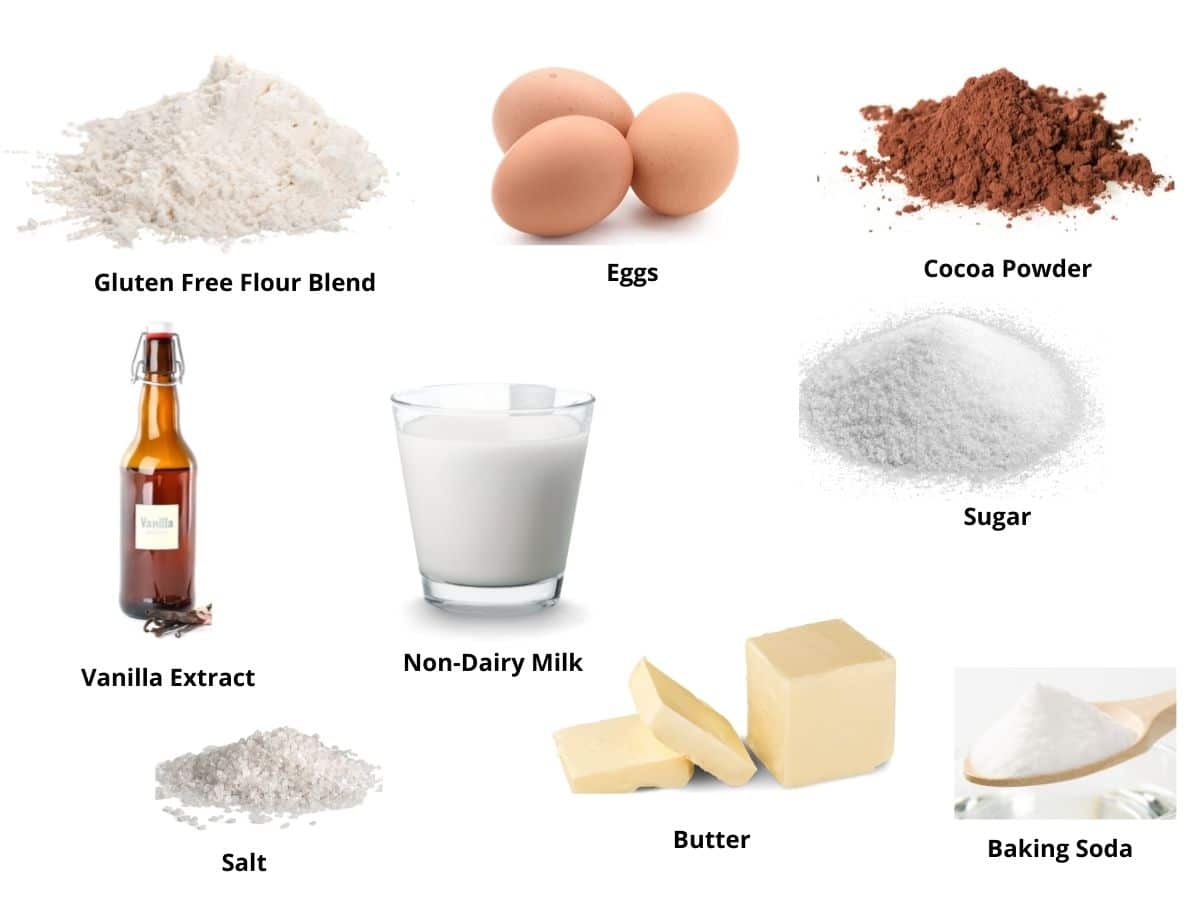
- Gluten free flour blend – Use a high-quality gluten-free flour combination. I tested this recipe using Bob’s Red Mill 1 to 1 Gluten Free Flour Blend, Pillsbury Gluten Free Flour Blend, and King Arthur’s Measure for Measure Gluten Free Blend. That doesn’t mean others will not work; I just have not tested other flours, and I can not guarantee the recipe will work if you use other mixes.
- Xanthan Gum – If your gluten free flour blend doesn’t contain xanthan gum or guar gum, you must add 1 teaspoon to your flour blend.
- Cocoa powder – Although most brands of cocoa powder are gluten free, always check the label to be sure.
- Confectioners’ sugar – Most powdered sugar is gluten free; always check the labels just in case.
- Butter – Use unsalted butter. To make this recipe dairy-free, substitute the butter for vegan butter.
- Non-dairy milk – I used almond milk, but other dairy-free kinds of milk will work. I do not recommend canned coconut milk.
- Eggs – Size large.
- Vanilla – Use pure vanilla extract, not imitation.
Recipe Step By Step Directions:
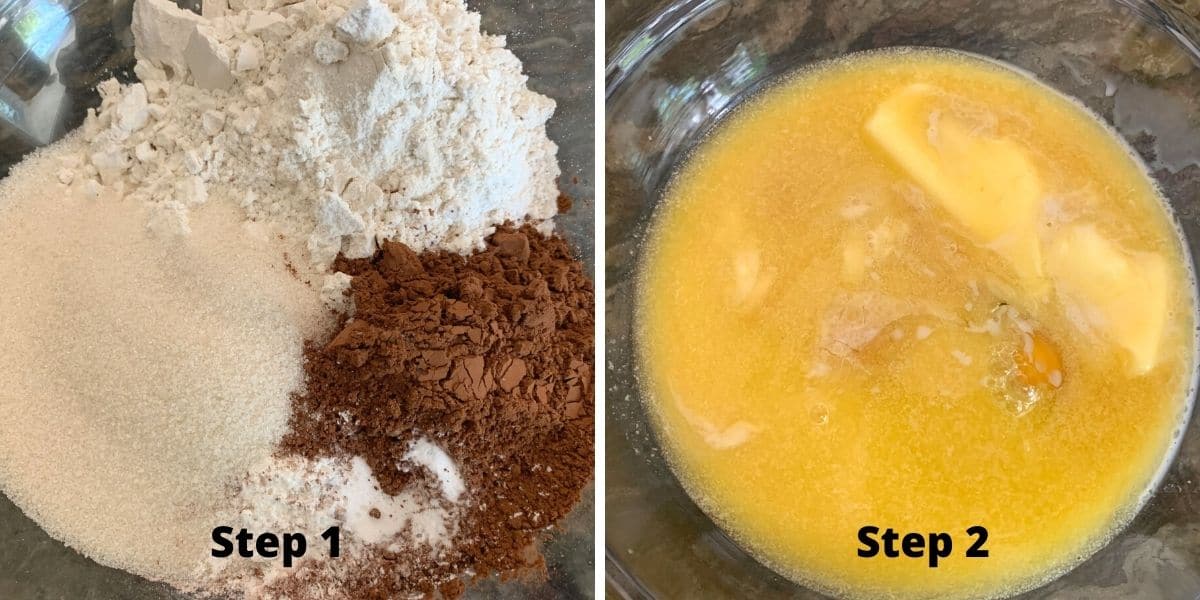
Step 1: Add the gluten free flour, sugar, cocoa powder, baking soda and powder, and sea salt to a large
To measure your gluten free flour, I recommend using either the spoon method or leveling method.
Spoon Method: You can also use a spoon to fill the measuring cup. Use a knife to level along the top to remove the extra flour.
Leveling Method: Put the measuring scoop into the flour and fill. Do not pack the flour. Use a knife to scrape along the top to remove the extra flour.
Step 2: Add the softened butter, eggs, vanilla extract, and non-dairy milk to a small bowl and whisk to blend.
HINT: Do not use a standing or electric hand mixer for best results. They tend to overmix the cake batter, making your gluten-free whoopie pies denser.
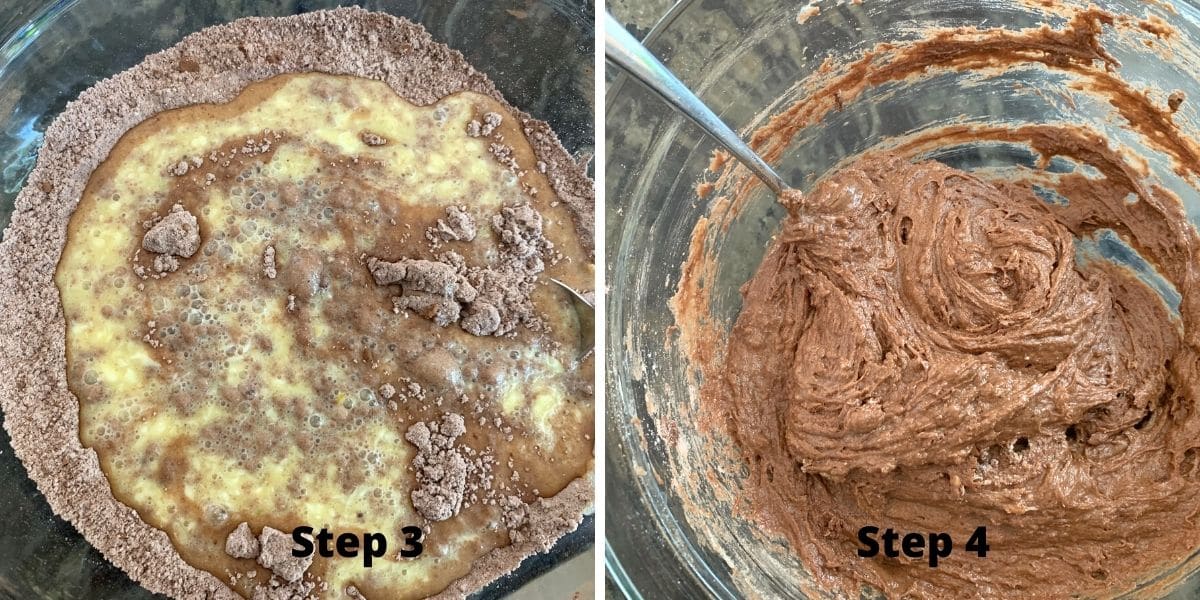
Step 3: Pour the wet ingredients into the dry ingredients. Mix gently until the batter is just barely mixed. This will help ensure your whoopie pies will turn out really fluffy!
Step 4: This photo shows what your batter will look like. Note it looks whipped and airy. This airiness is key to soft whoopie pies!
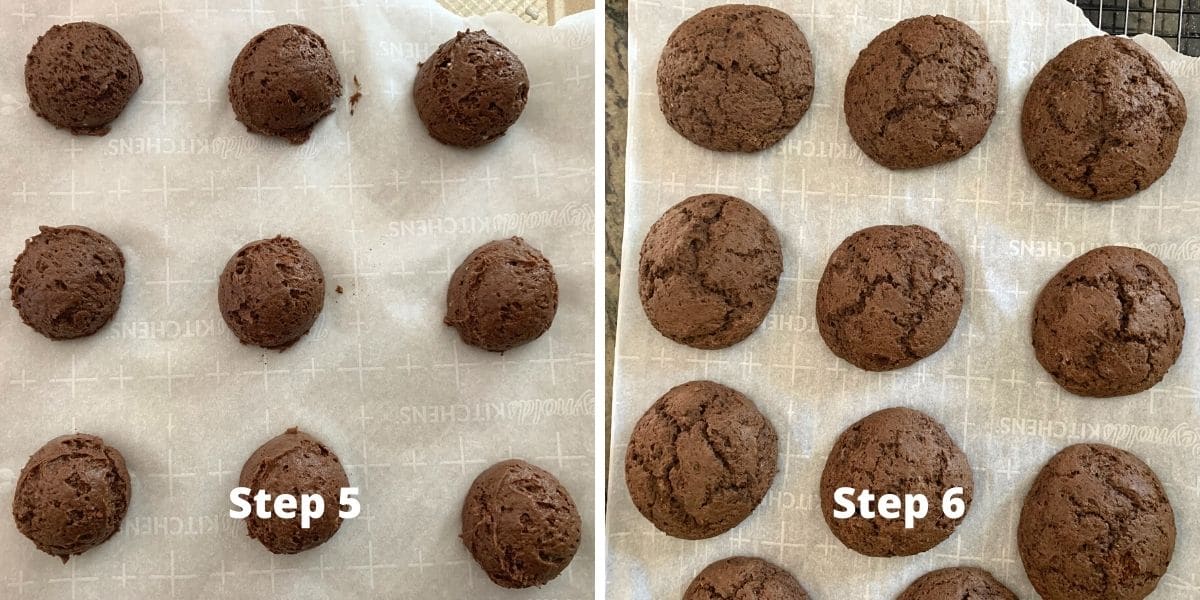
Step 5: Use a
I wanted large whoopie pies, so I actually used an ice cream scoop to drop the batter onto the
HINT: Each whoopie pie needs two halves, so be sure to drop enough cookie batter onto the sheet so you have matching sets.
Step 6: Bake the whoopie pies on the prepared baking sheets at 350º F for 18-22 minutes until they are done. You can test for doneness by inserting a toothpick into one whoopie pie half. If the toothpick comes back clean, they are finished baking.
Step 7: Remove the pies to a wire rack for cooling. They need to cool 100% before adding the filling. Otherwise, the filling will melt.
Step 8: If making the vanilla buttercream frosting filling, add softened room-temperature butter, powdered sugar, vanilla extract, and milk to a standing mixer. Use a whisk or paddle attachment if you don’t have the whisk. (Note that you can also use an electric mixer.)
Turn it on low speed and mix on low speed until the powdered sugar is incorporated. Gradually increase to medium speed and whip the frosting 30-45 more seconds.
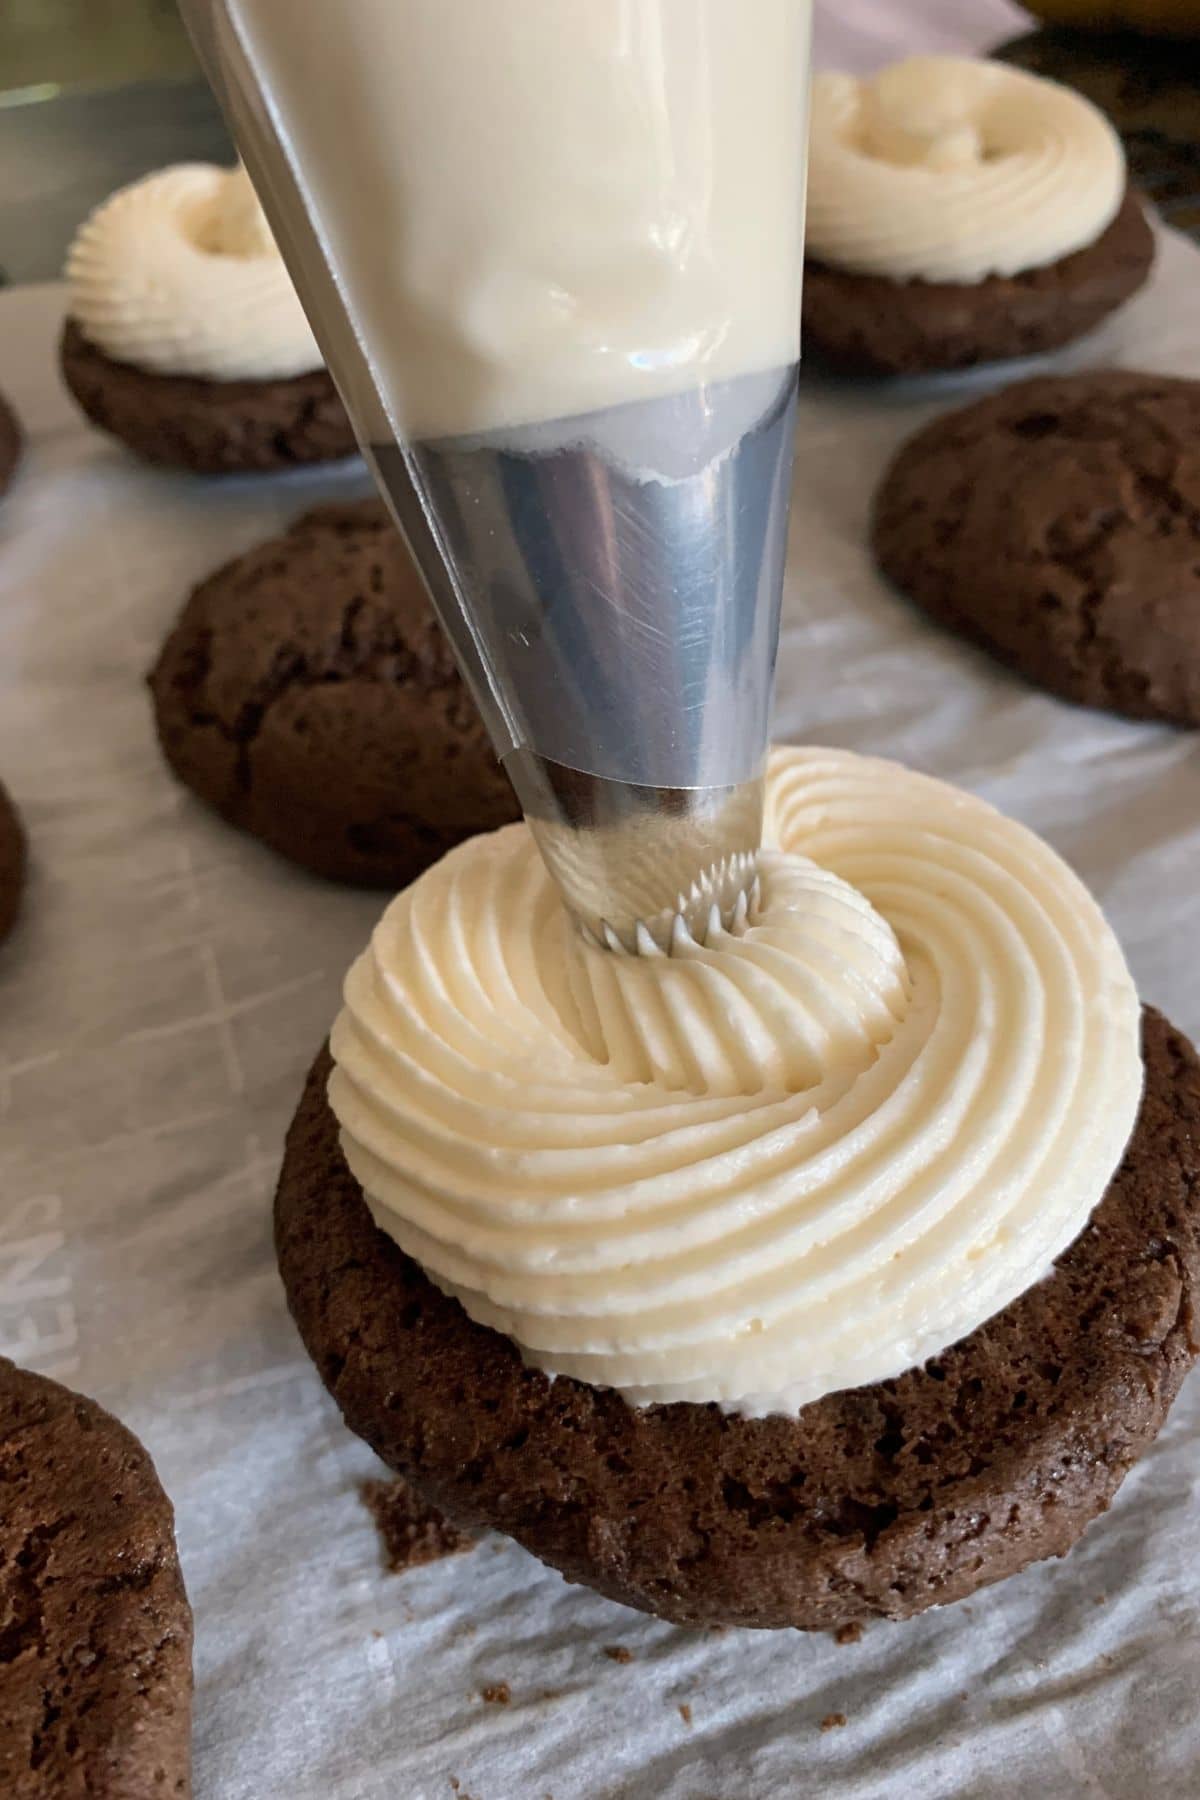
Step 9: Choose a large round frosting tip. It doesn’t matter the pattern but try to use one with very little design. Fill a piping bag ¾ full with the vanilla filling. Squeeze a generous amount of the frosting bag so the frosting comes, and pipes the frosting onto the flat side of half the whoopie pie cookies.
You can spread or spoon on the frosting if you don’t have a piping bag. I have also dropped frosting onto the bottom half with a small ice cream scoop.
Step 10: Add the top cookie half on top of the frosting. Press down slightly so the frosting spreads around the cookies.
Filling Ideas:
- Try this easy gluten free frosting recipe. I also share different flavors of frosting, including cream cheese frosting, and how to color frosting in that post.
- There are tons of yummy chocolate-filling ideas here, from mousse to different types of chocolate frosting recipes.
- Use this incredible raspberry mousse filling. It makes delicious creamy icing.
- If you love almonds, this almond frangipane is absolutely amazing!
- Many love using marshmallow fluff to fill their whoopie pies.
- Mr. Fearless Dining is a huge fan of using peanut butter frosting.
Storage:
Store the whoopie pies in an air-tight container in the refrigerator. They will keep fresh for up to 3 days. You can also freeze them in a zipper bag. They will keep fresh for up to 4 months in the freezer.
Tips and Recipe FAQ:
A whoopie pie is a cake-like cookie filled with a frosting or cream filling. There is no consensus on where whoopie pies originated from, but it is thought this was originally an Amish dessert back in the early 1900s.
If your whoopie pies spread too much, you either had too much liquid in the cake recipe, or the batter wasn’t cold before you baked it.
As with any gluten free baked items, you do need to refrigerate them. Gluten free items tend to spoil a lot faster than their gluten counterparts.
More Gluten Free Cookie Recipes:
- Easy Gluten Free Toll House Cookies
- Gluten Free Oatmeal Cream Pies
- Gluten Free Pumpkin Whoopie Pies
- Delicious Gluten Free Almond Joy Cookie Bars
Gluten Free Whoopie Pies Recipe
Ingredients
- 1 ¾ cups gluten free flour blend * see note
- ¾ cup sugar
- 5 tablespoons cocoa powder
- 1 teaspoon baking powder aluminum free
- ½ teaspoon baking soda
- ¼ teaspoon salt
- ½ cup unsalted butter softened
- 2 eggs large
- 1 cup non-dairy milk * see note
- 1 ½ teaspoons pure vanilla extract
Filling
- 1 ½ cups powdered sugar
- 1 teaspoon pure vanilla extract
- ¼ cup butter softened, room temperature
- 1 tablespoon milk more if needed
Instructions
- Preheat the oven to 350º F.
- Add the gluten free flour, sugar, cocoa powder, baking soda and powder, and sea salt to a large mixing bowl and mix together.
- Add the softened butter, eggs, vanilla extract, and non-dairy milk to a medium bowl and whisk to blend.
- Pour the wet ingredients into the dry ingredients. Mix the ingredients until the batter is mixed. Be sure to not overmix the batter. This will help ensure your whoopie pies will turn out really fluffy!
- Use a cookie scoop to drop balls of batter onto a parchment paper-lined cookie sheet. You can also use a silicone mat on the baking pan if you prefer. Use a wet hand to slightly press each dough ball down.
- Bake the whoopie pies at 350º F for 15-20 minutes until they are done. You can test for doneness by inserting a toothpick into one whoopie pie half. If the toothpick comes back clean, they are finished baking. Actual baking time will vary depending on the size of your whoopie pies.
- Remove the pies to a wire rack for cooling. They need to cool completely before adding the filling.
- Add softened room temperature butter, powdered sugar, vanilla extract, and milk to a standing mixer. (Note that you can also use an electric mixer.)
- Turn it on low speed and mix on low speed until the powdered sugar is incorporated. Gradually increase to medium speed and whip the frosting for 30-45 more seconds.
- Pipe, spread, or spoon on the frosting. I have also dropped frosting onto the bottom half with a small ice cream scoop.
- Add the top cookie half on top of the frosting. Press down slightly so the frosting spreads around the cookies.
Notes
- I used King Arthur Measure for Measure GF Blend to make these whoopie pies. That doesn’t mean others will not work, I just have not tested other flours and I can not guarantee the recipe will work if you use other mixes.
- Xanthan Gum – If your gluten free flour blend doesn’t contain xanthan gum or guar gum, please add 1 teaspoon.
- To make this recipe dairy-free, substitute the butter for vegan butter.
- I used almond milk but other dairy-free kinds of milk will work but I do not recommend canned coconut milk.
SPECIAL NOTE
Please know that every gluten free flour blend has a different starch to grain ratio. If you use a blend I didn’t test, you may need to adjust your moisture levels in your baked goods.
Nutrition
Nutrition Disclaimer
Nutritional information is an estimate provided to you as a courtesy. You should calculate the actual nutritional information with the products and brands you are using with your preferred nutritional calculator.

Hello! Does the filling make these soggy if I were to make them the day before serving them?
Thanks! I’m going to try them with Bobs Red Mill 1:1 flour so I’ll report back with the results
Hi Rachel, I haven’t tested filling the day before. If you store the in the fridge, it should be fine.
Loved these! I made with Oat Flour (230 grams). Added Xanthum Gum (1 tsp.)
Thanks for sharing!
Wow, Paula, thank you for coming back to let us all know oat flour worked in this recipe. I am sure that will help other readers!
Can I use 2% milk for the almond milk? I have a tree nut allergy, which includes coconut.
Mary
Hi Mary Lou, regular or 2% milk should be fine to use. Thank you.