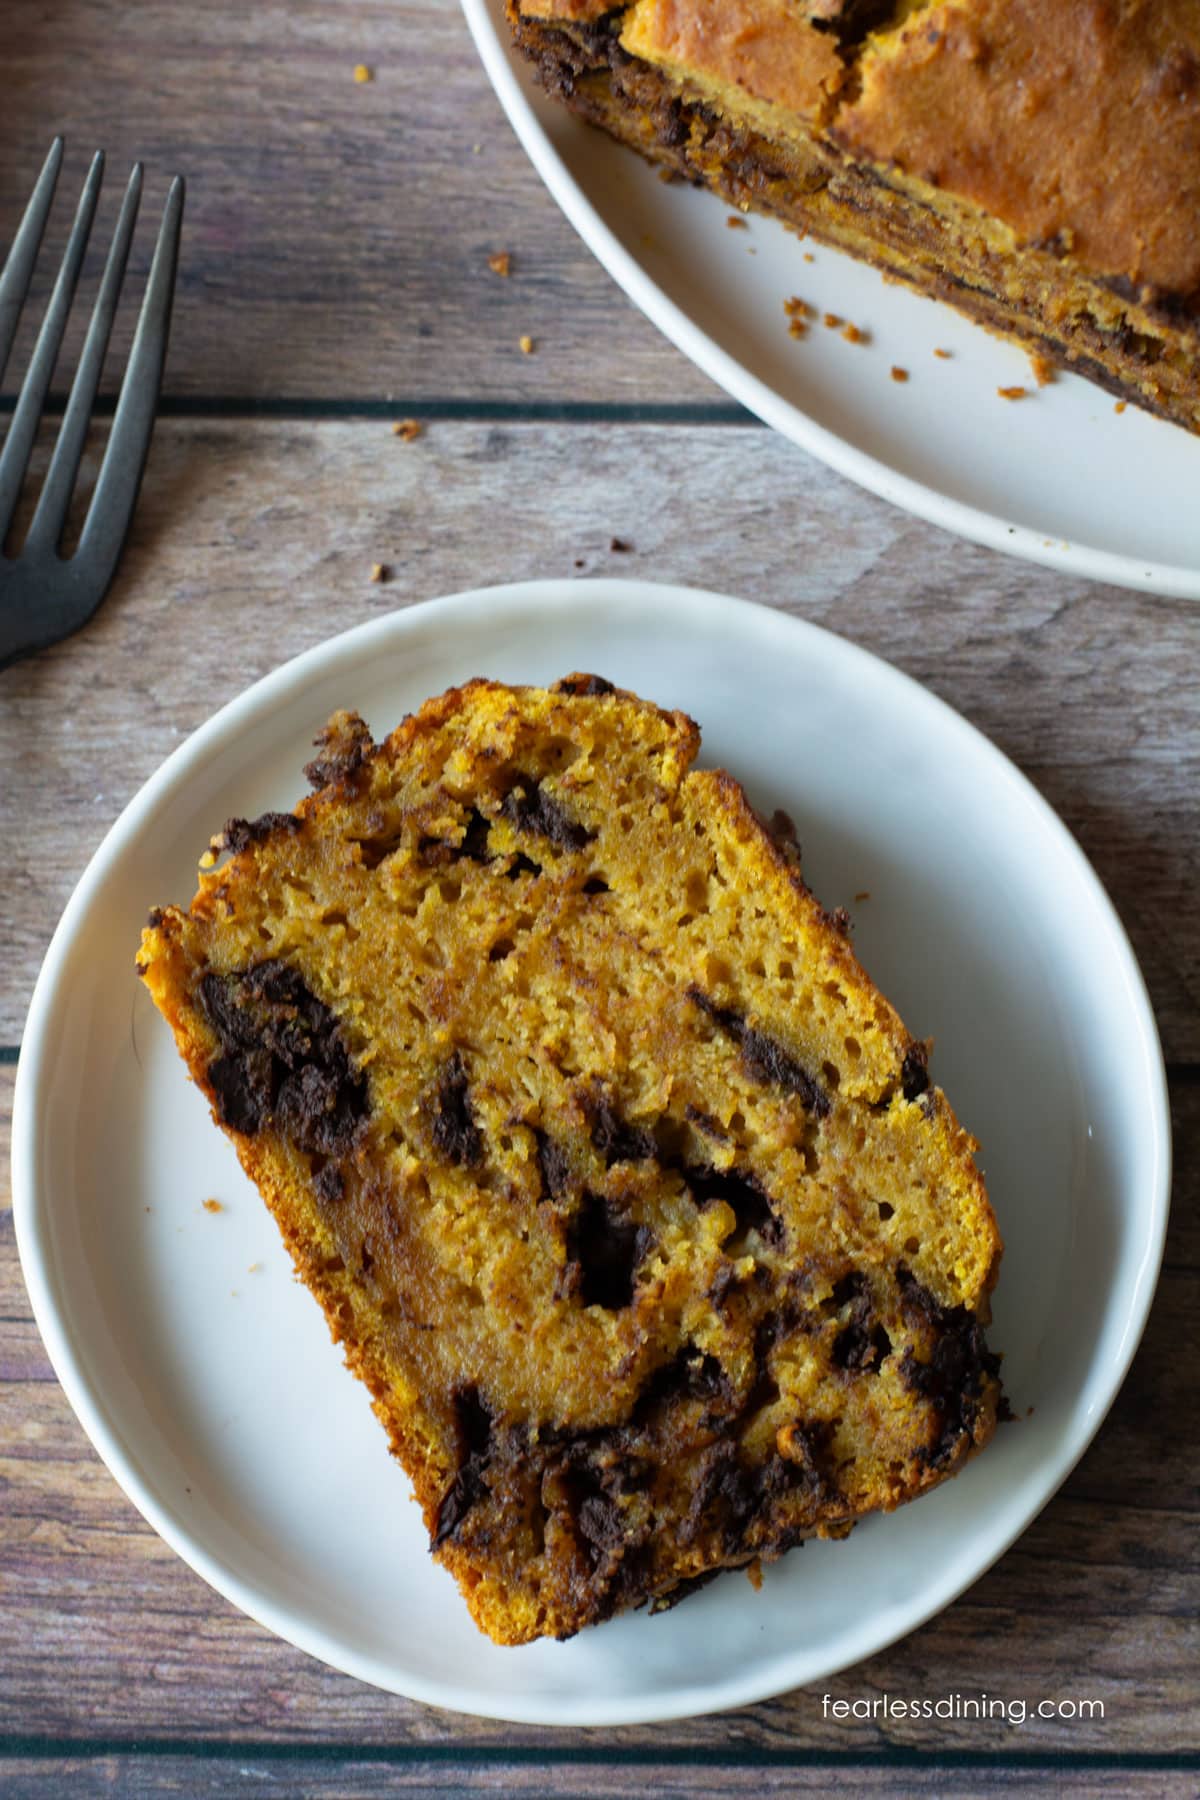
This gluten-free pumpkin banana bread is one of those easy recipes that feels extra special. This gluten-free pumpkin banana bread is soft, moist, and full of fall flavor. I love that this bread batter comes together in minutes, and while it bakes, the smell of pumpkin, cinnamon, and banana fills your kitchen. It is dairy-free too!
This post may contain affiliate links. Please read our Disclosure Policy.
❤️ Sandi’s Recipe Summary
This homemade loaf of pumpkin banana bread is a great beginner recipe to make. I tested this recipe using both dairy and non-dairy ingredients, as well as with and without chocolate chips. All variations of this recipe were delicious and pretty much foolproof. This is a great gluten-free fall recipe for those just starting their gluten-free journey.
If you love sweet, ripe bananas baked in quick breads, I have several incredible recipes, including Gluten-Free Cranberry Banana Bread, Gluten-Free Matcha Banana Bread, and this rich Gluten-Free Chocolate Banana Bread recipe.
Be sure to check out all of my gluten-free pumpkin recipes. You will find some new favorites!
Ingredient Notes and Easy Swaps:
For the full list of ingredients and amounts, please go to the recipe card below.
- Gluten-Free Flour Blend – I tested this recipe with Bob’s Red Mill 1:1. Other blends will work, but every blend has a different starch-to-grain ratio. This means you may need to add more flour or milk to get the right batter consistency. Read Why Gluten-Free Flour Blends Vary to learn more about this.
- Binder – If your blend doesn’t include a binder, you need to add one for the loaf to hold together. Add 3/4 teaspoon of xanthan gum. Learn Why Binders are Important in Gluten-Free Baking.
- Brown Sugar – Use either light or dark brown sugar. Both worked the same.
- Cane Sugar – Adds a little more sweetness. If you don’t want this loaf to be as sweet, you can omit it.
- Baking Powder – Please use aluminum-free baking powder. It makes a difference because it avoids a metallic aftertaste.
- Pumpkin – I tested this with canned pumpkin puree. If you use freshly roasted, add a little water so it is the same consistency as canned. Also, don’t use pumpkin pie filling.
- Bananas – The riper, the better!
- Eggs – Use large eggs.
- Light Oil – I tested this recipe using avocado oil. Other light oils will work. I do not recommend using olive oil because it can alter the flavor of this bread.
- Non-Dairy Milk – I tested this using Oatly Super Basic plant-based milk. Other varieties of plant-based milk can be used, as can regular milk.

Testing Notes From My Kitchen
This new recipe was fun to test. My first try, I used too much liquid, and the slices were too dense. I added 1/4 cup of additional flour, which seemed to be the sweet spot, as this loaf turned out great. If you are using a different gluten-free flour blend than mine, you may need to adjust the batter’s moisture. Compare photos of your batter with mine below.
Make this recipe dairy-free as I did, or use regular milk. Both ways work very well. You can also add nuts, such as pecans and walnuts, or omit the chocolate chips.
How to Make a Gluten-Free Pumpkin Banana Bread (Step-By-Step)

Step 1: Preheat the oven to 350ºF. Add the dry ingredients to a large mixing bowl and whisk until thoroughly blended. Whisking the dry ingredients first helps the leavening distribute evenly for a uniform rise. Mix in the chocolate chips.
Step 2: Place the ripe bananas in a smaller mixing bowl and use a fork to mash them into a paste. Add the remaining wet ingredients and whisk until the mixture is smooth and creamy.
Email This Recipe To Me!
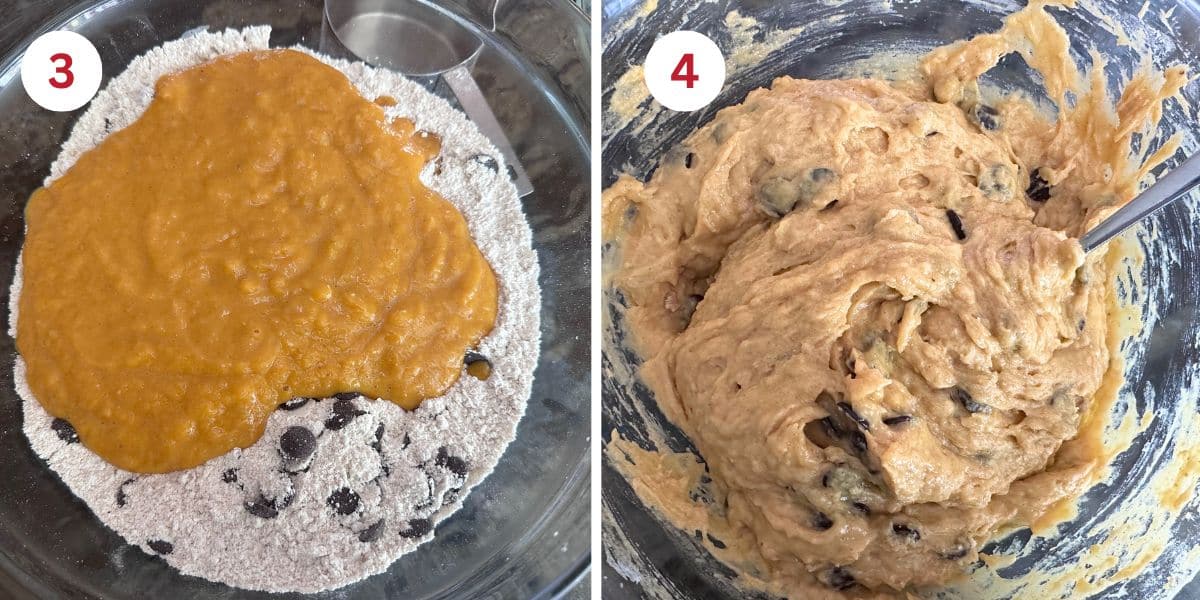
Step 3: Pour the wet ingredients into the dry ingredients.
Step 4: Mix until the two are just blended. Do not overmix the bread batter, or your pumpkin banana bread will turn out dense. The batter should be thick but pourable, similar to muffin batter.
If your batter looks runnier than mine, add more flour, one TBSP at a time, until it looks similar to mine. If your batter is much thicker, add more milk. Adjustments like this are normal because every blend varies by the amount of grain and starch.
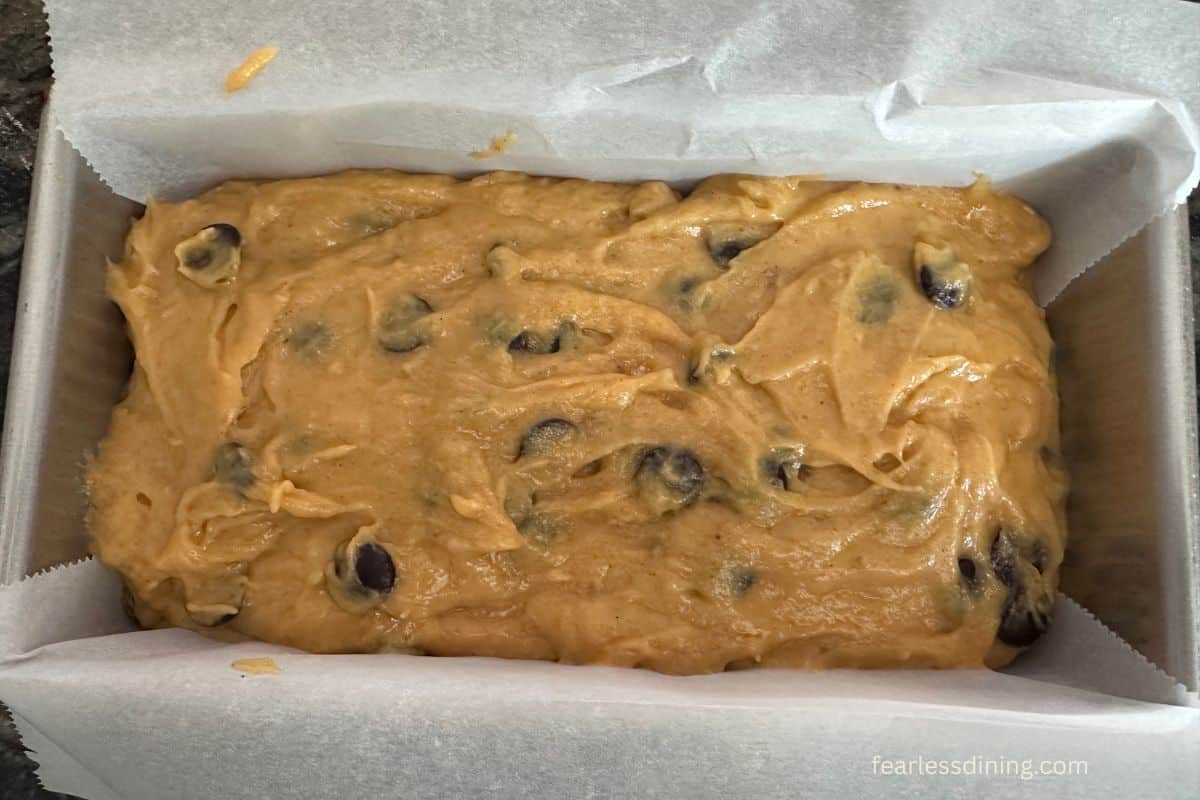
Step 5: Line a loaf pan with parchment paper or spray it with gluten-free baking spray. Pour the batter into the loaf pan.
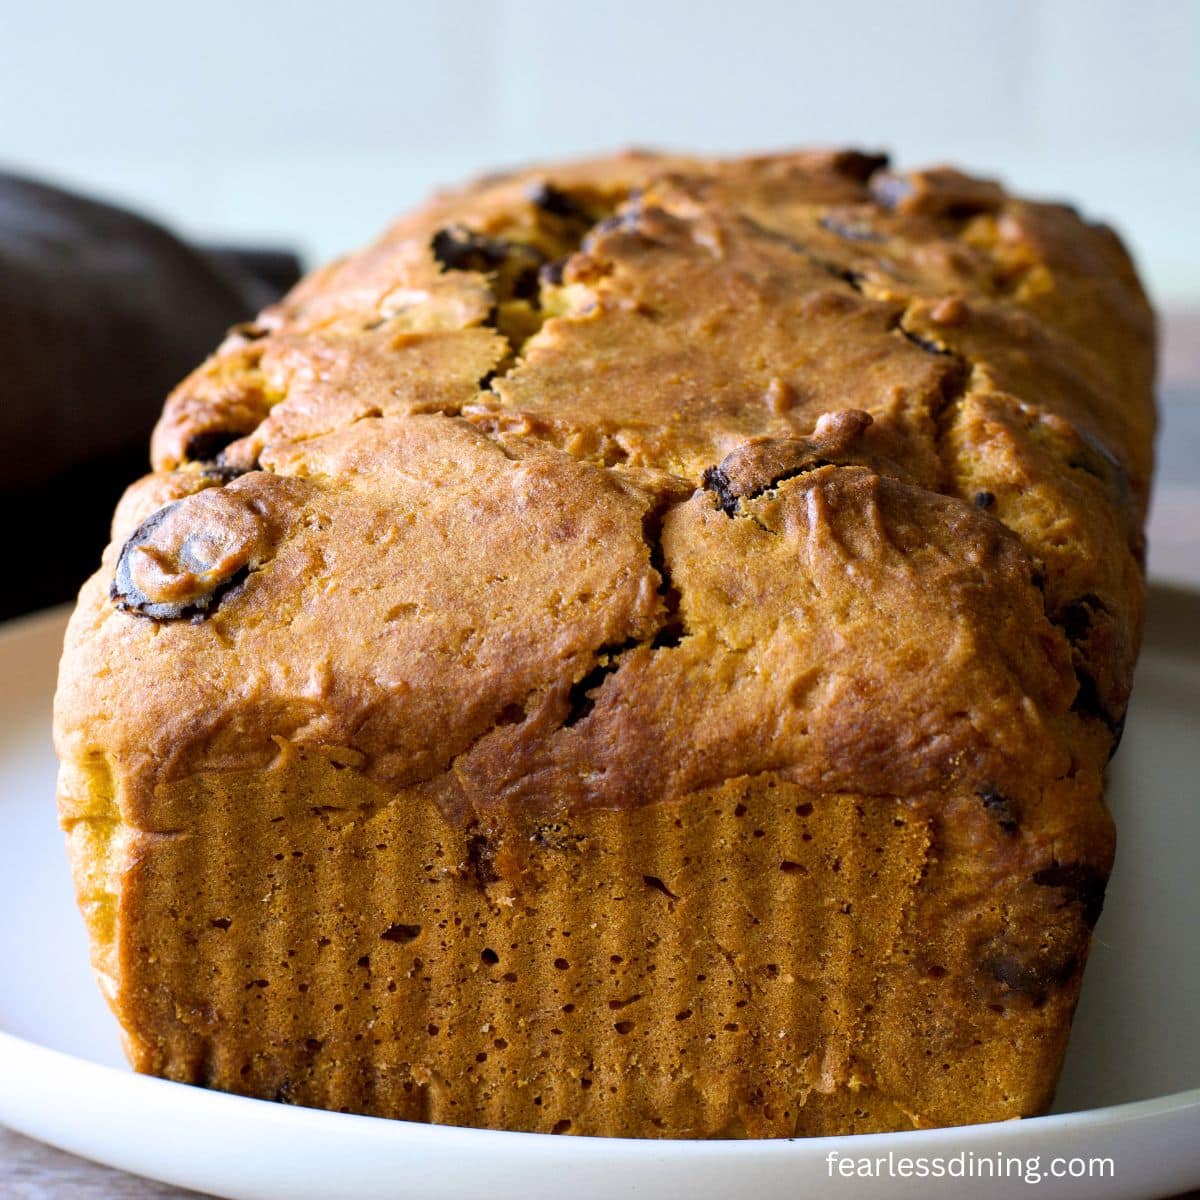
Step 6: Bake for 30-40 minutes. Insert a toothpick into the middle of the loaf. If you see batter or crumbs (not melted chocolate), the bread needs to be baked longer. If the toothpick comes out clean, it is finished baking. The actual baking time can depend on your pan size and oven. Loaf pans that are metal may bake faster than a glass pan.
Step 7: Place the loaf pan on a cooling rack for 5 minutes. This gives the bread time to set. Lift the loaf out of the pan with the ends of the parchment paper. Place the loaf back on the cooling rack. Do not slice until the loaf is cool.
Storage and Freezing Tips
Store the cooled gluten-free pumpkin banana loaf in an airtight container. Gluten-free tends to spoil quickly, so consider storing it in the refrigerator. Eat within 3 days or slice and freeze the loaf.
Frequently Asked Questions:
I haven’t tested this recipe using butter. If you try it, please leave a comment so we all know if it works.
Yes, you can omit the chocolate chips or swap them with another dried fruit.
More Gluten-Free Pumpkin Recipes:
Pumpkin screams fall baking, and I have a lot of delicious pumpkin recipes for you to try!
- Fluffy Gluten-Free Pumpkin Muffins
- Gluten-Free Pumpkin Pancakes
- Easy Gluten-Free Pumpkin Oatmeal Cookies
- Gluten-Free Pumpkin Bundt Cake
Love This Recipe?
💬 Did you make this gluten-free pumpkin banana bread recipe? I would love to hear how it turned out. Your feedback helps others (and helps me keep improving these recipes for you). ⭐⭐⭐⭐⭐
Gluten-Free Pumpkin Banana Bread with Chocolate Chips
Equipment
Ingredients
- 2 cups gluten free flour * See notes
- ¾ cup brown sugar light or dark
- ¼ cup cane sugar
- 2 teaspoons aluminum-free baking powder
- ½ teaspoon salt
- 2 medium sized ripe bananas
- ¾ cup pumpkin puree
- 2 large eggs
- ⅓ cup light oil
- ⅓ cup non-dairy milk (Regular milk also works)
- ⅔ cup chocolate chips
Instructions
- Preheat your oven to 350º F. Line a loaf pan with parchment paper or lightly spray it with gluten-free baking spray.
- In a large mixing bowl, whisk together the gluten-free flour blend, brown sugar, cane sugar, baking powder, and any added xanthan gum if your blend doesn't contain one. Stir in the chocolate chips (if using). Whisking first helps the bread rise evenly.
- In a medium bowl, mash the ripe bananas with a fork until smooth and mostly lump-free. Add the pumpkin purée, eggs, milk, and oil. Whisk until the mixture looks creamy.
- Pour the wet ingredients into the dry ingredients. Mix with a spoon or spatula until the flour is just incorporated and there are no dry streaks should remain. The batter should look thick but still pourable, similar to muffin batter.
- If the batter seems too runny, add more flour 1 tablespoon at a time. If it is too thick, add a little milk until it matches this texture.
- Line a loaf pan with parchment paper. Pour the batter into the prepared loaf pan and smooth the top with a spatula so it bakes evenly.
- Bake for 30–40 minutes, depending on your oven and pan type. The loaf is done when a toothpick inserted into the center comes out clean or with a few moist crumbs (ignore melted chocolate).
- Place the loaf pan on a cooling rack and let it rest for 5 minutes. Lift the bread out by the parchment paper edges and transfer it to the rack to cool completely before slicing. Cutting too soon can make the texture gummy. Waiting makes a big difference.
Notes
- I tested this recipe using Bob’s Red Mill 1:1. Other blends will work, but you may need to tweak moisture levels by adding more milk or flour to get the right batter consistency.
- If your blend doesn’t have a binder, add 3/4 tsp of xanthan gum.
- Store in an airtight container in the refrigerator. I slice the loaf and freeze the slices in a freezer-safe zipper bag.
Email This Recipe To Me!
SPECIAL NOTE
Please know that every gluten free flour blend has a different starch to grain ratio. If you use a blend I didn’t test, my rule of thumb is to add more flour if your dough or batter is wet and add more liquid if the dough or batter is too dry!
Nutrition
Nutrition Disclaimer
Nutritional information is an estimate provided to you as a courtesy. You should calculate the actual nutritional information with the products and brands you are using with your preferred nutritional calculator.
I truly hope you enjoy this recipe. I have been testing and creating gluten-free recipes for over 15 years. Creating gluten-free recipes that do not taste gluten-free is my goal for every recipe. Sometimes I only have to test a new recipe a couple of times, and others it takes multiple times. I do this so you get reliable, delicious results every time!

We loved this pumpkin banana bread! It was delicious. I recommend baking slightly on the longer side. I baked for 38 minutes and tested with a toothpick and it looked good, but when we got to the very middle it was gummy.
I am so glad you loved this new recipe, Terri. I agree, the baking time ranges a bit, the flour blend used can also affect bake time.
How much vanilla extract?
Hi Joyce, I am confused where you see vanilla. This recipe doesn’t call for vanilla extract.
I also am searching for how much vanilla? It says to add vanilla……
In a medium bowl, mash the ripe bananas with a fork until smooth and mostly lump-free. Add the pumpkin purée, eggs, milk, oil, and vanilla extract. Whisk until the mixture looks creamy.
Ah, you don’t need to add vanilla and I corrected that. It is okay to add it as well…the pumpkin and banana flavors tend to overpower the vanilla, so it wasn’t very detectable, so I decided not to include it.