
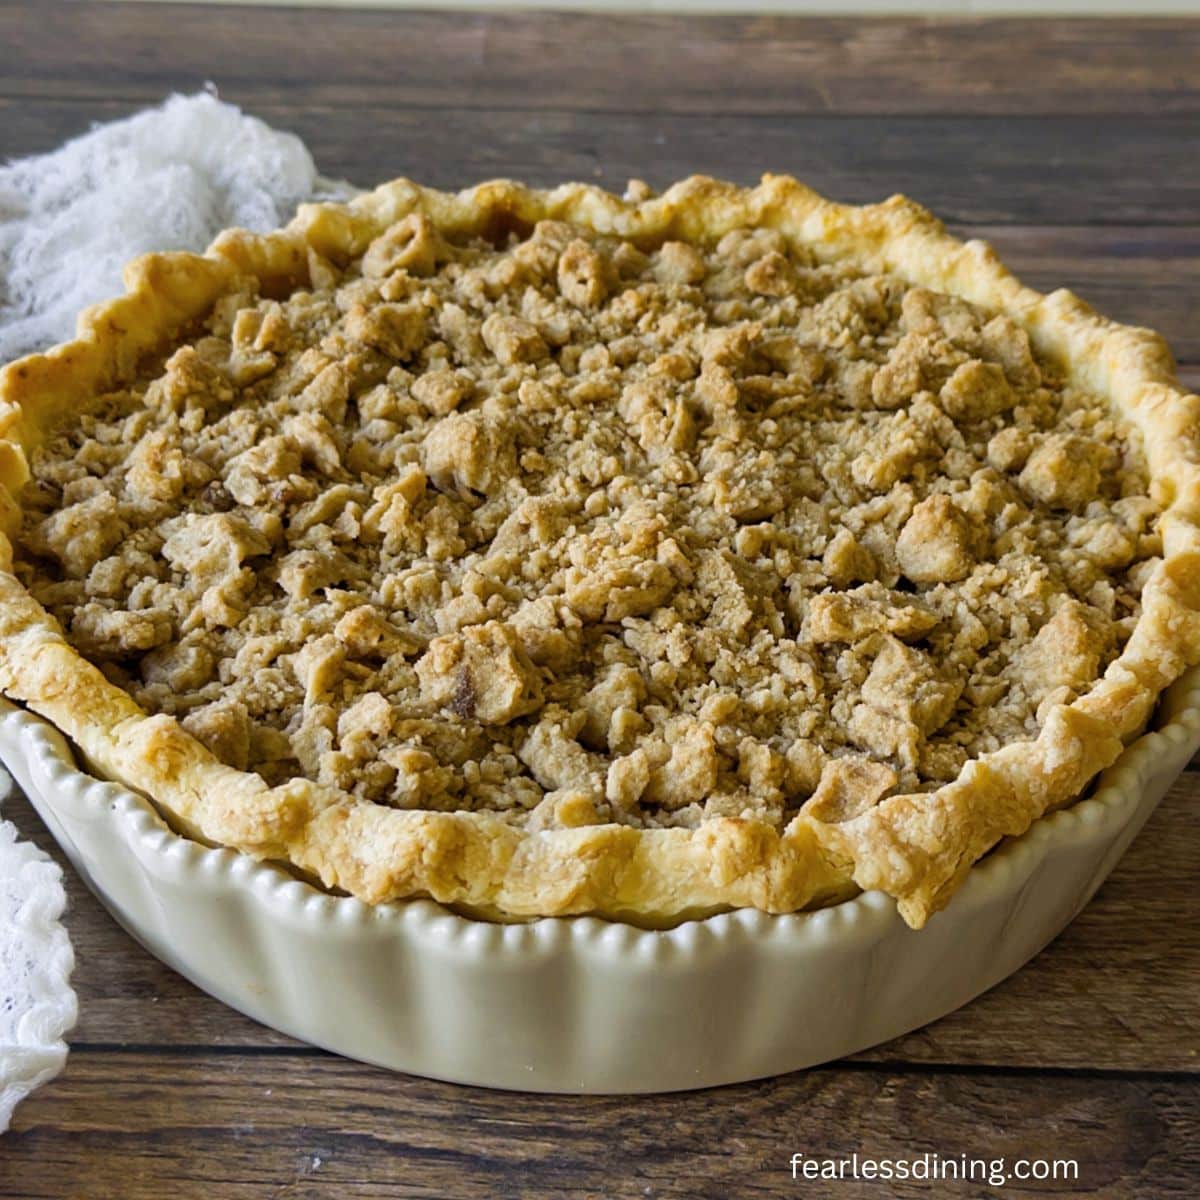
This is the gluten-free pumpkin streusel pie to make when you want something that looks and tastes special without adding extra work. The filling bakes up silky, the thick cinnamon-brown sugar streusel adds great crunch, and you can choose from two gluten-free crust options; both tested and flaky. It’s the kind of pie that gets requested again before the first one is even finished.
This post may contain affiliate links. Please read our Disclosure Policy.

❤️ Sandi’s Recipe Summary
If you are looking for the perfect gluten-free holiday pie to bake this fall or during the Thanksgiving holiday, Mr. Fearless Dining recently declared this one of his favorite pie recipes. He loved it so much, he said I can’t share it with my neighbors. If he loved it this much, I knew you would want this recipe as well.
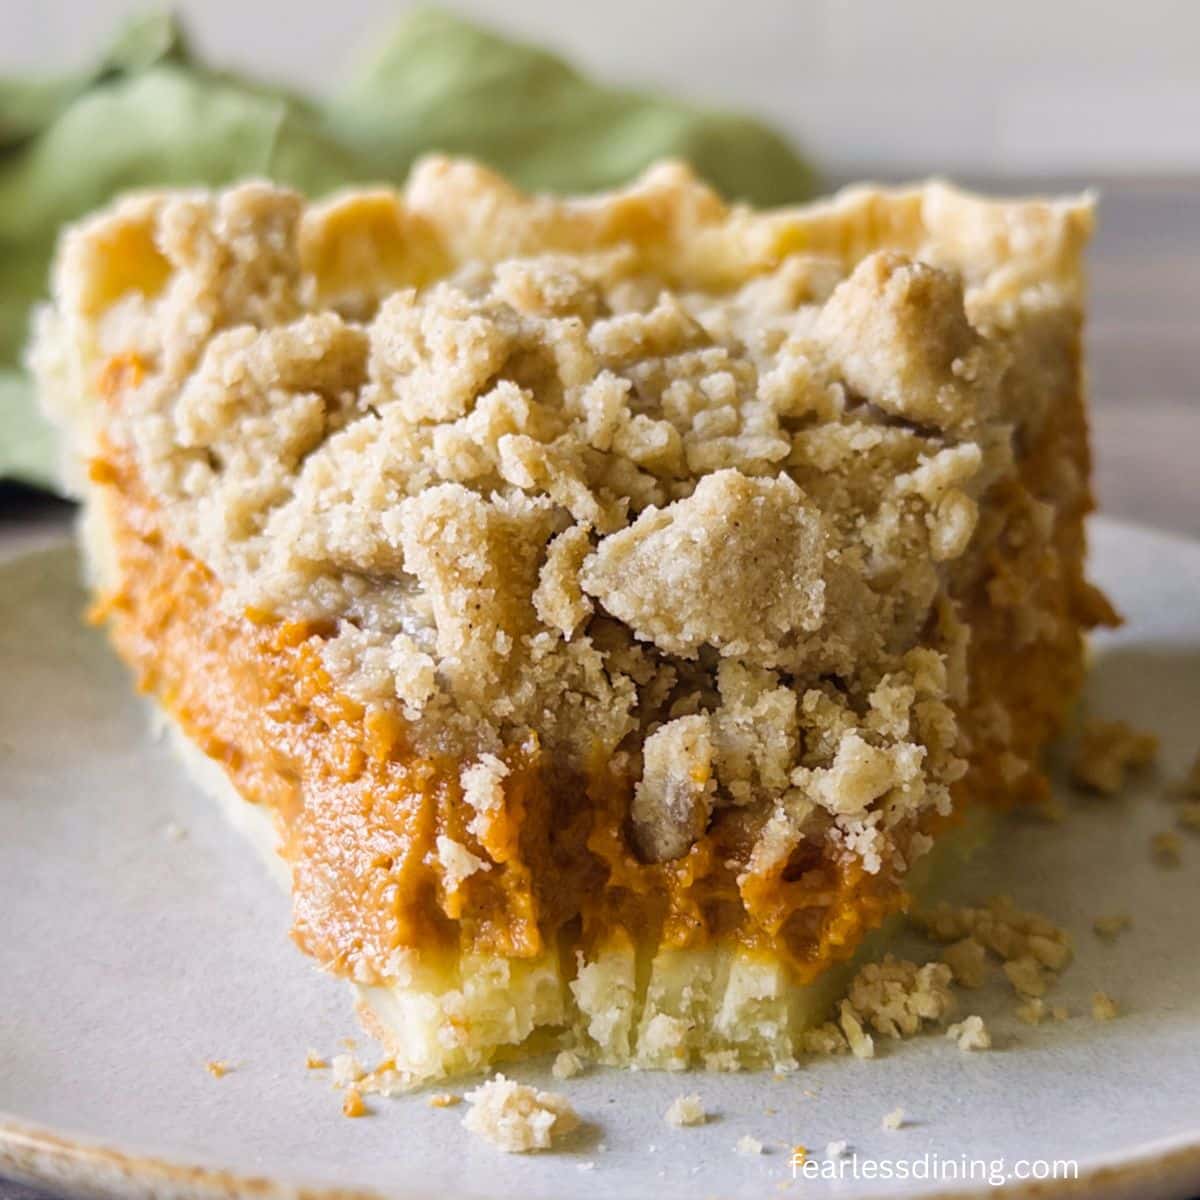
Pumpkin pie has always been a holiday staple at our house, but I wanted something with a little more personality and more texture, more flavor, more “wow, I need another slice,” as my husband said. This gluten-free pumpkin streusel pie gives you the creamy pumpkin filling everyone expects…plus a thick, buttery crumble topping that keeps things interesting.
This gluten-free pumpkin pie with streusel recipe can be made with my new Gluten-Free Sourdough Discard Pie Crust or my popular classic Gluten-Free Pie Crust recipes. If you are looking for more ways to use your gluten-free sourdough discard, here are my favorite gluten-free sourdough discard recipes.

Testing Notes From My Kitchen
This recipe was interesting to test. I started with my no-fail, flaky pie crust. The biggest challenge I had was finding the right balance of sourdough starter. I initially tested using 1/2 cup, but I felt it wouldn’t work as well for sweeter pies. After a few variations, I decided to stick to using only 1/4 cup of sourdough discard in this pie crust recipe. The flavor was better, and the crust was perfectly flaky.
This is the best gluten-free pumpkin pie for the holidays!
Ingredient Notes and Easy Swaps:
For the full list of ingredients and amounts, please go to the recipe card below.
- Gluten-Free Flour Blend – I tested this recipe using Cup4Cup flour blend. I haven’t tested other blends, but my classic gluten-free pie crust recipe, linked above, has been tested with quite a few flour blends, which should also work in this recipe. You may need to adjust moisture levels because every flour blend performs so differently depending on its ingredients. Read Why Gluten-Free Flour Blends Vary to learn more about this.
- Binder – If your blend does not contain a binder, add 3/4 teaspoon of xanthan gum. Learn Why Binders are Important in Gluten-Free Baking.
- Sourdough Discard – If you don’t have a sourdough starter, see the section above. I feed my starter on a 1:1 ratio. If your discard is thicker or runnier, you will need to adjust your wet or dry ingredients to make up for or remove some liquid.
- Butter – I tested the recipe with frozen unsalted butter. Use plant-based butter if you are dairy-free.
- Pumpkin Puree – I tested this recipe using canned pumpkin puree. Do not use pumpkin pie filling.
- Brown Sugar – Use light or dark brown sugar.
- Eggs – Use large eggs.
How to Make a Gluten-Free Pumpkin Streusel Pie (Step-By-Step)
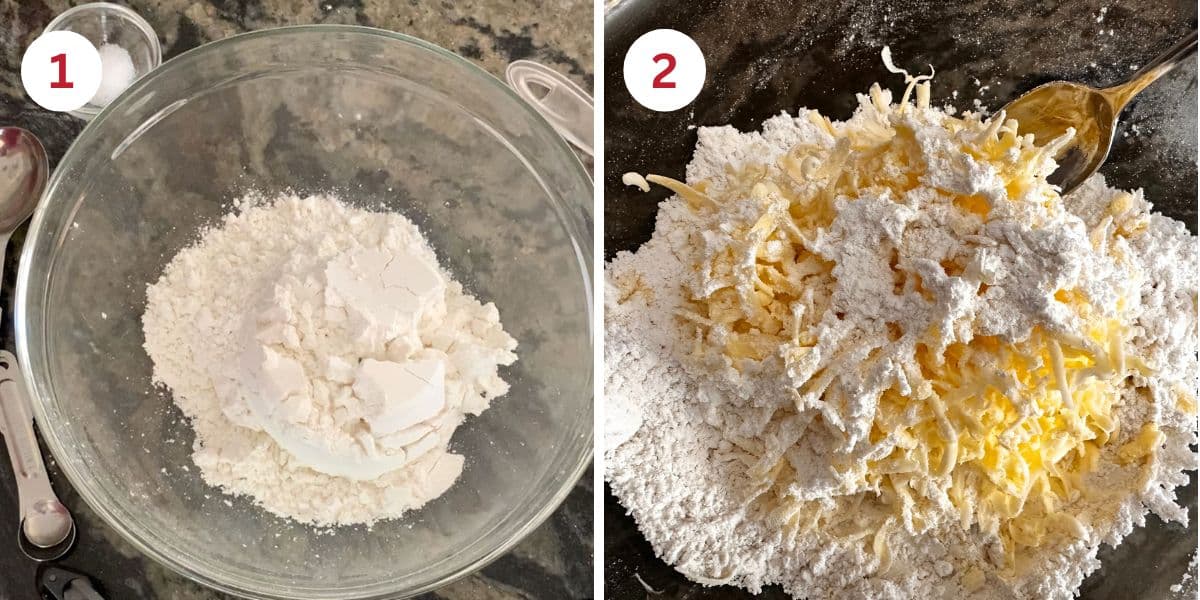
Step 1: In a large mixing bowl, combine the flour and salt. Whisk to blend.
Step 2: There are two ways to blend in the butter. Use a pastry blender to chop the butter into little bits or freeze your butter and use a cheese grater to shred the butter.
👀 Sandi Says: If you shred the butter, halfway through shredding, toss some of the flour mixture over the butter. It helps prevent the shreds from sticking together.
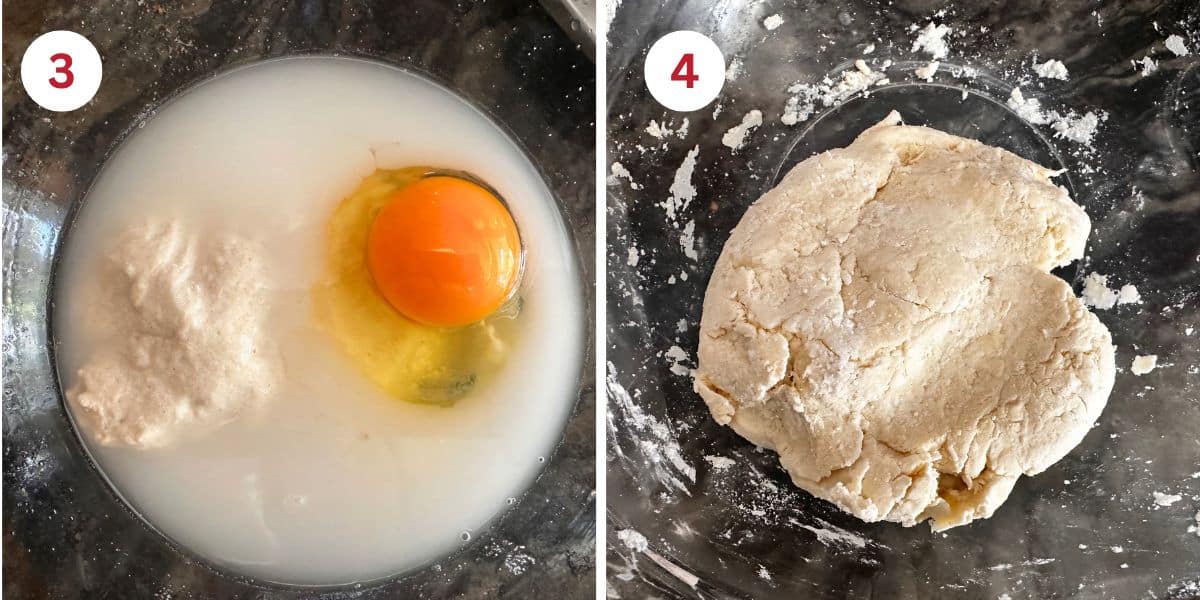
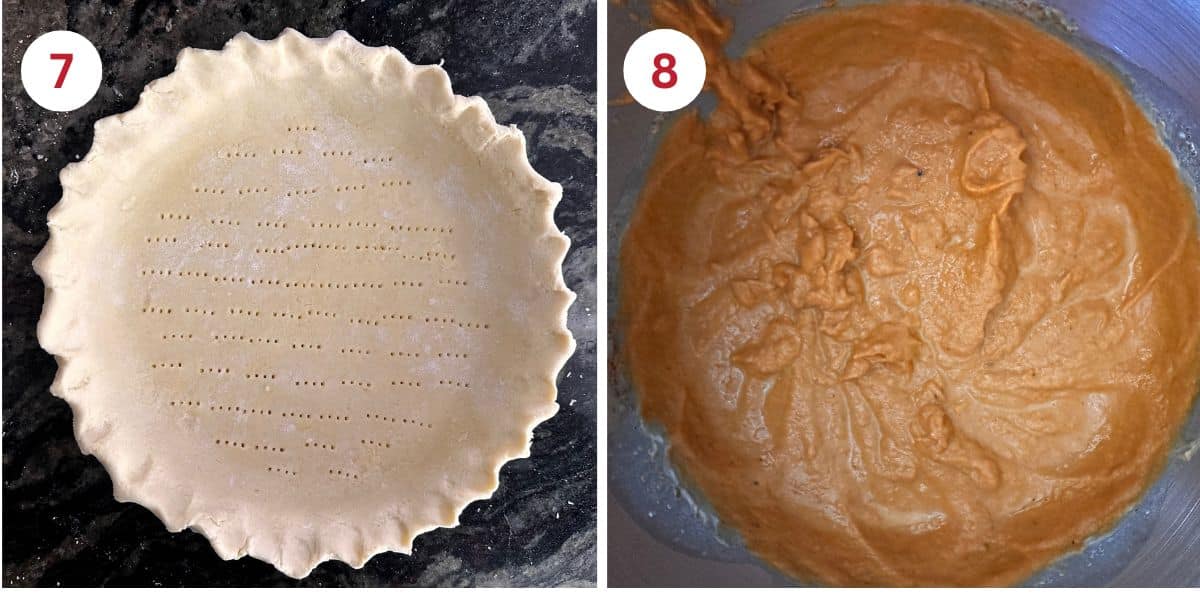
Step 3: Combine the egg, sourdough discard, lemon juice, and water in a small mixing bowl. Whisk until the sourdough discard is fully incorporated, with no lumps. Pour the wet ingredients into the dry ingredients.
Step 4: Mix the wet and dry ingredients into the pie dough. Wrap the dough and refrigerate to chill. You want to keep the butter bits as cold as possible. Those cold butter shards melt as the crust hits the heat. The escaping steam pushes up flaky layers. This is how we get a tender, structured crust even without gluten.
- Dry dough? Add 1 to 2 tsp cold water.
- Sticky dough? Knead in 1 to 2 tsp flour.

Preheat the oven to 350ºF.
Step 5: Sprinkle a little flour on a silicone mat, then place the dough on it. Use a rolling pin to roll the dough into a circular shape, about 1/4 inch thick.
Email This Recipe To Me!
Step 6: Spray a pie pan with gluten-free baking spray (Note: PAM Baking Spray is not gluten-free.) Hold the dough on the silicone mat over the pie pan, then gently peel it off and slide it into the pie pan.
Step 7: Use your thumb and index finger to form a V shape on the outside of the crust. With the index finger of your other hand, gently push the dough outward from the inside of the rim into that V to form a slight ridge or wave. Repeat this process all the way around the dough edge.
Par Bake:
I poked little holes in the bottom because I par-baked the crust for a few minutes before adding the pumpkin. Bake the crust for 10 minutes and then remove it from the oven. You can use pie weights if you prefer, but this crust only bakes for 10 minutes, and I found the bottom stays flat in this short bake.
Pumpkin Filling:
Step 8: Add all of the pumpkin filling ingredients to a large mixing bowl and whisk until it is creamy.
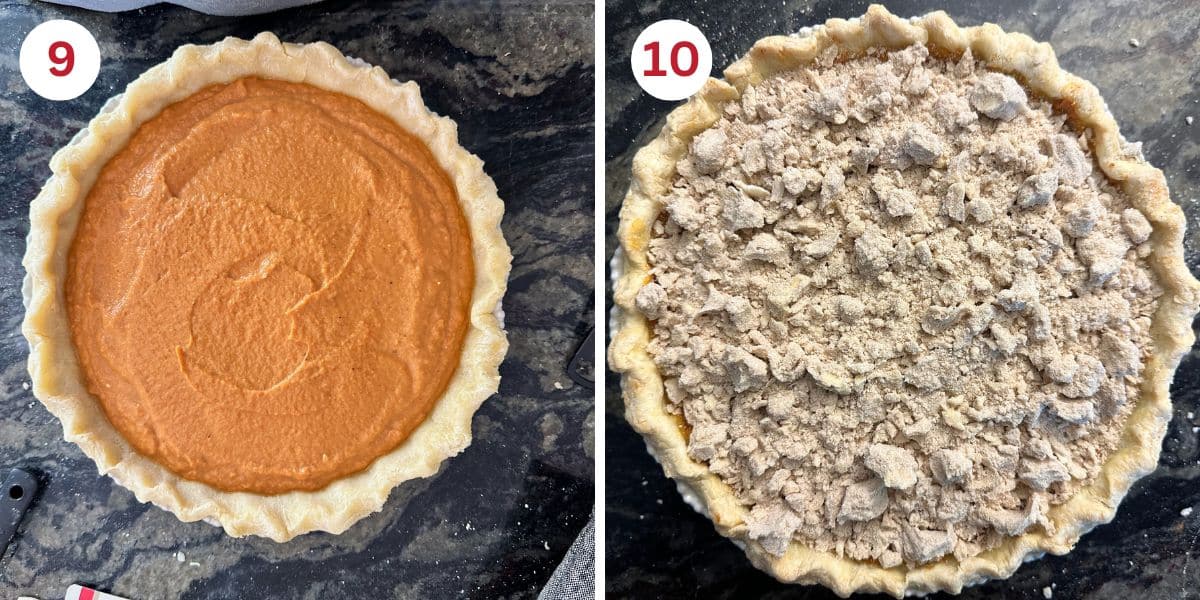
Step 9: Pour the pumpkin filling into the pie crust, then use a spatula to spread it evenly.
Step 10: Add the butter, flour, and brown sugar to a bowl and use a pastry blender to cut the butter into the flour and sugar mixture. Sprinkle it over the pie filling. I like large crumbles, and to do this, I grab a handful of the crumble and squeeze it. I drop the big chunks over the pie filling. (If you prefer regular-sized crumbles, you can omit doing this.)
Step 11: Bake the pie for 35-40 minutes, until the crust and crumb topping are both golden. Place the pie on a cooling rack and allow it to cool fully. Wrap the pie in plastic wrap and refrigerate.
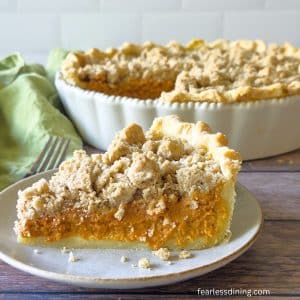
Serve slices of pie on Thanksgiving, plain or topped with either vanilla ice cream or whipped cream.
Tips For Success:
Making this pie is easy, but these tips will help your pie turn out perfectly. For more pie tips, check out my Gluten-Free Pie Troubleshooting Guide.
- Use cold ingredients. Cold butter, eggs, and water.
- If the pie dough feels sticky, wrap it back up in plastic wrap and chill it. The stickiness means the butter shreds are melting into the dough, and you don’t want this to happen.
- If the edges of the crust are getting too brown, place a sheet of aluminum foil over the pie while it finishes baking.
Frequently Asked Questions:
Yes, you can make this pie dairy-free. I tested this recipe using Smart Balance dairy-free butter.
Store leftovers by wrapping the pie in plastic wrap. It will keep fresh in the refrigerator for up to 4 days.
There are several ways to get a head start on making this recipe. You can make and freeze the pie dough until you are ready to make the pie, or make the pie and par-bake the crust. Add the pumpkin filling and bake when you are ready to serve it.
More Gluten-Free Pie Recipes:
Pie makes a delicious dessert for any occasion. Here are more delicious gluten-free pie recipes to try:
- Easy Gluten-Free Apple Pie
- Gluten-Free Pecan Pie (so decadent!)
- Mom’s homemade Gluten-Free Blueberry Pie
- Gluten-Free Chocolate Pecan Pie (aka Derby Pie)
Love This Recipe?
💬 I would love to hear how it turned out. Your feedback helps others (and helps me keep improving these recipes for you). ⭐⭐⭐⭐⭐
Gluten-Free Pumpkin Pie with a Brown Sugar Crumble
Equipment
- pie pan 9.5 inch pan
Ingredients
Crust
- 1 ½ cups gluten free flour blend * See notes
- ¼ teaspoon salt
- 8 tablespoons unsalted butter
- 1 large egg
- 1 teaspoon lemon juice
- ¼ cup water Plus 1-2 TBSP additional if needed
Pie Filling
- 30 ounces pumpkin puree Do not use pumpkin pie filling
- 2 large eggs
- ½ cup heavy cream
- ½ cup cane sugar
- ½ cup brown sugar
- 1 teaspoon pumpkin pie spice
- ½ teaspoon ground ginger
- ½ teaspoon ground cinnamon
Crumb Topping
- 1 cup gluten free flour blend
- ¾ cup brown sugar
- ¼ teaspoon salt
- ½ teaspoon ground cinnamon
- 7 tablespoons unsalted butter
Instructions
Crust
- In a large mixing bowl, combine the flour and salt. Whisk to blend. Whisking helps blend them so you don't get a salty spot.
- There are two ways to blend in the butter. Use a pastry blender to chop the butter into little bits or freeze your butter and use a cheese grater to shred the butter.
- Combine the egg, lemon juice, and water in a small mixing bowl. Whisk until the sourdough discard is fully incorporated, with no lumps. Pour the wet ingredients into the dry ingredients.
- Mix the wet and dry ingredients into the pie dough. Wrap the dough and refrigerate to chill. You want to keep the butter bits as cold as possible. Those cold butter shards melt as the crust hits the heat. The escaping steam pushes up flaky layers. This is how we get a tender, structured crust even without gluten.
- Preheat the oven to 350ºF. Use the bake and not convection bake setting.
- Sprinkle a little flour on a silicone mat, then place the dough on it. Use a rolling pin to roll the dough into a circular shape, about 1/4 inch thick.
- Spray a pie pan with gluten-free baking spray (Note: PAM Baking Spray is not gluten-free.) Hold the dough on the silicone mat over the pie pan, then gently peel it off and slide it into the pie pan.
- To crimp the edges, use your thumb and index finger to form a V shape on the outside of the crust. With the index finger of your other hand, gently push the dough outward from the inside of the rim into that V to form a slight ridge or wave. Repeat this process all the way around the dough edge.
- Short par bake: I poked little holes in the bottom because I par-baked the crust for a few minutes before adding the pumpkin. Bake the crust for 10 minutes and then remove it from the oven. You can use pie weights if you prefer, but this crust only bakes for 10 minutes, and I found the bottom stays flat in this short bake.
- Add all of the pumpkin filling ingredients to a large mixing bowl and whisk until it is creamy.
- Pour the pumpkin filling into the pie crust, then use a spatula to spread it evenly.
- Add the butter, flour, and brown sugar to a bowl and use a pastry blender to cut the butter into the flour and sugar mixture. Sprinkle it over the pie filling. I like large crumbles, and to do this, I grab a handful of the crumble and squeeze it. I drop the big chunks over the pie filling. (If you prefer regular-sized crumbles, you can omit doing this.)
- Bake the pie for 35 to 40 minutes, until the crust and crumb topping are both golden. Place the pie on a cooling rack and allow it to cool fully. Wrap the pie in plastic wrap and refrigerate.
Notes
- I tested this recipe with King Arthur Measure for Measure flour blend. This crust is based on my popular Gluten-Free Pie Crust recipe, and that recipe was tested with a lot of flour blends. Other blends will work, but you may need to adjust the moisture level by adding more flour or liquid.
- If your flour blend doesn’t have a binder, add 3/4 teaspoon xanthan gum to the crust ingredients.
- If you use salted butter, omit any additional salt.
- Be sure the butter is VERY cold.
- Use light or dark brown sugar.
- Cover the pie with plastic wrap and refrigerate until you are ready to serve the pie. It will keep fresh for up to 4 days in the refrigerator.
Email This Recipe To Me!
SPECIAL NOTE
Please know that every gluten free flour blend has a different starch to grain ratio. If you use a blend I didn’t test, my rule of thumb is to add more flour if your dough or batter is wet and add more liquid if the dough or batter is too dry!
Nutrition
Nutrition Disclaimer
Nutritional information is an estimate provided to you as a courtesy. You should calculate the actual nutritional information with the products and brands you are using with your preferred nutritional calculator.
I truly hope you enjoy this recipe. I have been testing and creating gluten-free recipes for over 15 years. Creating gluten-free recipes that do not taste gluten-free is my goal for every recipe. Sometimes I only have to test a new recipe a couple of times, and others it takes multiple times. I do this so you get reliable, delicious results every time!

What is the sour dough discard?
Combine the egg, sourdough discard, lemon juice, and water in a small mixing bowl. Whisk until the sourdough discard is fully incorporated, with no lumps. Pour the wet ingredients into the dry ingredients.
Hi Terri, it is an option for making this with a discard crust. When making sourdough, you discard some before feeding and it can be used in recipes. I clarified this to make it more clear in the recipe. Thank you.