
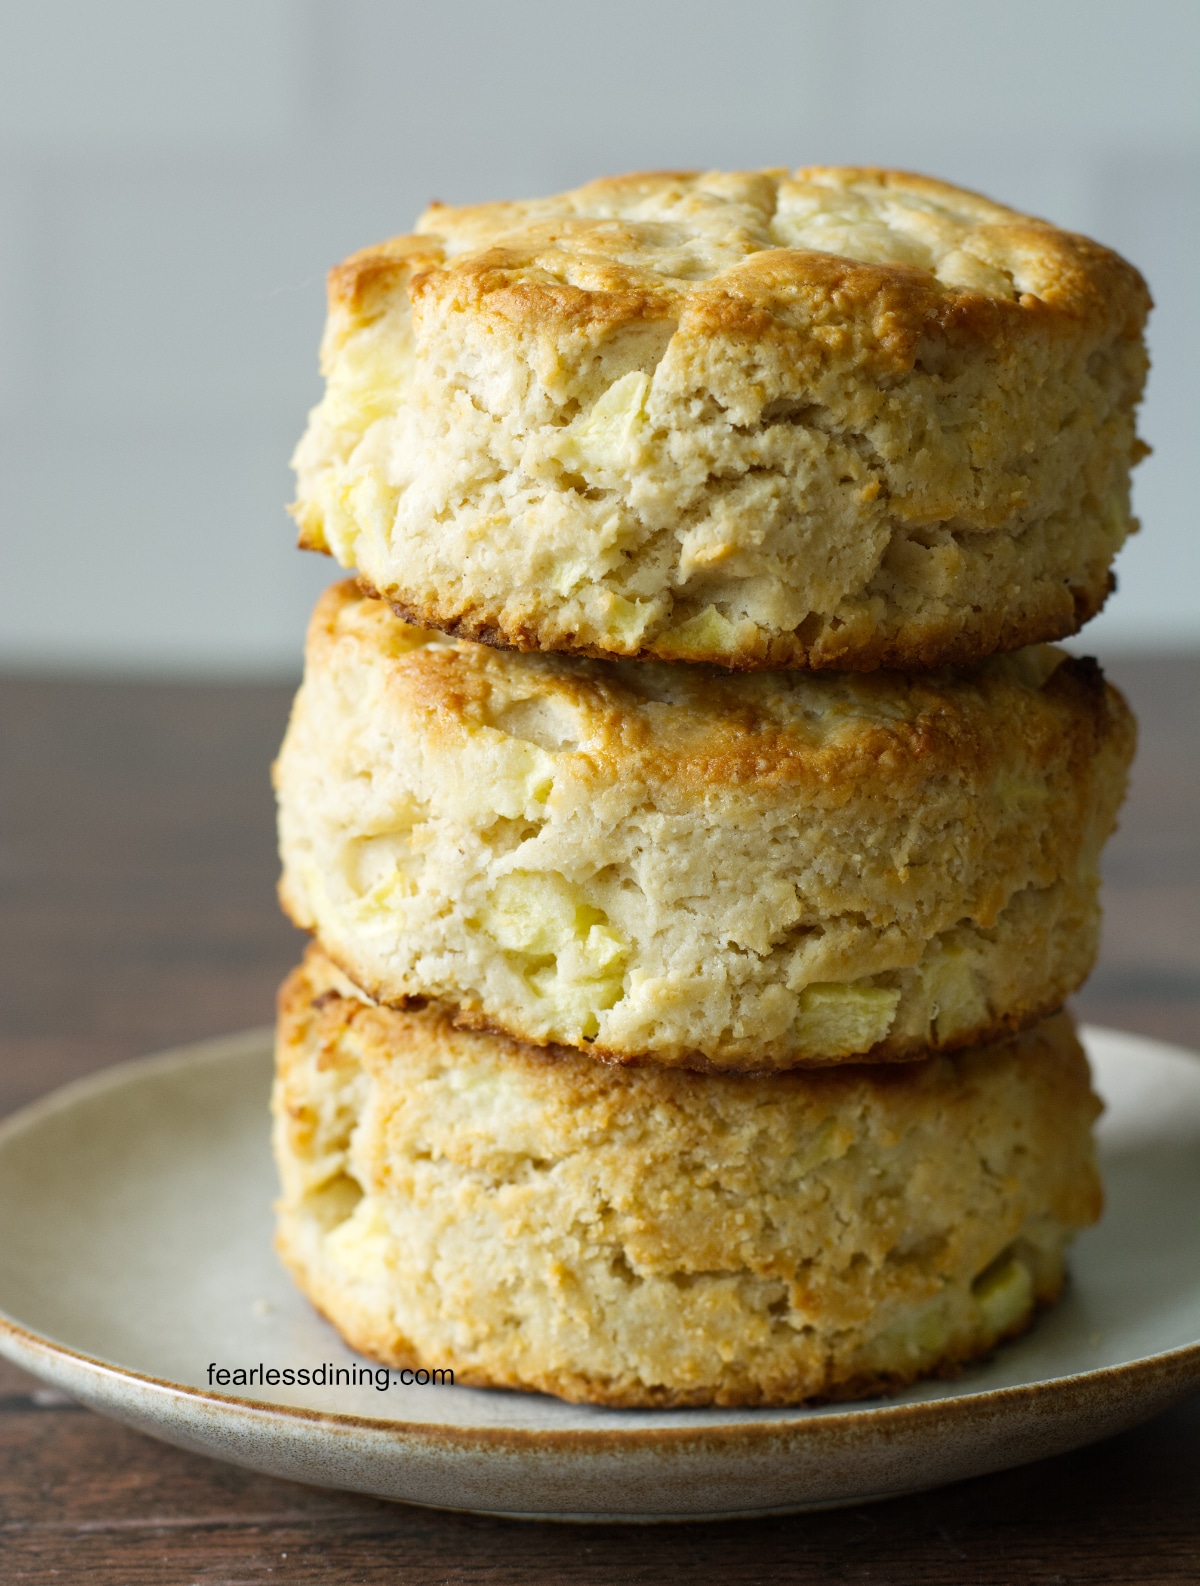
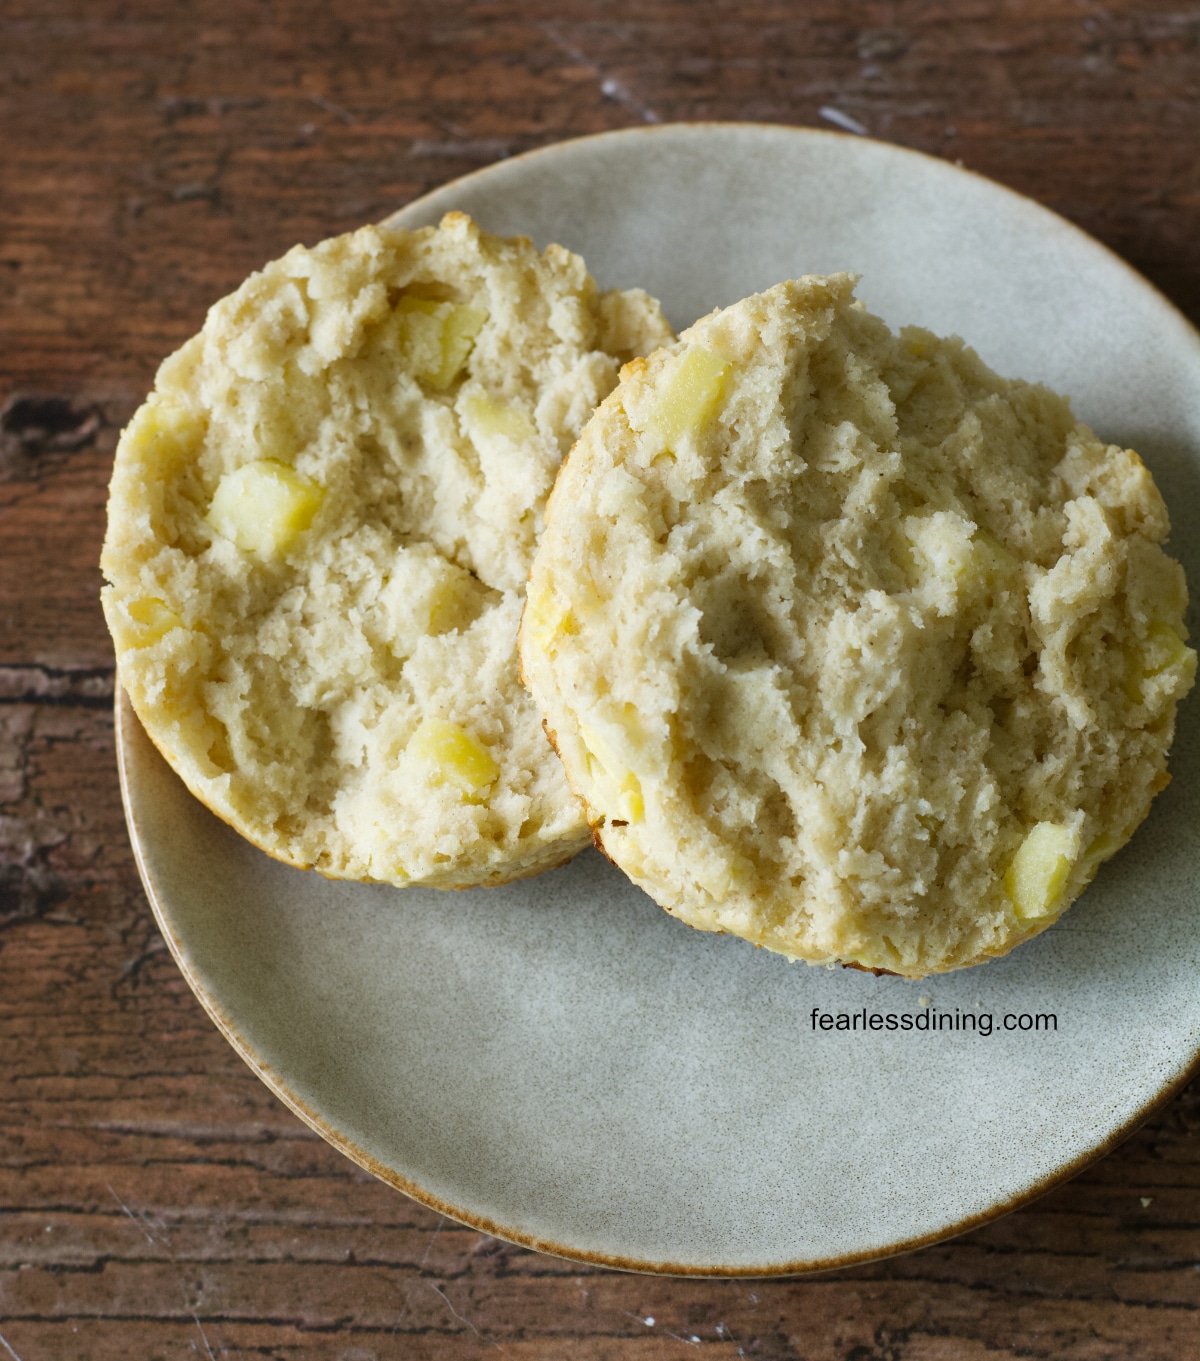
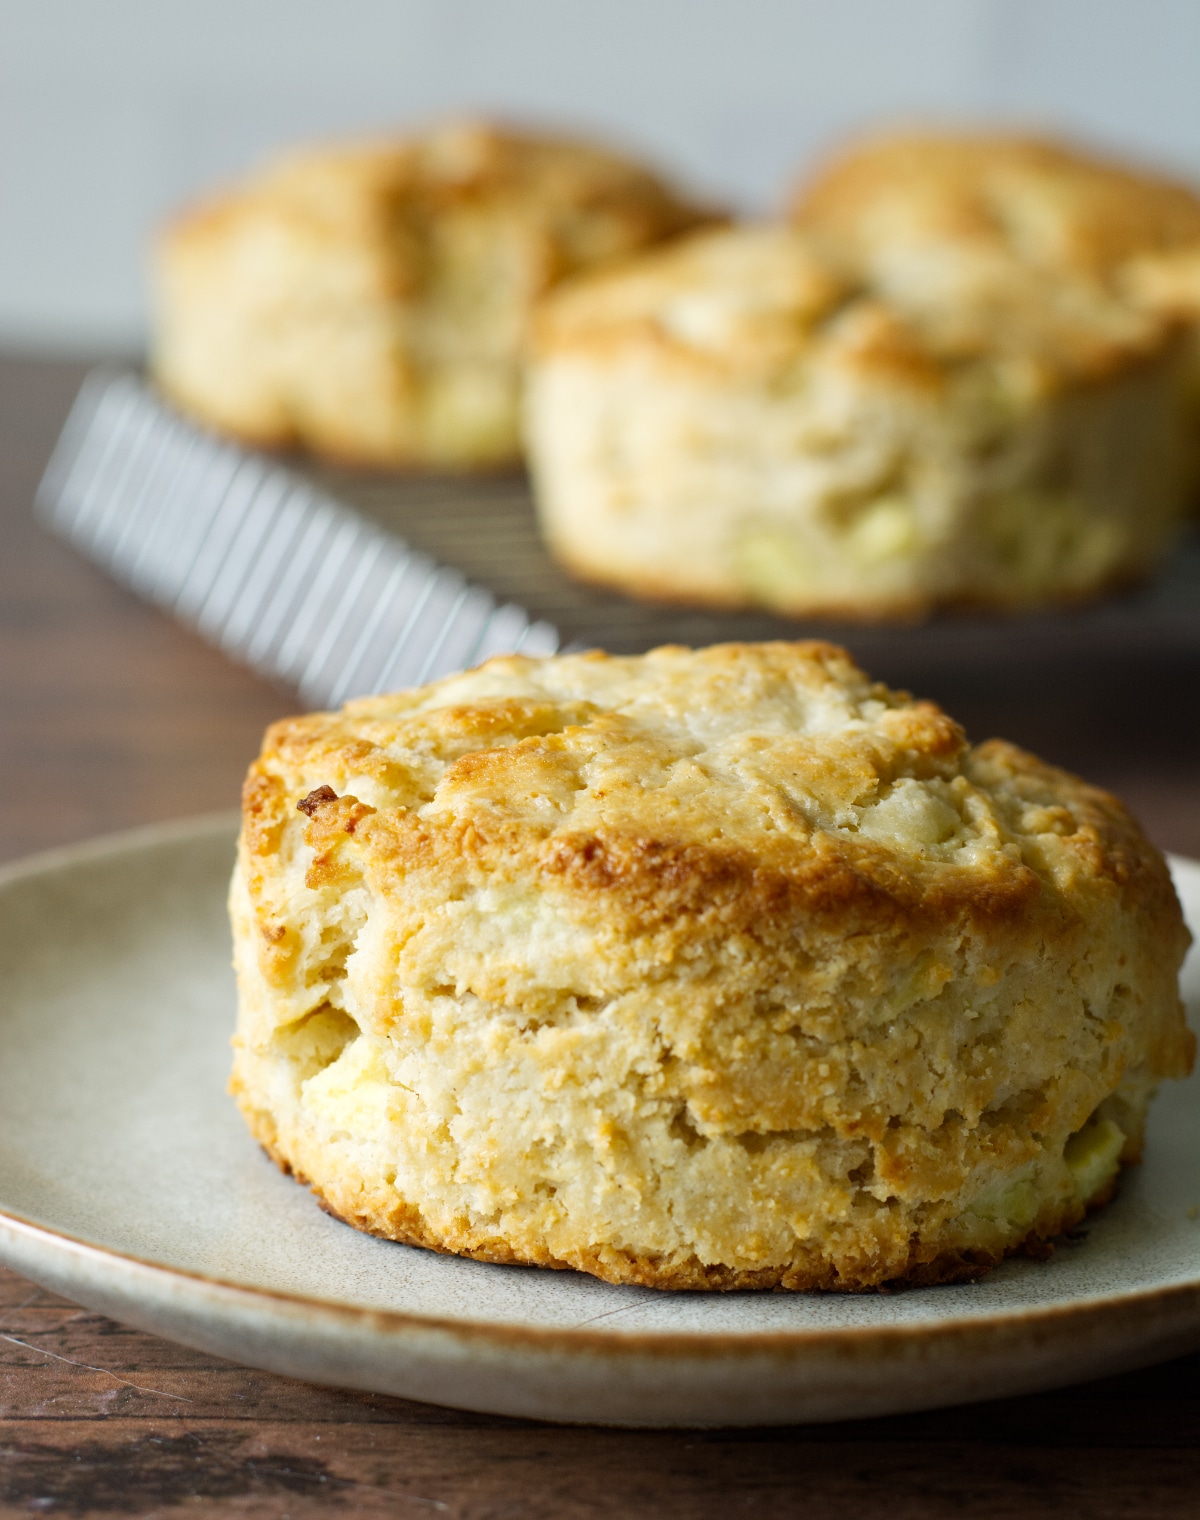
These flaky gluten free apple biscuits rise up big and tall with sweet apple bits in every bite. If you want a simple biscuit recipe that will go with any meal, these are the perfect biscuits. They are delicious with any meal.
This post may contain affiliate links. Please read our Disclosure Policy.
❤️ Sandi’s Recipe Summary
The Quick Bite: Big, flaky gluten-free biscuits packed with fresh apple pieces and real buttery layers; ready in just 40 minutes with just a handful of simple ingredients
Apples are here all year long, but fall apple season is when these biscuits really shine. Fresh fall apples have a crisp, sweet-tart flavor that shows up in every flaky bite. If you are looking for a unique gluten free biscuit recipe, this is a delicious choice to make.
I take a lot of pride in creating lots of flavors of gluten-free biscuit recipes to give you tasty options. It all starts with my Classic Gluten-Free Biscuit Recipe, which is a great base for many fun biscuit flavors. These apple biscuits are great for snacking or for serving with your next gluten free chicken dinner.
Ingredient Notes and Easy Swaps:
For the full list of ingredients and amounts, please go to the recipe card below.
- Gluten-Free Flour Blend – I tested this apple biscuit recipe using King Arthur Measure for Measure. I love how this blend works well in all flavors of my gluten free biscuit recipes. Other flour blends work, but you may need to adjust the moisture ratio by adding more milk or flour, depending on the dough consistency. Read Why Gluten-Free Flour Blends Vary to learn more about this.
- Binder – This is what holds the gluten free biscuits together. If your blend doesn’t contain a binder, add 3/4 teaspoon of xanthan gum. Learn Why Binders are Important in Gluten-Free Baking.
- Baking Powder – This recipe uses a lot of baking powder for the rise. You MUST use aluminum-free to avoid the metallic aftertaste.
- Butter – Use either salted or unsalted butter. I tested the recipe using unsalted butter and added salt. If you use salted butter, you may want to omit additional salt.
- Half and Half – I used half-and-half to test this recipe. Non-dairy milk also works, but note that you will not get golden tops if you use plant-based milk.
- Apples – I tested this recipe with Granny Smith and Fuji apples. Any apple variety works, but I loved the tartness.
How to Make Gluten-Free Apple Biscuits (Step-By-Step)
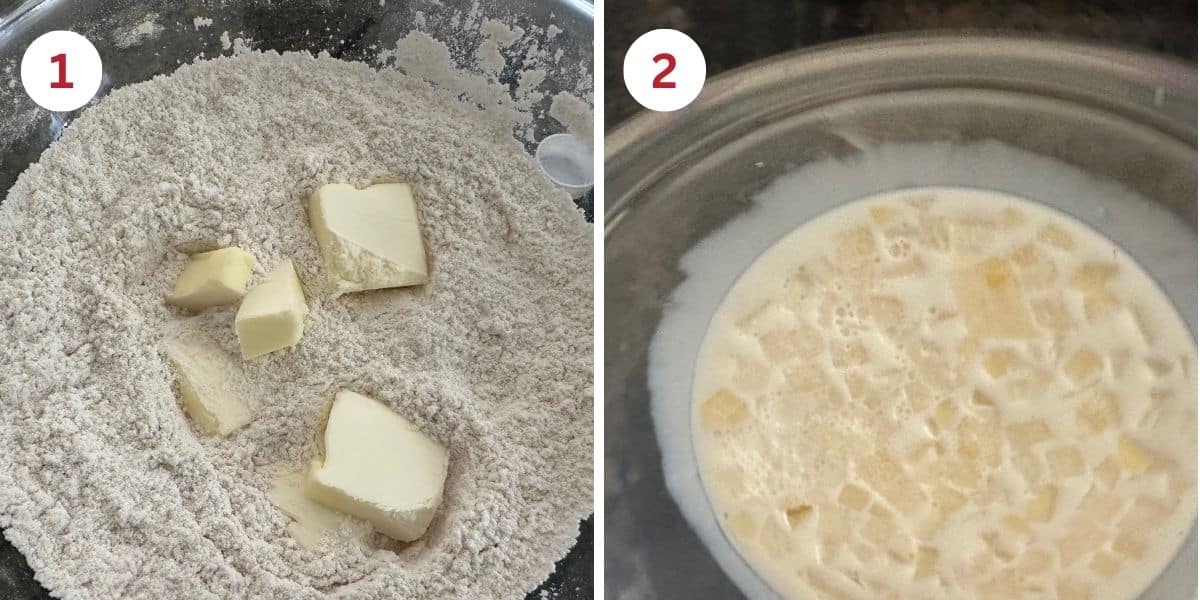
Step 1: Whisk together the gluten free flour, salt, sugar, and baking powder. Add the cold butter chunks. Use a pastry blender to break up the butter into tiny bits. It will look like the flour has a lot of crumbs when you are finished.
If you don’t have a pastry blender, freeze the butter, then use a cheese grater to shred it into the dry ingredients.
👀 Sandi Says: If you use apple shreds, they are very moist. Use a paper towel to squeeze out some of the moisture.
Step 2: Add the wet ingredients and diced apple to a large mixing bowl. Mix well. Note: I peeled my apples, but this is optional.
Email This Recipe To Me!
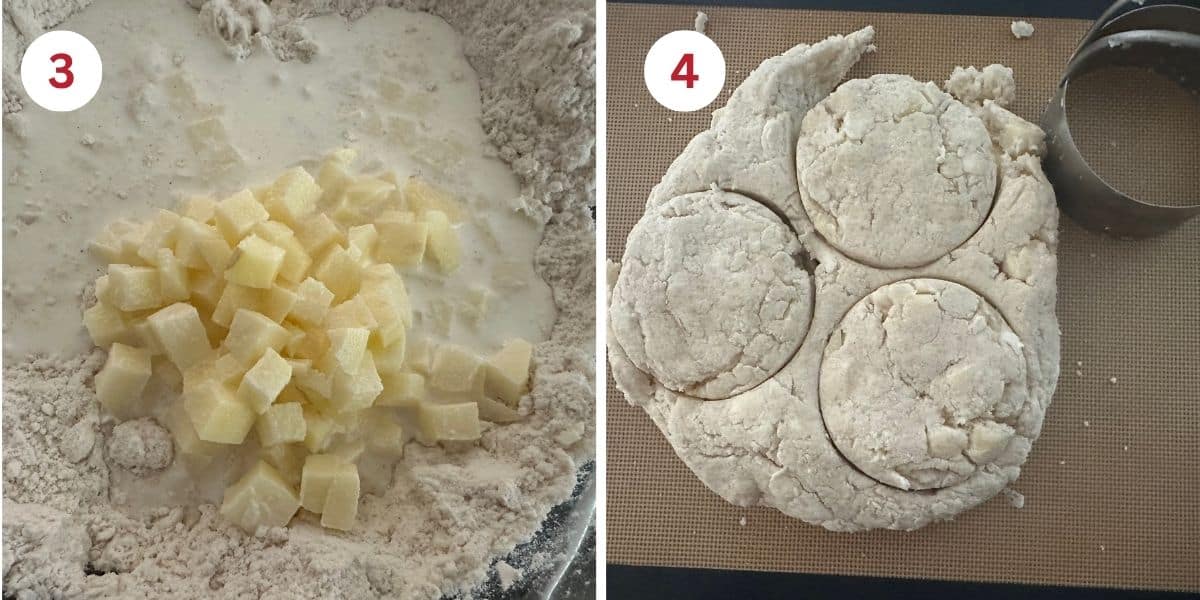
Step 3: Pour the wet ingredients into the dry ingredients and mix into a soft but workable dough. Try not to handle the dough too much to prevent the butter bits from melting. You want the butter really cold so they steam and make butter pockets. This makes the biscuits flaky.
Step 4: Put the dough onto a silicone mat. Press it to 2 to 2 1/2 inches thick. Use a biscuit tool to cut out the biscuits. I used a large biscuit tool, which made 5 biscuits. A medium-sized biscuit tool will yield 6-7 biscuits. Do NOT twist the biscuit tool when cutting out the biscuits. It will seal the edges, and the biscuits won’t rise.
👀 Sandi Says: If you don’t have a biscuit tool, you can make these drop style or use a sharp knife to cut the dough into squares.
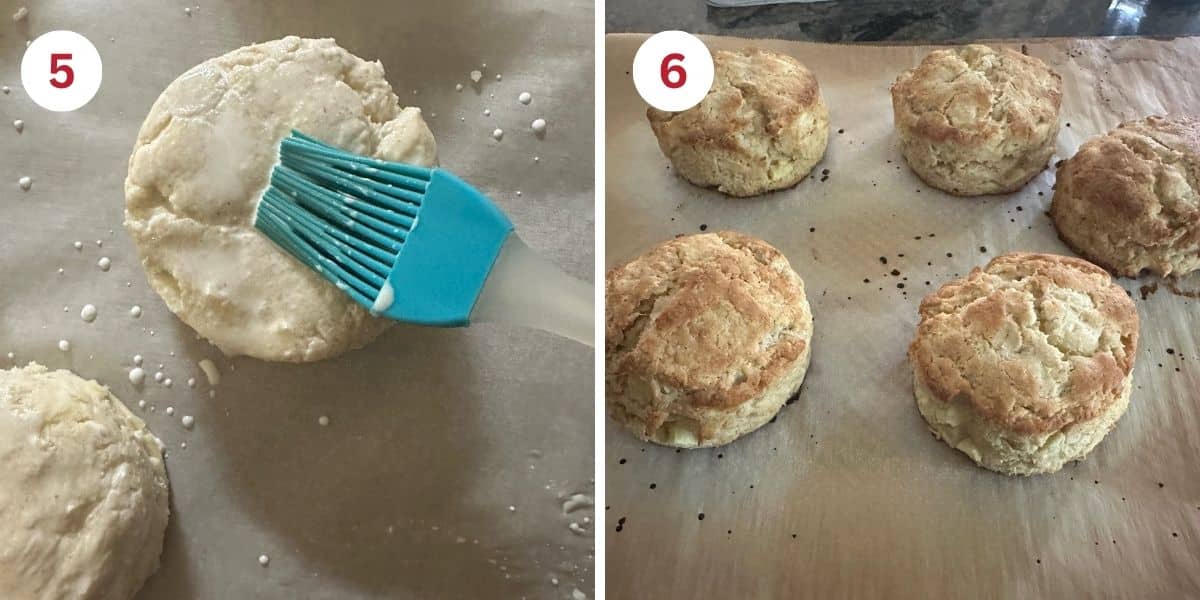
Step 5: Place each biscuit onto a parchment paper lined cookie sheet. Brush the top of each biscuit with half and half. This helps the tops of the biscuits get golden. Note, if you make your biscuits using dairy-free milk and butter, the tops will not get as golden.
Step 6: Bake the biscuits at 450ºF for 15-18 minutes, depending on the size.
Step 7: Remove the biscuits from the oven and place them onto a cooling rack. Eat when they are cooled.
I recommend freezing leftover biscuits. Gluten free tends to spoil quickly. These biscuits freeze nicely in a freezer-safe zipper bag. They thaw in the microwave oven in 25-30 seconds.
Frequently Asked Questions:
There are a few reasons why your biscuits didn’t rise. First, check the expiration date of your baking powder. Be sure you didn’t twist the biscuit cutter when cutting out your biscuits. Lastly, if your butter bits got warm, they wouldn’t create steam pockets, allowing the flaky layers to rise with the biscuits.
If your biscuits have a bad aftertaste, you did not use aluminum-free baking powder as directed. Regular baking powder has aluminum, which leaves a bad aftertaste.
You can use dairy-free butter. Note: Plant-based butter gets cold much faster. I recommend putting the dairy-free butter into the freezer for 15 minutes before using it so it gets really cold.
More Gluten-Free Biscuit Recipes:
- Gluten Free Cheddar Bacon Biscuits
- Flaky Gluten Free Cinnamon Sugar Biscuits
- Gluten Free Sourdough Discard Biscuits
Love This Recipe?
💬 Did you make this gluten-free apple biscuit recipe? I would love to hear how it turned out. Your feedback helps others (and helps me keep improving these recipes for you). ⭐⭐⭐⭐⭐
Homemade Gluten Free Apple Biscuits
Ingredients
- 2 cups gluten free flour 290 grams (see notes)
- 1 tablespoon aluminum-free baking powder 10.7 grams
- 3 tablespoons sugar 48.89 grams
- ½ teaspoon salt 3 grams
- ½ teaspoon ground cinnamon
- 6 tablespoons unsalted butter 85 grams COLD
- ½ cup diced apples peeling optional
- 1 cup half and half 243 grams
Method
- Preheat the oven to 450ºF.
- Whisk together the gluten free flour, salt, sugar, and baking powder. Add the cold butter chunks. Use a pastry blender to break up the butter into tiny bits. It will look like the flour has a lot of crumbs when you are finished.
- Pour the wet ingredients into the dry ingredients and mix into a soft but workable dough. Try not to handle the dough too much to prevent the butter bits from melting. You want the butter really cold so they steam and make butter pockets. This makes the biscuits flaky.
- Dice the apples into small pieces. Peeling is optional.
- Put the dough onto a silicone mat. Press it to 2 to 2 1/2 inches thick. Use a biscuit tool to cut out the biscuits. I used a large biscuit tool, which made 5 biscuits. A medium-sized biscuit tool will yield 6-7 biscuits.
- Place each biscuit onto a parchment paper-lined cookie sheet. Brush the top of each biscuit with half and half. This helps the tops of the biscuits get golden. Note, if you make your biscuits using dairy-free milk and butter, the tops will not get as golden.
- Bake the biscuits at 450ºF for 15-18 minutes, depending on the size.
- Remove the biscuits from the oven and place them onto a cooling rack. Eat when they are cooled.
Nutrition
Notes
- I tested this recipe using King Arthur Measure for Measure. Other blends will work, but each brand uses a different starch to grain ratio. You may need to add more flour or half and half, depending on how wet or dry your dough is. Note the measurement is for this blend. Every blend has a different weight, which can also affect moisture levels of your dough.
- If your blend doesn’t contain a binder, add 3/4 teaspoon of xanthan gum.
- If you are sensitive to salt levels, you can decrease the amount of salt to 1/4 teaspoon.
- I recommend freezing leftover biscuits. Gluten free tends to spoil quickly. These biscuits freeze nicely in a freezer-safe zipper bag. They thaw in the microwave oven in 25-30 seconds.
Private Notes
Tried this recipe?
Let us know how it was!
I truly hope you enjoy this recipe. I have been testing and creating gluten-free recipes for over 15 years. Creating gluten-free recipes that do not taste gluten-free is my goal for every recipe. Sometimes I only have to test a new recipe a couple of times, and others it takes multiple times. I do this so you get reliable, delicious results every time!

Sandi, is the gram weight for the flour correct? I think it should be double the amount shown for 2 cups.
You are correct. I copied the gram line incorrectly. It is fixed now. Thank you for noticing this, I really appreciate it.