

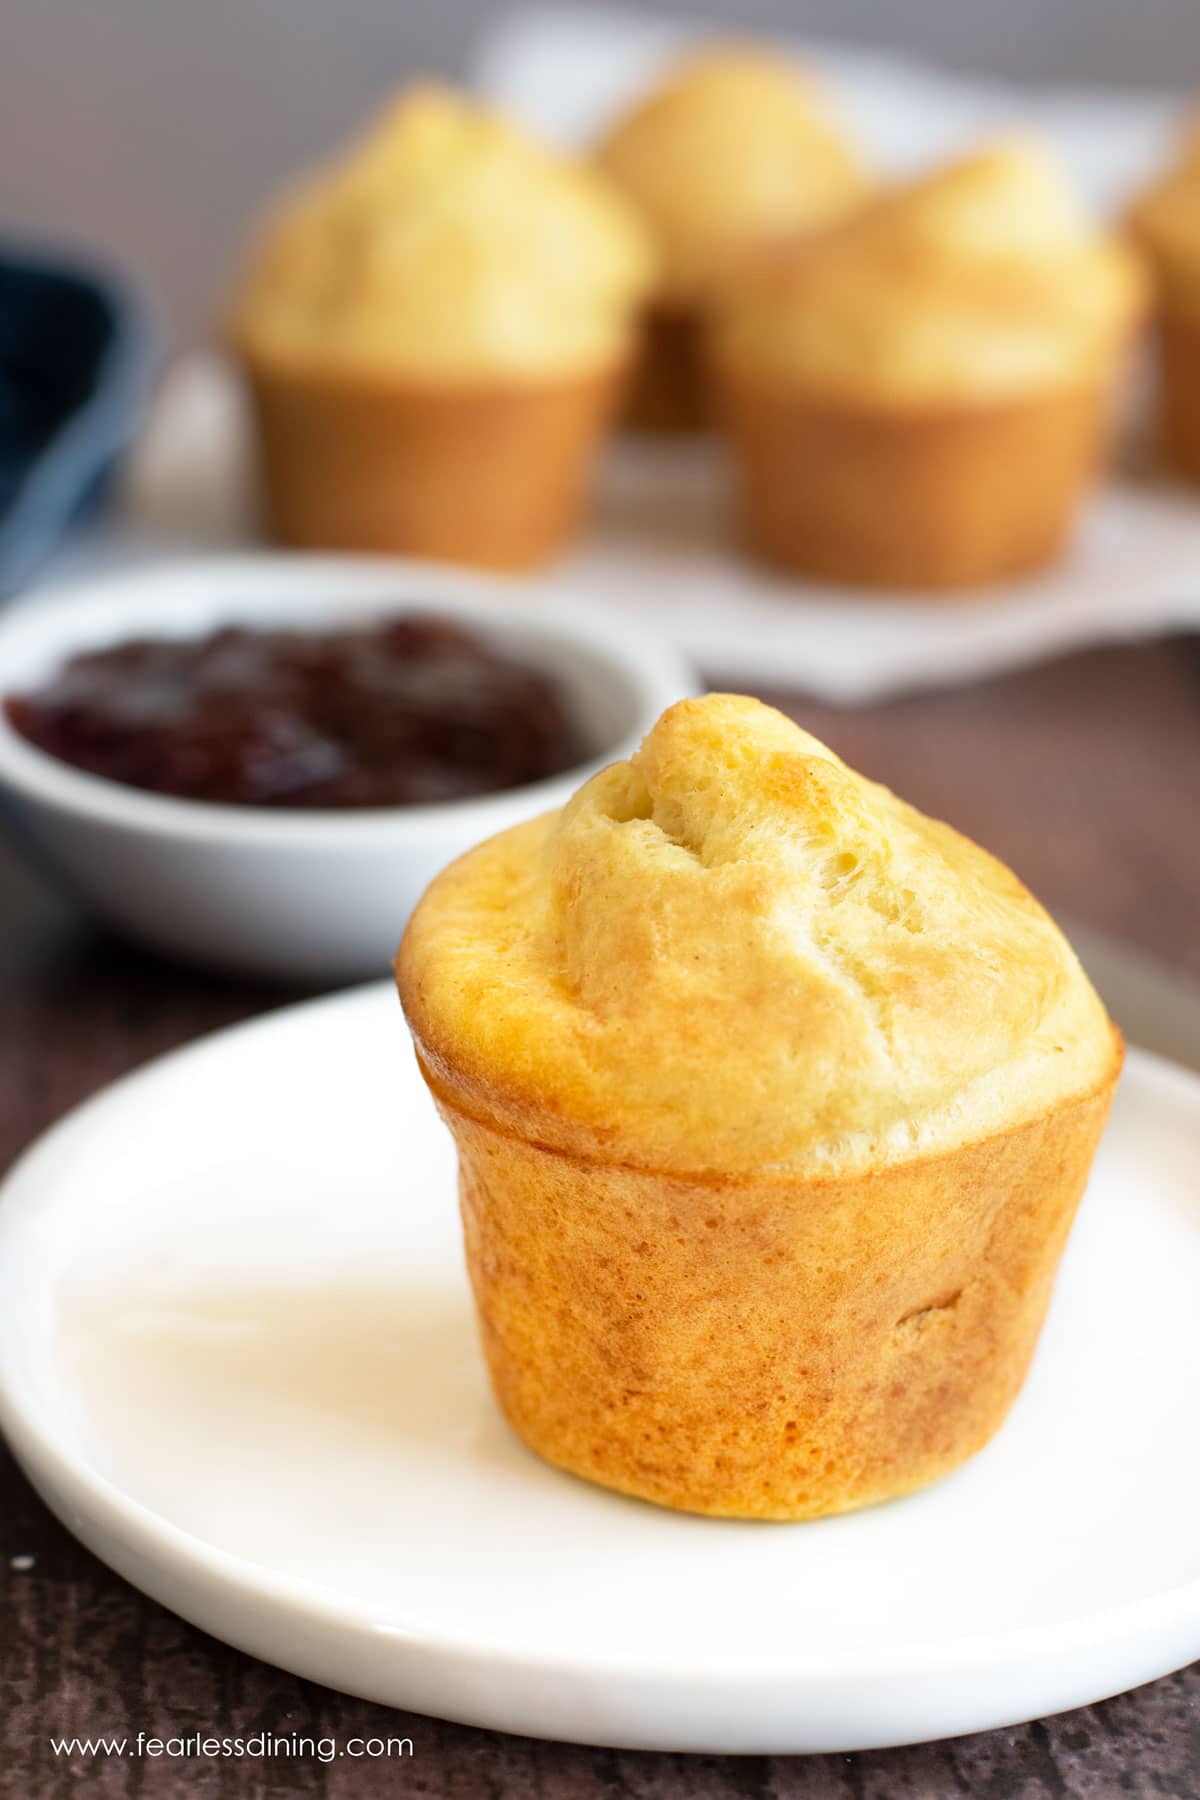
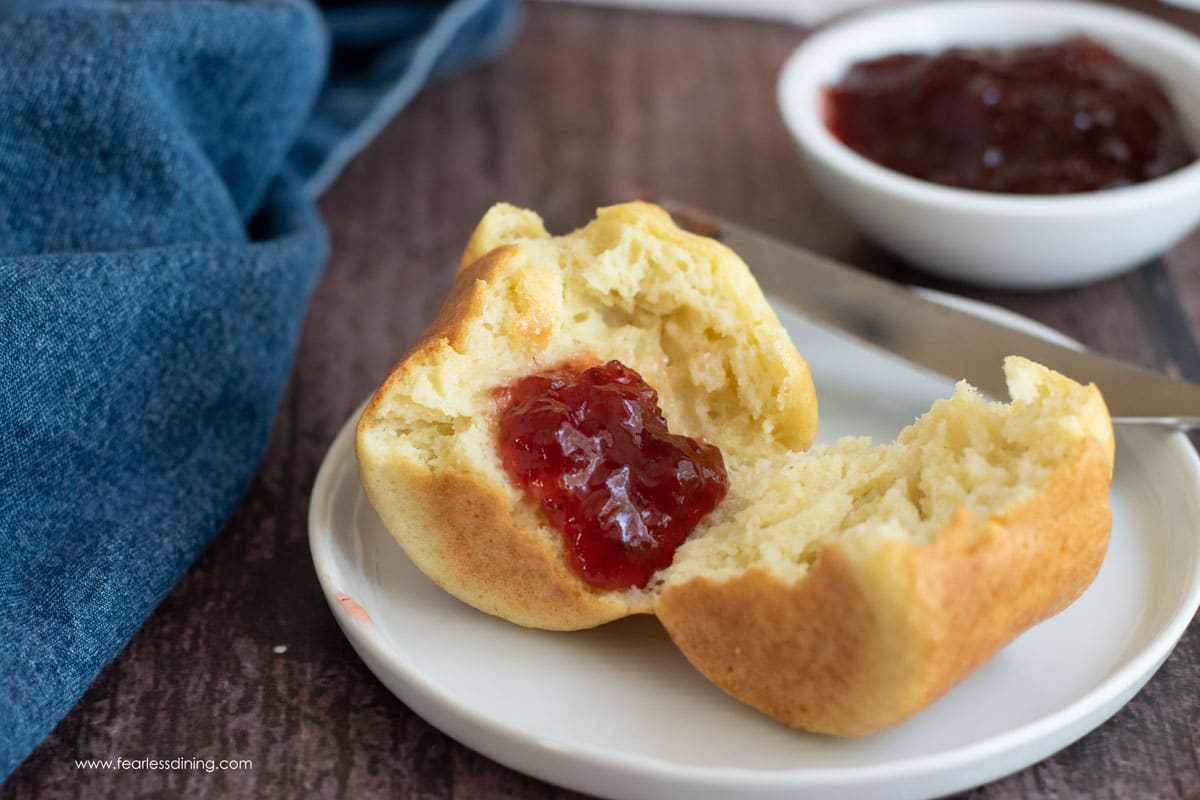
There is something magical about pulling these gluten-free popovers out of the oven. Their golden, puffed tops rise tall and airy, and a buttery aroma fills your kitchen. This gluten-free popover recipe creates a tender inside with crisp, hollow shells that are perfect for slathering with jam, a honey drizzle, or a pat of butter. Bake some in under 30 minutes using simple ingredients with no fancy pan required.
This post may contain affiliate links. Please read our Disclosure Policy.
These popovers are a great base recipe for any season. They are impressive enough for the holidays, but simple enough for weekend baking. If you have never made popovers before, this is a great beginner-friendly recipe to start with.
If you’re looking for a new, easy recipe, you need to try these gluten-free popovers! If you love to bake bread and rolls, check out all of my incredible gluten-free bread recipes!
Ingredient Notes and Substitutions:
For the full list of ingredients and amounts, please go to the recipe card below.
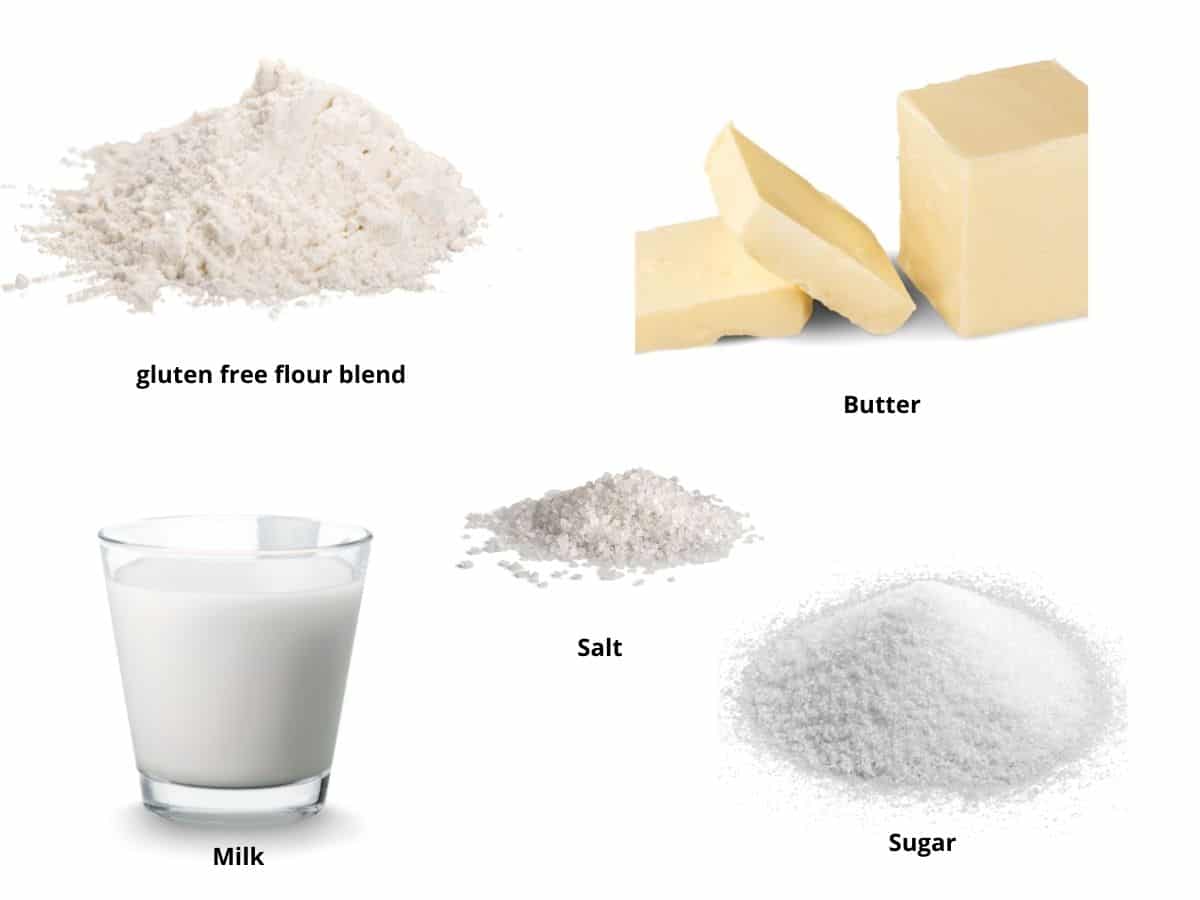
- Gluten-Free Flour Blend – I tested this recipe using Bob’s Red Mill 1 to 1 and King Arthur’s Measure for Measure.
- Reader Tested Flour Blends – Cup4Cup and Namaste.
- Xanthan Gum – If your gluten free flour blend doesn’t contain xanthan gum or guar gum, please add 3/4 teaspoon. Having a binder is very important because it holds your baked goods together. Read more about How Binders Work In Gluten-Free Baking for more information.
- Butter – Use unsalted butter or salted butter. If you use salted butter, you may want to adjust how much salt is added. Use plant-based butter like Earth Balance for dairy-free.
- Milk – I used whole milk to test this recipe. Several readers let me know that non-dairy milk works well.
- Eggs – (Not pictured above.) You need four eggs. Note: If you use free-range organic eggs, the yolks are often more orange, which will make your popovers more yellow in color.
If you love to bake, you will also want to try my delicious buttery Gluten-Free Crescent Rolls recipe!

A Note From My Kitchen
Popovers can feel intimidating, but they are surprisingly easy if you understand the batter. Because gluten-free flour blends absorb moisture differently, always check the consistency of your batter. If your batter looks thicker than pancake batter, it is too thick. Add a splash more milk!
How to Make Gluten-Free Popovers (Step-By-Step)
Preheat your oven to 425ºF and place your muffin or popover pan inside to get hot. This step is important because using a hot pan helps your popovers rise.
Email This Recipe To Me!
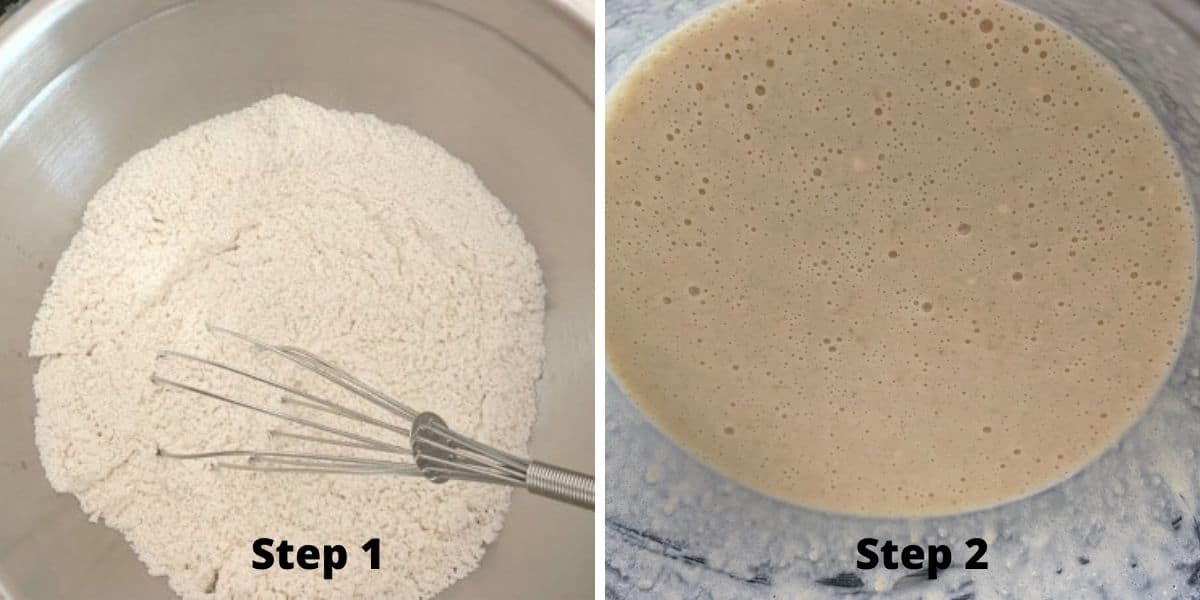
Step 1: In a large bowl, whisk together the flour, salt, and sugar. Use a sifter if your flour blend tends to clump.
Step 2: In a separate bowl, whisk the eggs, then mix in the milk and melted (cooled) butter. This helps prevent the eggs from scrambling if your butter is still warm.
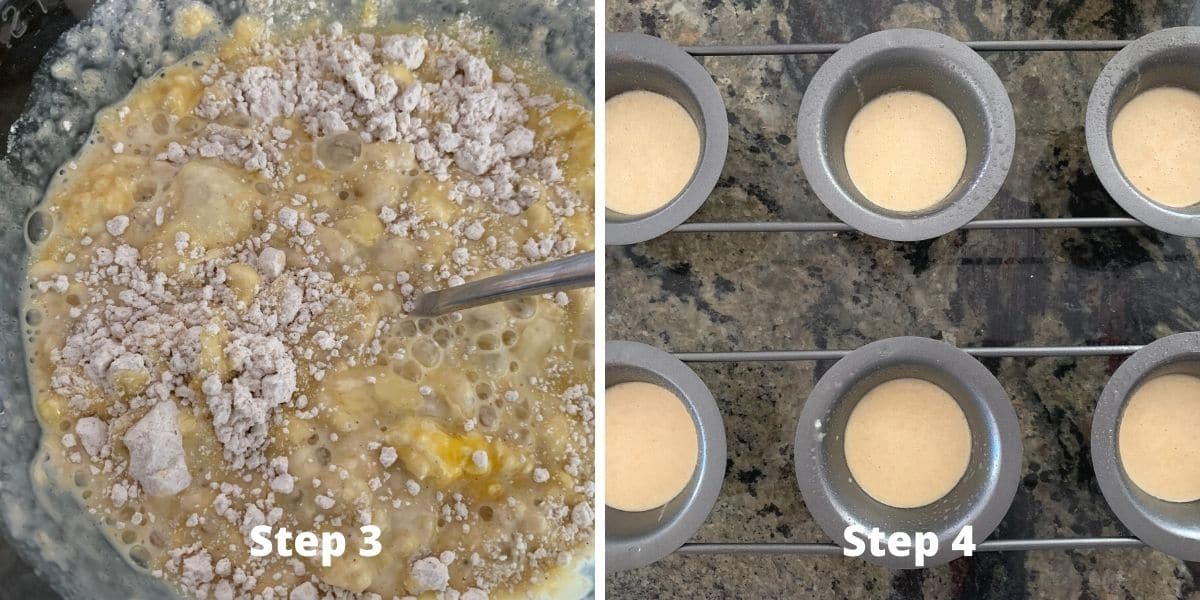
Step 3: Combine the wet and dry ingredients, then whisk until the batter is very smooth. You can whisk by hand, but a blender or stand mixer helps prevent lumps. The batter should be thin. Thicker batter will not rise properly.
👀 Sandi Says: If your popovers are not puffing up, your flour blend might be too absorbent. Try adding 1 to 2 tablespoons of extra milk next time.
Step 4: Carefully remove the hot pan from the oven (use oven mitts!) and quickly grease each cup. Pour the batter in each section until about 2/3 full.
Step 5: Bake the popovers at 425ºF for 20 minutes, then lower the oven temperature to 350ºF. Bake another 10 minutes. Don’t open the oven door during baking!! This will cause your popovers to collapse!
Step 6: As soon as they’re done, poke a small hole in each popover with a sharp knife to release steam. This helps them keep their shape as they cool.
How to make popovers without a popover pan:
If you don’t have a popover pan, don’t worry! A popover pan isn’t necessary to make popovers!! Many of my readers make my popovers in a muffin pan. The popovers won’t get as tall, but the bubbly fluffiness will remain there!
Storage and Freezing Tips:
- Store leftover gluten-free popovers in an airtight container. They will keep fresh for up to 3 days. Gluten-free popovers tend to spoil more quickly.
- If you don’t eat them immediately, I recommend freezing them. Let the popovers cool to room temperature, then place them in a freezer-safe zipper bag. Squeeze out the extra air and seal the bag.
- Thaw on the counter or in the microwave for 25 seconds.
Frequently Asked Questions and Troubleshooting:
Yes! Use unsweetened non-dairy milk (like almond or oat milk) and plant-based butter.
I tested Bob’s Red Mill 1:1 and King Arthur Measure for Measure. Readers have also had success with Cup4Cup and Namaste. If your blend does not contain xanthan gum, add ¾ teaspoon.
Most often, the oven or pan wasn’t hot enough, or the batter was too thick. Make sure your oven is fully preheated, and do not skip heating the pan.
Do not open the oven door during baking time! Doing so will cause your popovers to deflate. When you take them out of the oven, quickly poke a hole in the side of each popover using a toothpick or sharp knife.
More Gluten-Free Bread Recipes:
Love This Recipe?
💬 Did you make this gluten-free popover recipe? I would love to hear how it turned out, and which pan or flour blend you used! Your feedback helps others (and helps me keep improving these recipes for you). ⭐⭐⭐⭐⭐

Easy Gluten-Free Popovers (No Special Pan Needed!)
Equipment
Ingredients
- 1 ¼ cup gluten free flour blend * see note
- ⅛ teaspoon salt
- 1 tablespoon cane sugar
- 2 tablespoons unsalted butter melted
- 4 large eggs
- 1 cup milk or non-dairy milk
Instructions
- Preheat your oven to 425º F. You won't bake the popovers at this temperature the whole time, but you want the oven to be very hot for the first 10 minutes of baking. Put the empty popover pan in the oven while it is heating up.
- In a large bowl, add 1 1/4 cup gluten free flour blend, 1/8 teaspoon salt, and 1 tablespoon cane sugar. Whisk to blend them together. You can also sift them together if you prefer.
- In a smaller bowl, add 2 tablespoons unsalted butter melted, 4 large eggs, and 1 cup milk or non-dairy milk. Whisk to blend. Make sure your butter isn't too hot when you are adding the eggs. I like to melt the butter, then whisk in the milk to cool it down. I then whisk in the eggs.
- Pour the wet ingredients into the dry ingredients and mix the batter.
- Remove the popover pan from the oven. Add a tiny dab of butter into each cup OR spray each popover cup with a non-stick spray. Fill each popover tin 2/3 full with batter.
- Quickly put the pan into the oven. Bake at 425º F for 20 minutes, then reduce the temperature to 350º F for 10 minutes. Do NOT open the oven door during baking time. This will cause your popovers to deflate.
- As soon as they're done, poke a small hole in each popover with a toothpick or sharp knife to release steam. This helps the popovers keep their puffy shape as they cool.
Notes
- I have tested this recipe with King Arthur Measure for Measure and Bob’s Red Mill. Readers have tested both Cup4Cup and Namaste blends.
- Xanthan gum – If your blend doesn’t have a binder included, add 3/4 a teaspoon of xanthan or guar gum..
- To make this recipe dairy-free, substitute the butter for vegan butter and unflavored non-dairy milk. I tested Earth Balance.
- These popovers will keep up to 3 days in an airtight container, or up to 4 months in the freezer.
Email This Recipe To Me!
SPECIAL NOTE
Please know that every gluten free flour blend has a different starch to grain ratio. If you use a blend I didn’t test, my rule of thumb is to add more flour if your dough or batter is wet and add more liquid if the dough or batter is too dry!
Nutrition
Nutrition Disclaimer
Nutritional information is an estimate provided to you as a courtesy. You should calculate the actual nutritional information with the products and brands you are using with your preferred nutritional calculator.
I truly hope you enjoy this recipe. I have been testing and creating gluten-free recipes for over 15 years. Creating gluten-free recipes that do not taste gluten-free is my goal for every recipe. Sometimes I only have to test a new recipe a couple of times, and others it takes multiple times. I do this so you get reliable, delicious results every time!

Had no milk so mixed 3/4 cup full fat sour cream with 1/4 cup water to replace the milk. Used King Arthur GF flour with zantham gum in it. Sprayed popover pan with avocado oil. They were DELICIOUS & we added everything bagel seasoning to our plate when eating half of our muffins for extra flavor. Thank You for sharing the recipe:)
Wow, it never occurred to me to try sour cream. Your comment will help others that may not have milk on hand. I am so glad you loved these popovers.
Just returned from a trip to Acadia Nat Park in Maine and enjoyed the famous popovers at Jordan Pond House. Came home and purchased a popover pan as we’re now hooked 🙂
My wife has a bit of a gluten intolerance so was looking for something tummy friendly for her. This recipe is Fantastic!! So easy to put together and the taste/texture was incredible. I used Bob’s Red Mill 1 to 1 baking flour and we couldn’t even tell they were GF. Will be making many more of these for sure. Thank you for the recipe.
Chris
I am so glad you found my popover recipe easy to make. I also have a pumpkin pie spice popover recipe on the blog if you want to try something different. Thank you!
I made this this morning. Instructions were clear and concise. I used Cup 4 Cup. The popovers came out nicely browned and SO fluffy inside. I am not a confident GF baker, but this recipe definitely upped my game. Thank You.
I am so glad you enjoyed these. I am excited that your confidence as a baker is improving! Thank you.
This is my review! It was a hit! I used GF Namaste flour from Costco and it worked perfectly fine. No issues! I doubled the recipe and it turned out great! It made 16 popovers, but I am fairly sure I could have made 18-20 in total. I did past 2/3 each muffin tin in the first batch – oopsies! I am married and have two toddlers, ages 3 and 4. We all loved it! Thank you for sharing this simple and delicious recipe!
Also a personal tip: I would recommend using spray vs butter. The spray is quick and easy to distribute vs butter. So your able to coat them all well vs butter. Because of the rush to get it greased, my first batch stuck to the pan due to not buttering it well enough. my second batch popped out very easily due to using spray! So I personally would recommend spray – but to each their own! 🙂 It was all incredibly delicious overall!
I am so glad everyone loved them, Julia. Thank you so much for coming back to let me know :-).
Can I use a mini muffin pan?
Hi Marie, you can use a muffin pan. I talk about how to use it in my post.
I loved how easy these were to make as a dinner roll. So light and fluffy. The perfect accompaniment to our chicken and gravy meal.
Chicken and gravy with popovers sounds delicious!