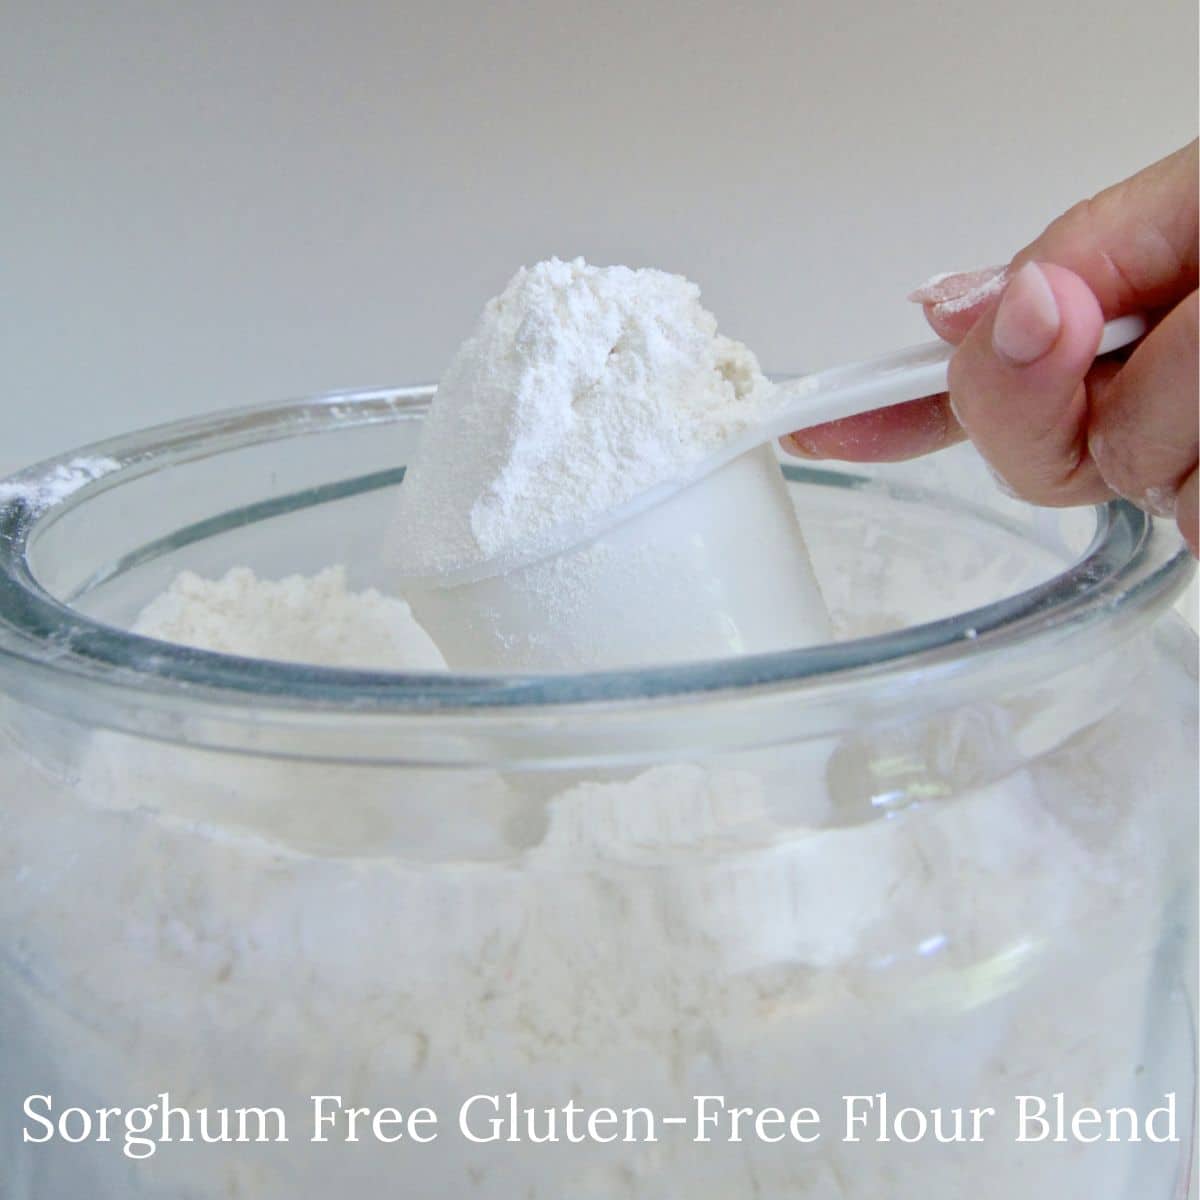
If you are someone who can not eat sorghum, finding gluten free flour blends is a real challenge. Sorghum flour seems to be in most commercially sold blends. I created a simple, homemade gluten-free flour blend without sorghum flour so you can enjoy gluten free baking again.
This post may contain affiliate links. Please read our Disclosure Policy.
Several of my readers emailed me to ask if I knew of any sorghum-free gluten free flour blends. I searched and found two flour blends, including GF Jules and Cup4Cup (but note this blend has dairy!) It never occurred to me that some people are sorghum intolerant, so I wanted to come up with a fantastic gluten free flour blend recipe they could make and use in my recipes.
I am still testing this blend, so please note at the end of this post I include a list of recipes I have tested. If you test one of my recipes with this blend, PLEASE comment or email me and let me know how it turned out.
I have lots of great Gluten Free Baking Resources to help you become an expert in gluten free baking. There are three main binders in gluten free baking. Find out more about How Binders Work in Gluten Free Baking. You have the option of using any of these in this flour blend recipe.
If you are interested in my other gluten free flour blend recipes, I have a DIY Gluten Free Flour Blend, which is also gum-free, and a Gluten Free Rice-Free Flour Blend. If you are looking for whole grains, try my Gluten Free Whole Grain Flour Blend recipe.
Ingredient List:
- Brown Rice Flour
- White Rice Flour
- Potato Starch
- Tapioca Starch
- Psyllium Husk: if you use another type of binder, omit the psyllium husk and add the binder the recipe you are making calls for.
Mixing Tips:
- Mix the flours very thoroughly multiple times. Use a whisk, then a spoon, then whisk again.
- Once you do the above mixing, add the flour to a large zip bag. Seal the bag, then shake it for 2 minutes so that you know it is perfectly blended.
Important Baking Tip!
This flour blend is very rice-heavy. This means it can have a gritty texture in baked goods. To combat this problem, let the batter sit for 20-30 minutes. This gives the rice in the flour blend time to soften, eliminating the grit.
Email This Recipe To Me!
Step-By-Step Directions:
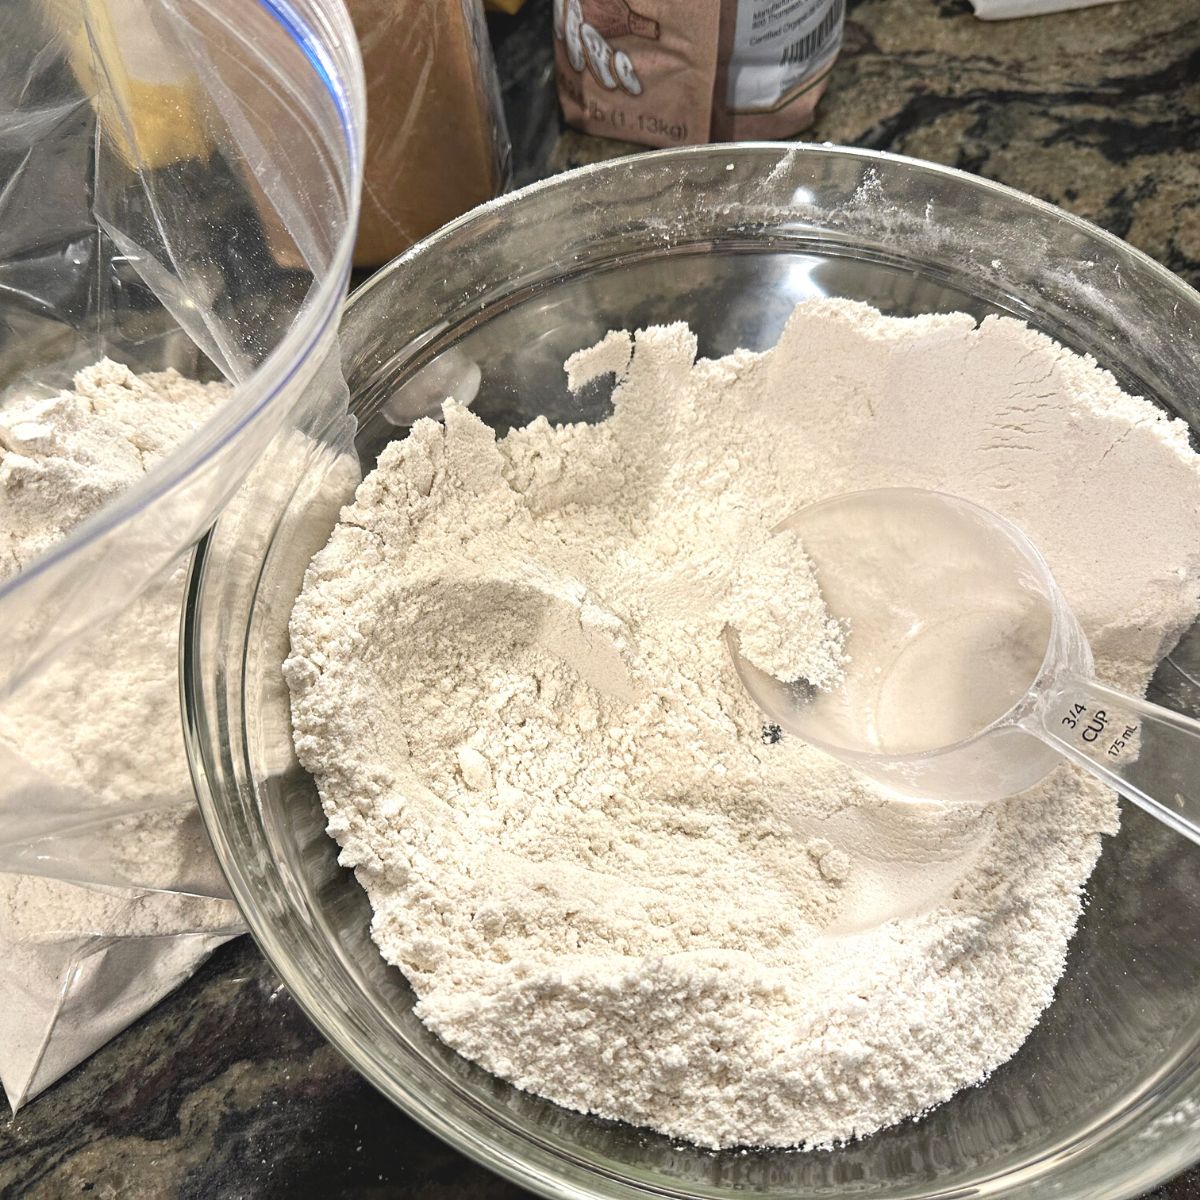
Add all of the flour to a large
I give options for using psyllium husk powder or xanthan gum, depending on which you want to use. In my test recipes, I have used psyllium husk powder.
Storage:
Store the flour in a large, airtight container or gallon-sized zipper bag. (If you use a zip bag, squeeze the extra air out.
I recommend putting a piece of masking tape (easy to remove) with the date you made the flour. Put the tape onto the bag or container.
This will keep fresh in the pantry for up to 2 months. Store in the refrigerator or freezer for up to 6 months. (If you refrigerate or freeze your flour, it is very important to let it warm to room temperature before using it…otherwise, it can mess with your measurements due to moisture.)
Recipes Tested With This Flour:
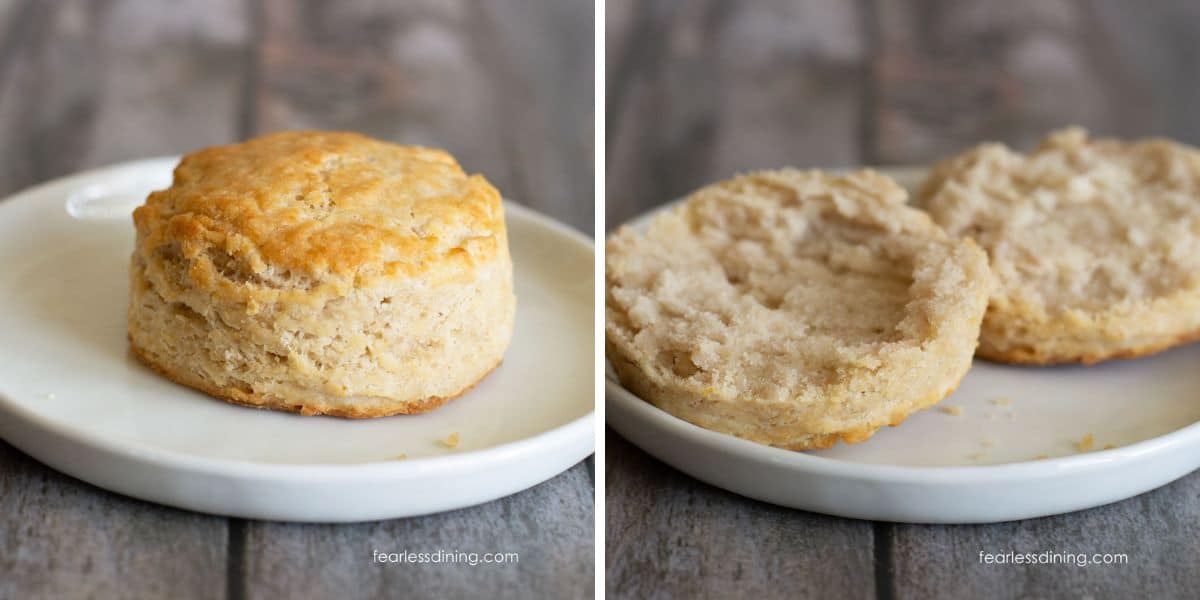
Gluten-Free Biscuits – This flour did very well in my classic gluten-free biscuit recipe!
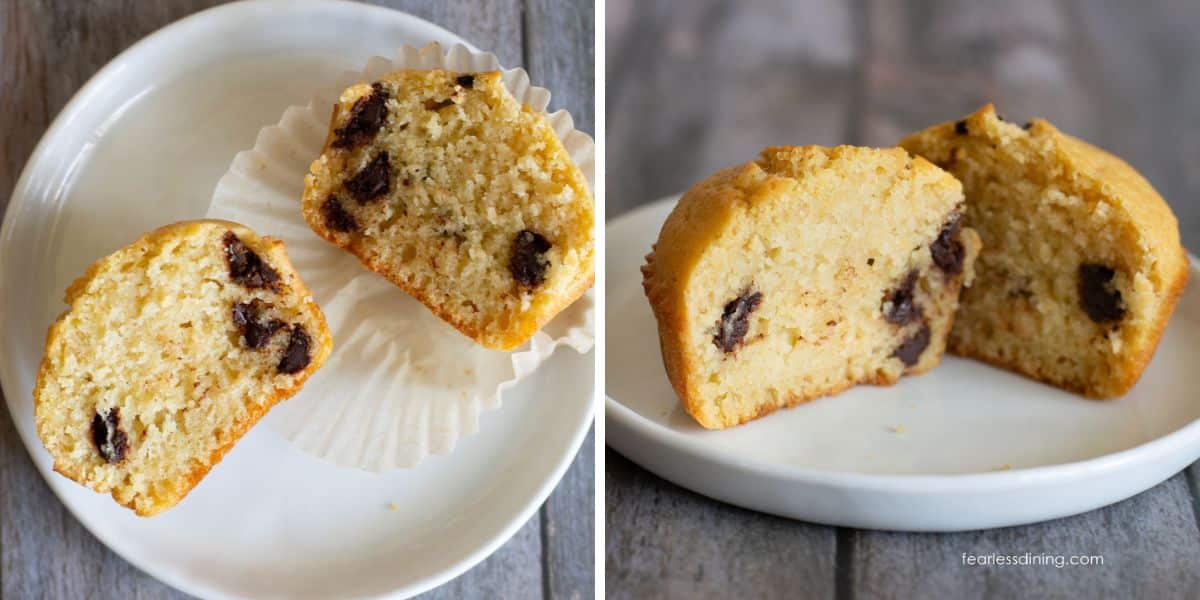
My Gluten-Free Muffin Test – I used my muffin recipe and made chocolate chip muffins with this flour. They taste delicious. NOTE: I recommend adding 2 TBSP more flour if you use this blend in my muffin recipe.
Love This Recipe?
If you made and enjoyed this recipe, I would be incredibly grateful if you could leave a comment below. Include which flour blend you used. This helps others know this recipe is delicious. Thank you!
Gluten Free Flour Blend Without Sorghum Flour
Ingredients
- 1 ½ cups brown rice flour 232.3 g
- 1 ½ cups white rice flour 169.35 g
- ½ cup potato starch 234.1 g
- ½ cup tapioca starch 56.5 g
- 2 tablespoons psyllium husk
- 1 ½ teaspoons xanthan gum
Method
- Add 1 ½ cups brown rice flour, 1 ½ cups white rice flour, ½ cup potato starch, and ½ cup tapioca starch, and the binder you choose to use to a large mixing bowl. (Add either 2 tablespoons psyllium husk or 1 ½ teaspoons xanthan gum)
- Whisk the flours together, then stir with a large spoon.
- Whisk again then carefully add the flour to a large gallon-sized zip bag. Seal the bag and shake it until the flours are all fully blended.
- Store in an airtight container or the zipper bag.
Nutrition
Notes
Storage:
Store the flour in a large, airtight container or gallon-sized zipper bag. (If you use a zip bag, squeeze the extra air out. I recommend putting a piece of masking tape (easy to remove) with the date you made the flour. Put the tape onto the bag or container. This will keep fresh in the pantry for up to 2 months. Store in the refrigerator or freezer for up to 6 months. (If you refrigerate or freeze your flour, it is very important to let it warm to room temperature before using it…otherwise, it can mess with your measurements.Private Notes
Tried this recipe?
Let us know how it was!
I truly hope you enjoy this recipe. I have been testing and creating gluten-free recipes for over 15 years. Creating gluten-free recipes that do not taste gluten-free is my goal for every recipe. Sometimes I only have to test a new recipe a couple of times, and others it takes multiple times. I do this so you get reliable, delicious results every time!

Just found your site and it looks amazing! Can’t wait to try some of the yummy breads. I am really interested in your sorghum free flour blend. Is it written with just cups or is there a place where it is in grams, etc? Do you feel it just fine using the spoon and level method on the measurements? Im am digressing to your experience and expertise of course but I feel like its been drummed into my head that exacting is important with gf baking and since I am a newbee just want to get the most out of the experiences. Thank you so much for sharing
Hi Bonnie, Since there are individual flours, here are the measurements: White rice flour: 169.35 g, Potato Starch 234.1 g, Brown Rice 232.3 g, and Tapioca Starch 56.5 g. I hope this helps. Note there can be slight differences if you store flour in the fridge due to moisture. I keep mine in the pantry.
Sandy I’m still working with this recipe. I was wondering if Sweet White rice, flour, wood Be OK to use yeast bread recipe. I was in Amazon searching for a white rice flour and came across this. I know it doesn’t have gluten, but it has Extra starches, which could help in the chewiness I’m looking for in my sandwich bread.
Hi Darla, I have only used sweet rice flour for recipes like mochi. I am not sure how it would behave in a bread recipe. If you try it, I would love if you could come back and let us all know how it turned out.
I used this recipe to make the machine bread. Finally! It tasted good, had a good bite and texture. It also sliced very well and toasted up well. It did fall at the end.
Will you send me the recipe ingredients in grams please?
Hi Darla, I will measure it all out when I make another batch. You could also use a metric converter, there are quite a few online that could do this easily until I get to it. I am really glad to hear the bread tasted great. If it fell at the end, try adding 1-2 TBSP more of the brown rice flour.
Hi Sandy, I have a question. When I make your flower planted already contains psyllium Powder. Do I also add the psyllium powder called for in the recipe?
Hi Darla, If the blend already has a binder (xanthan gum/psyllium/guar gum) there is no need to add any additional binder.
i meant to say instead of potato starch*.
hey im not allergic to sourghum but it is not available in my area. but i prefer a night shade free blend…. so can i use all tapioca flour instead pf the corn starch? will that work?
Hi Vaidehi, I am not sure if you mean tapioca flour or starch. Starch is fine to substitute, but tapioca flour (also called Cassava flour) behaves differently and may not work as well.
Hi…so what is this blend best used for?
Hi Sara, I have some readers who are allergic to sorghum. I created this blend for them to use in recipes.