

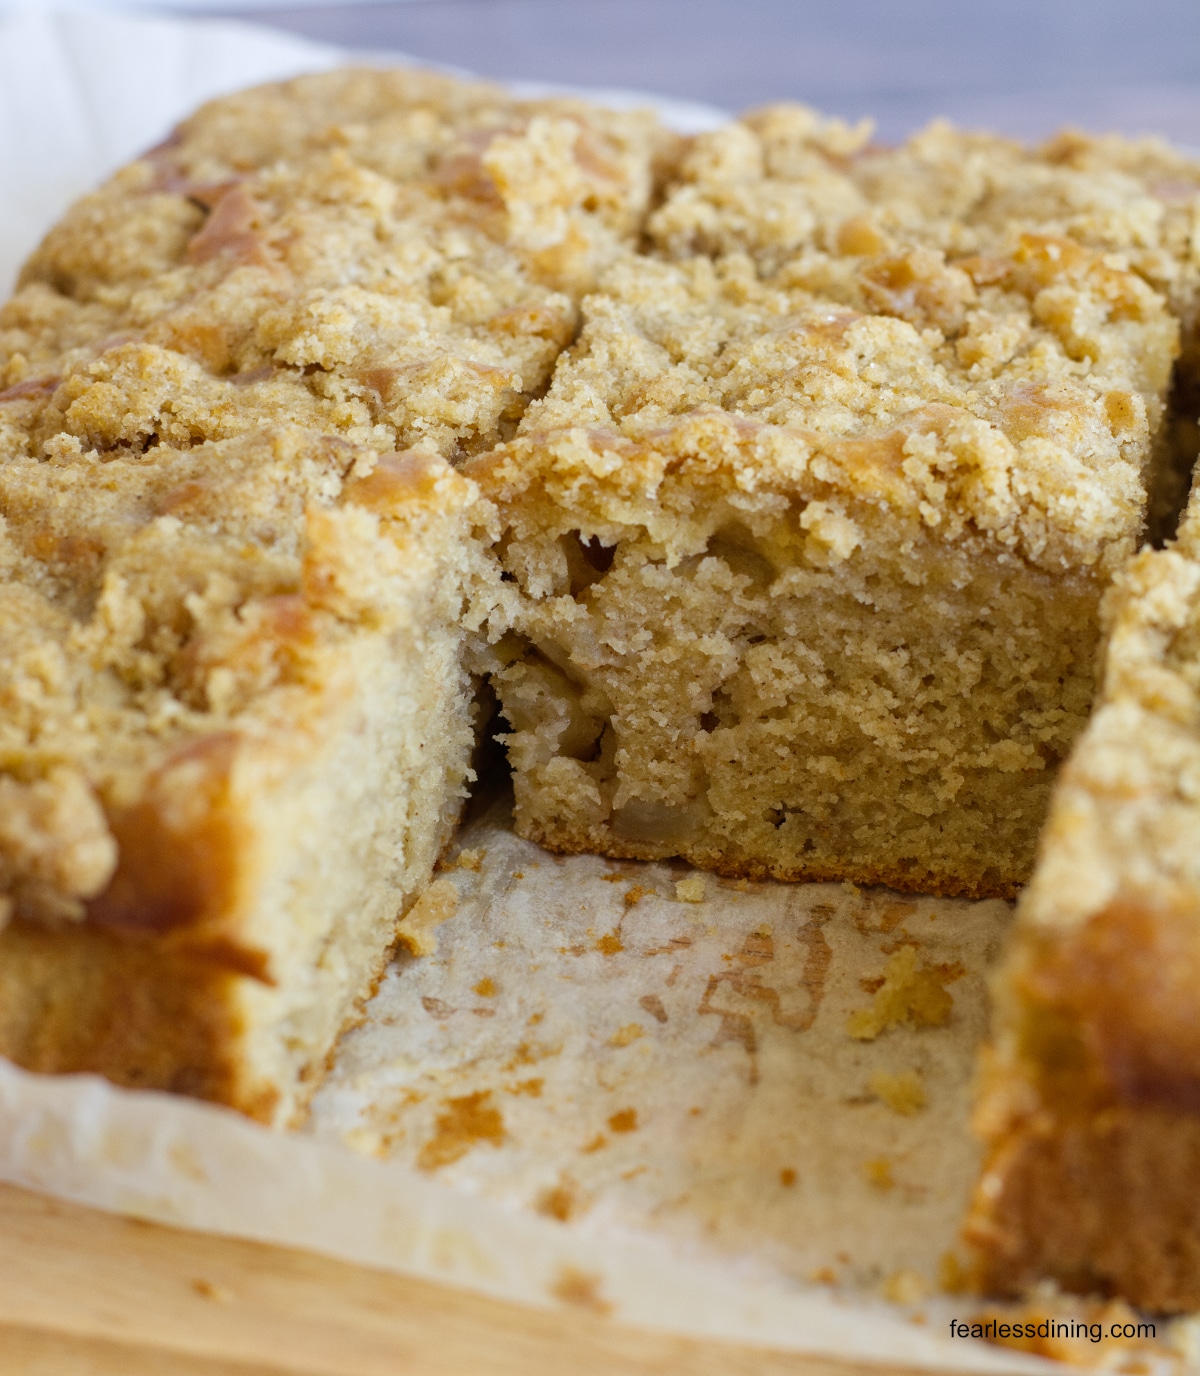
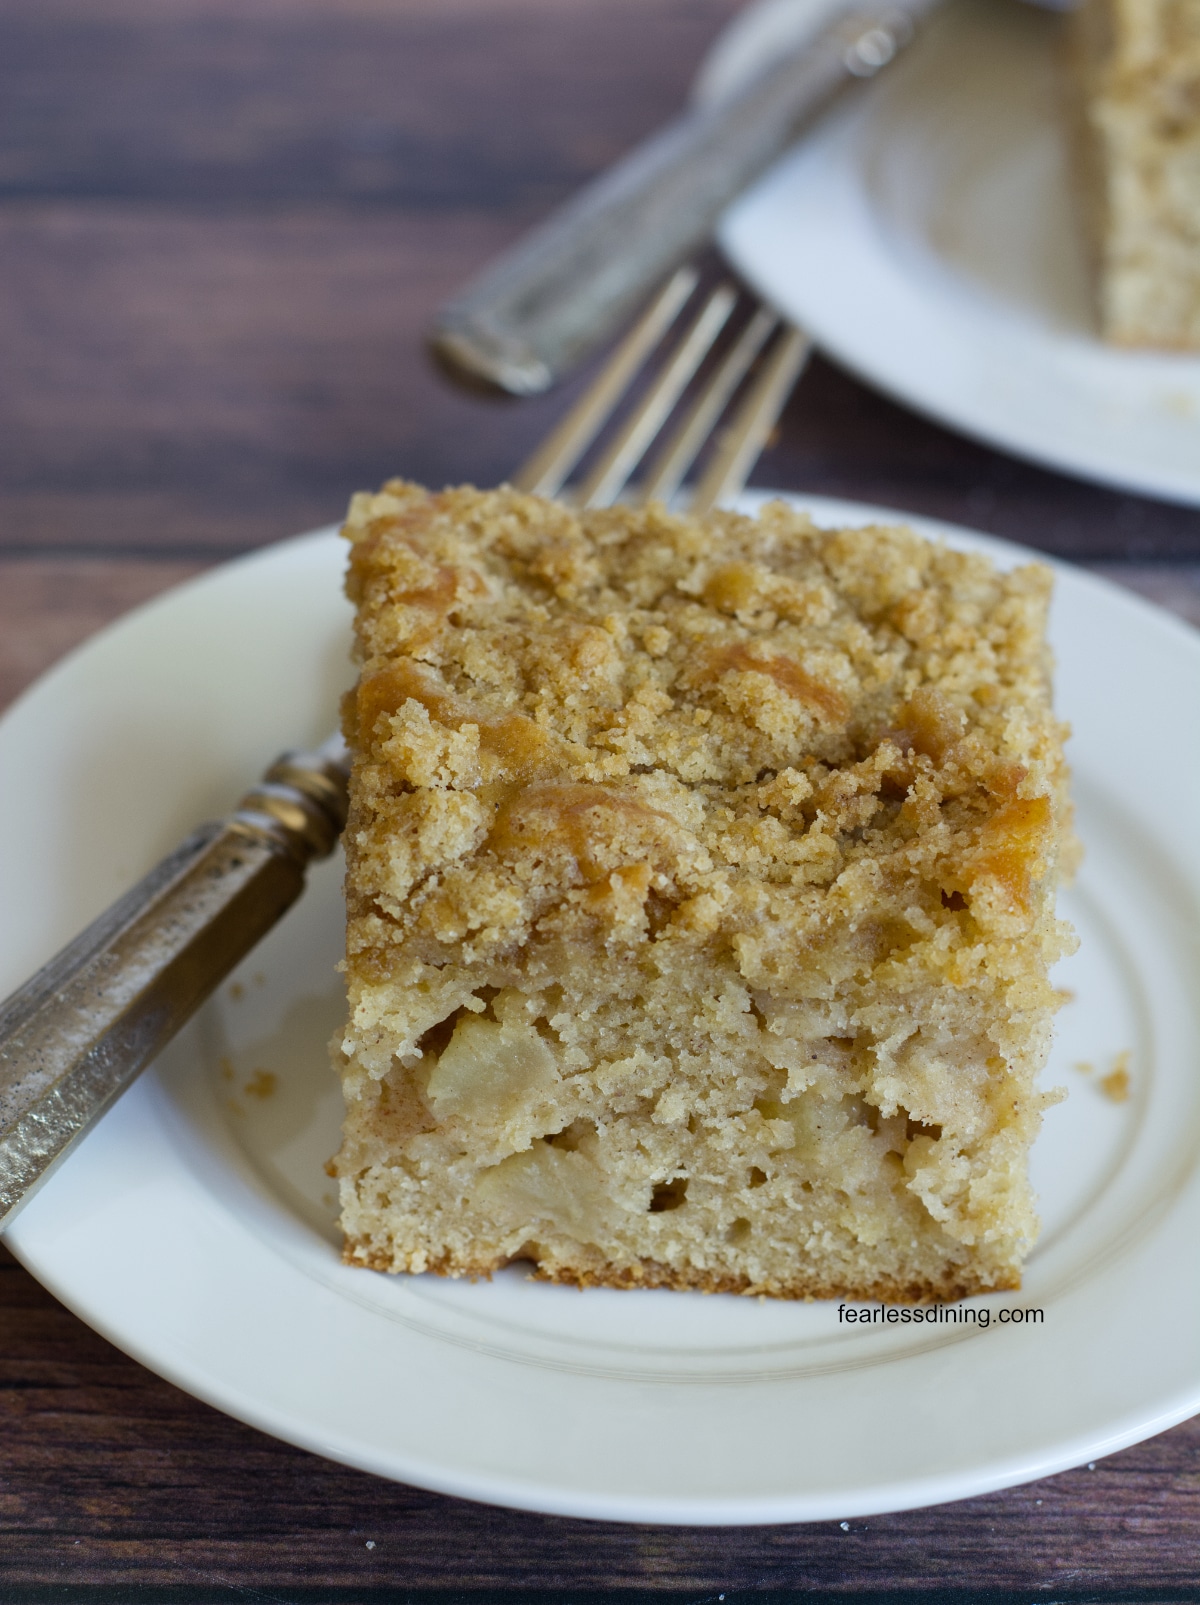
This homemade gluten-free apple coffee cake has tender apples, fluffy cake, and a sweet crumb topping. It is a beautiful recipe for fall baking. I used simple ingredients, including fall apple cider, to infuse this cake with cinnamon apple flavor. Make this cake in 45 minutes.
This post may contain affiliate links. Please read our Disclosure Policy.
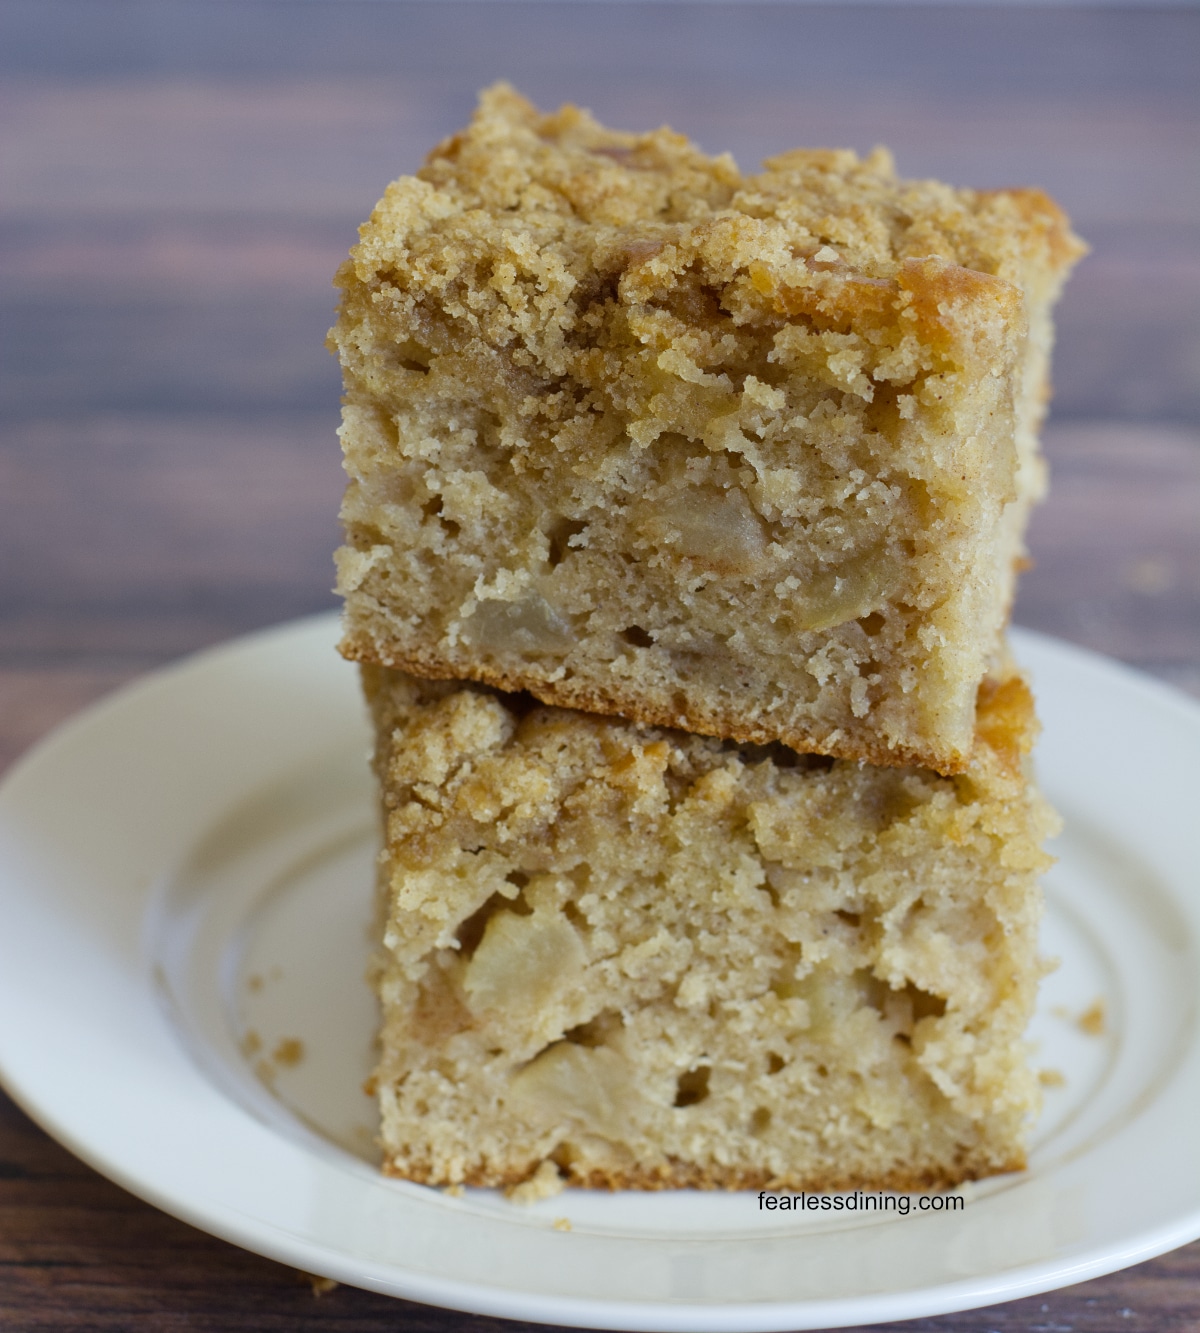
❤️ Sandi’s Recipe Summary
The Quick Bite: This apple coffee cake is my go-to recipe to serve when I have friends over and want something that tastes bakery-quality. The cider keeps the crumb moist without making the cake dense, and coating the apple pieces in cinnamon sugar before folding them in keeps them from sinking to the bottom. I tested it with King Arthur Measure for Measure and Bob’s Red Mill 1:1, and both worked without changes. If you bake with Namaste or Cup4Cup instead, expect to adjust the liquid slightly since both behave differently in a cake batter.
I have apples on my mind today. My favorite heirloom apple vendor is back and already has four varieties of apples for sale. At the peak of fall, they have 15 different varieties to choose from. Today I picked up some Royal Gala apples to bake with. This apple variety is on the tart side. If you want a similar apple flavor, I suggest using either Granny Smith or Pink Lady apples in this gluten free apple coffee cake recipe. The tart apple flavor works best with sugar and cinnamon.
Testing this recipe was easy, and I used my Gluten Free Apple Cider Donut recipe as a starting point. I tested two gluten free flour blends I know work in my cake recipes, King Arthur Measure for Measure and Bob’s Red Mill1:1.
Other blends, like Namaste and Cup4Cup, should also work, and I have used them in cake recipes of mine. I have found that when using Namaste, I have needed to add 1-2 TBSP of additional liquid. With Cup4Cup, which is very starch-heavy, you may need to add 1-2 TBSP of additional flour. Making moisture adjustments is completely normal in gluten free baking.
This cake holds up fine for a weeknight but looks finished enough for company. You may also enjoy my classic Gluten Free Coffee Cake recipe or this fall Gluten Free Pumpkin Coffee Cake. I have so many great gluten free cake recipes to explore.
Ingredient Notes and Easy Swaps:
For the full list of ingredients and amounts, please go to the recipe card below.
- Gluten-Free Flour Blend – As mentioned above, I tested this recipe using both King Arthur Measure for Measure and Bob’s Red Mill 1:1. Other blends will also work in this recipe; just keep an eye on the cake batter consistency and add more liquid or flour as needed to match my batter photos below. Read Why Gluten-Free Flour Blends Vary to learn more about this.
- Binder – Binders are what hold your gluten free baked goods together. If your flour blend doesn’t contain a binder, or it says you need to add one, please add 3/4 teaspoon of xanthan gum. Learn Why Binders are Important in Gluten-Free Baking.
- Baking Powder – Please use aluminum-free baking powder. Regular baking powder leaves a metallic aftertaste.
- Eggs – Use large eggs.
- Butter – Use unsalted butter. If you prefer to use salted butter, do not add any additional salt.
- Apple Cider – This recipe was tested with apple cider. If you can’t find apple cider, use unfiltered apple juice.
How to Make a Gluten Free Apple Coffee Cake (Step-By-Step)
👀 Sandi Says: I do not recommend using a stand mixer in my cake recipes. A stand mixer tends to overmix the cake batter, making the cake denser.
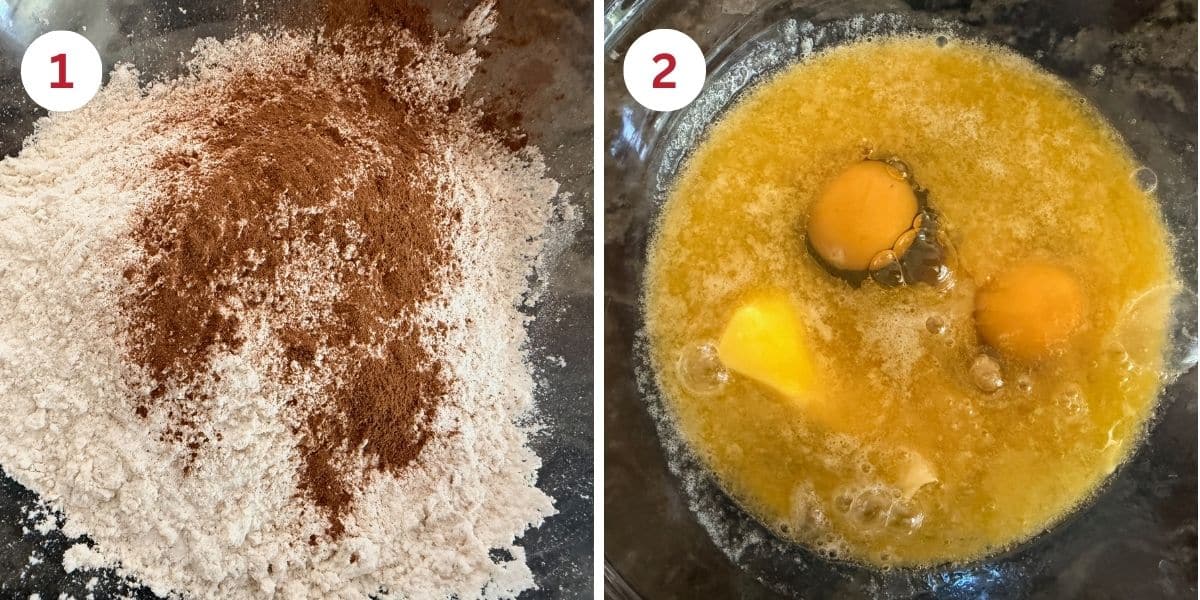
Step 1: Add the flour, baking powder, sugar, salt, and ground cinnamon to a large mixing bowl. Whisk to combine.
Step 2: Partially melt the butter for 25 seconds. Add the egg and apple juice. Whisk for 30 seconds until combined.
Step 3: Peel the apples with an apple peeler. Cut the apples into 1/2 inch cubes and place them in a small mixing bowl.
Email This Recipe To Me!
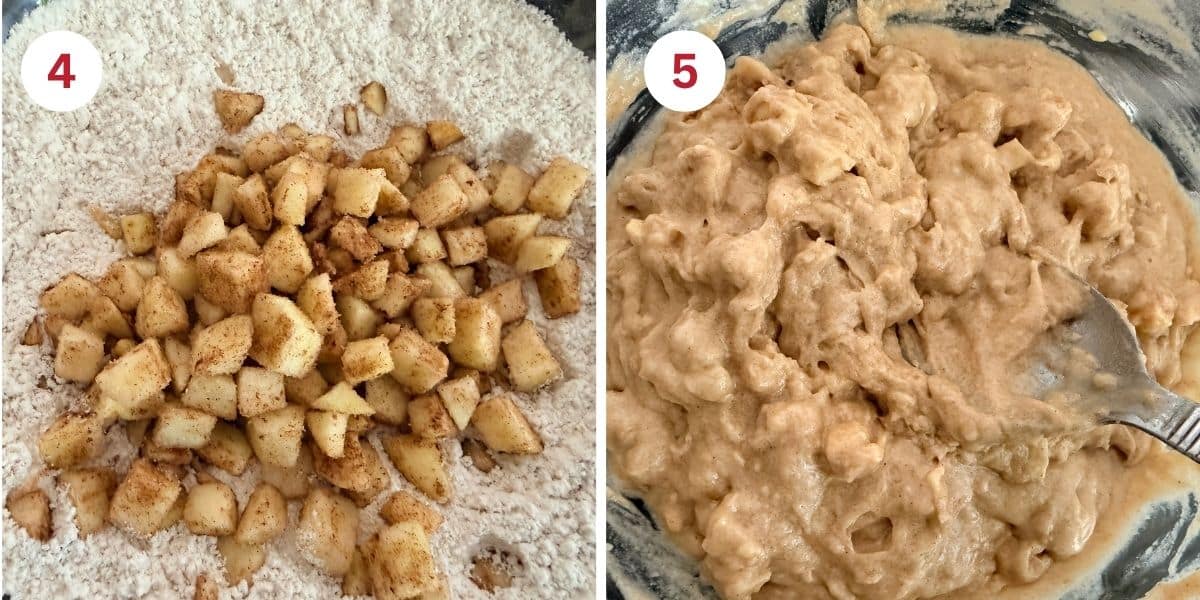
Step 4: Toss with the cinnamon sugar, then add to the dry ingredients. Adding them to the dry ingredients will help them stick more and not sink to the bottom of the cake.
Step 5: Combine the wet and dry ingredients until they are just mixed. Do not overmix the cake batter or it will turn out denser!
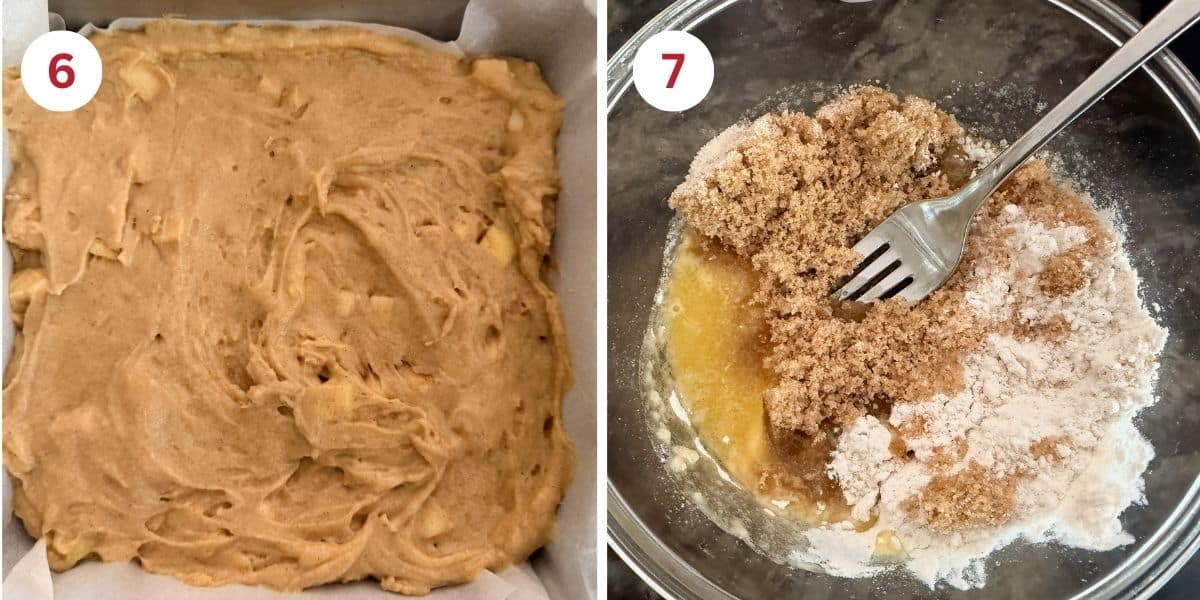
Step 6: Line an 8×8 baking dish with parchment paper. If you prefer to use baking spray, make sure your baking spray is gluten free. PAM Baking Spray is not gluten free. I like using La Tourangelle. Spread the cake batter evenly in the pan.
Step 7: Add the partially softened butter, brown sugar, and flour to a small bowl. Mix into clumps. Chill for 15 minutes. If you would rather not chill it, I would recommend cutting the cold butter into the flour and brown sugar with a pastry blender.
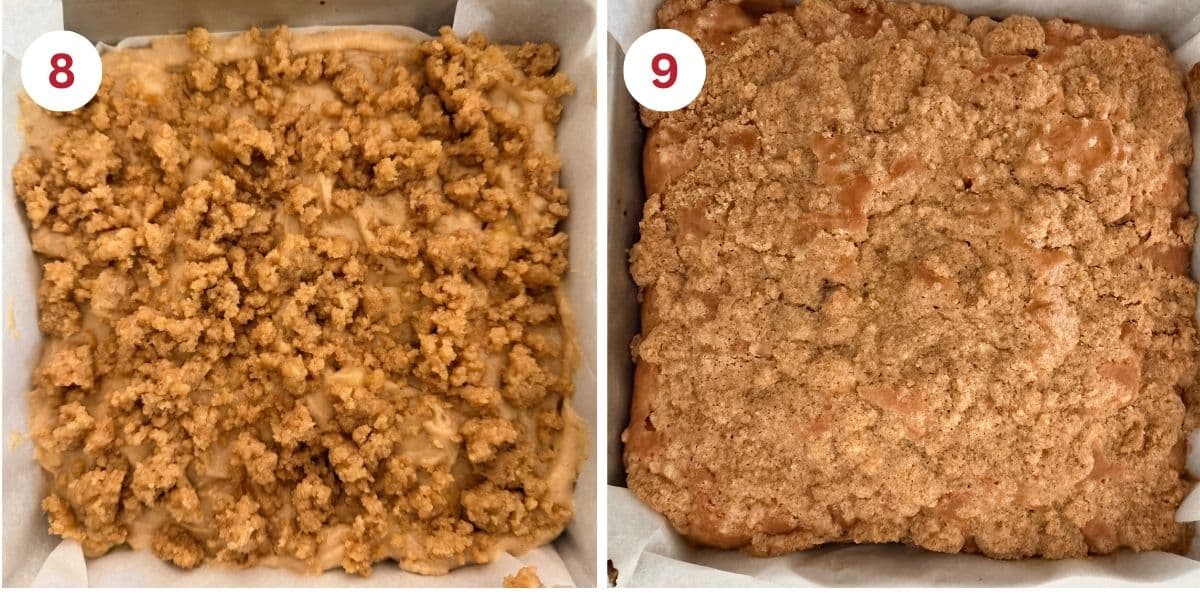
Step 8: Sprinkle the topping over the cake batter. Bake the cake for 30 minutes at 350ºF.
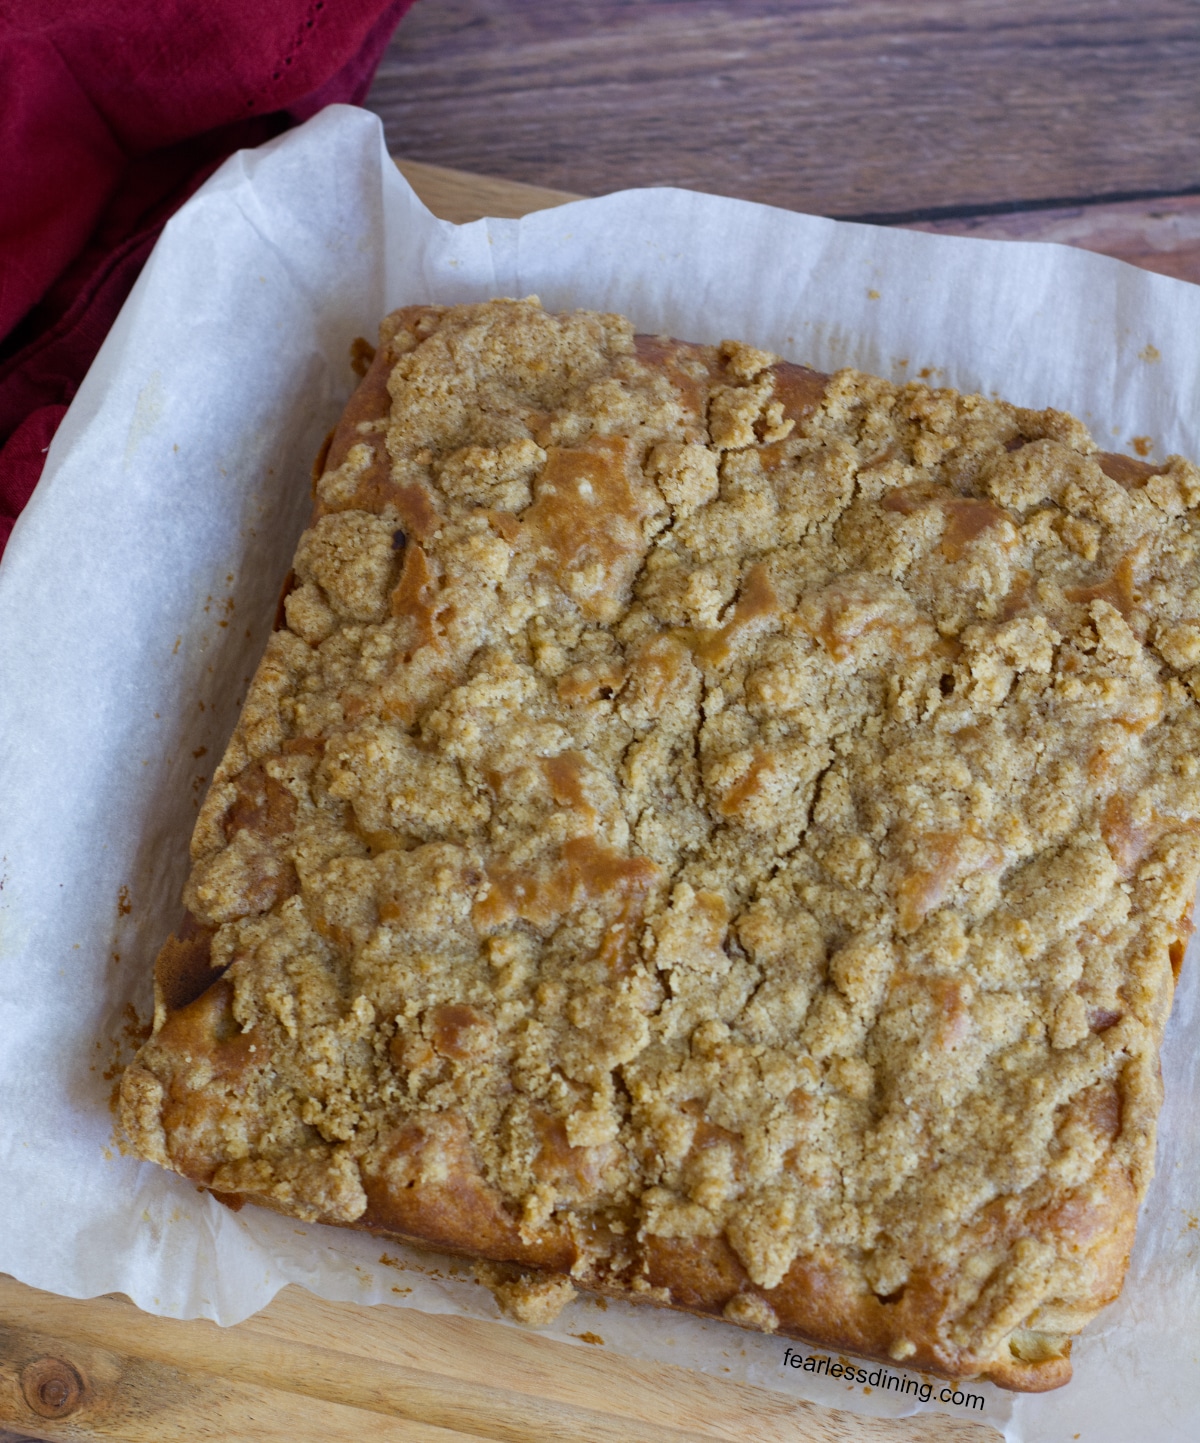
Step 9: The cake will be golden on top when it is finished baking. Insert a toothpick; if it comes out clean, the cake is ready to be removed from the oven. If you see crumbs or batter, bake it longer.
Move the cake to a cooling rack. Let it sit in the pan for 5-10 minutes, then use the parchment paper to pull it out of the pan. Place it on the cooling rack to cool. Serve when it is room temperature.
Frequently Asked Questions:
You can bake this cake in a 9-inch round cake pan if you prefer. It is sized best for an 8×8 pan, so the cake may be slightly shorter in a 9-inch pan. Do the toothpick test for doneness at 25 minutes.
Yes. Swap the butter for plant-based butter. I tested this recipe using Smart Balance, and it worked well in this cake recipe.
No, peeling the apples is optional.
More Gluten Free Apple Recipes:
Need more fall apple inspiration? Here are all of my gluten free apple recipes in one place.
Did you make this recipe?
💬 I would love to hear how it turned out. Leave a comment! Your feedback helps others (and helps me keep improving these recipes for you). ⭐⭐⭐⭐⭐
Gluten-Free Apple Cider Coffee Cake (Soft and Fluffy!)
Ingredients
- 1 ½ cups gluten free flour blend (See notes) 220.1 g
- ½ cup sugar 103.9 g
- 2 teaspoons aluminum-free baking powder 9.6 g
- 1 teaspoon ground cinnamon 2.62 g
- ¼ teaspoon salt 1.4 g
- 6 tablespoons unsalted butter (partially melted) 85.1 g
- 2 large eggs
- ¾ cup apple cider
- 1 ¼ cups diced apple (see notes)
- 1 tablespoon sugar
- ¼ teaspoon ground cinnamon
- 4 tablespoons unsalted butter
- ½ cup brown sugar
- ¼ cup gluten free flour blend + 2 TBSP
- 1 tablespoon sugar
- ½ teaspoon ground cinnamon
Equipment
Method
- Add the 1 1/2 cups gluten free flour blend, 2 teaspoons aluminum-free baking powder, 1/2 cup sugar, 1/4 teaspoon salt, and 1 teaspoon ground cinnamon to a large mixing bowl. Whisk for about 20 seconds until the mixture looks evenly blended with no streaks of cinnamon. Gluten-free flour does not need to be sifted, so this whisking step is what distributes the leavening evenly instead.
- In a smaller bowl, partially melt 6 tablespoons unsalted butter. Combine it with 2 large eggs, and 3/4 cup apple cider. Whisk to blend.
- Peel the apples with an apple peeler, or leave the skins on if you prefer a more rustic texture. Cut the apples into small 1/2 inch pieces, roughly the size of a chocolate chip. Place the 1 1/4 cups diced apple in a small mixing bowl and toss them with the 1 tablespoon sugar and 1/4 teaspoon ground cinnamon until every piece is coated.
- Add the coated apples directly to the dry ingredients rather than the wet ones. Coating the apples first and adding them to the flour mixture helps them grip the batter instead of settling to the bottom of the pan.
- Pour the wet ingredients into the bowl with the dry ingredients and coated apples. Combine with a spatula until the flour streaks disappear, about 15 to 20 stirs. Stop as soon as the batter looks mixed. Do not overmix the batter.
- Line an 8×8 baking dish with parchment paper, leaving an overhang on two sides to use as handles later. If using baking spray instead of parchment, confirm it is labeled gluten-free, since not all baking sprays are.
- Spread the batter evenly into the prepared pan with a spatula or the back of a spoon.
- Add the partially softened 4 tablespoons unsalted butter, 1/2 cup brown sugar, 1 tablespoon sugar, 1/2 teaspoon ground cinnamon, and 1/4 cup gluten free flour blend + 2 TBSP to a small bowl. Work the mixture with your fingers or a fork until it forms small, pea-sized clumps rather than a paste. Chill the topping for 15 minutes before using it, since chilling firms the butter back up and helps the topping bake into separate, craggy clumps instead of melting into a flat layer.
- Sprinkle the streusel topping evenly over the cake batter, breaking up any large clumps as you go so the topping covers the surface without bare spots. Bake at 350°F for 30 minutes.
- Insert a toothpick into the center of the cake. If it comes out clean, it is finished baking. If you see batter or crumbs, bake the cake longer.
- Move the cake to a cooling rack while still in the pan and let it rest for 5 to 10 minutes. This short rest lets the crumb finish setting, since a gluten-free cake is more fragile straight out of the oven and can fall apart if removed from the pan too soon. Use the parchment overhang to lift the cake out of the pan and place it directly on the cooling rack.
Nutrition
Notes
- I tested this cake recipe using King Arthur Measure for Measure and Bob’s Red Mill 1:1. Other blends will work, but you may need to adjust the moisture level. With Namaste, you may need to add 1-2 TBSP of apple cider, and with Cup4Cup, you may need to add 1-2 TBSP of additional flour.
- If your blend doesn’t have a binder, add 3/4 teaspoon of xanthan gum.
- If you use salted butter, do not add additional salt.
- Store leftovers in an airtight container. The cake will keep fresh for up to 4 days.
- Freeze the cake in slices in a freezer-safe zipper bag. Thaw on the counter or in a microwave oven.
Private Notes
Tried this recipe?
Let us know how it was!
I truly hope you enjoy this recipe. I have been testing and creating gluten-free recipes for over 15 years. Creating gluten-free recipes that do not taste gluten-free is my goal for every recipe. Sometimes I only have to test a new recipe a couple of times, and others it takes multiple times. I do this so you get reliable, delicious results every time!

Can I substitute water for apple cider or juice? What modifications should I make? Extra sugar? Extra spices?
Yes, you can use water, but not having done this myself, I am unsure how to guide you on alternative sweetening.