


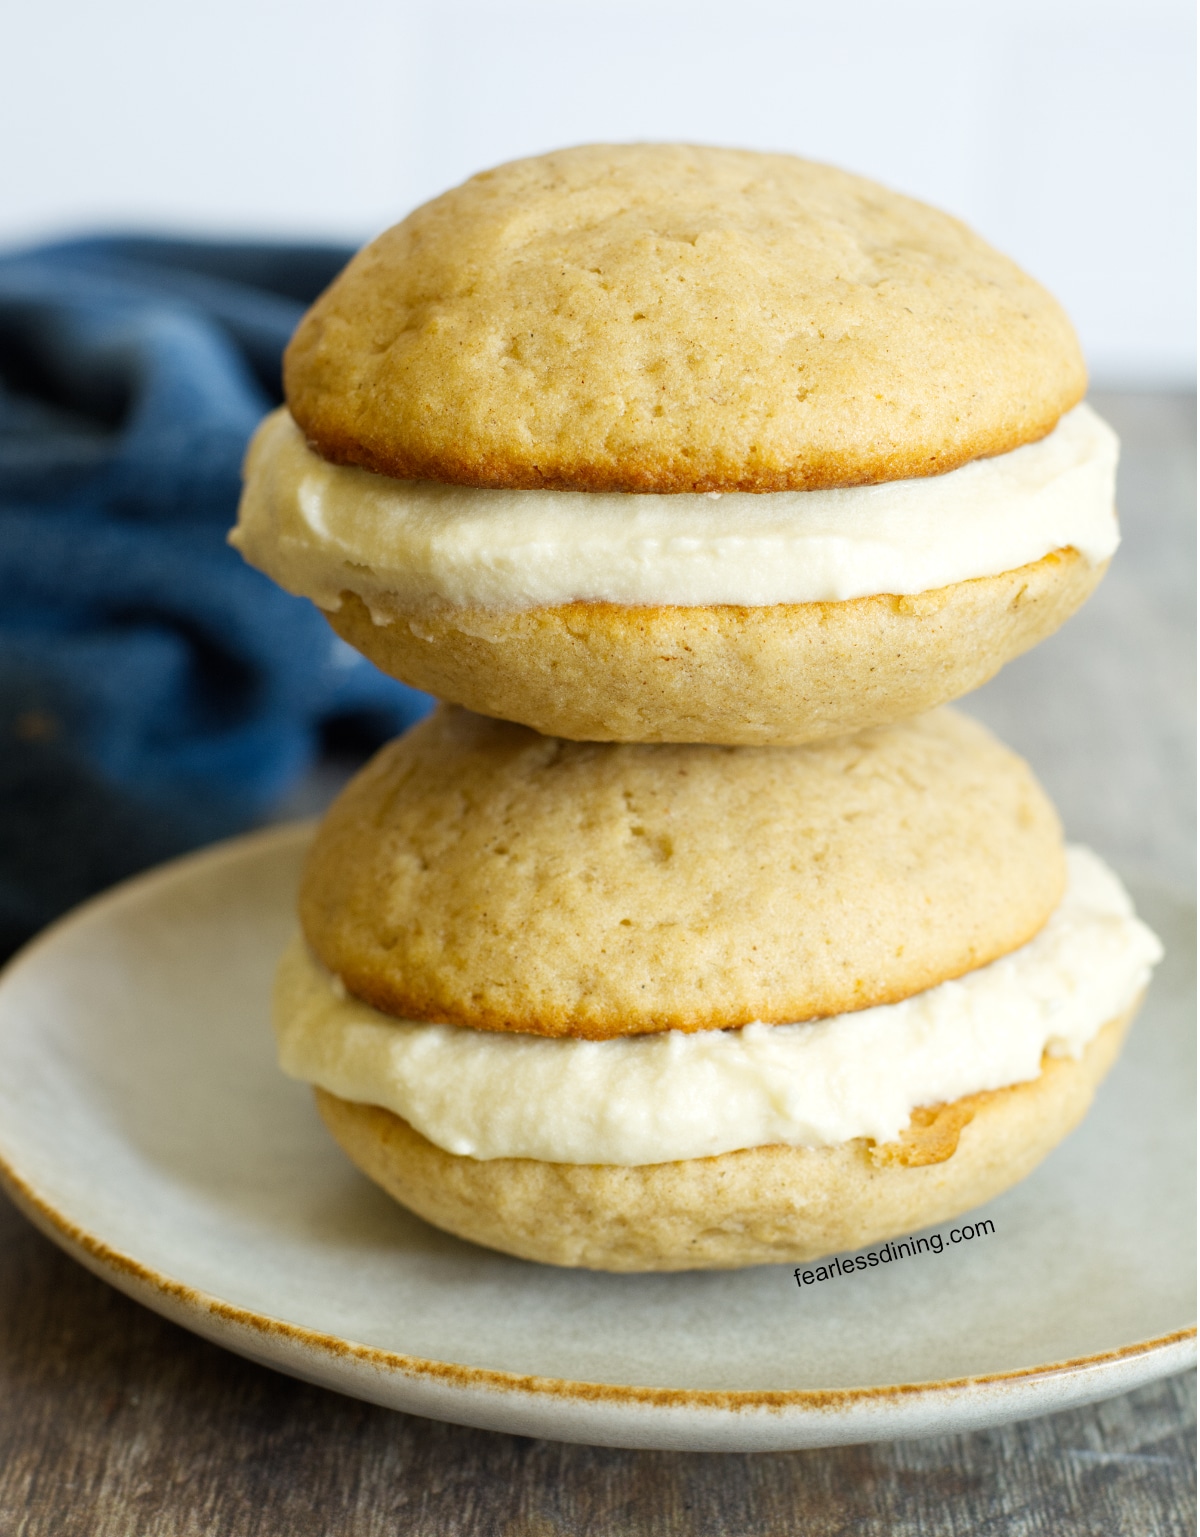
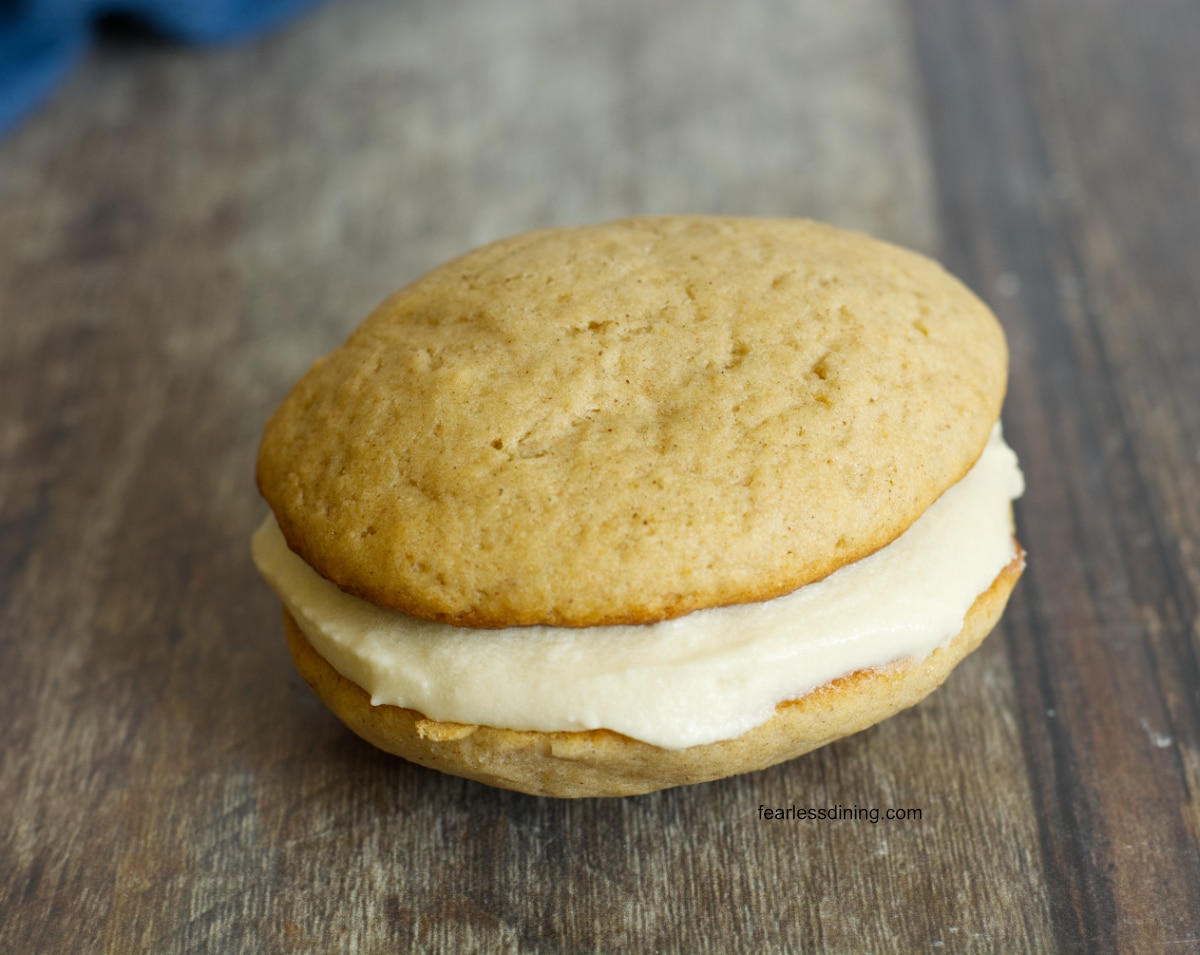
These homemade gluten free apple cider whoopie pies have cake-like cookies and a sweet vanilla buttercream filling. They are made with simple ingredients, including gluten free flour, sugar, oil, apple cider, and ground cinnamon. They make a great fall bake sale item or fall harvest party dessert.
This post may contain affiliate links. Please read our Disclosure Policy.
❤️ Sandi’s Recipe Summary
The Quick Bite: I have been making gluten free whoopie pies for years, and this apple cider version may become my favorite for fall. The cakes turn out light and fluffy, and I fill them with a simple vanilla buttercream. This recipe makes 6 to 8 whoopee pies, depending on the size of your cookie scoop. Make a batch in under 45 minutes.
I have been making gluten free whoopie pies for years. They are special in that they have a light, cake-like texture and are filled with either marshmallow cream or buttercream frosting in the middle. Whoopie pies sandwich together, making a delicious handheld dessert.
I have tested two gluten free flour blends when making these Gluten Free Chocolate Whoopie Pies and these Gluten Free Pumpkin Whoopie Pies. I used the same two gluten free flour blends to test this recipe because I know they work well for fluffier bakes like this. Although the actual cakes are dairy-free, I did test a dairy-free option for the whipped cream. Earth Balance worked really well.
You may also have fun with these black cocoa Gluten Free Halloween Whoopie Pies. I have lots of great gluten free apple recipes to try as well. Mr. Fearless Dining loves this Gluten-Free Apple Coffee Cake.
Ingredient Notes and Easy Swaps:
For the full list of ingredients and amounts, please go to the recipe card below.
- Gluten-Free Flour Blend – I tested this recipe using King Arthur Measure for Measure. It is one of my go-to blends for cakes. I have tested Bob’s Red Mill 1:1 in my other whoopie pie recipes, and I feel comfortable recommending it in this recipe as well. Other blends should also work, but you may need to tweak the wet or dry ingredients, depending on the batter’s consistency. I recommend making 1 TBSP adjustments at a time. Read Why Gluten-Free Flour Blends Vary to learn more about this.
- Binder – If your blend doesn’t have a binder, add one to help hold your whoopie pies together. I recommend adding 3/4 teaspoon of xanthan gum to the dry ingredients. Learn Why Binders are Important in Gluten-Free Baking.
- Baking Powder – I always recommend using aluminum-free baking powder. I find it works better and doesn’t leave a metallic aftertaste.
- Eggs – Use large eggs.
- Oil – Use a light, unflavored oil. I tested this recipe using cold-pressed canola oil.
- Apple Cider – I used regular, unfiltered apple cider. If you can’t find apple cider, use unfiltered apple juice.
- Frosting or Marshmallow Cream – Use either. I use my Gluten Free Frosting Recipe to make vanilla buttercream frosting.
How to Make Gluten Free Apple Cider Whoopie Pies (Step-By-Step)
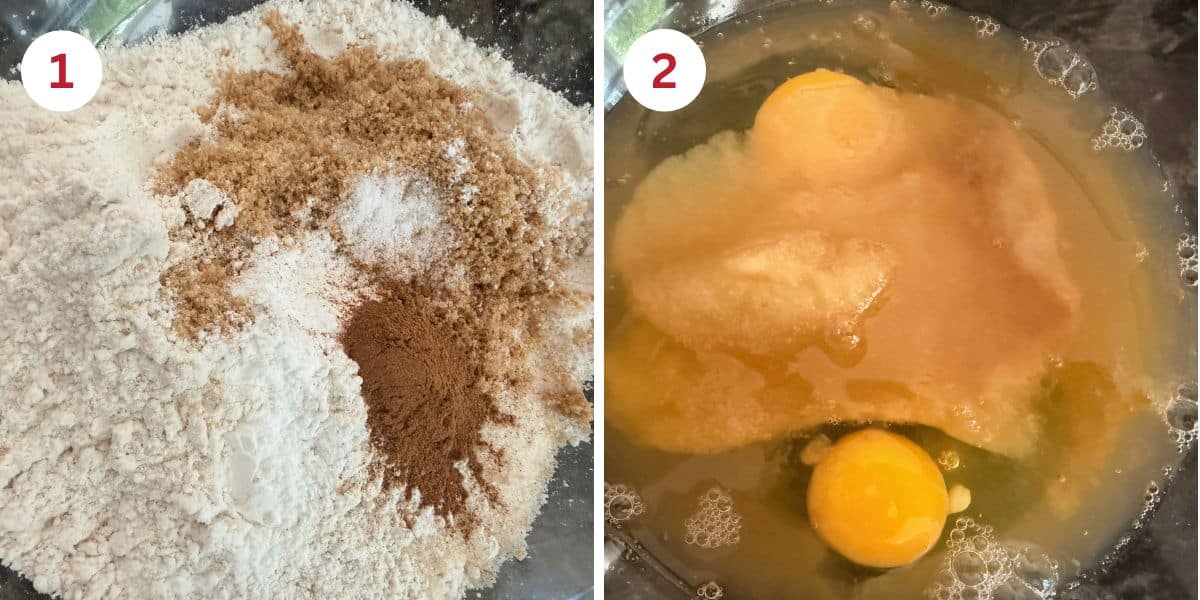
Step 1: Combine the gluten free flour, sugar, baking powder, salt, and ground cinnamon in a large mixing bowl. Whisk until thoroughly mixed.
Step 2: Add the oil, applesauce, eggs, apple cider, and vanilla extract to a smaller mixing bowl. Whisk for 30 seconds until combined.
Email This Recipe To Me!
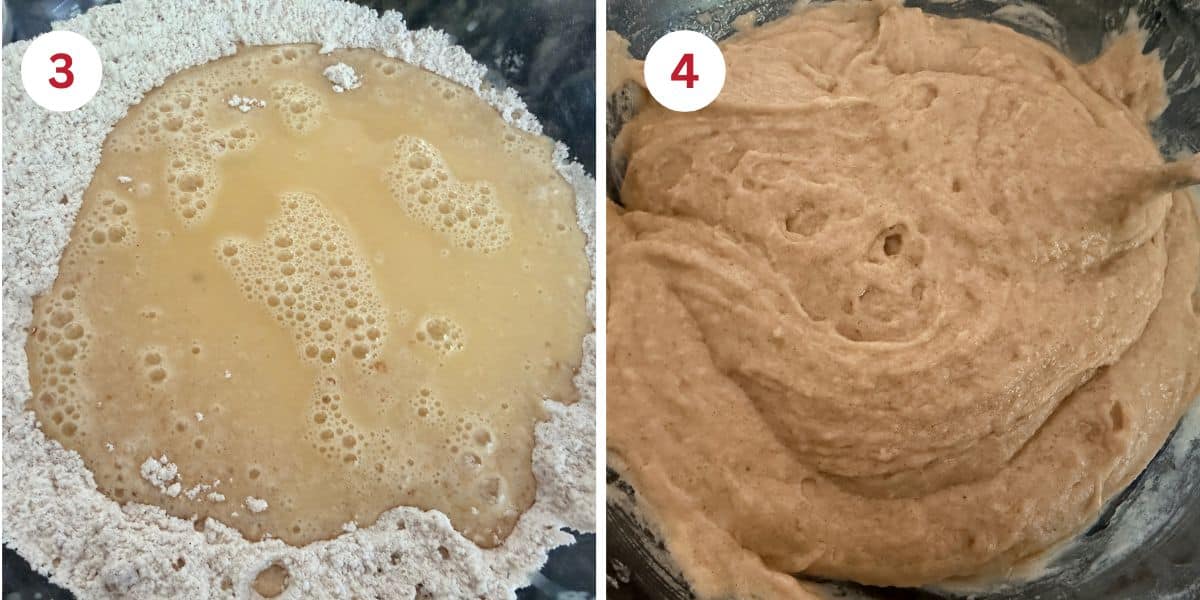
👀 Sandi Says: I do not recommend using a stand mixer. Stand mixers tend to overmix the batter, leaving denser whoopie pies.
Step 3: Pour the wet ingredients into the dry ingredients and mix until just barely mixed. Do not overmix the ingredients.
Step 4: When you are done, your batter will be thick like pancake batter. You should be able to see bubbles if you just barely mixed the two.
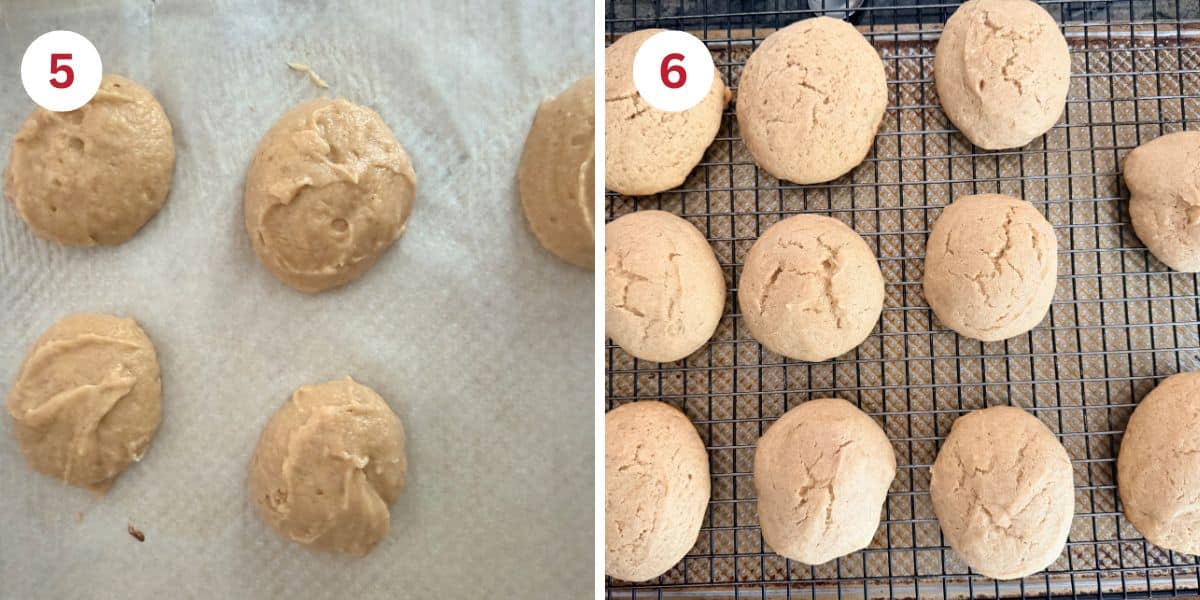
Step 5: Line a cookie sheet with parchment paper or use gluten free baking spray to prevent sticking. Determine what size whoopie pies you want to make. Use a cookie scoop to drop the batter onto the cookie sheet. Use a spoon to push batter into circular shapes if needed.
Step 6: Bake the whoopie pies for 13 minutes for medium-large sizes, 10 minutes if you make your whoopie pies small. You will know when they are finished baking when the tops are solid to the touch. Remove from the oven and place them on a cooling rack.
Step 7: While they are cooling, add the frosting ingredients to a stand mixer with a whisk attachment. Whip into thick, creamy frosting.
Step 8: You can pipe or spoon the frosting onto the whoopie pie bottom. I used a spoon and spread the frosting over the whoopie pie for simplicity. Add a whoopie pie top over the frosting and press gently.
I have a few more recipes made with fresh apple cider. Check out my Gluten Free Apple Cider Donuts or this Gluten Free Apple Snack Cake.
More Gluten Free Apple Recipes:
Did you make this recipe?
💬 I would love to hear how it turned out. Leave a comment! Your feedback helps others (and helps me keep improving these recipes for you). ⭐⭐⭐⭐⭐
Gluten Free Apple Cider Whoopie Pies with Vanilla Buttercream
Ingredients
- 1 ¾ cups gluten free flour blend * See notes 258.4 g
- 1 ½ teaspoons aluminum-free baking powder 6.3 g
- ½ cup sugar 106.9 g
- ¼ cup brown sugar 44.3 g
- 1 teaspoon ground cinnamon 2.7 g
- ⅓ cup applesauce 84.1 g
- 2 large eggs 94.2 g
- ½ cup apple cider 117.9 g
- ½ cup light oil 90.8 g
- 1 teaspoon vanilla extract 4.4 g
- ¼ teaspoon salt 1.5 g
- 1 ½ cups powdered sugar 184.2 g
- 1 teaspoon vanilla extract 4.4 g
- ¼ cup softened unsalted butter 57.1 g
- 1-2 tablespoons milk or non-dairy milk
Method
- Preheat the oven to 350ºF. Move the oven rack to the middle of the oven.
- Combine the 1 3/4 cups gluten free flour blend, 1/2 cup sugar, 1/4 cup brown sugar, 1 1/2 teaspoons aluminum-free baking powder, 1/4 teaspoon salt, and 1 teaspoon ground cinnamon in a large mixing bowl. Whisk until thoroughly mixed. Whisking the dry ingredients together first, before the wet ingredients ever touch them, spreads the baking powder evenly through the flour so the cakes rise consistently instead of getting pockets of lift in some bites and none in others.
- Add 1/2 cup light oil, 1/3 cup applesauce, 2 large eggs, 1/2 cup apple cider, and 1 teaspoon vanilla extract to a smaller mixing bowl. Whisk for 30 seconds, until combined.
- Pour the wet ingredients into the dry ingredients and mix until just barely mixed. Do not overmix the ingredients. You are looking for a batter with no dry flour streaks left, not a smooth, fully whipped batter.
- Line a cookie sheet with parchment paper or use gluten free baking spray to prevent sticking. Determine what size whoopie pies you want to make. Use a cookie scoop to scoop the batter and drop them onto the cookie sheet. Use a spoon to push batter into circular shapes if needed.
- The batter will be soft and will not hold a perfectly domed shape on its own. That softness is normal for this batter and helps create the finished cakes' tender crumb.
- Bake the whoopie pies for 13-15 minutes for medium-large sizes, 10-12 minutes if you make your whoopie pies small. You will know when they are finished baking when the tops are solid to the touch. Remove from the oven and place them on a cooling rack.
- While they are cooling, add 1 1/2 cups powdered sugar, 1 teaspoon vanilla extract, 1/4 cup softened unsalted butter, and 1-2 tablespoons milk or non-dairy milk to a stand mixer with a whisk attachment. Whip into thick, creamy frosting. This should take 3 minutes. Start on low speed and gradually increase the speed as the powdered sugar is mixed in.
- You can pipe or spoon the frosting onto the whoopie pie bottom. I used a spoon and spread the frosting over the whoopie pie for simplicity. Add a whoopie pie top over the frosting and press gently.
Nutrition
Notes
- I tested my whoopie pie recipes using King Arthur Measure for Measure and Bob’s Red Mill 1:1 flour blends. Others will work, but you may need to add more flour or liquid to get the right batter consistency.
- If your blend doesn’t contain a binder, add 3/4 teaspoon of xanthan gum to the dry ingredients.
- I tested this recipe using cold pressed canola oil. You can use any oil variety, but I do not recommend olive oil due to the strong flavors.
- Store whoopie pies in an airtight container. They will keep fresh for 3-4 days. Freeze whoopie pies in a freezer-safe zipper bag.
Private Notes
Tried this recipe?
Let us know how it was!
I truly hope you enjoy this recipe. I have been testing and creating gluten-free recipes for over 15 years. Creating gluten-free recipes that do not taste gluten-free is my goal for every recipe. Sometimes I only have to test a new recipe a couple of times, and others it takes multiple times. I do this so you get reliable, delicious results every time!

Wonderful
Hi Michelle, Did you make the recipe? It is a new recipe, so I would love to know what you enjoyed about it.