
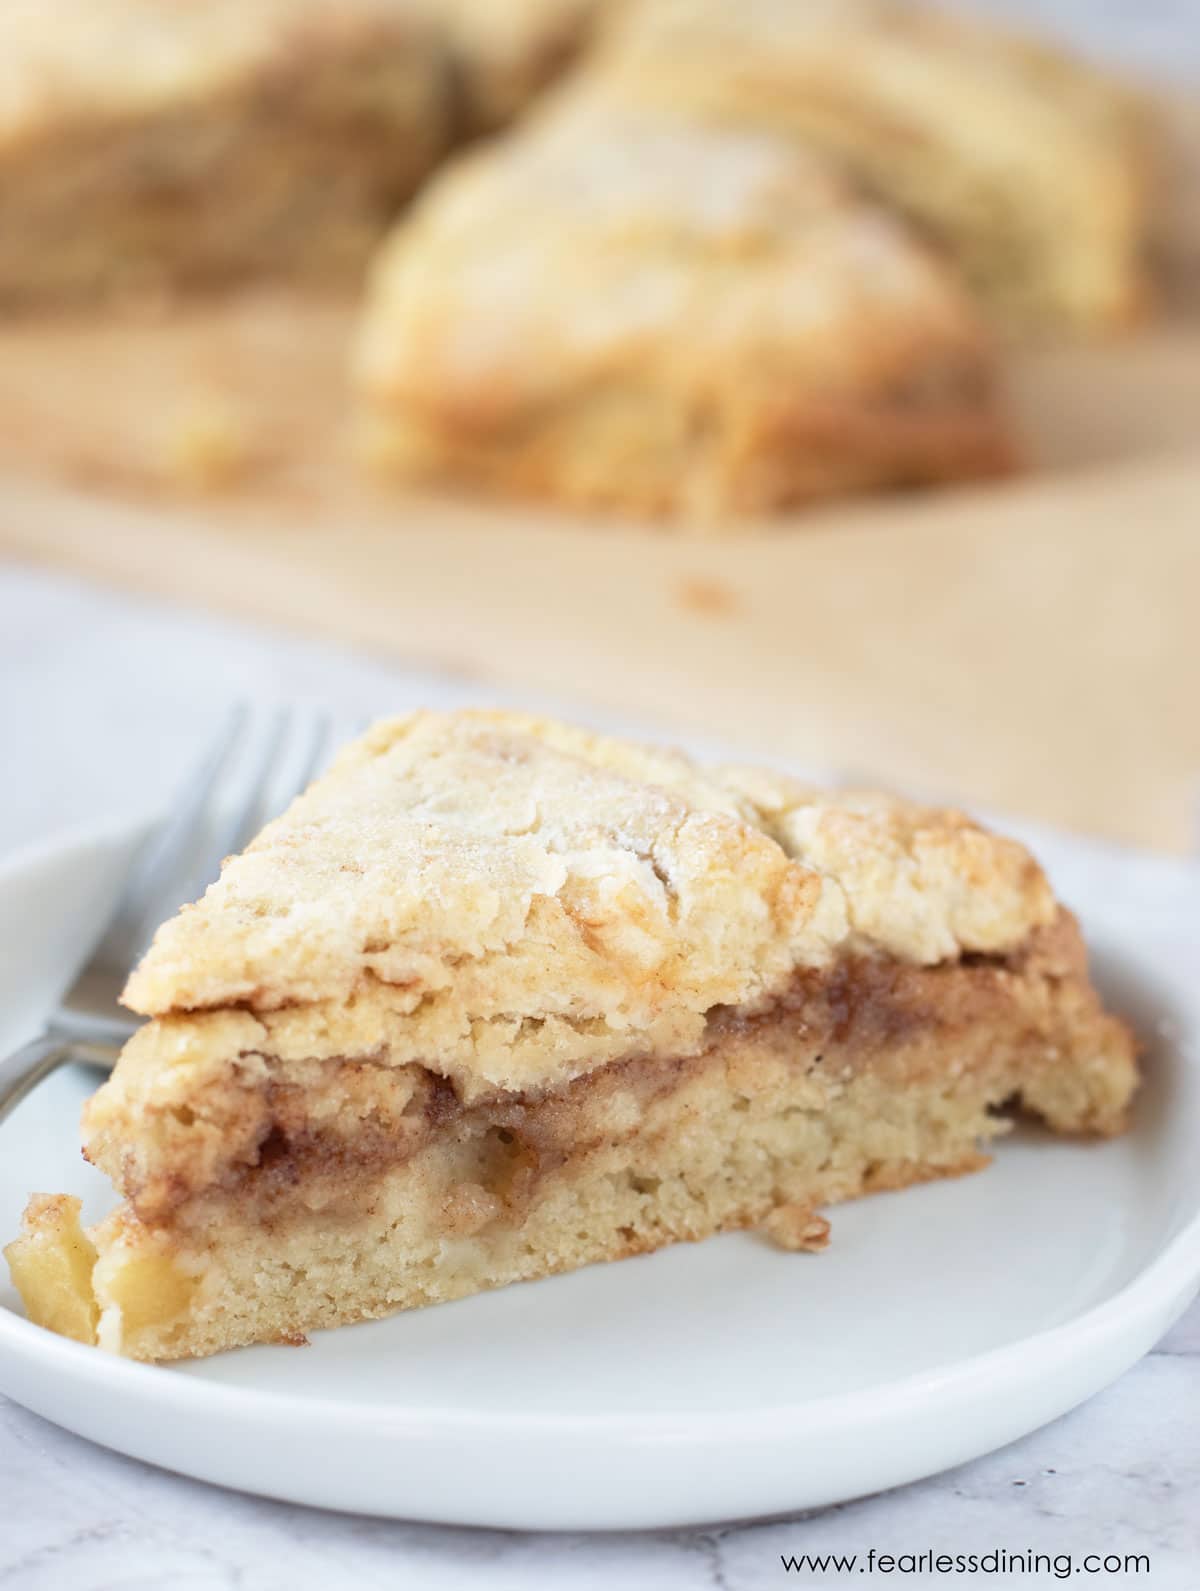
These gluten-free apple scones are golden and crisp on the edges, tender in the middle, and swirled with cinnamon sugar. Each bite is filled with juicy apple pieces and just the right amount of sweetness, like a cross between a scone and a cinnamon roll. They’re simple enough to whip up on a weekday morning but special enough to serve for brunch or with an afternoon cup of coffee
This post may contain affiliate links. Please read our Disclosure Policy.
Scones are our thing. It is amusing how we often become attached to a food that has no family origin. We are not British, but give me a scone, and I am hooked. I make sweet and savory gluten free scones a few times a month.
The cinnamon swirl technique is my little secret: sprinkling cinnamon sugar and rolling the dough like a cinnamon roll ensures every bite has streaks of cinnamon sweetness. That swirl makes these scones taste like a cross between a scone and a cinnamon roll, and my family devoured them right out of the oven! If you are looking for that special treat, you need to try these easy gluten-free fall scones!
If you love scones as much as we do, check out my delicious gluten-free scone recipes! If you are new to making scones, check out my Gluten-Free Scones Guide. It is full of scone recipes, baking tips, and more! If you want to try another fall flavor, try this easy Gluten-Free Cranberry Orange Scones recipe.
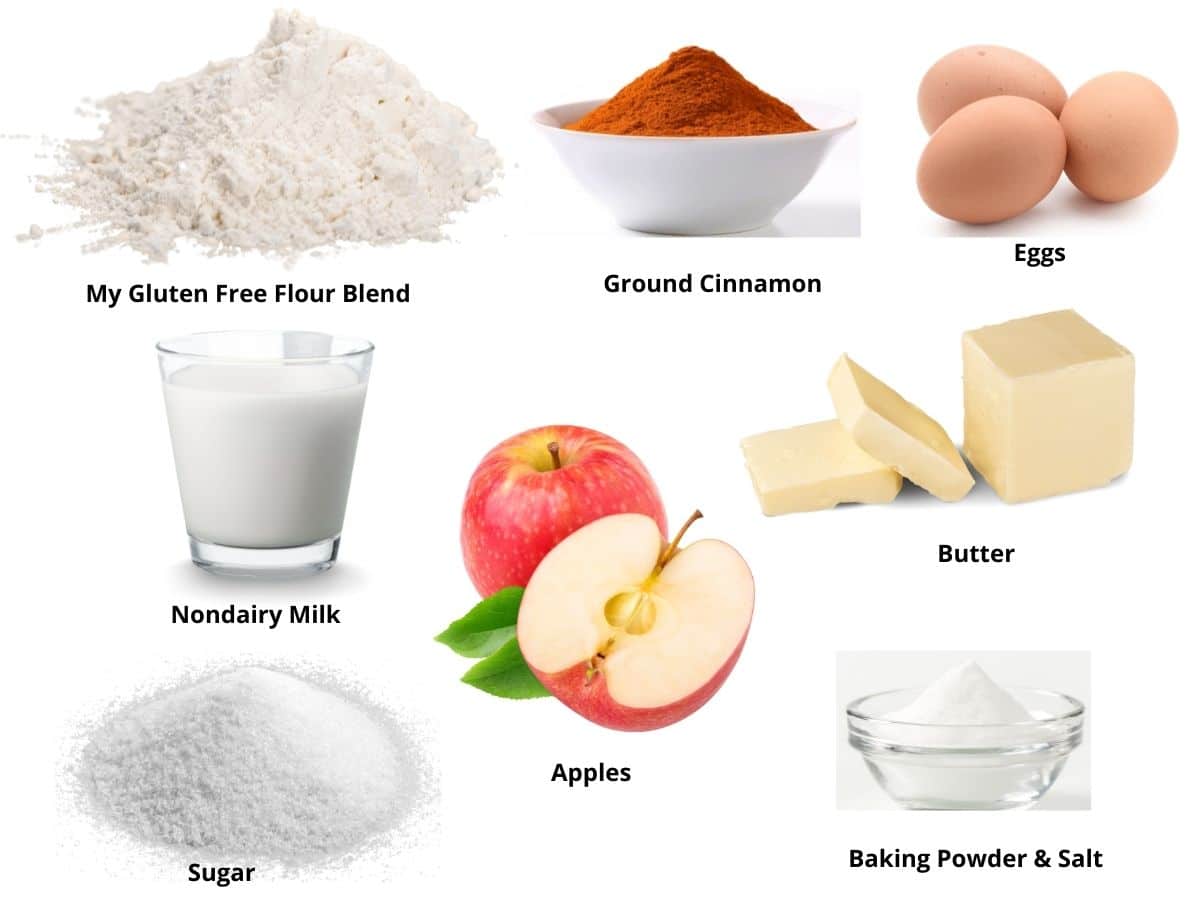
Ingredients Notes and Easy Swaps:
For the full list of ingredients and amounts, please go to the recipe card below.
- Gluten-Free Flour Blend – I tested this recipe using Bob’s Red Mill 1 to 1 and King Arthur Measure for Measure. I really like both blends in my scone recipes. I have also successfully tested the Namaste blend in some of my other scone recipes. If using a different blend, you may need to adjust moisture levels of the dough. Read Why Gluten-Free Flour Blends Vary to learn more about this.
- Xanthan Gum – If your gluten free flour blend doesn’t contain xanthan gum or guar gum, please add 3/4 teaspoon. Read more about Why Binders are Necessary for Gluten-free Baking to learn more.
- Baking Powder – Use aluminum-free baking powder.
- Sugar – Use cane sugar.
- Non-Dairy Milk – I used almond milk, but other dairy-free types of milk, such as soy milk, and regular milk also work in this recipe. I do not recommend canned coconut milk because it is too thick.
- Butter – I recommend using unsalted butter. Use plant-based butter to make this recipe dairy-free.
- Apples – Peeling is optional. I left my peels on for added fiber.

A Note From My Kitchen
Scones have a special place in my heart, and I love how the flavors of these cinnamon apple scones have the cinnamon sugar swirled into every bite. I tested two of my usual gluten-free flour blends in this recipe, and others will work. Don’t forget, if your scone dough is too wet, add more flour, and if it is too thick, add more liquid. Make adjustments 1 tablespoon at a time.
I also tested Fuji and Granny Smith apples. Fuji added sweetness, while Granny Smith gave the best balance of tartness against the cinnamon sugar. For the dairy-free version, I used Earth Balance. Freezing and grating it into the flour helped keep the butter colder, making the scones just as flaky as the dairy version.
How to Make Gluten-Free Apple Scones (Step-By-Step)
Preheat your oven to 350º F and check that the oven rack is positioned in the middle of the oven.
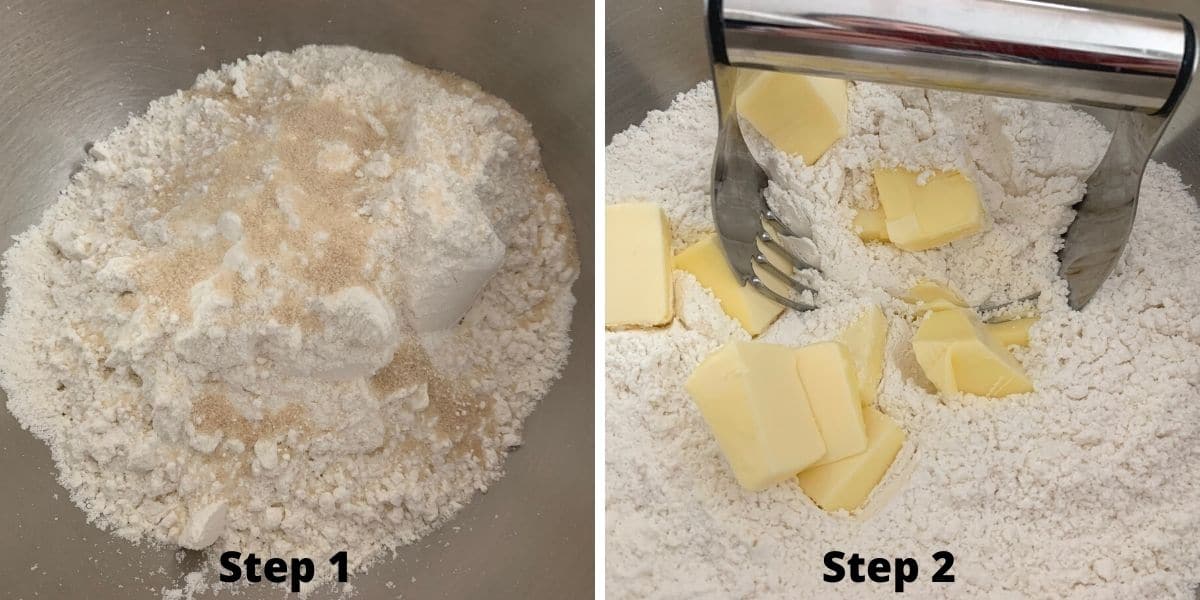
Step 1: Add the dry ingredients to a bowl and whisk to blend.
Step 2: Add the cold butter and use a pastry blender to cut the butter into the flour. When you are done cutting in the butter, your flour mixture will look grainy. If you do not have a pastry blender, freeze the butter and use a cheese grater to shred it into the dry ingredients.
HINT: Using very cold butter and ingredients will make your scones flakier!
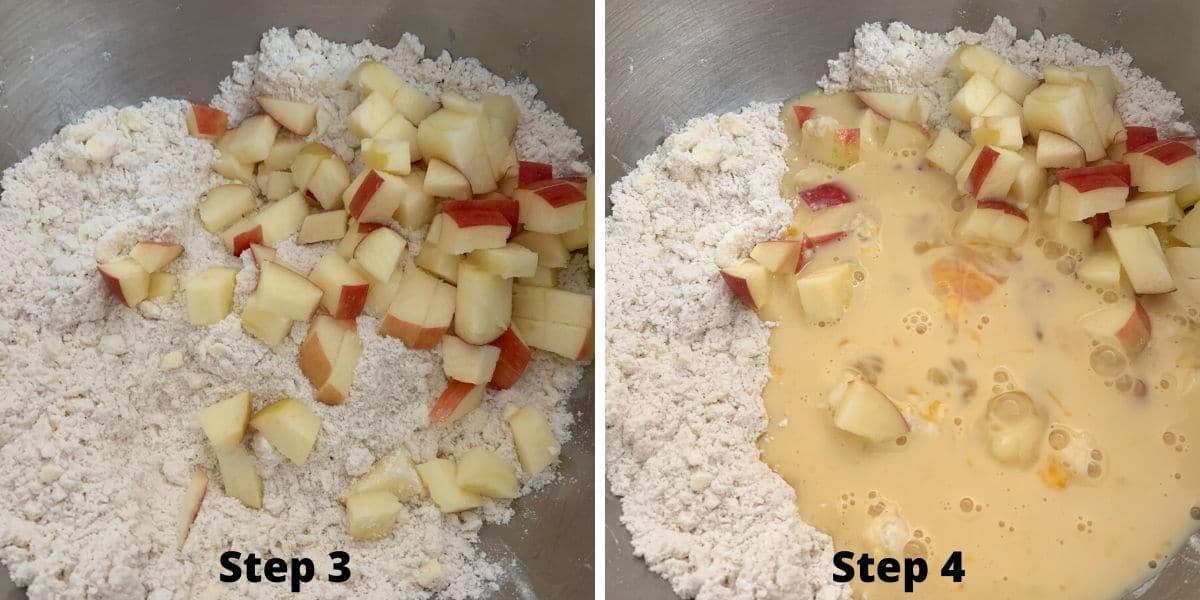
Step 3: Chop the apples into small pieces and add them to the bowl. Peeling is optional.
Step 4: Pour the wet ingredients into the dry ingredients and mix them into a scone dough.

Email This Recipe To Me!
Step 5: Dust the parchment paper with gluten free flour to prevent sticking. Press the dough out to 1/4 inch thick. Feel free to sprinkle additional gluten-free flour over the dough if it feels sticky.
Step 6: Mix the sugar and cinnamon in a small bowl.

Step 7: Sprinkle the cinnamon sugar over the scone dough, just as you would when making cinnamon rolls. This helps make the streaks of yummy cinnamon sugar throughout the scones.
Step 8: Gently roll your scone dough into a log.
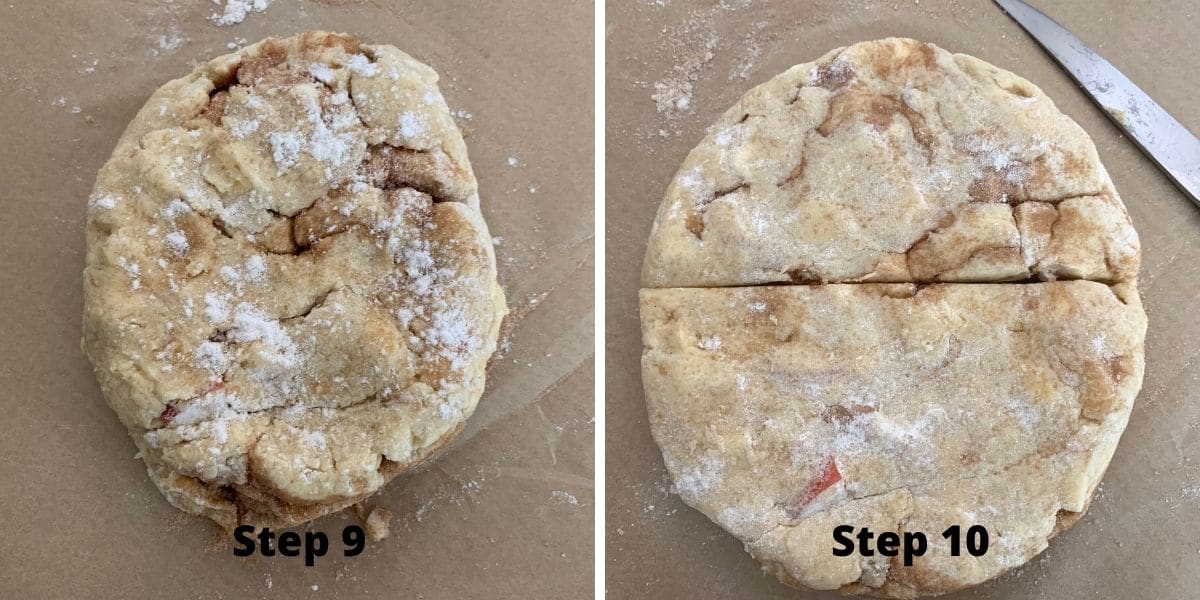
Step 9: Stand the log upright and use your hands to flatten it into a circle. Make it about 1 1/2 to 2 inches tall.
Step 10: Gently cut the dough into wedges using a knife.
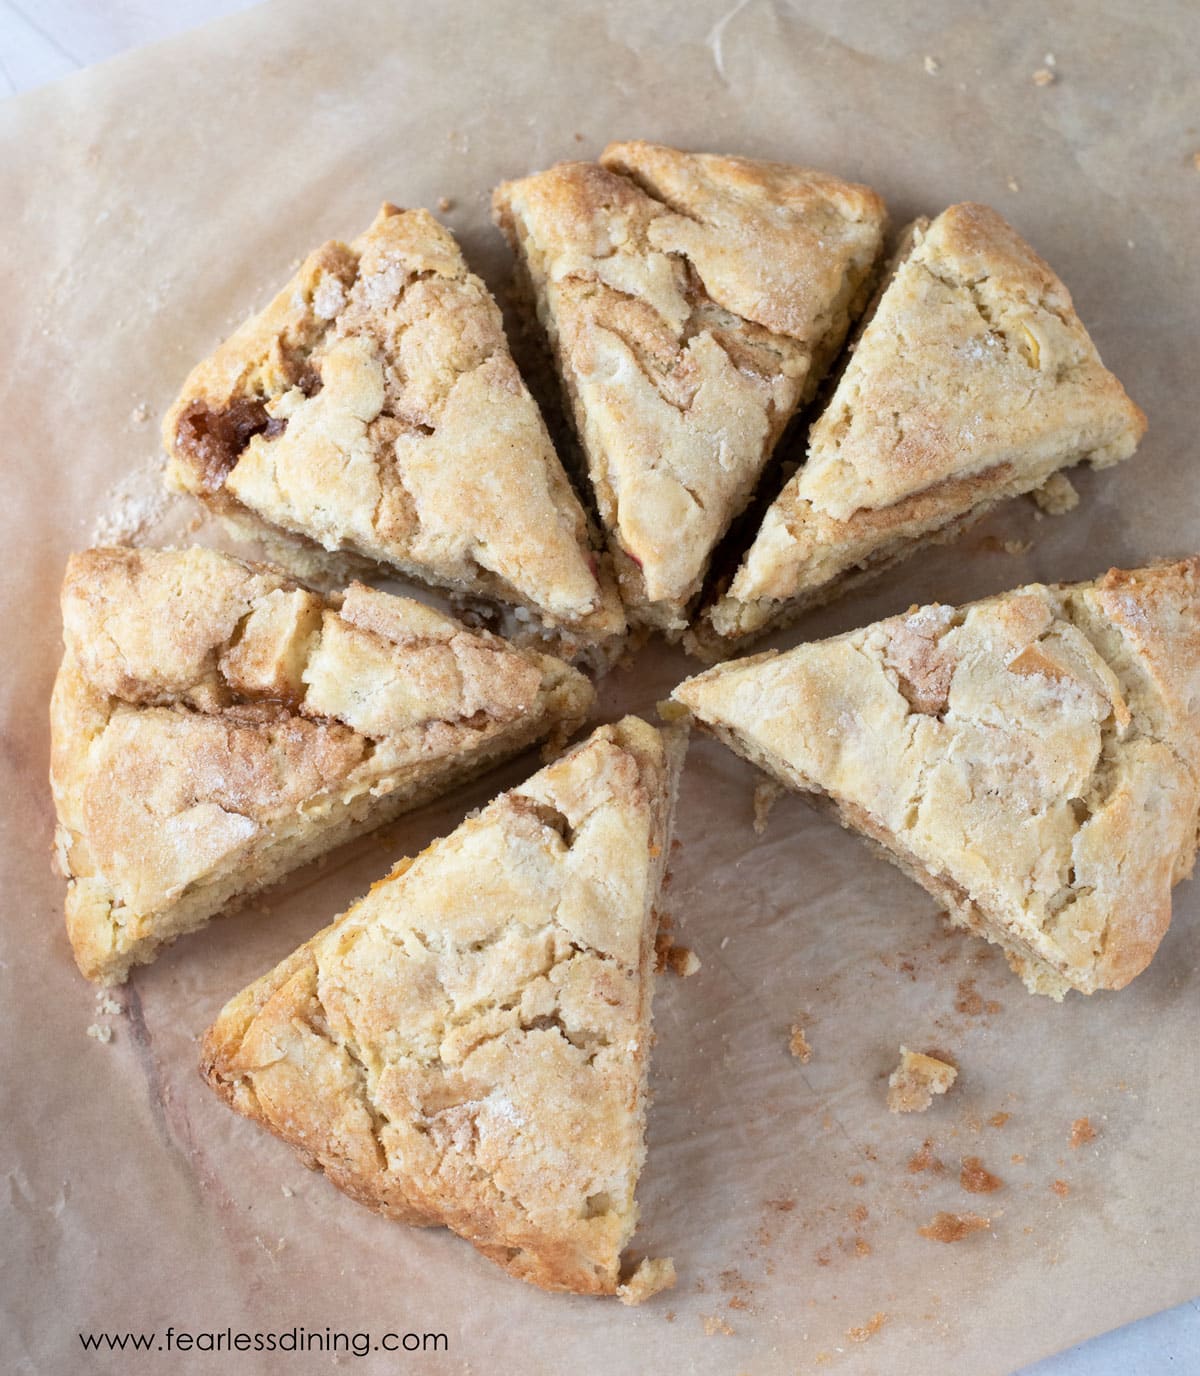
Step 11: Bake at 350º F for 35 to 40 minutes. The actual baking time will vary depending on the thickness of your scone dough. Use a knife to re-cut along the cut lines. Cool the scones on a wire cooling rack.
I have many delicious, sweet, and savory gluten free scone recipes to try! One of my new favorites is these Gluten-Free Chocolate Scones.
Try these fun flavor variations:
- Drizzle with cinnamon icing (1 tsp cinnamon and 1/2 cup powdered sugar to 1-2 TBSP of milk).
- Add pecans or walnuts!
- Add caramel bits (made by Kraft)
Frequently Asked Questions:
Tart apples are best for baking sweets. My favorites for baking are Fuji, Granny Smith, Gravenstein, and Pink Lady.
The secret to a fluffy, tall scone is the baking powder. Be sure to use baking powder. I also find that aluminum-free baking powder is better and doesn’t leave a bitter flavor.
Your scones should not be too dry. If they turn out dry, you probably didn’t add enough liquids.
Although I have not tested using applesauce in place of butter, my first impression is that you wouldn’t get the buttery layers in your scones.
If your scones don’t have the flaky layers, your butter may have warmed or your baking powder may have expired. If your dough is really sticky from butter softening, chill the dough before shaping and baking.
These scones will keep fresh for up to 4 days in an airtight container or up to 4 months in the freezer.
You may also love these Gluten-Free Strawberries and Cream Scones or these Gluten-Free Buttermilk Scones!
More Gluten-Free Scone Recipes:
Love This Recipe?
If you made and enjoyed this recipe, I would be incredibly grateful if you could leave a comment below. Please include which flour blend you used. This will help others know this recipe is delicious. Thank you!
Gluten-Free Apple Scones with Cinnamon Swirl
Ingredients
- 2 cups gluten free flour blend * see note
- ¼ cup cane sugar
- 1 teaspoon ground cinnamon
- 2 teaspoons baking powder * see note
- ⅛ teaspoon salt
- ½ cup unsalted butter cold
- ½ cup non-dairy or regular milk * see note
- 2 large eggs
- ½ cup apples peeled and chopped
- ¼ cup sugar
- 1 teaspoon ground cinnamon
Equipment
Method
- Preheat the oven to 350º F.
- In a large bowl, add 2 cups gluten free flour blend, 1/4 cup cane sugar, 2 teaspoons baking powder, 1 teaspoon ground cinnamon, and 1/8 teaspoon salt. Whisk to blend.
- Add the cold 1/2 cup unsalted butter and use a pastry blender to cut the butter into the flour. When you are done cutting in the butter, your flour mixture will look grainy.
- HINT: Using very cold butter and ingredients will make your scones flakier! If you do not have a pastry blender, freeze the butter and use a large cheese grater to grate the butter into the dry ingredients.
- Peel and chop 1/2 cup apples and add them to the bowl.
- Combine the wet ingredients, including 1/2 cup non-dairy or regular milk and 2 large eggs, in a small bowl and whisk them together. Add the dry ingredients and mix them into a scone dough.
- Dust the parchment paper with gluten free flour to prevent sticking. Press your dough out to 1/4 inch. Feel free to sprinkle additional gluten free flour over the dough as needed.
- Mix the 1/4 cup sugar and 1 teaspoon ground cinnamon in a small bowl.
- Sprinkle the cinnamon sugar over the scone dough like you would if you were making cinnamon rolls! This helps make the streaks of yummy cinnamon sugar throughout the scones.
- Gently roll your scone dough into a log.
- Stand the log up tall and use your hands to smoosh it down into a circle. Make it about 1/2 to 2 inches thick. The thickness really does depend on your personal preference. Some people like bigger, thinner scones, while others like smaller, thicker scones.
- Use a knife to gently cut the dough into wedges. Press down only 1/2 way through the dough to make cut lines.
- Bake at 350º F for 35-40 minutes. The actual bake time will vary depending on how thick your scone dough was. Use a knife to re-cut along the cut lines.
Nutrition
Notes
- I highly recommend using a slightly tart apple, such as Fuji, Pink Lady, Gravenstein, or Granny Smith, for this recipe. The sweet tartness works really well together.
- I have tested this recipe with King Arthur Measure for Measure GF and Bob’s Red Mill 1 to 1 GF blend. Other blends will work, but you may need to adjust the moisture level by adding more milk or flour.
- If your gluten free flour blend doesn’t contain xanthan gum or guar gum, please add 1 teaspoon.
- The secret to a fluffy, tall scone is the baking powder. Be sure to use baking powder. I also find that aluminum-free baking powder is better and doesn’t leave a bitter flavor.
- To make this recipe dairy-free, substitute the butter for cold vegan butter and non-dairy milk.
- These scones will keep up to 4 days in an airtight container, or up to 4 months in the freezer.
Private Notes
Tried this recipe?
Let us know how it was!
I truly hope you enjoy this recipe. I have been testing and creating gluten-free recipes for over 15 years. Creating gluten-free recipes that do not taste gluten-free is my goal for every recipe. Sometimes I only have to test a new recipe a couple of times, and others it takes multiple times. I do this so you get reliable, delicious results every time!

visible after it has been approved.
Hi This recipe looks fabulous. I’m in the uk, we use grams/ounces to measure the ingredients. How can convert your cup measurements to the measurements I can use. Thank you, I’m looking forward to trying this recipe.
I responded to your note, I just noticed you submitted two duplicate questions.
Hi
This recipe looks fabulous.
I’m in the uk, we use grams/ounces to measure the ingredients. How can convert your cup measurements to the measurements I can use.
Thank you, I’m looking forward to trying this recipe.
Joanne
Hi Joanne, I have struggled with using gram measurements because every single gluten-free flour blend has a different weight. This affects the moisture, and if whether people use a starchy flour blend or one more grain heavy will lead to inconsistency in how the recipe turns out. I did weight 1 cup of the gluten-free flour blends I have here, which may be able to guide you, but unfortunately I don’t have access to the flour blends you have in the UK to measure. https://www.fearlessdining.com/gluten-free-flour-blend-weights/