This easy roasted butternut squash is seasoned with garlic and thyme and it makes a delicious side dish that is sure to please even your picky eaters! It tastes incredible with chicken, beef, and seafood! Make it in about 30 minutes!
This post may contain affiliate links. Please read our Disclosure Policy.
One of my favorite things about fall is when winter squash start showing up at our local farmer’s market. I have quite a few gluten free winter squash recipes on the blog and today I can’t wait to share my new roasted butternut squash recipe! Winter squash is sweet and delicious, and it makes an incredible side dish.
If you haven’t experimented with winter squash, here is a great opportunity because this recipe is so easy to make. Give all of my delicious gluten free side dish recipes a try!
Why this roasted butternut squash is so good:
- Butternut squash is nutritious, sweet, and easy to cook.
- You can use butternut squash in both sweet and savory recipes.
- The garlic and thyme flavors baked into the butternut squash taste incredible!
Ingredient Notes:
- Butternut squash—This recipe can be made with butternut squash, honeynut squash (mini butternut squash), or any winter squash!
- Garlic – I recommend minced garlic over garlic powder.
- Thyme – Fresh thyme is more flavorful than dried.
You may also love this Roasted Kuri Squash side dish recipe.
Step-By-Step Photos and Directions:
Preheat your oven to 400º F.
Email This Recipe To Me!
Step 1: Chop up your butternut squash on a cutting board.
You can peel the butternut squash before cutting or remove the peel after cutting the butternut squash in half and removing the seeds. Do whichever is easiest for you.
Step 2: Add the chopped butternut squash to a bowl and drizzle with avocado or olive oil and the crushed garlic. (Feel free to use any light oil that can tolerate heat.) Toss the butternut squash pieces to coat them all.
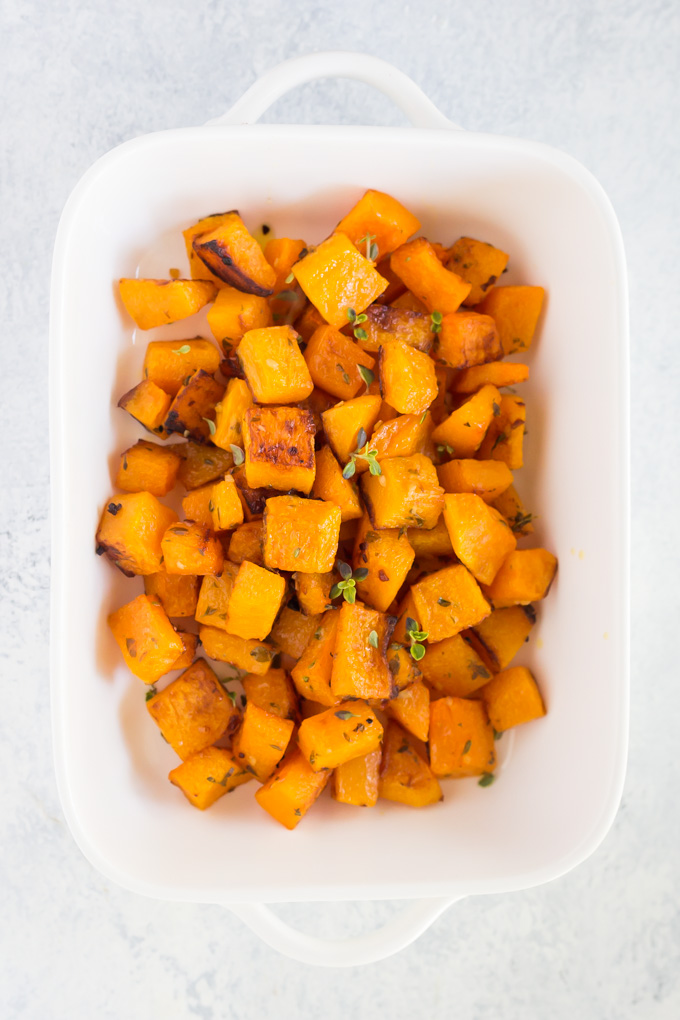
Step 3: Spread the butternut squash onto a parchment paper-coated baking sheet. Sprinkle with fresh thyme, salt, and pepper.
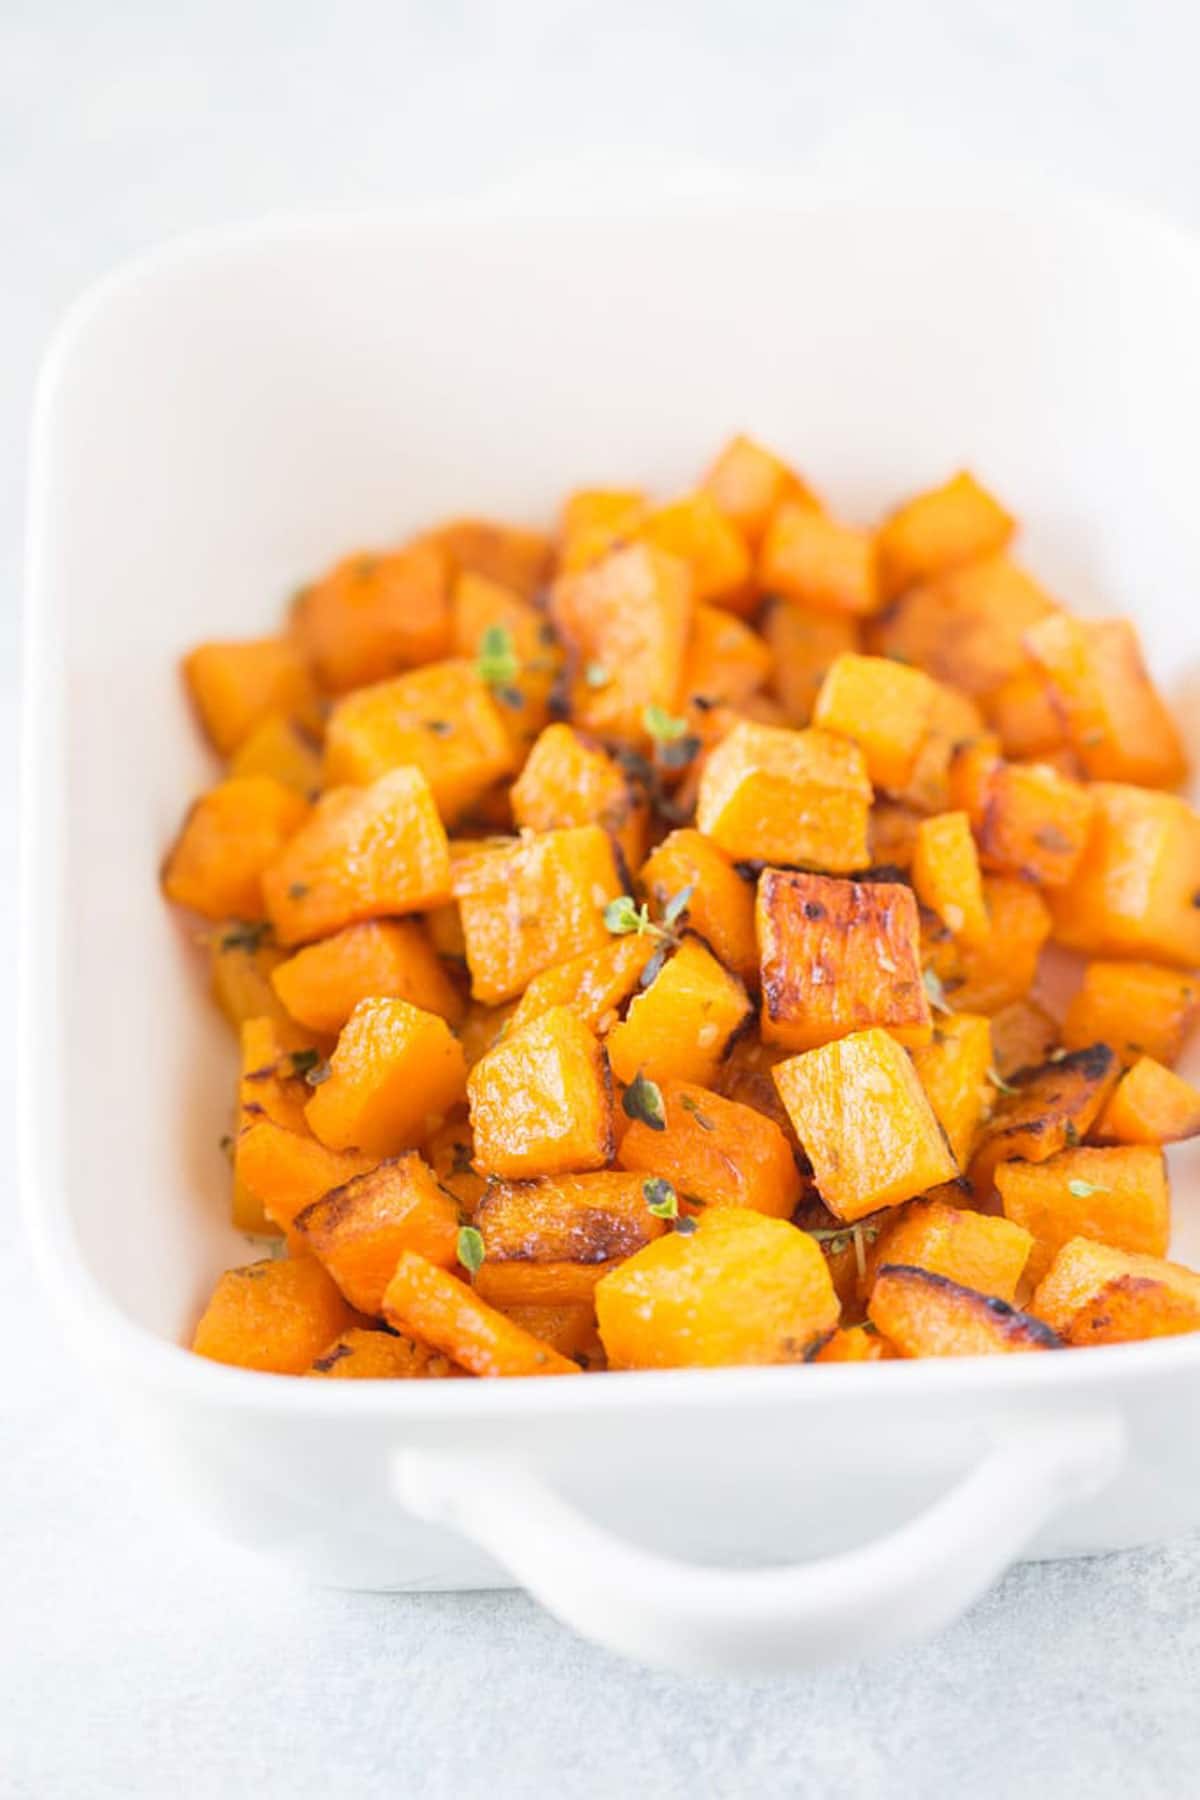
Step 4: Bake at 400º F for 30 minutes, turning them over at the 20-minute mark. Serve hot with dinner.
Make it in the air fryer!
- Follow the above directions.
- Preheat your air fryer to 400º F for 5 minutes.
- Add the seasoned butternut squash and spread it out on the bottom of the air fryer.
- Air Fry at 400º F for 10-12 minutes, stirring once so both sides cook.
Frequently Asked Questions:
You do need to peel the squash before roasting it in this recipe, but if you are roasting halved butternut squash, you can leave the peel on.
Butternut squash is not a bad carb because it has a lot of nutrition.
Whole butternut squash can last on the counter for up to a month or longer, depending on the temperature.
You can easily make this squash ahead by peeling and dicing it up to 2 days before roasting.
This roasted squash will keep fresh for up to 4 days in the refrigerator.
More Gluten Free Side Dish Recipes:
- Mashed Rutabagas
- Brown Sugar Cinnamon Carrots
- Gluten Free Stuffing
- Roasted Brussels Sprouts and Bacon
Love This Recipe?
If you made and enjoyed this recipe, I would be incredibly grateful if you could leave a comment below. This will help others know this recipe is delicious. Thank you!
Easy Garlic Thyme Roasted Butternut Squash
Ingredients
- 2 lb butternut squash 1 large , peeled and cubed
- 2 minced garlic cloves
- 2 tbsp olive oil * see note
- ½ tsp salt
- 1 tbsp fresh thyme
Method
- Preheat the oven to 400º F
- Line a sheet pan with parchment paper.
- Toss the peeled and cubed 2 lb butternut squash in 2 tbsp olive oil, 1/2 tsp salt, 2 minced garlic cloves, and arrange it in a single layer on the parchment paper-lined sheet pan.
- Sprinkle 1 tbsp fresh thyme over the butternut squash pieces.
- Bake for 30 minutes, turn squash pieces after 20 minutes and sprinkle with fresh thyme.
- Bake for a further 5-10 minutes or until it’s caramelized.
- Remove from the oven, serve hot.
Nutrition
Notes
- You can peel the butternut squash while it is whole then remove the seeds and chop it, or cut it in half, scoop out the seeds then remove the peel and chop it up.
- If you can’t find butternut squash, you can use any winter squash.
- You can make this ahead by peeling and chopping the butternut squash up to 2 days before baking.
- Store the roasted butternut squash in an airtight container in the fridge. It will keep fresh for up to 4 days in the refrigerator.
- Follow the above directions.
- Preheat your air fryer to 400º F for 5 minutes.
- Add the seasoned butternut squash and spread it out on the bottom of the air fryer.
- Bake for 10 minutes, stirring once so both sides cook.
Private Notes
Tried this recipe?
Let us know how it was!
I truly hope you enjoy this recipe. I have been testing and creating gluten-free recipes for over 15 years. Creating gluten-free recipes that do not taste gluten-free is my goal for every recipe. Sometimes I only have to test a new recipe a couple of times, and others it takes multiple times. I do this so you get reliable, delicious results every time!

The most delicious butternut squash I’ve ever had! Husband loved it, too. Thank you!
I am thrilled you all loved the recipe. Thank you so much for coming back to let me know!
I wanted a different kind of vegetable side for dinner so I decided to give this a try. Fearless dining recipes have never failed me before so I gave it a try. Oh my! Let me tell you how amazing these were. There were no left overs! Absolutely delicious!
I am so glad you loved the butternut recipe, Laura. Thank you so much for coming back to let me know!