
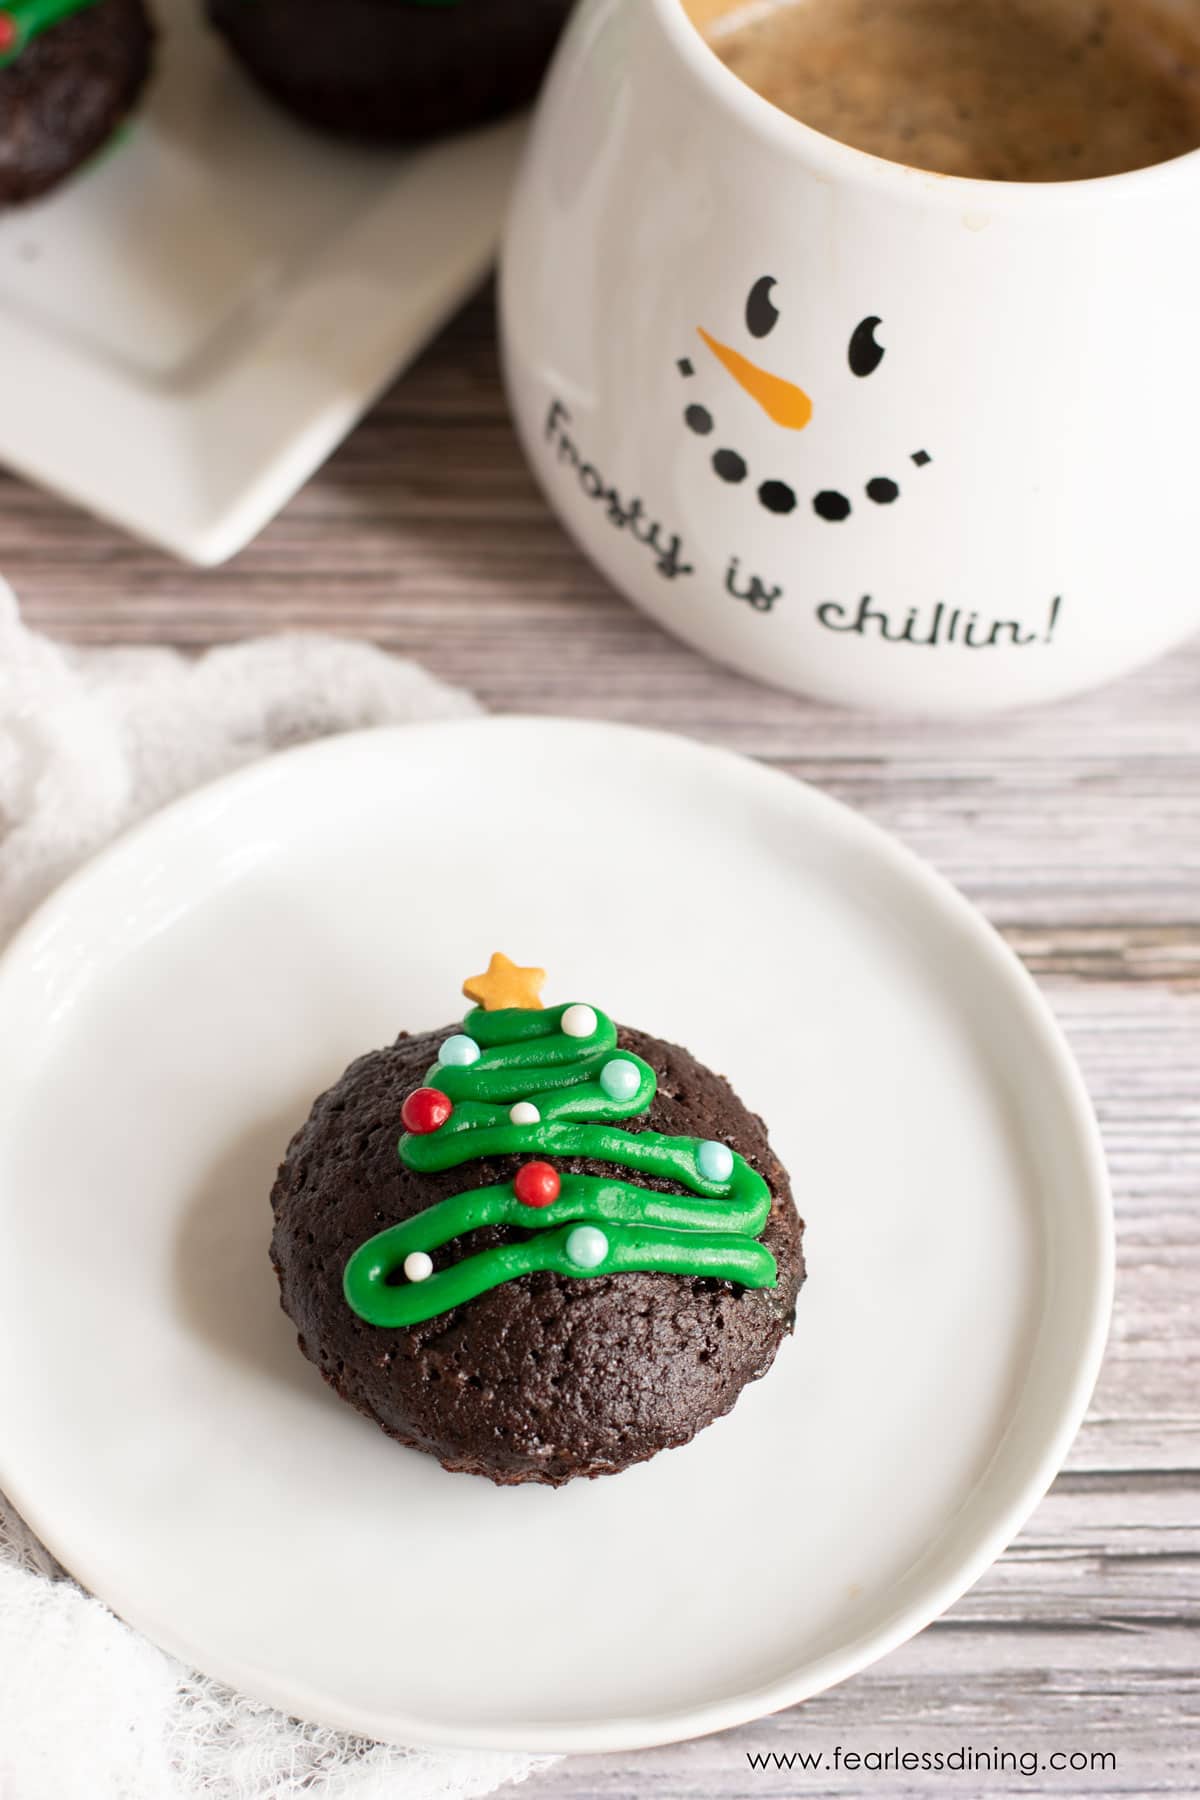
If you are craving something rich, chocolaty, and just the right size for a sweet treat, my gluten-free brownie bites are the answer. They are everything you love about fudgy brownies, but in perfectly bite-sized portions. The edges bake up slightly crisp, the centers stay soft and rich, and they’re easy to dress up for any holiday or occasion.
This post may contain affiliate links. Please read our Disclosure Policy.
❤️ Sandi’s Recipe Summary
The Quick Bite: These gluten free brownie bites are fudgy and delicious. I share options for a crinkled top or a regular top (best for decorating).
This recipe is based on my most popular gluten-free brownie recipe, which I adapted into mini muffins so you can serve them at parties, add festive sprinkles, or just sneak one from the fridge when that chocolate craving hits. This gluten free dessert is easy to customize with your favorite mix-ins or toppings.
If you are looking for a quick brownie fix, you can enjoy this easy gluten-free brownie mug in about 3 minutes!
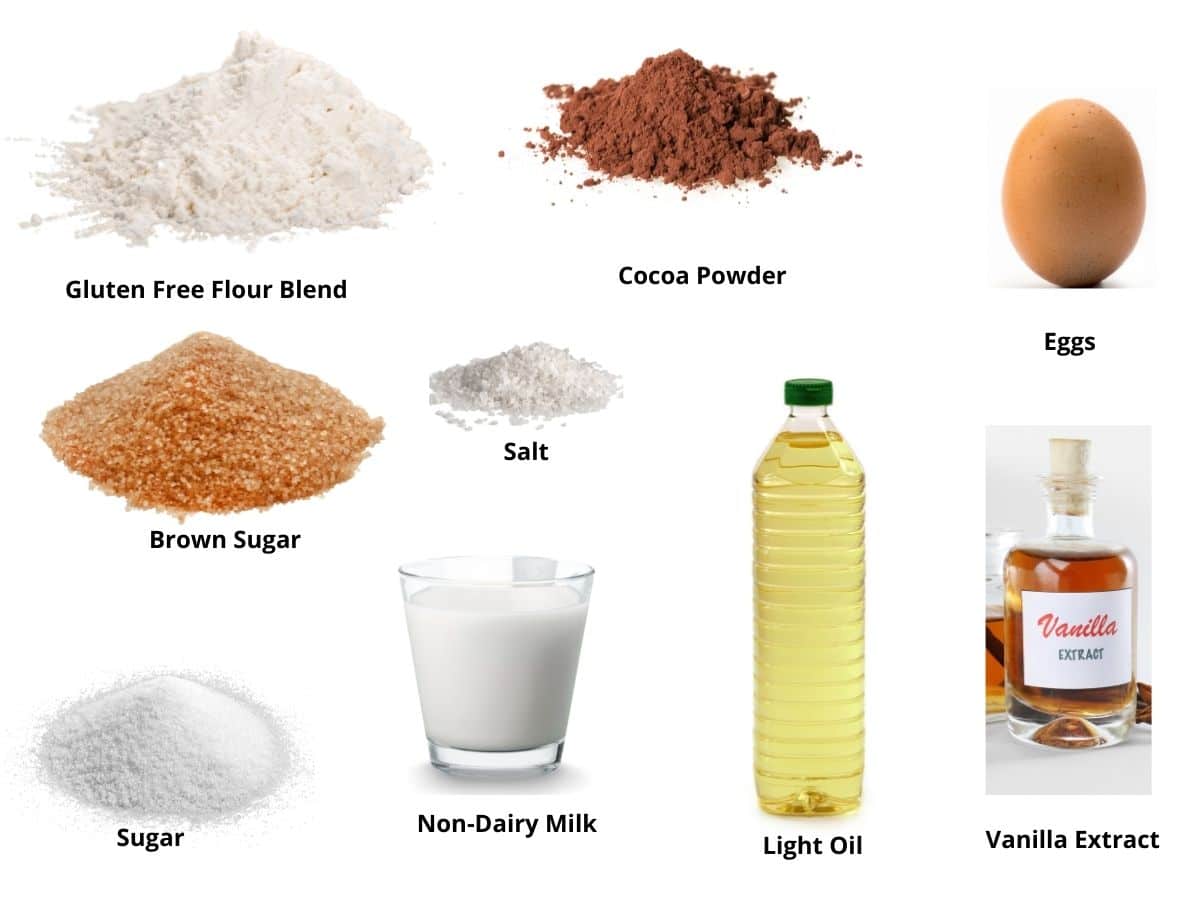
Ingredient Notes:
For the full list of ingredients and amounts, please go to the recipe card below.
- Gluten-Free Flour Blend – I tested this recipe using Bob’s Red Mill 1 to 1 and King Arthur Measure for Measure. That doesn’t mean others will not work; I just have not tested other flours, and I can not guarantee the recipe will work if you use other mixes.
- Xanthan Gum – If your gluten free flour blend doesn’t contain xanthan gum or guar gum, please add 1 teaspoon.
- Non-Dairy Milk – I used almond milk, but other dairy-free kinds of milk will work. I do not recommend canned coconut milk.
- Cocoa Powder – I prefer using Anthony’s Cocoa Powder because it is batch tested to verify it is gluten free.
- Chocolate Chips – I tested tis recipe using Ghirardelli chocolate chips. Other brands will also work.
- Oil – I recommend coconut oil or canola oil. Using oil adds moisture without dairy
- Eggs – Size large.
How to Make Moist Gluten-Free Brownie Bites (Step-By-Step)

Step 1: In a large mixing bowl, whisk together your gluten-free flour blend, cocoa powder, baking powder, and salt. Whisking helps evenly distribute the cocoa and avoids clumps later.
Step 2: In a separate bowl, add your eggs, sugar, oil, non-dairy milk, and vanilla. Whisk until smooth and slightly thickened; this helps you create a rich, creamy batter.
Sandi’s tip for a shiny crinkle-top finish: Beat the eggs and sugar on high speed for 3 to 5 minutes before adding the other wet ingredients. This helps form a delicate meringue-like crust on top of your brownie bites, even when made with oil instead of butter!
Step 3: Pour the wet ingredients into the dry and mix just until no streaks remain. The batter should be thick but spoonable. Now is the time to stir in your mix-ins.
Too thick? Add 1 to 2 tablespoons of milk. Too thin? Sprinkle in a spoonful of flour until it holds its shape on a spoon.

Email This Recipe To Me!
Step 4: Do a batter check to make sure it is the right consistency.
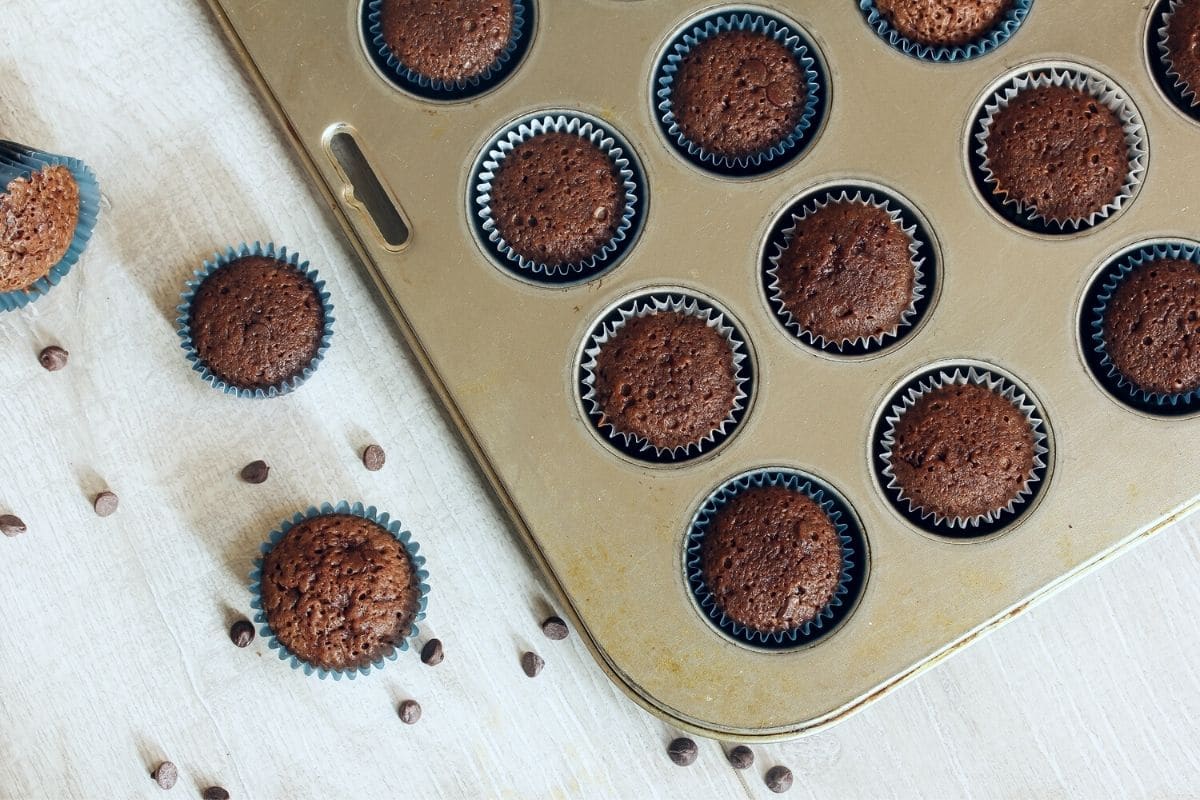
Step 5: Lightly grease a mini muffin pan or mini muffin paper liners. I prefer parchment liners because they peel away cleanly and keep the bites from sticking.
Step 6: Use a small cookie scoop or spoon to fill each muffin well about ¾ full. Gently smooth the tops with the back of a spoon if needed.
Step 7: Bake at 350ºF for 15 to 20 minutes. Begin checking at 15. A toothpick inserted in the center should come out with moist crumbs, not wet batter. Do not overbake these bites. They are best when the edges are set and the centers are soft.
Step 8: To test for doneness, insert a toothpick into the center of a brownie. If the toothpick comes out clean, it is done baking. If you see batter or crumbs, the brownies need to bake longer.
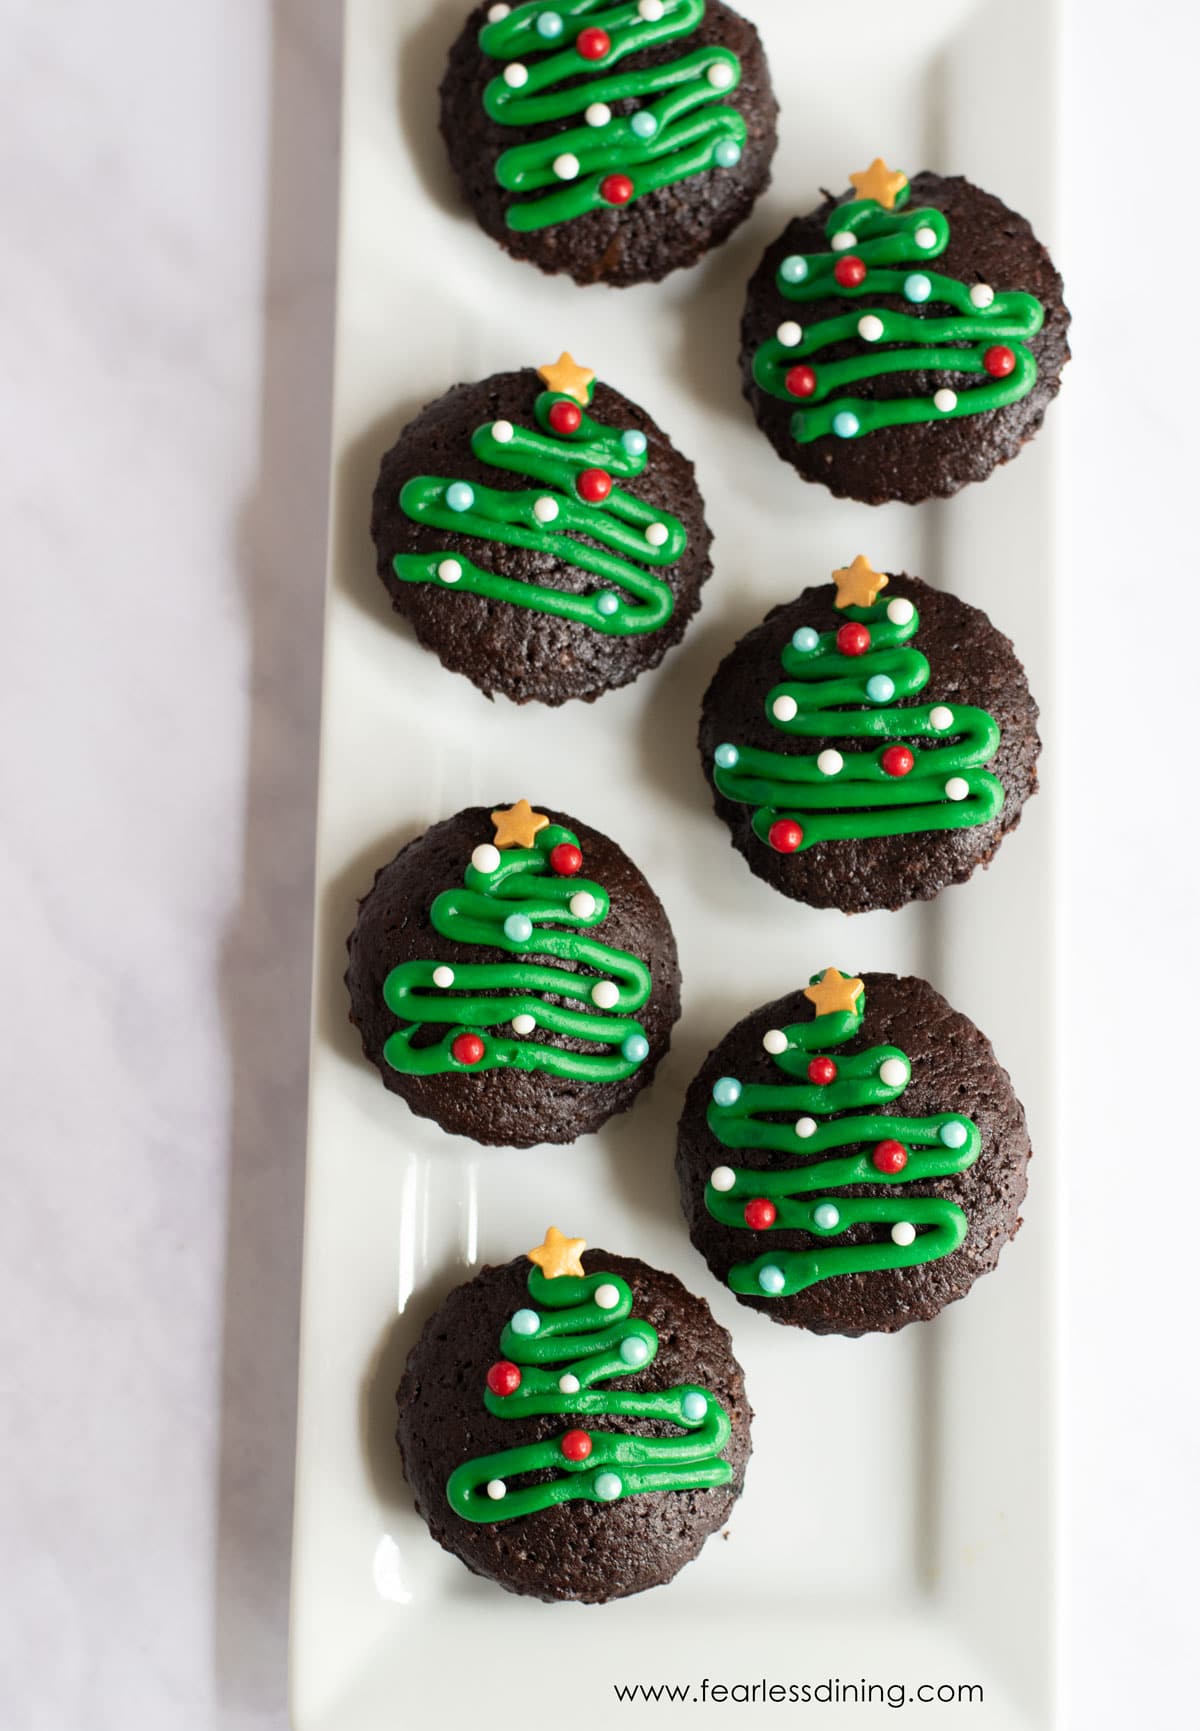
Step 9: Let the brownie bites cool in the pan for about 10 minutes before transferring to a wire rack. Once fully cool, top with icing, sprinkles, or a drizzle of melted chocolate. They’re also delicious just as they are.
Try these fun flavor variations:
There are so many fun ways to vary this recipe. You can also decorate them based on the holiday or occasion!
- Chocolate Chip Brownie Bites: Stir in ½ cup of dairy-free chocolate chips for extra melty bites.
- Peanut Butter Center: (Mr. Fearless Dining’s favorite!) Add 1 teaspoon of peanut butter to the center of each muffin well before baking. Cover with more batter for a surprise filling.
- Mocha Bites: (Sandi’s favorite!) Add 1 to 2 teaspoons of instant espresso powder to the dry ingredients to bring out a deeper chocolate flavor.
- Nutty Brownie Bites: Fold in ¼ cup chopped walnuts or pecans for a classic twist.
Storage and Freezing Tips:
- These brownie bites will keep for up to 4 days in an airtight container.
- You can easily freeze these brownie bites. Once the brownie bites are completely cooled, place them in a single layer on a baking sheet and freeze for 1 hour. Then transfer to a freezer-safe container or zip-top bag. They will keep well for up to 2 months.
- Thaw at room temperature or warm briefly in the microwave.
Frequently Asked Questions:
Check the expiration date of your leavener. Often, this is caused by the leavener being expired.
Yes, you can add chocolate chips, nuts, or any mix-ins you like.
Yes, you can use a standard muffin pan if you do not have a mini one. Fill each well about 1/2 full and bake for 20 to 25 minutes, checking for doneness with a toothpick in the center. The bites will be larger but just as delicious!
They are soo good! I added gf chocolate chips…crazy good.”
Carole S.
Make Gluten-Free Brownie Bites Out of These Brownie Recipes:
Love This Recipe?
💬 Did you make this gluten-free brownie bites recipe? I’d love to hear how it turned out, and which pan or flour blend you used! Your feedback helps others (and helps me keep improving these recipes for you). ⭐⭐⭐⭐⭐
Gluten-Free Brownie Bites (Dairy-Free)
Ingredients
- 1 cup gluten free flour blend * see note
- ½ cup cocoa powder unsweetened
- 1 cup cane sugar
- ½ cup brown sugar
- ½ cup light oil * see note
- ½ cup non-dairy milk * see note
- 3 large eggs
- 2 teaspoons pure vanilla extract
- ¼ teaspoon salt
- 6 ounces chocolate chips
Equipment
- mini muffin pan
- mini parchment paper liners
Method
- Preheat the oven to 350º F. Use the bake and not convection bake setting. Place the oven rack in the middle position in the oven.
- Spray non-stick coconut oil in a mini muffin pan, or line it with mini muffin liners.
- In a large bowl, add 1 cup gluten free flour blend, 1/2 cup cocoa powder, 1 cup cane sugar, 1/2 cup brown sugar, and 1/4 teaspoon salt. Whisk to blend.
- Melt the 6-ounce chocolate chips in 20-second intervals in a microwave-safe dish. Stir between each interval until the chips are melted. This will help prevent them from burning. You can also melt them in a double boiler.
- In a smaller bowl, add 1/2 cup light oil, 1/2 cup non-dairy milk, 3 large eggs, the melted 6 ounces chocolate chips, and 2 teaspoons pure vanilla extract. Whisk to blend.
- If you're aiming for a crinkle top, beat the eggs and sugar with a mixer for 3-5 minutes until the mixture is pale and airy before adding the oil, melted chocolate, milk, and vanilla.
- Pour the wet ingredients into the dry ingredients and mix.
- Fill each muffin tin section 3/4 full of the gluten free brownie batter.
- Bake for 15-20 minutes depending on the size and depth of the mini sections.
- Allow the brownie bites to cool then decorate with icing and sprinkles.
Nutrition
Notes
- I have tested this recipe with King Arthur Measure for Measure and Bob’s Red Mill 1 to 1. Other blends will work, but you may need to tweak the moisture levels.
- Xanthan Gum – If your gluten free flour blend does not contain xanthan gum or guar gum, please add 3/4 teaspoon.
- I used almond milk, but other dairy-free types of milk and regular milk will work.
- I recommend using either canola or coconut oil. Using a light oil gives better results.
- To test for doneness, insert a toothpick into the center of a brownie. If the toothpick comes out clean, it is done baking. If you see batter or crumbs, the brownie bites need to be baked longer.
Private Notes
Tried this recipe?
Let us know how it was!
I truly hope you enjoy this recipe. I have been testing and creating gluten-free recipes for over 15 years. Creating gluten-free recipes that do not taste gluten-free is my goal for every recipe. Sometimes I only have to test a new recipe a couple of times, and others it takes multiple times. I do this so you get reliable, delicious results every time!

Can I make these with regular milk??
Hi Kathy, You can easily use regular milk in this recipe.
These were wonderful! I made a half recipe. It made 24 brownie bites and they are delicious! Thank you!
I am so glad you loved this brownie recipe, Carol. Thank you!