Crispy, lacy, and lightly sweet, these homemade gluten-free pizzelles taste like a cross between a delicate sugar cookie and a crunchy waffle cone. They’re one of our family’s favorite cookies for good reason: you can flavor them so many ways, shape them into edible bowls or cones, and make them in just 10 minutes with a pizzelle iron!
This post may contain affiliate links. Please read our Disclosure Policy.
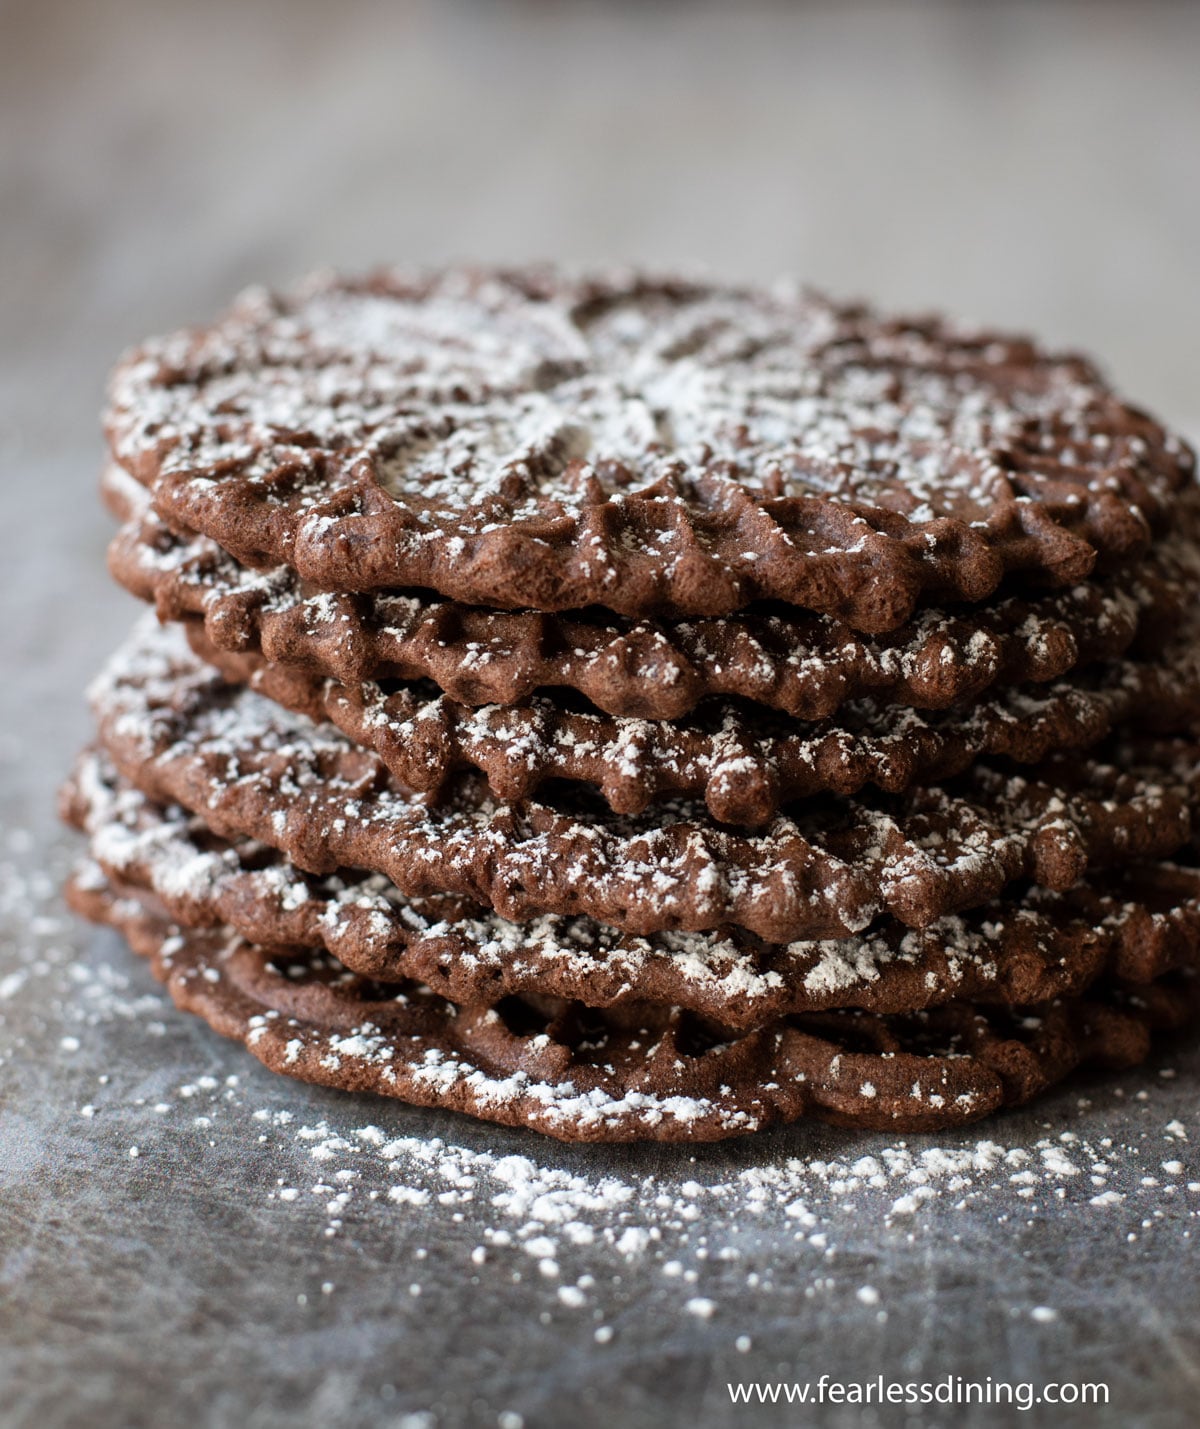
I am really excited to share my homemade gluten free pizzelles cookie recipe with you. These crispy waffle-shaped cookies are quick and easy to make. This recipe can be made with chocolate, or use one of my fun flavor variations to these popular cookies in lots of delicious flavors.
You might be thinking, what are pizzelles? Pizzelles are an Italian cookie that resembles little waffles. They are often referred to as Italian waffle cookies. They are great anytime, but they are most commonly made around the holidays. I love making these cookies for gifting or using them to make these Gluten-Free Ice Cream Tacos.
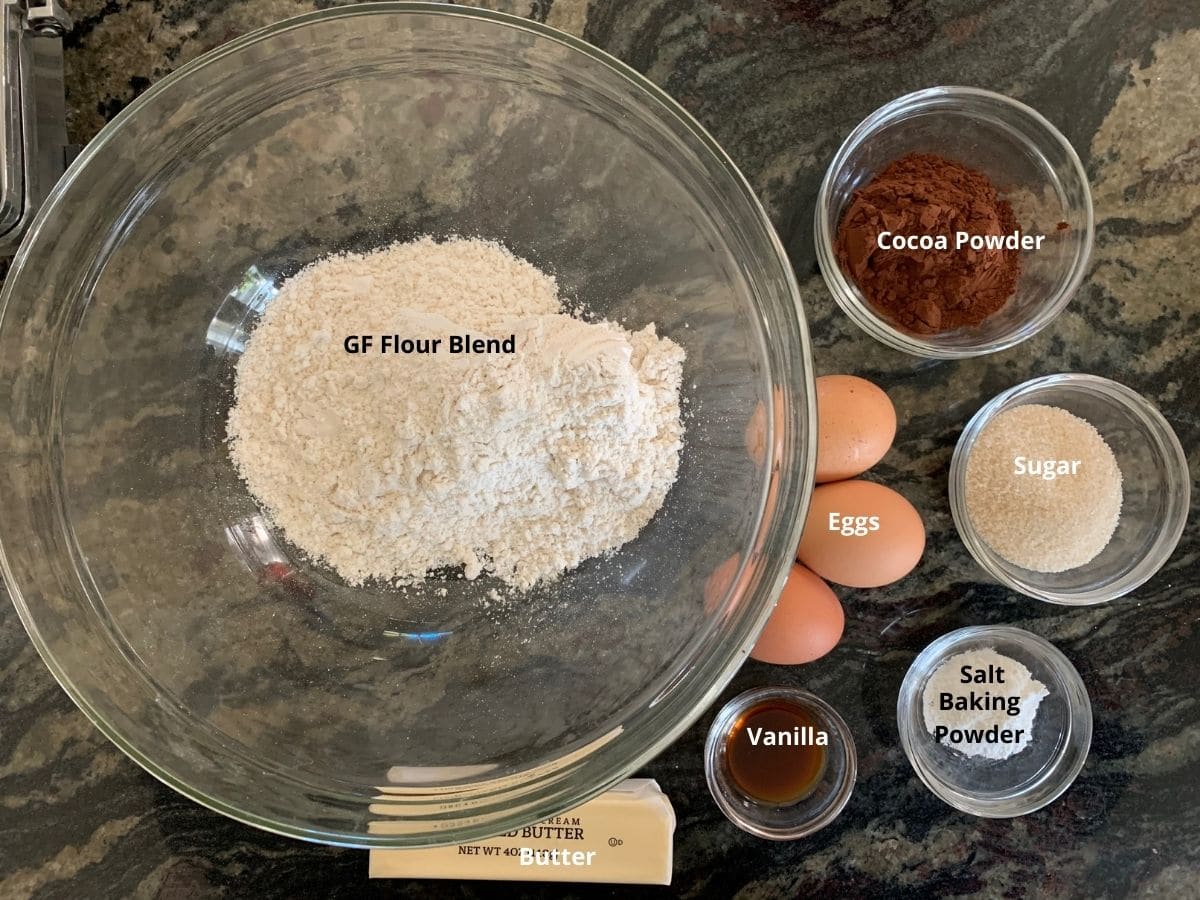
Ingredient Notes:
For the full list of ingredients and amounts, please go to the recipe card below.
- Gluten-Free Flour Blend – I have tested this recipe with King Arthur Measure for Measure and Bob’s Red Mill 1 to 1. Other blends will work, but each varies in the starch to grain ratio. This means it is normal to have to adjust your moisture levels depending on the flour blend you use. If your blend doesn’t contain a binder, add 3/4 tsp xanthan gum. Read more about binders in gluten-free baking.
- Baking Powder – Use aluminum-free baking powder.
- Butter – Use unsalted butter. See the Substitutions section below for a dairy-free option.
- Eggs – Use large eggs.
Substitutions:
- Many of my readers can’t have xanthan or guar gum. To make this recipe gum-free, use my DIY Gluten-Free Flour Blend. It uses psyllium husk instead of xanthan or guar gum
- To make this recipe dairy-free, use plant-based butter.
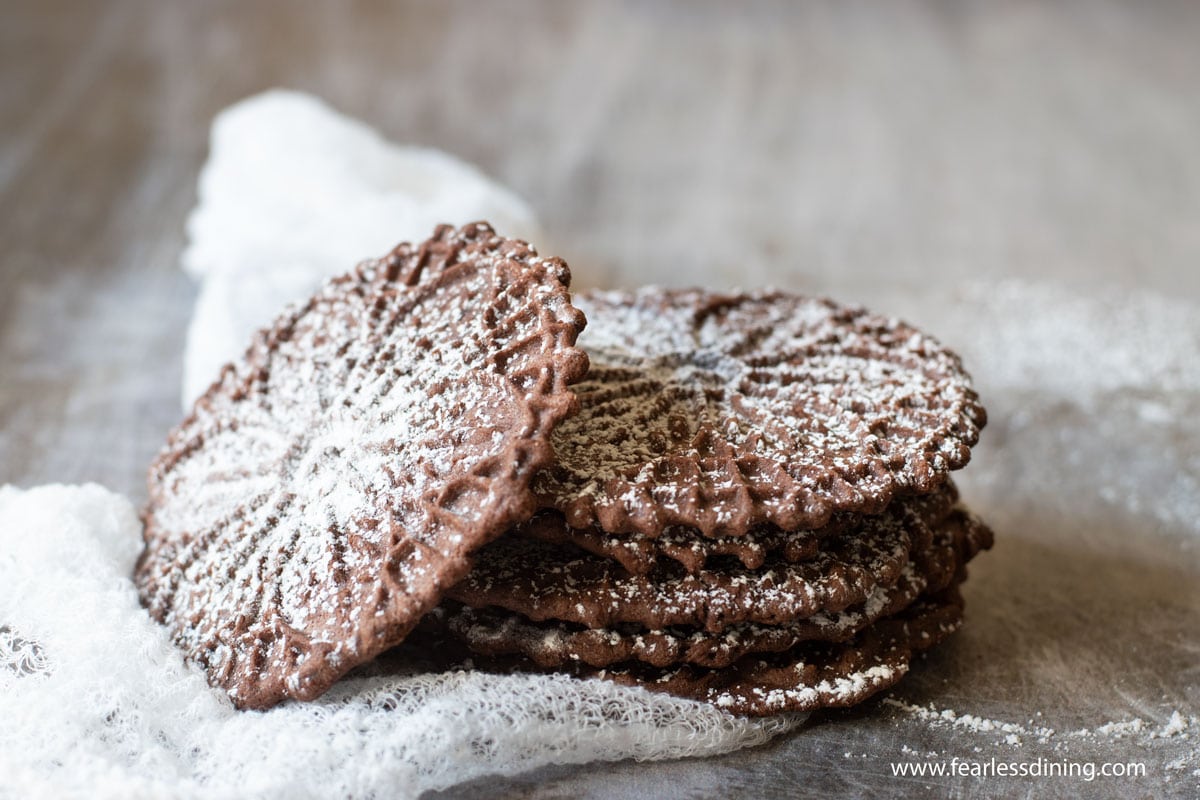
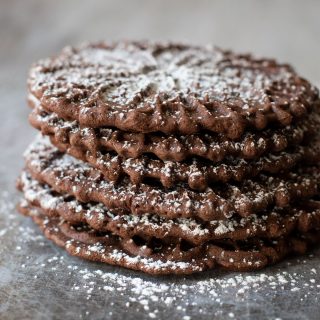
For this recipe, I made chocolate-flavored pizzelle cookies. If you love chocolate as much as we do, check out my easy Gluten-Free Chocolate Desserts.

A Note From My Kitchen
If you’re new to pizzelles, don’t worry-they’re easier than they look! The batter comes together quickly, and once you get the hang of using your pizzelle iron, you’ll be cranking out these crispy cookies in minutes. One tip: If the batter spreads too much or not enough, adjust the amount by half a teaspoon. And don’t forget, you can flavor these yummy cookies in so many fun ways. My family especially loves the citrus and chocolate combos!
How to Make Gluten-Free Pizzelles (Step-By-Step)
Before mixing your batter, plug in your pizzelle maker and let it fully preheat according to the manufacturer’s instructions. Most irons have an indicator light that turns off or changes color when it’s ready. Preheating ensures even browning and helps prevent sticking.
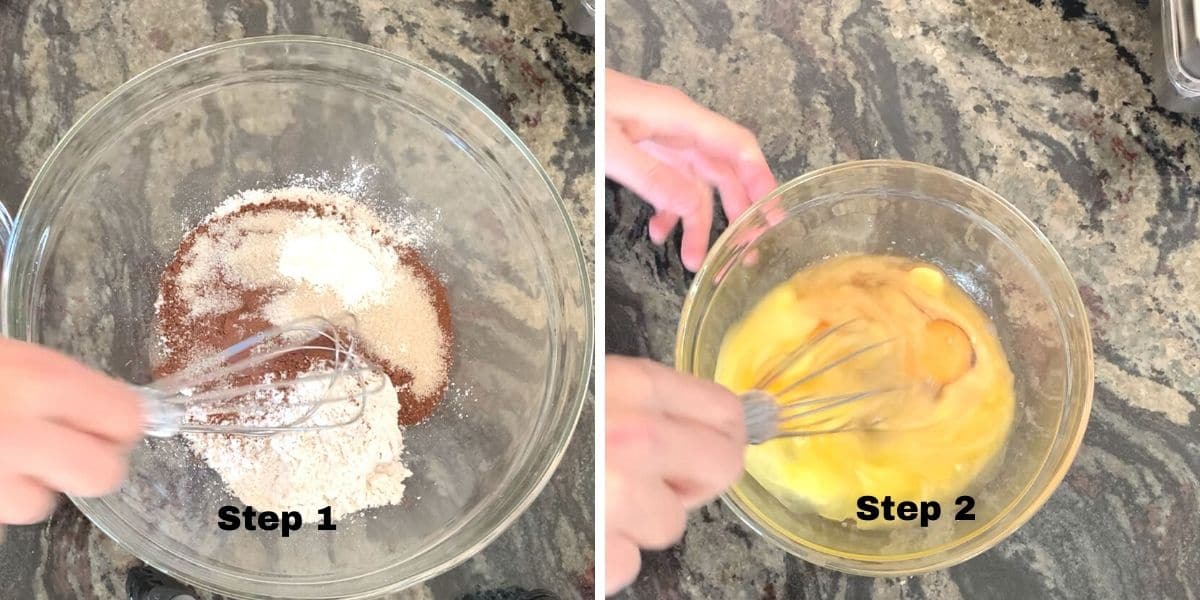
Step 1: Combine the dry ingredients to a large
Step 2: Add your wet ingredients in a smaller bowl and whisk. Make sure the butter is not too hot or it may scramble the eggs. If you think the butter is hot, let it cool for a few minutes before adding the rest of the wet ingredients.
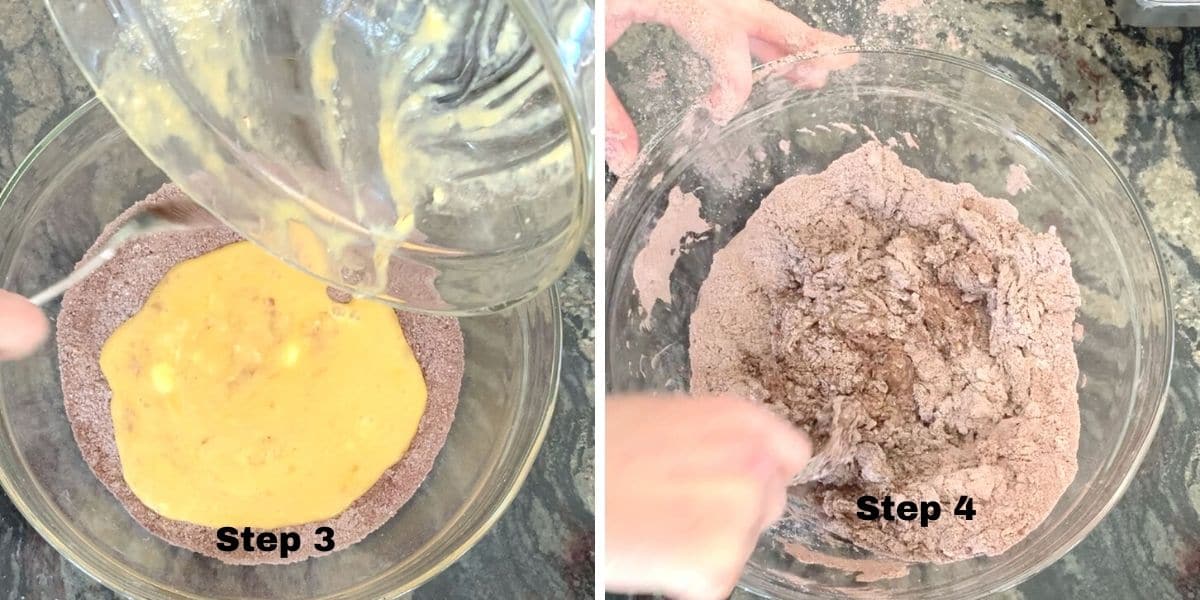
Step 3: Pour the wet mixture into the dry ingredients. Use a silicone spatula or spoon to mix everything together until a soft batter forms. It should be slightly thicker than pancake batter and spoonable but not runny.
Don’t forget to evaluate your cookie dough before adding it to the pizzelle maker!
Dough Too Dry? Add 1 tablespoon of melted butter at a time until the texture loosens slightly.
Dough Too Wet? Sprinkle in 1 tablespoon of flour and stir. Let it sit for 2 to 3 minutes to hydrate before deciding if you need more.
Step 4: Mix the ingredients until a soft batter forms. If your dough is crumbly, add more liquid. If your dough is too wet, add more flour. Ultimately, it will depend on which flour blend you use.
🔑 Sandi says: Gluten-free flour blends vary! Some absorb more liquid than others. If you are using a new blend, jot down how your batter feels so you can adjust faster the next time you make these cookies.
Email This Recipe To Me!
Tip: If your pizzelle maker tends to stick, very lightly mist it with oil and wipe off the excess with a paper towel before the first batch. Do not spray between batches because too much oil can make the cookies greasy.
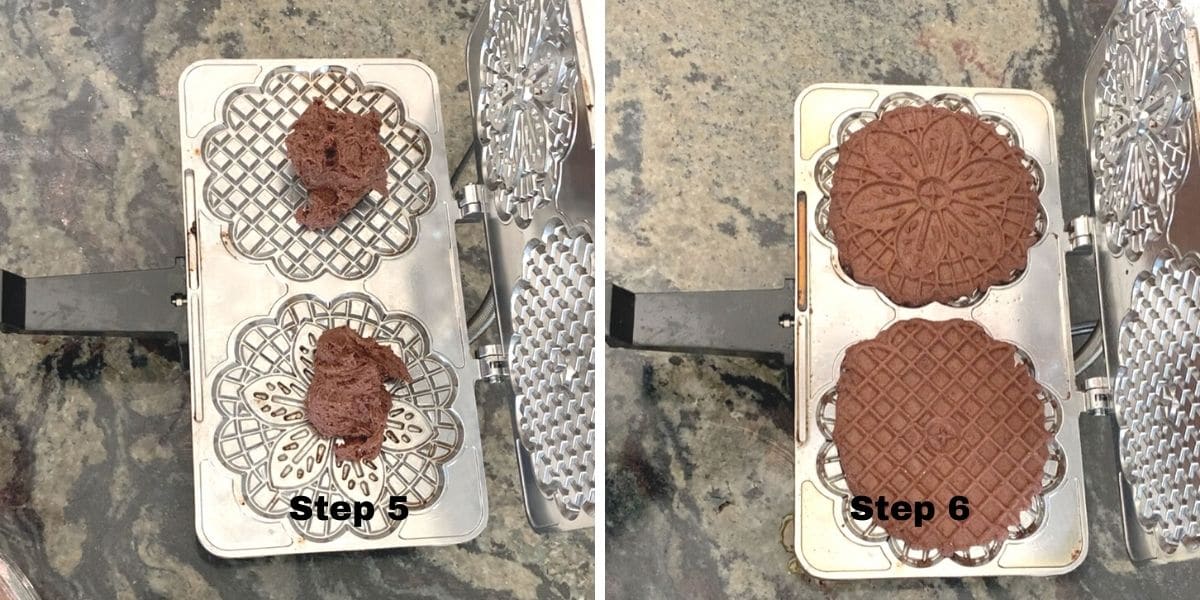
Step 5: Heat your pizzelle maker according to brand instructions. I own the CucinaPro Pizzelle Maker brand. It is easy to use and it cleans very easily.
Scoop about 1 tablespoon of batter and place it slightly off-center toward the back hinge of the pizzelle iron (the side that closes first). When you close the lid, the batter will spread forward to fill the mold. I always recommend starting with a small amount of dough. Every pizzelle maker is different in the cookie size. Too much batter can ooze out the sides.
Step 6: Cook in the pizzelle maker for 1 minute and lift the lid. If you are going to bend the pizzelle cookie, you have a very short time to do this, so move quickly while the pizzelle is still hot. They are done when they are golden brown on both sides and they lift easily without sticking.
How to shape pizzelles for bowls and shells:
Use a small spatula or fork to carefully lift the pizzelle from the iron. If you want to shape it into a taco shell or bowl, do this immediately while it is hot and pliable.
- For bowls: Press the hot pizzelle over the base of a small glass or ramekin.
- For taco shells: Lay the cookie over a thin rolling pin or the handle of a wooden spoon. Let it cool until firm.
Easy Tips For Success:
- Every manufacturer has different instructions to use their iron. Follow the directions for using the cookie iron you own.
- If your cookie dough seems wet, add 1-3 TBSP of additional flour. Every blend varies and this can affect the moisture. If your dough seems dry, add more butter.
- Let the pizzelles cool to crisp before handling too much.
Pizzelle Flavor Options:
The sky is the limit to flavoring pizzelle cookies! Here are some of my favorite flavors:
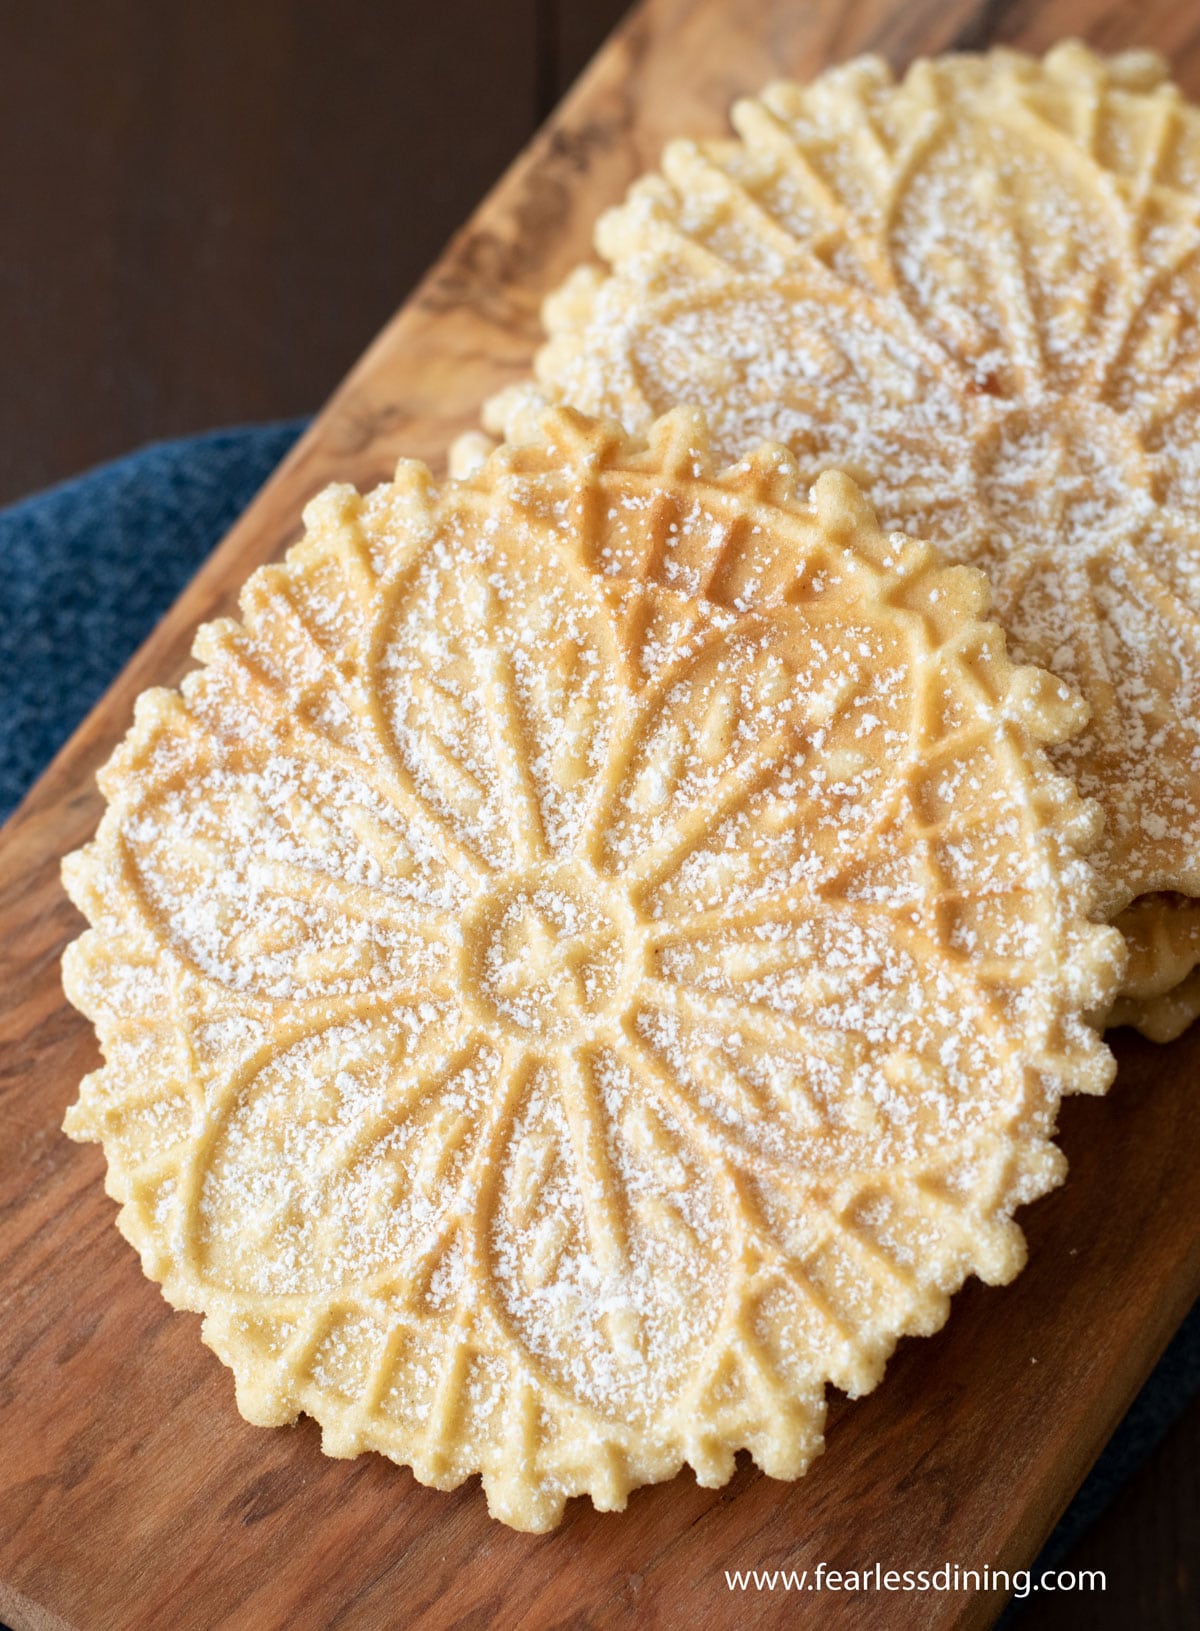
- Vanilla: Pictured above, omit the cocoa powder from the recipe below.
- Peppermint: Add 1 teaspoon of peppermint extract.
- Citrus: Add 1 tablespoon of orange zest. You can also do this with lemon zest. You can also use a citrus emulsion or extract.
- Almond: Add ½ tsp of almond extract + omit cocoa powder.
- Anise: Add ½ tsp of anise extract for a traditional holiday twist.
If you love making holiday cookies, try my buttery Gluten-Free Spritz Cookies, too!
Frequently Asked Questions:
Pizzelle means round and flat, which perfectly describes these cookies.
You can either dust them in powdered sugar or drizzle them with melted chocolate.
Pizzelles tend to absorb moisture and lose their crispiness. Store the pizzelle cookies wrapped in foil and keep them in a paper bag to prevent moisture from getting in. These cookies will last up to 4 days in an airtight container or up to 4 months in the freezer.
Unfortunately, no. Pizzelles need the special iron to create their signature thin, lacy texture.
More Gluten-Free Cookie Recipes:
Love This Recipe?
💬 Did you make this gluten-free pizzelle cookie recipe? I’d love to hear how it turned out, and which pan or flour blend you used! Your feedback helps others (and helps me keep improving these recipes for you). ⭐⭐⭐⭐⭐
Crispy Gluten Free Pizzelles Cookies
Equipment
Ingredients
- 1 ½ cups gluten free flour blend * see note
- 2 teaspoons baking powder aluminum-free
- dash salt
- ¾ cup cane sugar
- ½ cup unsalted butter melted
- 3 large eggs
- 2 teaspoons pure vanilla extract
To Make Chocolate Flavor:
- 3 tablespoons cocoa powder
- 3 tablespoons additional sugar
To Make Citrus Flavor:
- 1 tablespoon orange zest
To Make Almond Flavor:
- 1 teaspoon almond extract
To Make Peppermint Flavor:
- ½ teaspoon peppermint extract
To Make Anise Flavor
- ½ teaspoon anise extract
Topping Ideas
- Dust with powdered sugar
- Dip in or drizzle with chococlate
Instructions
- Spray your pizzelle maker very lightly with spray oil. I used coconut oil. Wipe it off with a paper towel. Don't spray the iron between each batch.
- Plug in your Pizzelle maker so it can preheat. Choose what flavor of pizzelle cookies you want to make.
- In a large bowl, add 1 1/2 cups gluten free flour, 3/4 cups sugar, 2 teaspoons baking powder, and dash of salt. Whisk to blend.
- In a smaller bowl, add the wet ingredients, including the 1/2 cup of butter, 3 eggs, and flavoring. Whisk to blend.
- Pour the wet ingredients into the dry ingredients and mix.
- Put about 1 1/2 to 2 tablespoons batter on each pizzelle cookie section of the pizzelle cooker. Tip: try to put the batter a little off-center towards the brackets. This way, when you close the lid, it pushes the batter toward the handle and fills the shaped area better.
- Cook for one minute then open the lid and remove the pizzelles.
- If you plan to shape them, you need to be quick while they are hot. You can bend them around a knife to make "taco shells" or press around a glass to make a bowl shape.
- Dust with powdered sugar or drizzle/dip in melted chocolate.
Notes
- I have tested this recipe with King Arthur Measure for Measure and Bob’s Red Mill 1 to 1. That doesn’t mean others will not work, I just have not tested other flours.
- If your gluten free flour blend doesn’t contain Xanthan Gum or Guar Gum, please add 3/4 teaspoon.
- To make this recipe dairy-free, substitute the butter for vegan butter.
These cookies will keep fresh for up to 4 days in an airtight container or up to 4 months in the freezer. Wrap the cookies in foil and store them in a paper bag to keep them crispier.
Email This Recipe To Me!
SPECIAL NOTE
Please know that every gluten free flour blend has a different starch to grain ratio. If you use a blend I didn’t test, my rule of thumb is to add more flour if your dough or batter is wet and add more liquid if the dough or batter is too dry!
Nutrition
Nutrition Disclaimer
Nutritional information is an estimate provided to you as a courtesy. You should calculate the actual nutritional information with the products and brands you are using with your preferred nutritional calculator.
I truly hope you enjoy this recipe. I have been testing and creating gluten-free recipes for over 15 years. Creating gluten-free recipes that do not taste gluten-free is my goal for every recipe. Sometimes I only have to test a new recipe a couple of times, and others it takes multiple times. I do this so you get reliable, delicious results every time!

is it vanilla and the other flavor or replace vanilla with the other flavor?
Hi Paula, For the flavor variations, you would replace the vanilla with the suggested flavoring.
These are delicious. So far, I have made the vanilla and chocolate ones. Even my son, who is not GF, loves them.
Thanks Sandi. Your recipes are so appreciated
❤️
I am so glad you all loved them, thank you. Let me know what you think of the other flavors when you try them.
light texture, I made made pizzeles rolls , you can fill them and cover the ends with melted chocolate
Rolls sound so fun, France. Thank you so much for coming back to tell me you enjoyed my recipe.
This recipe came out perfect! I have the mini Dash pizzelle maker and 1.5 minutes in there was just right. I made a double batch, which worked great but tbh I don’t recommend or you’ll be making pizzelles for a thousand years, haha. I used KA flour and did half with orange zest and half with chocolate. I loved the orange. The chocolate was good too, but it wasn’t chocolatey enough for my tastes so I probably will try another variation next time (or maybe drizzle some extra chocolate?). Thank you for this fantastic recipe!
It is good to know the mini Dash pizzelle maker works well. I saw it at the store not too long ago. LOL, I made a double batch once, never again for the same reason. Cooking one or two at a time is very slow. Try using Dutch process or a richer cocoa powder when you make the chocolate ones again. If you do use one of those cocoa powders, they are more acidic so use baking soda with those two types of cocoa powder instead of baking powder.
I I love this recipe! I have recently started to bake using GF flour and am always on the lookout for recipes that are similar to my “old” AP flour recipes. I made the chocolate pizzelle and also added the orange rind. I didn’t have any butter so I used light olive oil instead. They turned out crispy with a perfect chocolate/orange flavour. I have been making pizzelle for years (I’m Italian) and my husband raved that these were the best I’ve ever made! I used a teaspoon to scoop up the dough, because we prefer them a little smaller. The recipe yielded 60 pizzelle. They will look great on my Christmas cookie platter!
I love knowing olive oil worked well in this recipe. I am thrilled you can enjoy your favorite holiday cookie again!
These are my mother in law’s favorite cookie. I make a batch every week for her.
I am so glad you made my cookie recipe for your mother in law. Thank you so much for coming back to let me know!
These pizzelles came out better than I could have imagined! I made the chocolate as well as the vanilla ones. I have been making these for years, as they are an old family tradition. But I was diagnosed with Celiac Disease last year in Oct/Nov and I was so stunned that I didn’t have it in me to try any of these recipes (gluten free). Well, I’m doing much better now and I am ecstatic to have my family tradition back! This recipe is crispier and lighter than a previous one I had and I am so happy. Thank you so much for making this SUPER EASY and delicious recipe available!
I am so glad you hear you can enjoy your holiday tradition again. You made my day and I am so glad you enjoyed this recipe. Merry Christmas!
Can the dough be made ahead and refrigerated, maybe a day or two?
Hi Alison, that should be fine.
Wonderful recipe, I made half of the recipe for my first try, added some ube flavoring and jam, used a mini pizelle maker, and am learning about sizing and timing. Great tip about positioning the dough back a bit. Much gratitude!
I am so glad you enjoyed the pizzelles! I love using jam. Ube jam sounds so unique and yummy I have to ask where you found it.
These are fantastic!! I was worried that I’d not get to enjoy pizzelles this year as a new Gluten Free person, but i found your recipe and they are so good even my family declared them better than the regular (non GF) versions. We then decided to make the chocolate ones and whoa, game changer – even better!! This just made my holiday – you have no idea!! Thank you so much for sharing this recipe! Now onto your spritz recipe!
I am so glad you loved the pizzelles. I adore the chocolate ones too! Have a wonderful holiday!