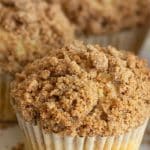
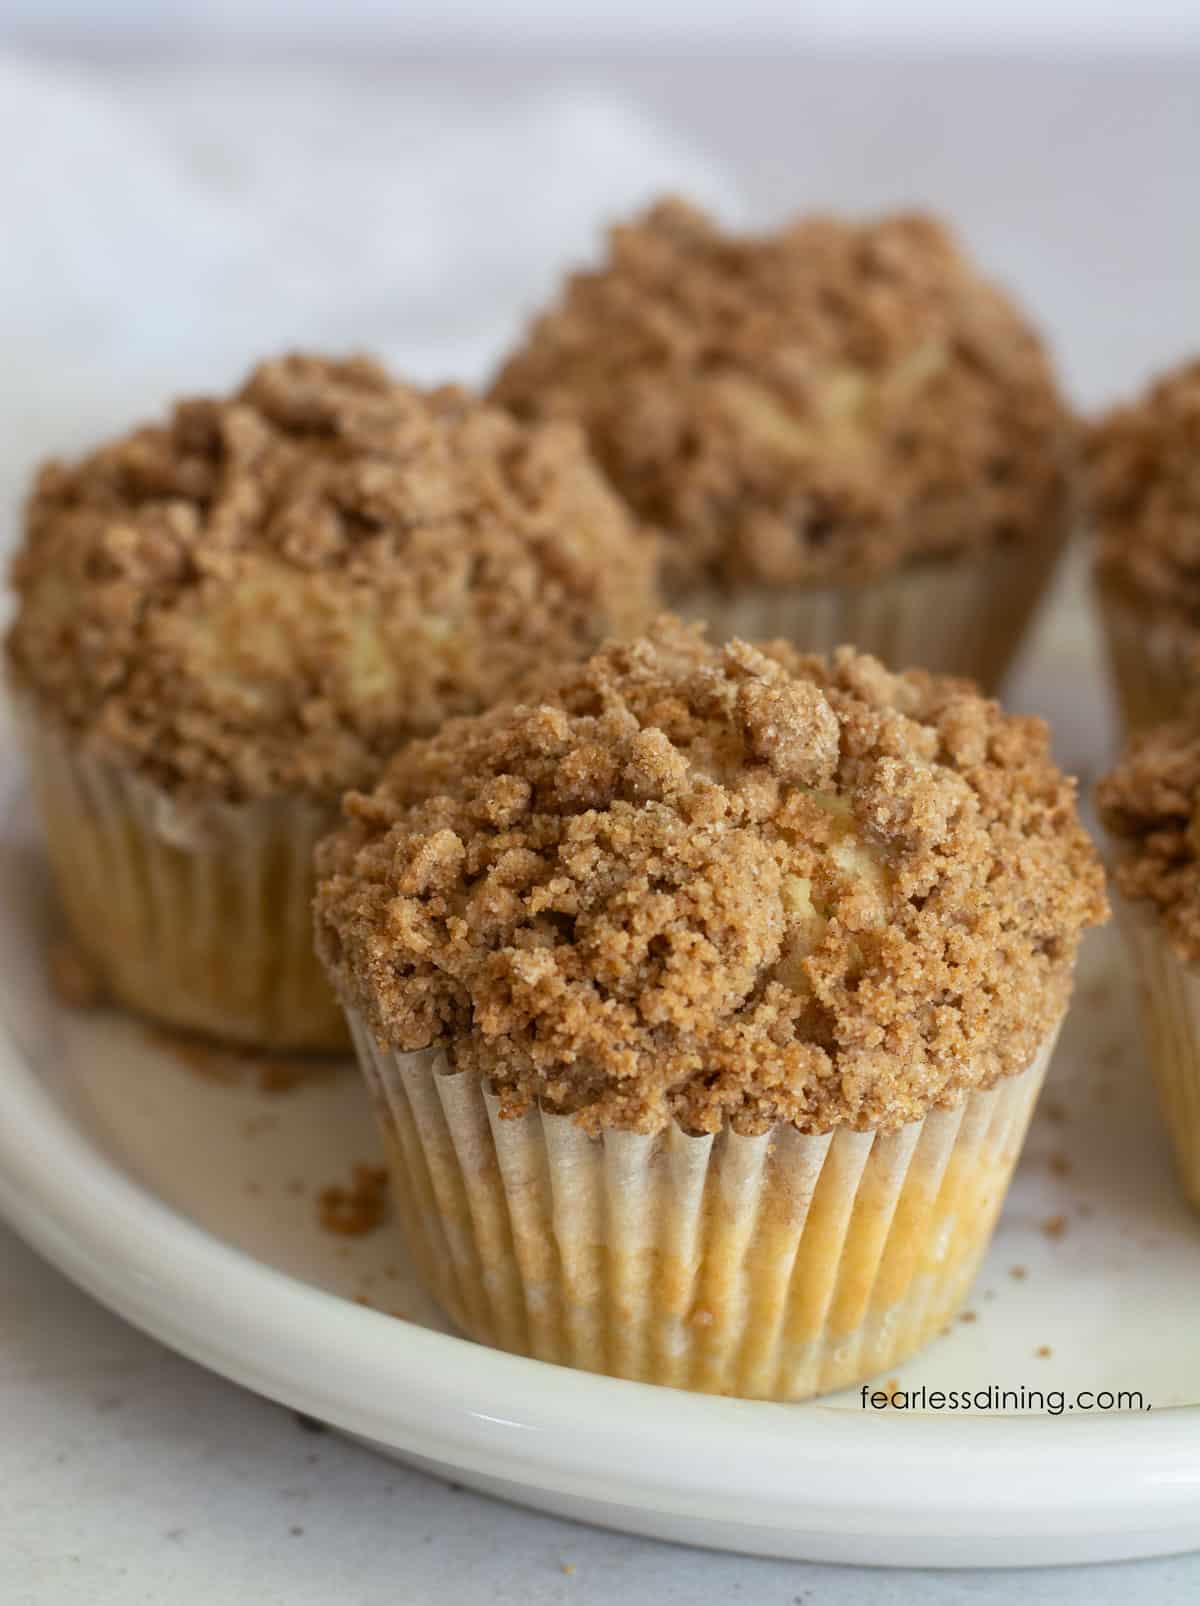
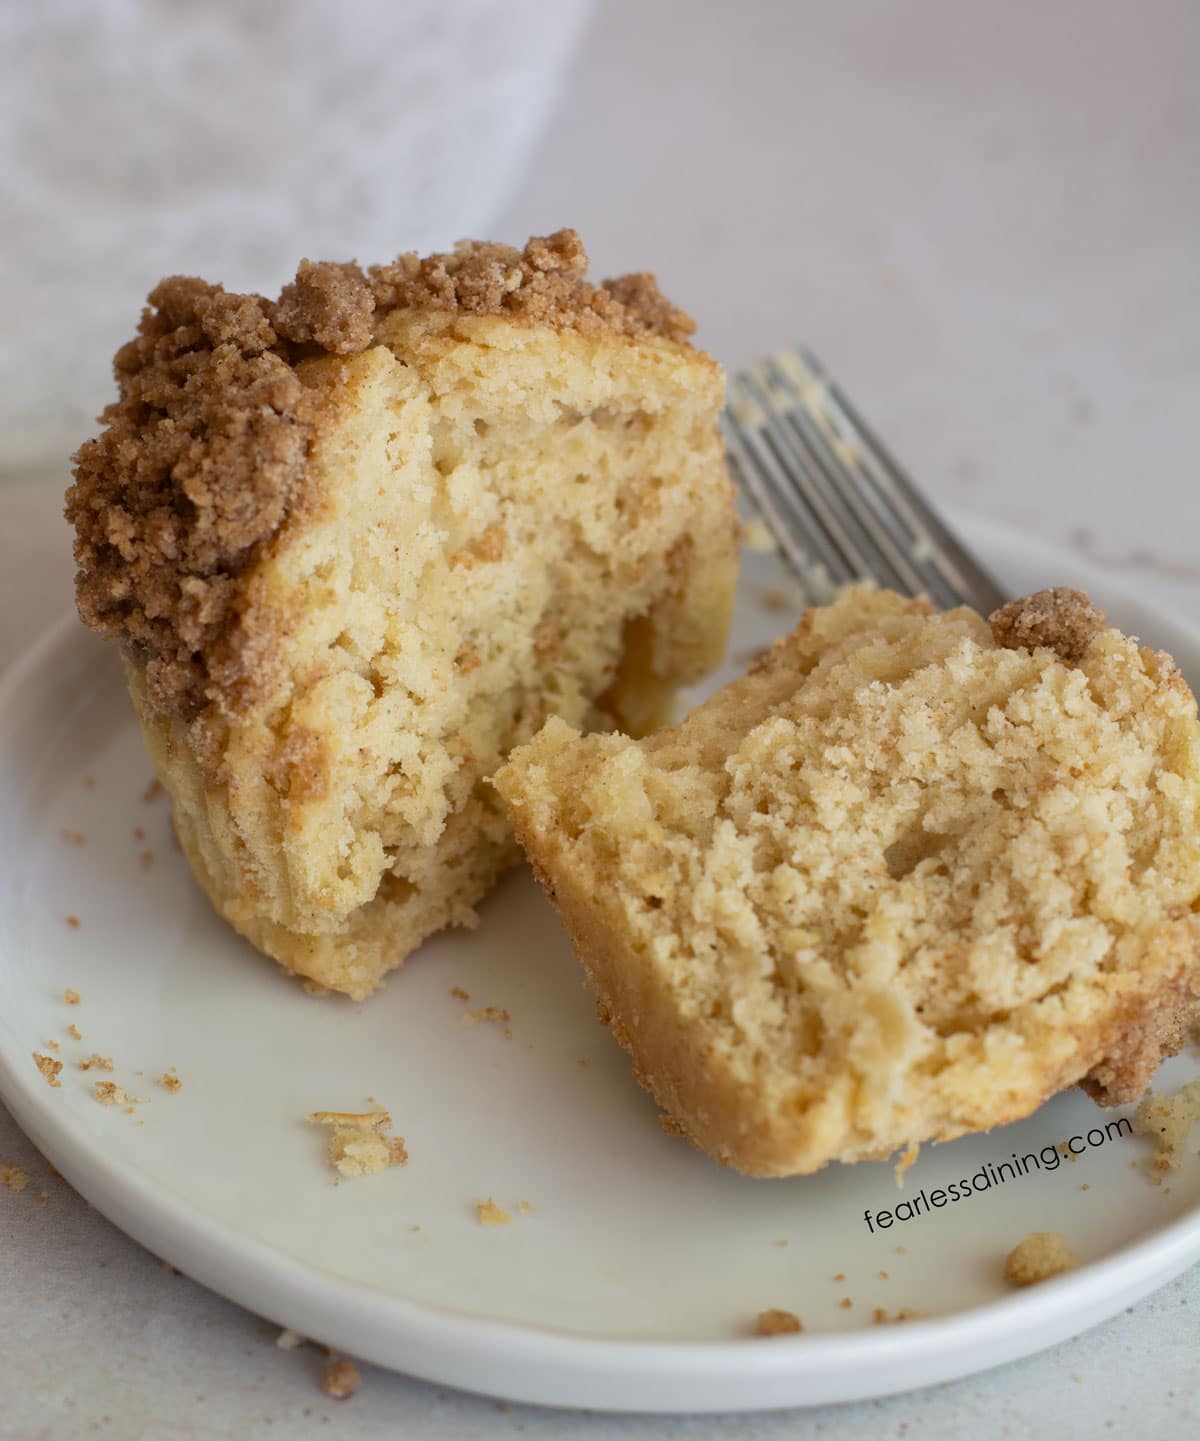
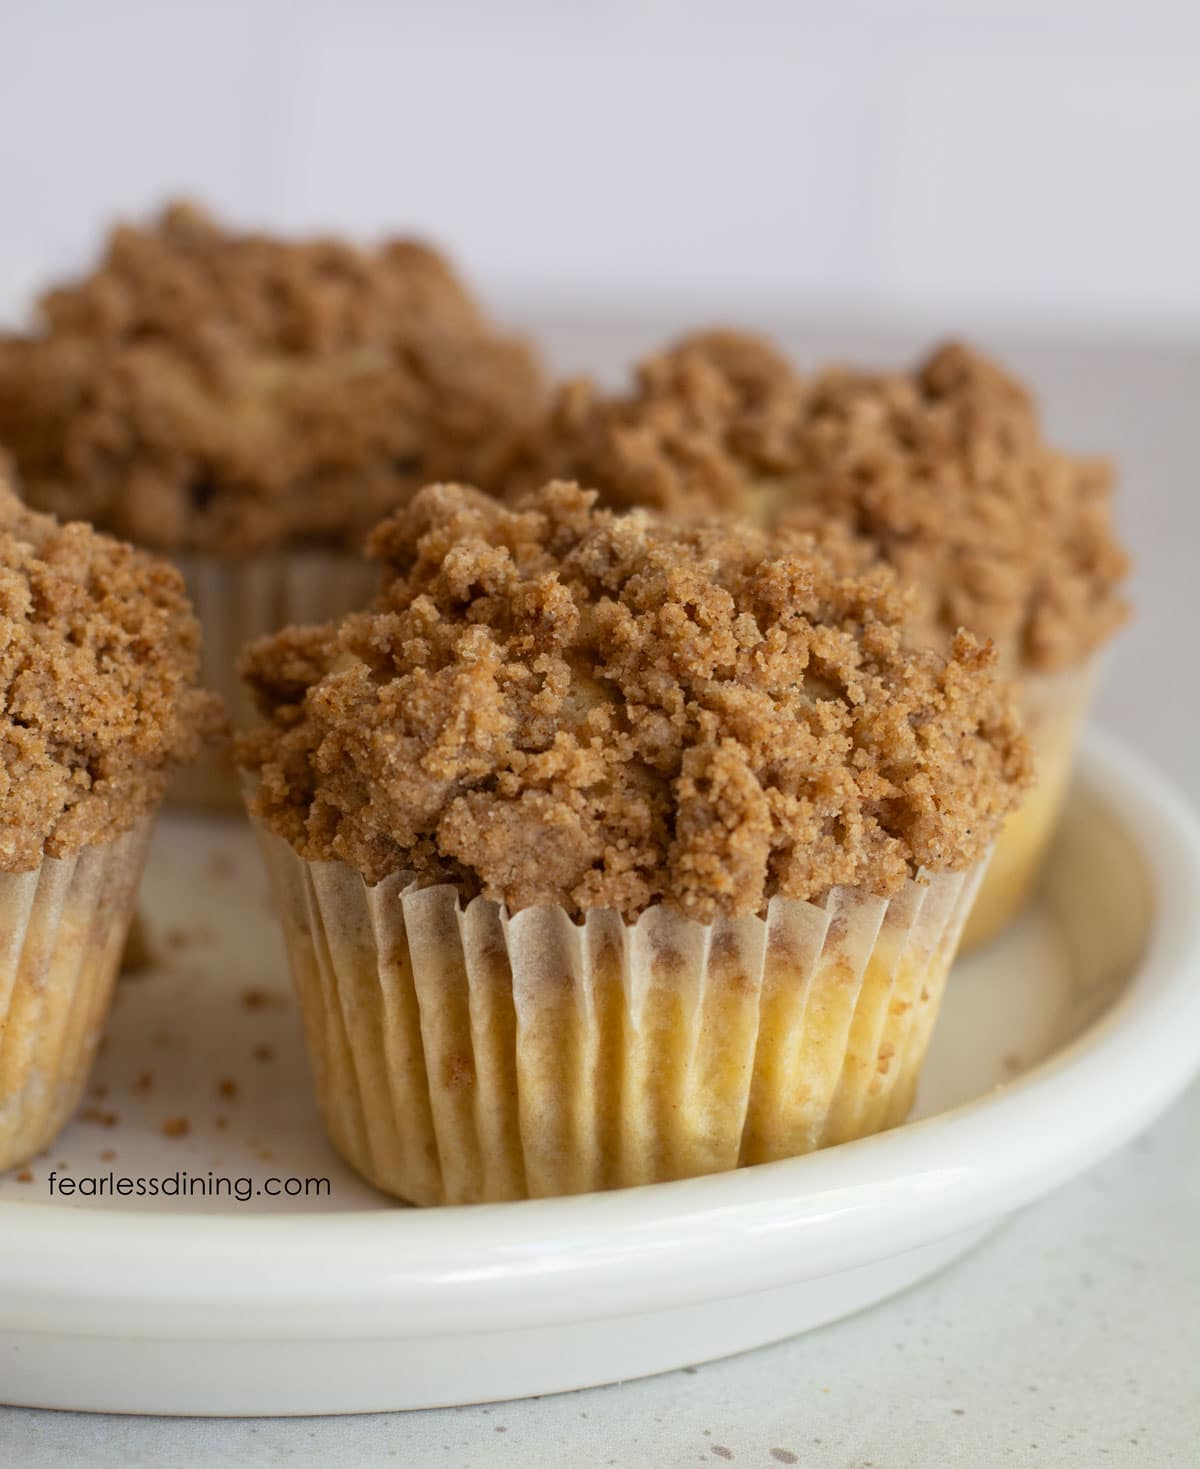
These gluten-free coffee cake muffins are soft, fluffy, and piled high with a buttery cinnamon crumb topping, just like what you would find in a bakery! These homemade gluten-free muffins taste like a little morning luxury, but they are simple enough to whip up any time.
This post may contain affiliate links. Please read our Disclosure Policy.
This gluten-free coffee cake muffin recipe has been a work in progress for me. I started testing the recipe a couple of years ago, but then I moved on to other recipes. I am so glad I found my old testing notes for these muffins recently, and it helped me focus and perfect the recipe so I could share it with you.
I tested this recipe with two different gluten-free flour blends, as well as my brand-new Gluten-Free Pastry and Cake Flour Blend. I wanted to give you options between a homemade flour blend and the two store-bought blends. You can’t go wrong with any of these blends in this muffin recipe!
This recipe is gluten-free, nut-free, soy-free, and oat-free, and I include a dairy-free option below. If you love muffins, I have several incredible gluten-free muffin recipes, including some reader favorites like these Gluten-Free Banana Oat Muffins and these Gluten-Free Blueberry Muffins.
Recipe Ingredient Notes:
For the full list of ingredients and amounts, please go to the recipe card below.
- Gluten-Free Flour Blend – I tested this recipe with King Arthur Measure for Measure, Bob’s Red Mill 1:1 Blend, and my new gluten-free pastry and cake flour blend that is linked above. If you are curious how blends perform, check out my gluten-free muffin test, where I tested the same recipe with four different flour blends.
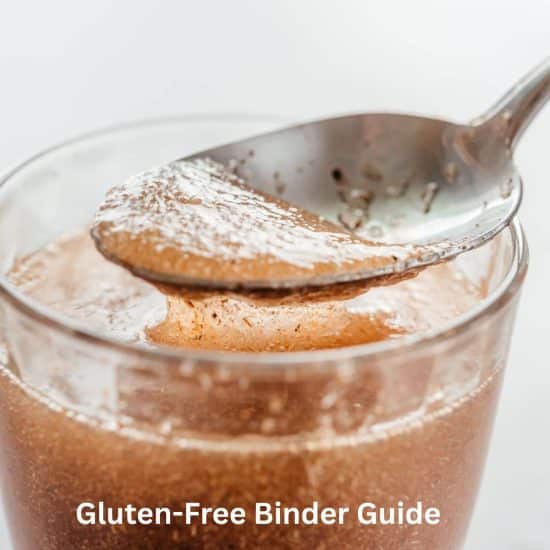
- Binder – If your blend doesn’t contain a binder such as xanthan gum, add 3/4 teaspoon to the dry ingredients. A binder is critical in gluten-free baking to help hold your baked goods together.
- Cane Sugar – Sugar adds sweetness and helps create a tender crumb by locking in moisture. It also contributes to the muffins’ golden edges as it caramelizes during baking.
- Baking Powder – Use aluminum-free baking powder. This is your main leavening agent. Baking powder helps the muffins rise and creates that soft, fluffy texture.
- Salt – Balances the sweetness and enhances all the other flavors, making the muffins taste more vibrant.
- Butter – Use unsalted butter. Butter provides that classic coffee cake flavor you will love in this gluten-free muffin recipe. It also helps with structure and moisture, keeping the muffins soft while giving the crumb topping its crisp, buttery finish.
- Milk or Non-Dairy Milk – Whether you use regular or non-dairy milk, it keeps the muffins soft and light.

A Note From My Kitchen
My husband, Mr. Fearless Dining, is a streusel-topping kind of guy. He loves muffins with a big, thick crumb topping. If you love a thick crumb topping, you will really love these muffins. I tested this recipe multiple times with different flour blends to make sure you had an option that was easy to find. Don’t forget that every flour blend behaves a little differently. If your batter is too runny, add more flour 1 TBSP at a time. If your batter is too thick, add more milk, 1 TBSP at a time. I also share a lot of tips so you can bake these with a tall dome top or in a more classic muffin shape.
How To Make Gluten-Free Coffee Cake Muffins (Step by Step)
Decide what kind of muffin top you want. Using a high initial temperature helps muffin tops rise quickly into tall domes. If you’re using convection, the muffins may bake too quickly on the outside and stay raw inside.
- For taller dome tops, preheat the oven to 425°F.
- For regular muffin tops, preheat the oven to 350°F.
- Use the bake setting (not convection) and place the oven rack in the middle of your oven.
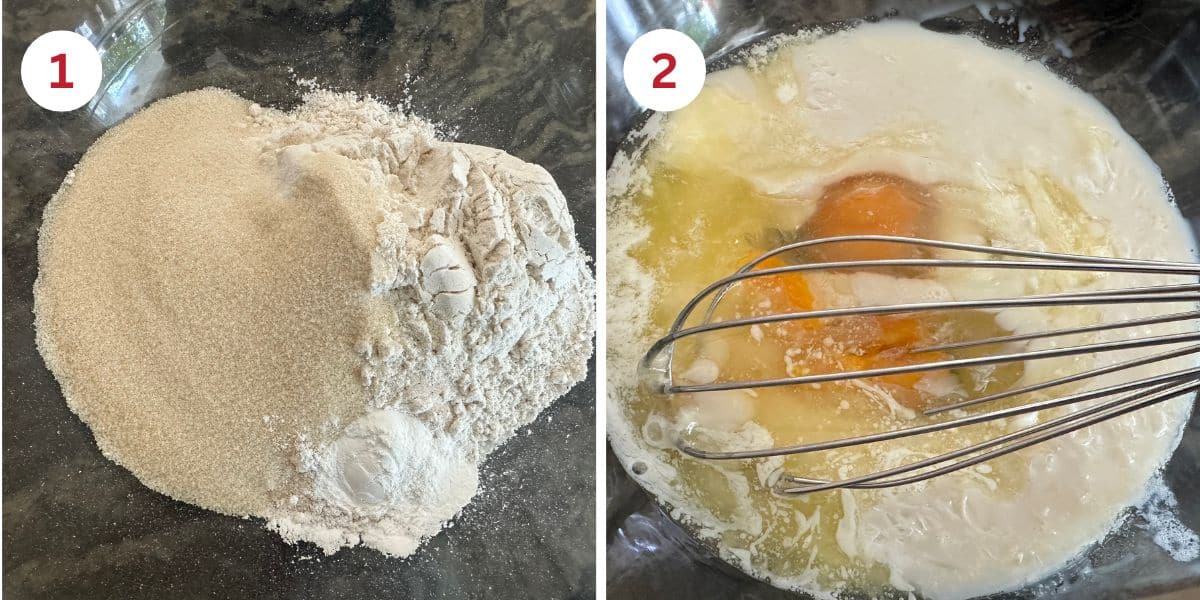
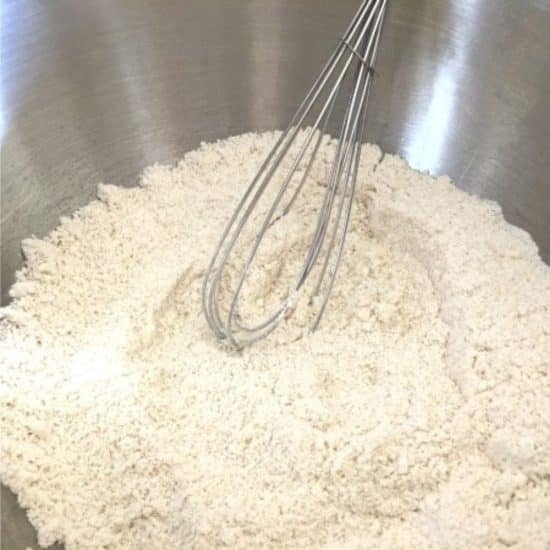
Step 1: Combine the flour, cane sugar, baking powder, and salt in a large mixing bowl. Whisk thoroughly to break up any clumps.
👀 Sandi Says: Tip: If your flour blend includes xanthan gum, you don’t need to add extra. If it doesn’t, add ¾ teaspoon to help your muffins hold together.
Step 2: In a separate bowl, whisk together the melted butter, eggs, vanilla extract, and milk (or non-dairy milk) until fully combined. Make sure the melted butter isn’t too hot, or it can cook the eggs. Let it cool slightly before mixing.
Email This Recipe To Me!
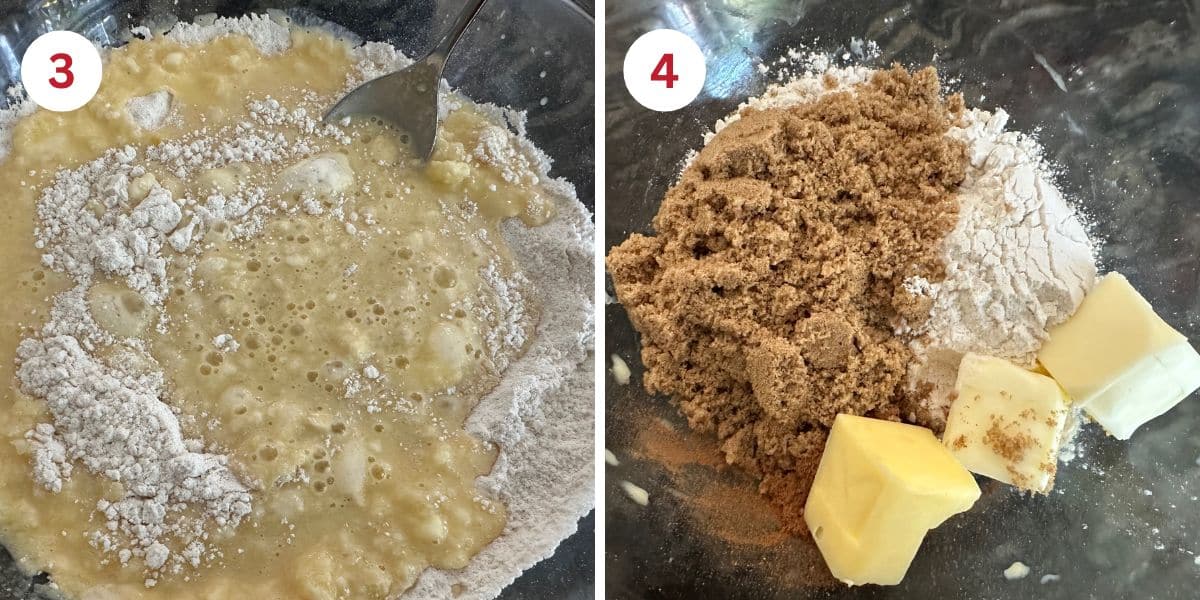
Step 3: Pour the wet ingredients into the dry ingredients. Mix gently, and avoid overmixing the muffin batter. For this reason, I do not use a stand mixer when I make muffins. Overmixing can make your muffins dense and gummy. Stir gently with a spoon or spatula just until blended.
Step 4: Add the gluten free flour, brown sugar, and partially melted butter to a smaller mixing bowl. Mix with a fork into crumbs. Place the bowl with the crumb topping in the freezer while you prepare the muffins. Chilling helps the crumb topping stay clumpy instead of the butter melting into the muffins while baking.
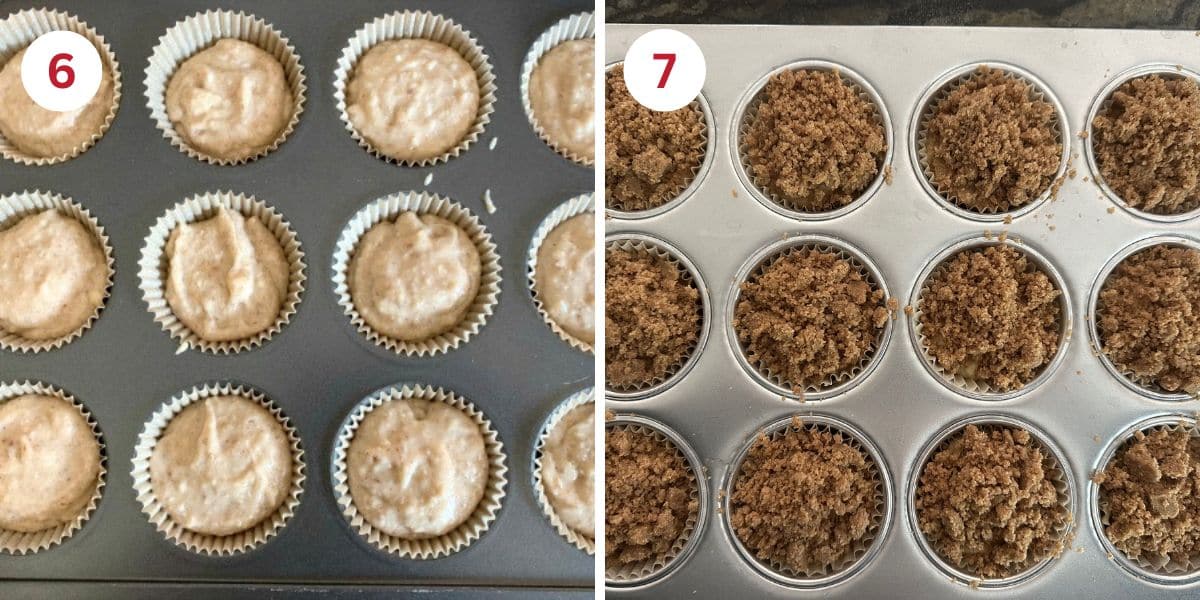
Step 6: Fill the muffin pan cups with parchment paper muffin liners. Parchment liners work best because gluten-free batters tend to stick to regular paper liners. Fill each cup 3/4 full of muffin batter.
Step 7: Remove the crumb topping from the freezer and fluff it with a fork. Add some crumb mixture to each muffin cup. Slightly press the crumb topping into the muffin batter. This will prevent any from falling off if you make dome tops. I always make extra crumb topping to make sure every muffin is loaded. You can even double the topping if you’re a true crumb lover!
Step 8: Baking – Choose your method:
- For Dome Tops: Bake at 425°F for 5 minutes, then reduce the oven temperature to 350°F (without opening the door) and continue baking for an additional 15 to 20 minutes.
- For Regular Tops: Bake at 350ºF for 20 to 25 minutes.
Step 9: Insert a toothpick into the center of the muffins. If the toothpick comes out clean, the muffins are finished baking. If you see crumbs or batter on the toothpick, the muffins need to be baked longer. Muffin baking times will vary depending on the type of pan used and the size of the muffins.
Step 10: Let the muffins sit in the pan for 5 minutes to set, then gently remove each muffin and place them onto a cooling rack.
Tips for Baking the Best Gluten-Free Muffins
1. Do not overmix the batter.
2. Check the expiration date of the baking powder to ensure it hasn’t expired.
3. If you worry about grainy muffins, let the batter sit for 15 minutes before baking.
Storage Tips: How to Keep Muffins Fresh
- Store cooled muffins with cinnamon streusel topping in an airtight container in the refrigerator. They will keep fresh for up to 4 days. You can microwave them for 15-20 seconds to make them warm with that fresh-out-of-the-oven softness.
- Freeze cooled muffins in a freezer-safe container or zipper bag. To thaw, place them on the counter for 30 minutes or microwave for 25 seconds.
Frequently Asked Questions:
This can happen if you open the oven door while the muffins are baking. It is due to the temperature change when you open the door.
Muffins can stick if you do not thoroughly oil or grease the muffin pan. I always recommend parchment paper muffin liners to prevent any sticking.
I personally have not tested this specific muffin recipe without eggs, but I do have a great vegan gluten-free muffin base recipe you can use in this recipe.
For more tips to make perfect muffins, read my Gluten-Free Muffin Troubleshooting Guide.
More Gluten-Free Muffin Recipes:
If you love muffins, I have a variety of great gluten-free muffin recipes to share with you. Here are some of my favorite muffin recipes:
Love This Gluten-Free Coffee Cake Muffins Recipe?
💬 Did you make this recipe? Drop a comment below, and let me know how it turned out! ⭐⭐⭐⭐⭐ Please include which flour blend you used. This will help others know this recipe is delicious. Thank you!
Fluffy Gluten-Free Coffee Cake Muffins
Ingredients
- 2 cups gluten free flour blend * see notes
- ½ cup cane sugar
- 2 teaspoons baking powder aluminum-free
- ¼ teaspoon salt
- 2 large eggs
- 6 tablespoons melted unsalted butter not too hot
- 1 teaspoon pure vanilla extract
- 1 ¼ cups milk or non-dairy milk
- ¾ cup gluten free flour blend
- ¾ cup brown sugar
- ½ cup softened unsalted butter
- 2 teaspoons ground cinnamon
Equipment
Method
- Decide what kind of muffin top you want. Using a high initial temperature helps muffins rise quickly into tall domes. If you're using convection, the muffins may bake too quickly on the outside and stay raw inside.
- For taller dome tops: Preheat the oven to 425º F. For regular muffin tops: Preheat the oven to 350º F. Use the bake setting (not convection) and place the oven rack in the middle of your oven.
- Combine the 2 cups gluten free flour blend, 1/2 cup cane sugar, 2 teaspoons baking powder, and 1/4 teaspoon salt in a large mixing bowl. Whisk thoroughly to break up any clumps. If your flour blend includes xanthan gum, you don’t need to add extra. If it doesn’t, add ¾ teaspoon to help your muffins hold together.
- In a separate bowl, whisk together the 6 tablespoons melted unsalted butter, 2 large eggs, 1 teaspoon pure vanilla extract, and 1 1/4 cups milk or non-dairy milk until fully combined. Make sure the melted butter isn’t too hot, or it can cook the eggs. Let it cool slightly before mixing.
- Pour the wet ingredients into the dry ingredients. Mix gently, and do not overmix the muffin batter. For this reason, I do not use a stand mixer when I make muffins. Overmixing can make your muffins dense and gummy. Stir gently with a spoon or spatula just until blended.
- For the Crumb Topping: Add the 3/4 cup gluten free flour blend, 3/4 cup brown sugar, 2 teaspoons ground cinnamon, and 1/2 cup softened unsalted butter to a smaller mixing bowl. Mix with a fork into crumbs. Place the bowl with the crumb topping in the freezer while you prepare the muffins. Chilling helps the crumb topping stay clumpy instead of the butter melting into the muffins while baking.
- Fill the muffin pan cups with parchment paper muffin liners. Parchment liners work best because gluten-free batters tend to stick to regular paper liners. Fill each cup 3/4 full of muffin batter.
- Remove the crumb topping from the freezer and fluff it with a fork. Add some crumb mixture to each muffin cup. Slightly press the crumb topping into the muffin batter. This will prevent any from falling off if you make dome tops. I always make extra crumb topping to make sure every muffin is loaded. You can even double the topping if you're a true crumb lover!
- For Dome Tops: Bake at 425ºF for 5 minutes, then lower the oven temperature to 350ºF (don't open the door!) and bake for another 15-20 minutes. For Regular Tops: Bake at 350º F for 20-25 minutes.
- Insert a toothpick into the center of the muffins. If the toothpick comes out clean, the muffins are finished baking. If you see crumbs or batter, the muffins need to bake longer. Muffin bake times will vary depending on the pan's material and the muffins' size.
- Let the muffins sit in the pan for 5 minutes to set, then gently remove each muffin and place them onto a cooling rack.
Nutrition
Notes
- I tested this recipe with King Arthur Measure for Measure and Bob’s Red Mill 1:1 GF Blend. Both worked well, and other blends should also work. My rule of thumb is if your batter or dough is too runny, add more flour, and if it is too thick, add more liquids.
- If your blend doesn’t contain xanthan gum or another binder, add 3/4 teaspoon.
- Make them dairy-free using plant-based butter and milk.
- Store cooled muffins with cinnamon streusel topping in an airtight container in the refrigerator. They will keep fresh for up to 4 days. You can microwave them for 15 to 20 seconds to make them warm with that fresh-out-of-the-oven softness.
- Freeze cooled muffins in a freezer-safe container or zipper bag. To thaw, place them on the counter for 30 minutes or microwave for 25 seconds.
Private Notes
Tried this recipe?
Let us know how it was!
Gluten-Free Related Reading
Gluten-free baking is like a science experiment. There are so many things you need to understand the different components of baking without gluten. My Gluten-Free Resources Section is here to help teach you the tools you need to know to become a confident gluten free baker.
My Best Gluten-Free Baking Tips For Better Baking!
Why Binders Are Important In Gluten-Free Baking

The Best Gluten Free Flour Blends – And how to use them!
I truly hope you enjoy this recipe. I have been testing and creating gluten-free recipes for over 15 years. Creating gluten-free recipes that do not taste gluten-free is my goal for every recipe. Sometimes I only have to test a new recipe a couple of times, and others it takes multiple times. I do this so you get reliable, delicious results every time!

I love this recipe (despite my innate inability to actually follow it).
The topping is delightful and the muffin is light and fluffy.
I made some tweaks to the recipe. I used Nameste flour (125g per cup) for both the topping and the batter, swapped raspberry & rose syrup for the vanilla, used 1.5 tsp of cardamom instead of cinnamon, and used an unflavored whey protein shake for the milk (gotta cram in the extra protein). I also cooked it in a 9×9 pan lined with parchment paper at 350° F for about 35 minutes.
Wow, I love your tweaks and really want to try those next!!
I made this recipe Friday night and they did not turn out good for me. I believe I followed the recipe exactly. I used King Arthur measure for measure. The muffins were dry. I had my 10-month old grandson here while I was baking them, so maybe I left them in the oven a bit too long. Maybe I was expecting more of a cinnamon flavor throughout the muffin, but the bottom of the muffins had no flavor. I am still a fan of your recipes, and I’m sure this is just operator (me) error.
Hi Nancy, Thank you for your note. I didn’t create this muffin recipe to have cinnamon in the muffin part due to the thick crumb topping. If you want to add 1/2-1 teaspoon of ground cinnamon to the muffins, that should help you get the flavor you want. As for them being dry, that is definitely a sign they were over baked, or left in the hot pan after baking.