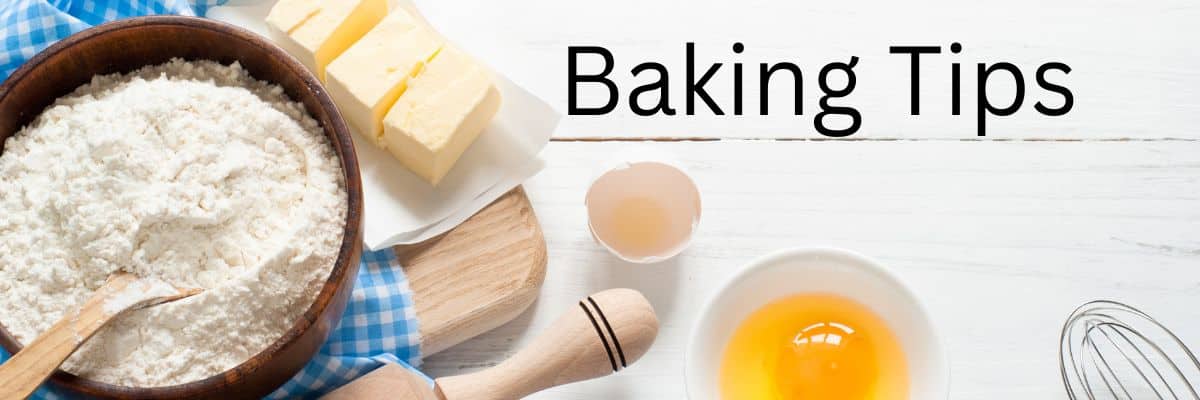
Whether you are a seasoned gluten free baking pro or a complete newbie to gluten free, these gluten free baking tips will help you become a better baker! Baking with gluten free flour can be a challenge, and I help make it easier. I discuss flour blends, measuring tips, and what works for making delicious gluten-free bread and yeast recipes, cookies, and cake.
This post may contain affiliate links. Please read our Disclosure Policy.
Learning to bake gluten-free is not just about swapping one flour for another. The chemistry is genuinely different, and if you have ever pulled a dense, gummy, or flat baked good out of the oven and wondered what went wrong, you are not alone. I have been baking gluten-free since my celiac disease diagnosis, and I started my blog, Fearless Dining, in 2013. In the years since, I have tested hundreds of recipes, worked through more flour blends than I can count, and made every mistake possible so you do not have to.
This guide covers the most important gluten-free baking tips I have learned from years of testing. Whether you are brand new to gluten-free baking or you have been at it for a while and still run into occasional problems, these tips will help you understand not just what to do, but why it works. For more in-depth help with specific baked goods, I have many troubleshooting guides linked throughout this post.
Gluten Free Flour Blends For Baking:
One of the biggest reasons gluten-free baking fails is using the wrong flour blend for the recipe. Not all gluten-free flour blends behave the same way; each has a different ratio of grains and starches, which means a blend that makes a beautiful cake can completely fail in a yeast bread. This is the single most important thing to understand before you start baking gluten-free.
Determining what gluten free flour blend to use will vary depending on what you can easily find. Each flour blend has a different ratio of gluten-free grains and starches. It really makes gluten free baking more like a chemistry experiment!!
For a full breakdown of every flour blend I have tested and how they compare, read my Gluten-Free Flour Blend Guide to use and when.
Gluten-free flour blends come in many price points, so I tend to use the less expensive blends for cake, cookies, and muffins. I use the more expensive one, Authentic Foods Steve’s Bread Blend, for bread and rolls that need shaping.
- Bread and Buns – For bread, especially if you want to shape it, I recommend using Authentic Foods Steve’s GF Bread Blend. It is hands down the best gluten free blend I have ever found for bread. Note that it is NOT good for bread machine recipes. Just check out my Gluten-Free Challah recipe to see how easily you can braid the dough! I also love it for all of my Gluten-Free Cinnamon Roll recipes.
- Bread Machine Bread – I use a custom blend of gluten free flour and starch for my popular Gluten Free Bread Machine Bread recipe. I find this blend is far superior to anything else I have tried. Most gluten free 1:1 blends on the market I have tried do not work well in the bread machine because they are not made for use in yeast recipes. I tested Cup4Cup Gluten-Free Flour Blend, and it was one of the few that worked well in my bread machine.
- Pies, Quiche, and Tarts – My favorite gluten free flour blend for pies, quiche, and tarts is Cup4Cup. King Arthur Measure For Measure, Bob’s Red Mill 1:1, Namaste, and Better Batter GF Blend are also good brands for flaky crusts. Note: Better Batter is expensive, but you can often find it for sale on their website. Check out how flaky my homemade Gluten-Free Pie Crust recipe turns out with the Cup4Cup blend.
- Biscuits – My favorite gluten-free flour blend for making biscuits is Cup4Cup. Indeed, I tested 14 different gluten free flour blends in my recipe to know how each works. I shared all of the results in my popular Gluten-Free Biscuits recipe so you can see how each blend performed. I also have
- Cakes and Cookies – I tend to use the less expensive flour blends for cakes and cookies. I find that King Arthur Measure for Measure and Bob’s Red Mill 1:1 GF Flour Blend work just fine. There is no huge difference in using these brands compared to the more expensive blends.
I encourage you to try my DIY Gluten-Free All Purpose Blend, too. It works well in both regular and yeast recipes. Gluten-free baking is like science. Learn why Gluten-Free Flour Blends Vary to learn more.
Gluten Free Flour Measuring Tips:
Measuring gluten-free flour accurately makes a bigger difference than most bakers expect. In conventional baking, a little extra flour is forgiving because gluten creates structure that compensates. In gluten-free baking, where you have a combination of grains and starches, too much flour is one of the most common reasons baked goods turn out dense, dry, or crumbly.
The most accurate method is using a digital kitchen scale, though if you measure your flour, use the blend tested by the recipe creator. I want to be honest: every gluten-free flour blend weighs differently per cup, so you may need to tweak the moisture level slightly, even when weighing ingredients. Read Why Gluten Free Flour Blends Vary in Weight to learn more.
👀 Sandi Says: I am slowly working on adding gram measurements to my recipes, but with over 800 recipes, it will take time.
If you are measuring by cup volume, which most of my recipes use, I recommend using the spoon-and-level method. Spoon the flour into your measuring cup until it is overflowing, then use a straight edge, like the back of a knife, to level the top. Never scoop directly from the bag or container because this compacts the flour, and you can end up with significantly more than the recipe calls for. That extra flour is often the culprit behind a dry muffin or a cookie that does not spread.
Why Binders Are Important in Gluten-Free Baking:
Binders are what hold gluten-free baked goods together. In conventional baking, gluten does this by forming an elastic network that gives bread its chew, cakes their crumb, and cookies their structure. When you remove gluten in gluten-free baking, you need something else to create that structure to hold your baked goods together. That is where binders come in.
The most common binders in gluten-free baking are xanthan gum, guar gum, and psyllium husk. Most store-bought gluten-free flour blends already contain xanthan gum or guar gum, so you generally do not need to add extra when using a blend.
If you are using a blend that does not contain a binder, and some, including King Arthur All Purpose Gluten Free Flour Blend, do not, you will need to add it yourself. All of my recipes specify how much xanthan gum to add if you are using a blend that doesn’t contain a binder.
Leaving out a binder when one is needed results in baked goods that fall apart, crumble, or collapse after baking. Adding too much xanthan gum creates a gummy, dense texture, so be sure to only add what the recipe calls for. For a full explanation of how each binder works and when to use them, read my Gluten-Free Binders Guide.
Why use Room Temperature Ingredients?
Using room-temperature baking ingredients for your gluten free baking can be important because it helps to ensure that the ingredients mix evenly and create a smooth texture in the finished baked goods. Here are a few reasons why room-temperature ingredients are important in baking:
- Room-temperature ingredients, such as eggs and butter, are easier to mix than ingredients from the refrigerator.
- Yeast and other leavening agents work best when the ingredients they interact with are at room temperature. Cold ingredients slow the rising process, resulting in a denser, heavier baked good.
- Using room-temperature ingredients can help ensure your baked goods turn out consistently from batch to batch. This is because the temperature of your ingredients can affect the outcome of your recipe.
- Room-temperature ingredients can help your baked goods cook faster and more evenly. Cold ingredients can take longer to heat up in the oven, resulting in uneven baking.
If you are egg-free, here are some Egg Replacer Ideas For Gluten Free Baking.
Gluten Free Yeast Baking Tips:
- Yeast – First, be sure your yeast is gluten-free. Red Star Platinum is NOT gluten-free. Also, check the expiration date before you use it!
- Water – Use purified water in recipes with yeast. Chlorine and other substances in tap water will inhibit yeast, so your baked goods will not rise as well.
- Rising – To get your gluten-free dough to rise, it needs to be kept warm. Rise your dough in a warm oven. It truly is the best way to rise gluten free dough. Heat your oven to 175º F, then turn it off. Cover your dough loosely with plastic wrap and place it in the warm oven to rise with the oven door cracked open.
- When to Rise the Dough – One of the biggest mistakes I see is when people rise their gluten-free dough, then shape it. Then, they notice their dough did not rise. Gluten-free baking is very different. With gluten free, you only get one good rise. It is important to shape your dough before the rise! This goes for bread, yeast donuts, rolls, breadsticks, bagels, etc.
- Temperature – When baking bread, use a digital thermometer to check the internal temperature of the bread to make sure it is finished baking. You want it to read 209 to 210ºF.
One of the most common mistakes I see with gluten-free yeast baking is expecting the dough to look and feel like wheat dough. It will not. This will vary by flour blend, but typically, gluten-free yeast dough is much wetter and should look more like a thick, sticky batter than something you can knead on a counter. If you add extra flour to make it look like conventional dough, it will bake up dense and dry. Trust the recipe even when the dough looks wrong to you.
The exceptions to this are if you use psyllium husk gel in the bread recipe, or use a special gluten free flour blend like Authentic Foods Steve’s Gluten-Free Bread Blend or Better Batter Gluten-Free Bread Flour. These two blends contain a binder and are easy to knead and work with. The psyllium gel helps to mimic what gluten does in a bread recipe. If you use gel, you should be able to work the dough easily, without it being too dry.
If you are making yeast bread, be sure to read my article on Gluten Free Bread Troubleshooting to avoid problems when baking. I also share my favorite tools for making gluten free bread.
Gluten Free Quick Bread Tips:
Quick breads, including muffins, banana bread, pumpkin bread, and zucchini bread, are among the most forgiving gluten-free baked goods, but a few things consistently cause problems for gluten-free bakers.
Overmixing is the most common mistake I see, and it causes more damage in gluten-free baking than in conventional baking. Mix your wet and dry ingredients until they are just combined. You will likely still see a few streaks of flour, and that is fine. Overmixed gluten-free quick bread batter loses the air pockets that create a light, open crumb, resulting in a heavy, tight loaf or muffin.
Try to let your batter rest before baking. If you are using a less expensive gluten-free flour blend, letting the batter sit in the pan for 10 to 15 minutes before it goes in the oven allows the rice flour to hydrate and reduces grittiness.
Knowing when gluten-free quick bread is actually done takes practice. It can look fully baked on the outside while still being gummy in the center. You can check the center by inserting a toothpick into the middle. If it comes out with batter or crumbs, it needs to be baked longer. If the top is browning too fast before the center is done, tent it loosely with foil and keep baking.
If you are baking with a wet vegetable like zucchini, squeeze out as much liquid as possible and then blot it dry with a paper towel. Excess moisture in the batter will prevent your quick bread from setting properly. Try this technique with my Gluten-Free Zucchini Muffins and Gluten-Free Lemon Zucchini Loaf.
For help when things go wrong, read my Gluten-Free Muffin Troubleshooting Guide to learn more.
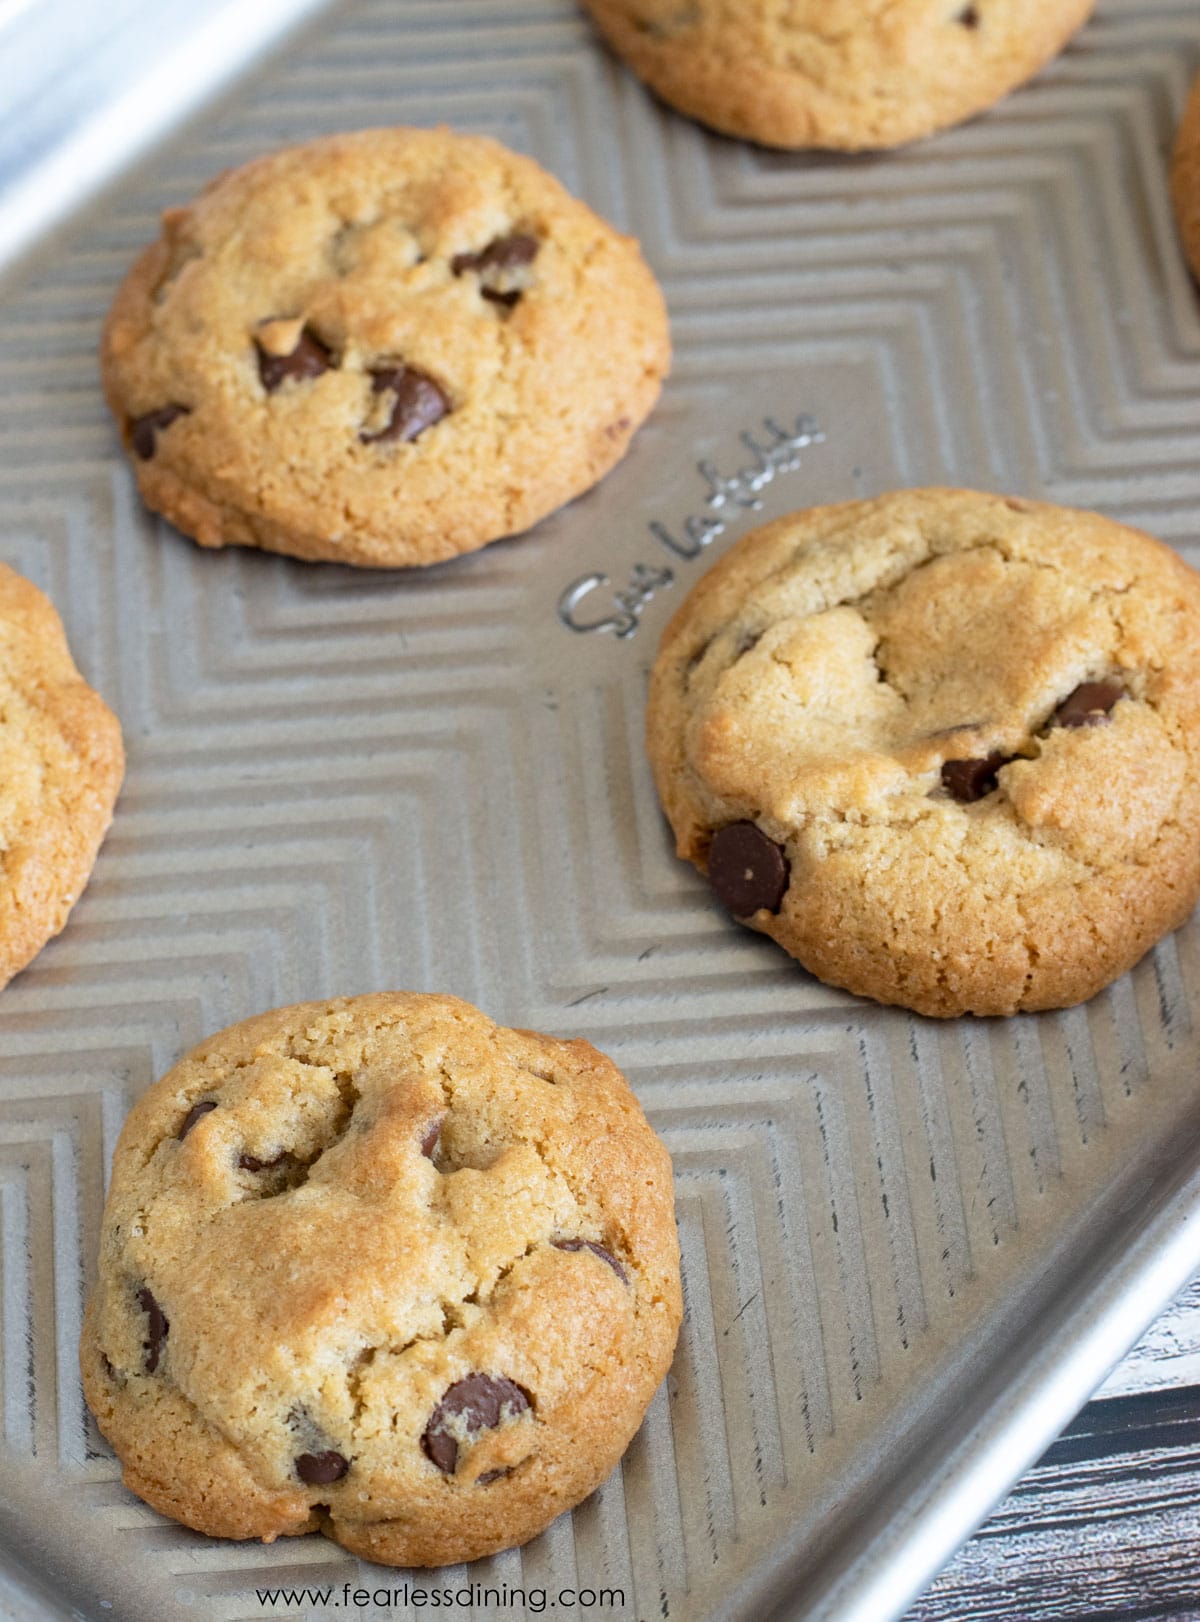
Gluten Free Cookie Baking Tips:
Gluten-free cookies are one of my favorite things to bake. I have over 100 gluten free cookie recipes on my blog! After years of testing, I have learned what actually makes the difference between a cookie that works and one that spreads into a flat, greasy puddle.
Use room-temperature butter and eggs. Room temperature ingredients blend in better. Cold eggs can cause the batter to seize slightly, which affects texture.
Chill your dough if you have time. Gluten-free cookie dough often needs more chill time than conventional dough because there is no gluten network to hold the shape during baking. If your cookies are spreading too much, the dough is too warm when going into the oven. I recommend chilling for at least 30 minutes.
Email This Recipe To Me!
Use a cooled baking sheet. A hot sheet starts baking the bottoms of your cookies before the rest of the dough has a chance to set, causing uneven spread and over-browned bottoms. If you are baking multiple batches, rotate the sheets and give each one time to cool.
Watch the clock after baking. Gluten-free cookies continue cooking in the hot pan after they come out of the oven. Leave them on the sheet for no more than a couple of minutes, then transfer them to a wire rack. I bake my cookies on parchment paper and then just slide the paper and cookies off the cookie rack onto the cooling rack.
I am a huge cookie lover. If you love to bake cookies, use these tips so that your gluten free cookies turn out perfectly every time. I also have more tips in my Gluten-Free Cookie Troubleshooting Guide. I also share the cookie tools that I find helpful.
Gluten Free Cake Baking Tips:
My gluten-free cake recipes are genuinely excellent and have been tested multiple times. But gluten-free cakes require a little more attention than conventional cakes. Here is what I have learned from years of testing:
Let the batter rest in the pan before baking. This is one of the tips I give most often because it makes a real difference: letting gluten-free cake batter sit for 15 to 20 minutes before it goes in the oven gives the rice flour time to soften as it absorbs moisture. The result is a noticeably smoother crumb with less grittiness.
Do not open the oven door while your cake is baking. Gluten-free cakes are more sensitive to temperature changes than conventional cakes. Opening the door causes a sudden drop in oven temperature that can make the center of the cake collapse. Wait until the minimum bake time has passed before checking the cake.
Use the right flour blend. I repeat this advice throughout this post because it matters that much. Some flour blends produce a gritty or heavy cake, no matter how carefully you follow the recipe. I always note in my individual cake recipes which flour blends I have tested that cake recipe with and make recommendations. I always recommend a blend. You may also want to try my homemade Gluten-Free Cake and Pastry Flour Blend.
Make sure your leavener is not expired. Baking powder and baking soda lose potency over time, and gluten-free cakes rely heavily on leavening for a lift since there is no gluten to provide structure. If your baking powder is more than 6-8 months old, I recommend replacing it.
I always use aluminum-free baking powder in my recipes. It prevents any metallic aftertaste, which is more noticeable in delicate gluten-free cake recipes than you might expect.
Many bakeries trust my cake recipes to make Gluten-Free Wedding Cakes and Groom’s Cakes using my Gluten-Free Vanilla Cake, Gluten-Free Chocolate Cake, and Gluten-Free Hummingbird Cake recipes.
You can also see my Gluten Free Cake Troubleshooting Guide if you run into problems. If you are using a cake mix, try some of these awesome gluten free cake mix hacks to enhance the flavor and texture of your cake. I also talk a lot about my favorite tools for making cakes.
High Altitude Baking Tips:
I do not live at a high altitude, so rather than guess at tips I do not have firsthand experience with, I asked my readers on Facebook. The response was incredible and really helpful. Here is what experienced high-altitude gluten-free bakers told me actually works.
Temperature and timing: The most consistent advice was to bake at a higher temperature than the recipe calls for. One reader uses what she calls the 25/25 method. She bakes at 25 degrees Fahrenheit higher than the recipe states, and she reduces the baking time by 20 to 25 minutes. Another reader starts at 370°F for the first portion of baking, then drops the temperature back to 350°F. The logic is the same in both cases: a hotter oven sets the outside of the baked good faster as it rises, which prevents the center from sinking later.
Leavening: At altitude, leavening agents work more aggressively because there is less atmospheric pressure. If your cakes or muffins rise dramatically and then collapse, too much leavening is likely the cause. Several readers recommended cutting back the amount. If a recipe calls for 1½ teaspoons of baking soda, they usually try 1 teaspoon instead.
Moisture and structure for cakes and muffins: High altitude air is drier, and gluten-free batters are especially vulnerable to drying out during baking. Readers recommended adding a small amount of extra liquid and an extra egg to cakes and muffins to compensate. They say that the extra egg adds more structure, which helps the bake hold together as it rises faster than it would at sea level.
Flour adjustments: For cookies and some other baked goods, a small addition of extra flour can help control spread and improve structure. This is more recipe and flour-blend-dependent, so treat it as something to experiment with rather than a rule. I personally recommend making moisture adjustments one tablespoon at a time. This gives you more control, so you don’t overdo it.
Sandi Says: If you bake at high altitude, I would love to hear what has worked for you in the comments. This is an area where real reader experience is the best resource.
Baking Pans and Equipment Tips:
The pan you bake in affects your results more than most people realize, especially in gluten-free baking. I almost always use metal pans. Once in awhile I will use a ceramic 8×8 dish when baking a snack cake or cookie bars. I never use glass baking pans.
Dark metal pans absorb more heat, causing baked goods to brown faster on the bottom and sides. For gluten-free cakes, loaf cakes, and quick breads, this can mean an over-browned exterior before the center has had time to set. If you notice this happening, make a foil tent and place it over the baked goods. Also, make sure your oven rack is in the middle of the oven. If the rack is too close to the top or bottom of the oven, it will cause the baked goods to not bake through properly.
Glass and ceramic pans heat more slowly but retain heat longer. They run hotter than they appear, and baked goods can continue cooking after they come out of the oven. If you use glass or ceramic, reduce your oven temperature slightly and check for doneness a few minutes earlier than the recipe suggests.
Pan size also matters. Using a pan that is too small causes the batter to overflow or bake unevenly. Using a pan that is too large produces a thinner, drier result. Always use the pan size specified in my recipe, and if you substitute, adjust your bake time accordingly.
You can see my Amazon Store for my preferred brands for all of my baking tools, pans, and baking sheets, and gluten free flour blends.
Storing Gluten Free Baked Goods:
Gluten-free baked goods stale and spoil faster than conventional baked goods. Without gluten to provide structure and without the preservatives found in commercial products, homemade gluten-free breads, muffins, and cakes begin to dry out or develop mold more quickly than you might expect.
As a general rule, store gluten-free baked goods at room temperature for no more than two days, then move them to the freezer. Most gluten-free baked goods, including bread, muffins, cookies, and even cake layers, all hold up beautifully when wrapped tightly and frozen. This is often a better option than refrigerating, which can actually speed up the staling process.
For detailed guidance on bread specifically, read my How to Store Gluten Free Bread Guide.
Gluten-free baking has a learning curve, but I do promise it gets easier the more you understand why things work the way they do. The tips in this post cover the most important foundations of gluten-free baking: flour selection, measuring, binders, temperature, and technique. Every type of baked good has its own specific challenges. Use my troubleshooting guides linked throughout this post when you run into problems, and do not be discouraged if your first few attempts are not perfect. Mine were not either.
If you have a tip that has made a real difference in your gluten-free baking, leave it in the comments. I read every single one.
I truly hope you enjoy this recipe. I have been testing and creating gluten-free recipes for over 15 years. Creating gluten-free recipes that do not taste gluten-free is my goal for every recipe. Sometimes I only have to test a new recipe a couple of times, and others it takes multiple times. I do this so you get reliable, delicious results every time!

Hi, Making Greek butter cookies gluten free Koulouria with King Arthur Measure for Measure. Baked at both 350 and 375 degrees. Used all butter, then half butter and half coconut oil. Trying to prevent so much spread and also achieve a crunchier cookie. They are cake like and tasty, but what could you suggest to obtain a harder cruchier cookie with less spread? Oh, and I also used half regular flour to ensure rollability of the dough. Thank you!
Hi Pattie, thank you so much for this wonderful cookie idea. As for getting crunchier, adding a tiny bit more flour, chilling the dough for at least 30 minutes, and baking them a little longer could all help.
I can not use rice flour because it has metals in it, and I had heavy metal poisoning before.
Can you recommend a blend that I could make at home?
Thank you for your time,
Barb
Hi Barb, Rice is definitely problematic with the arsenic as well. I have been working on a sorghum/cassava flour blend, but it isn’t quite perfect yet. I will keep testing it this week and see if I can finish it up so you have it to use.
Hi Barb, I wanted to let you know my Gluten-Free Rice-Free Flour Blend is working out well in my recipes. Here is the link to the flour blend recipe: https://www.fearlessdining.com/homemade-gluten-free-flour-blend-recipe-without-rice-flour/
Am I just being blind, or do you not have a Print option for your page?
Hi Annette, I believe the print option for blogs runs through the recipe cards. This post doesn’t have a recipe so there is no print option built on the tech side for this.
Annette, If you are on a computer, simply hit control P and it will pop up a page to print.
Great tip!
I can’t seem to get the Steve’s GF Bread blend in Canada. Can you make a substitute recommendation? As I would like to use it to make the bunny rolls and perhaps some Chabiatta buns.
So far I have had readers tell me Namaste works well, though I do not know if they needed more flour or less. You will want to compare my dough photos to yours. My DIY gluten free flour blend also works well. Cup4Cup works, but you need a lot more flour.
You can purchase Steve’s GF Bread Blend online in Canada from Laura’s.ca. I have purchased from them a couple of times and service/support is great.
I look forward to learning more ways to bake GF. 😊
I can’t wait to hear what you make :-).