Gluten free flatbread is a versatile bread that can be enjoyed in many ways! It makes a delicious, easy pizza dinner, or use it for dipping into pasta sauce or stew! You can use either a sourdough starter or yeast in this recipe!
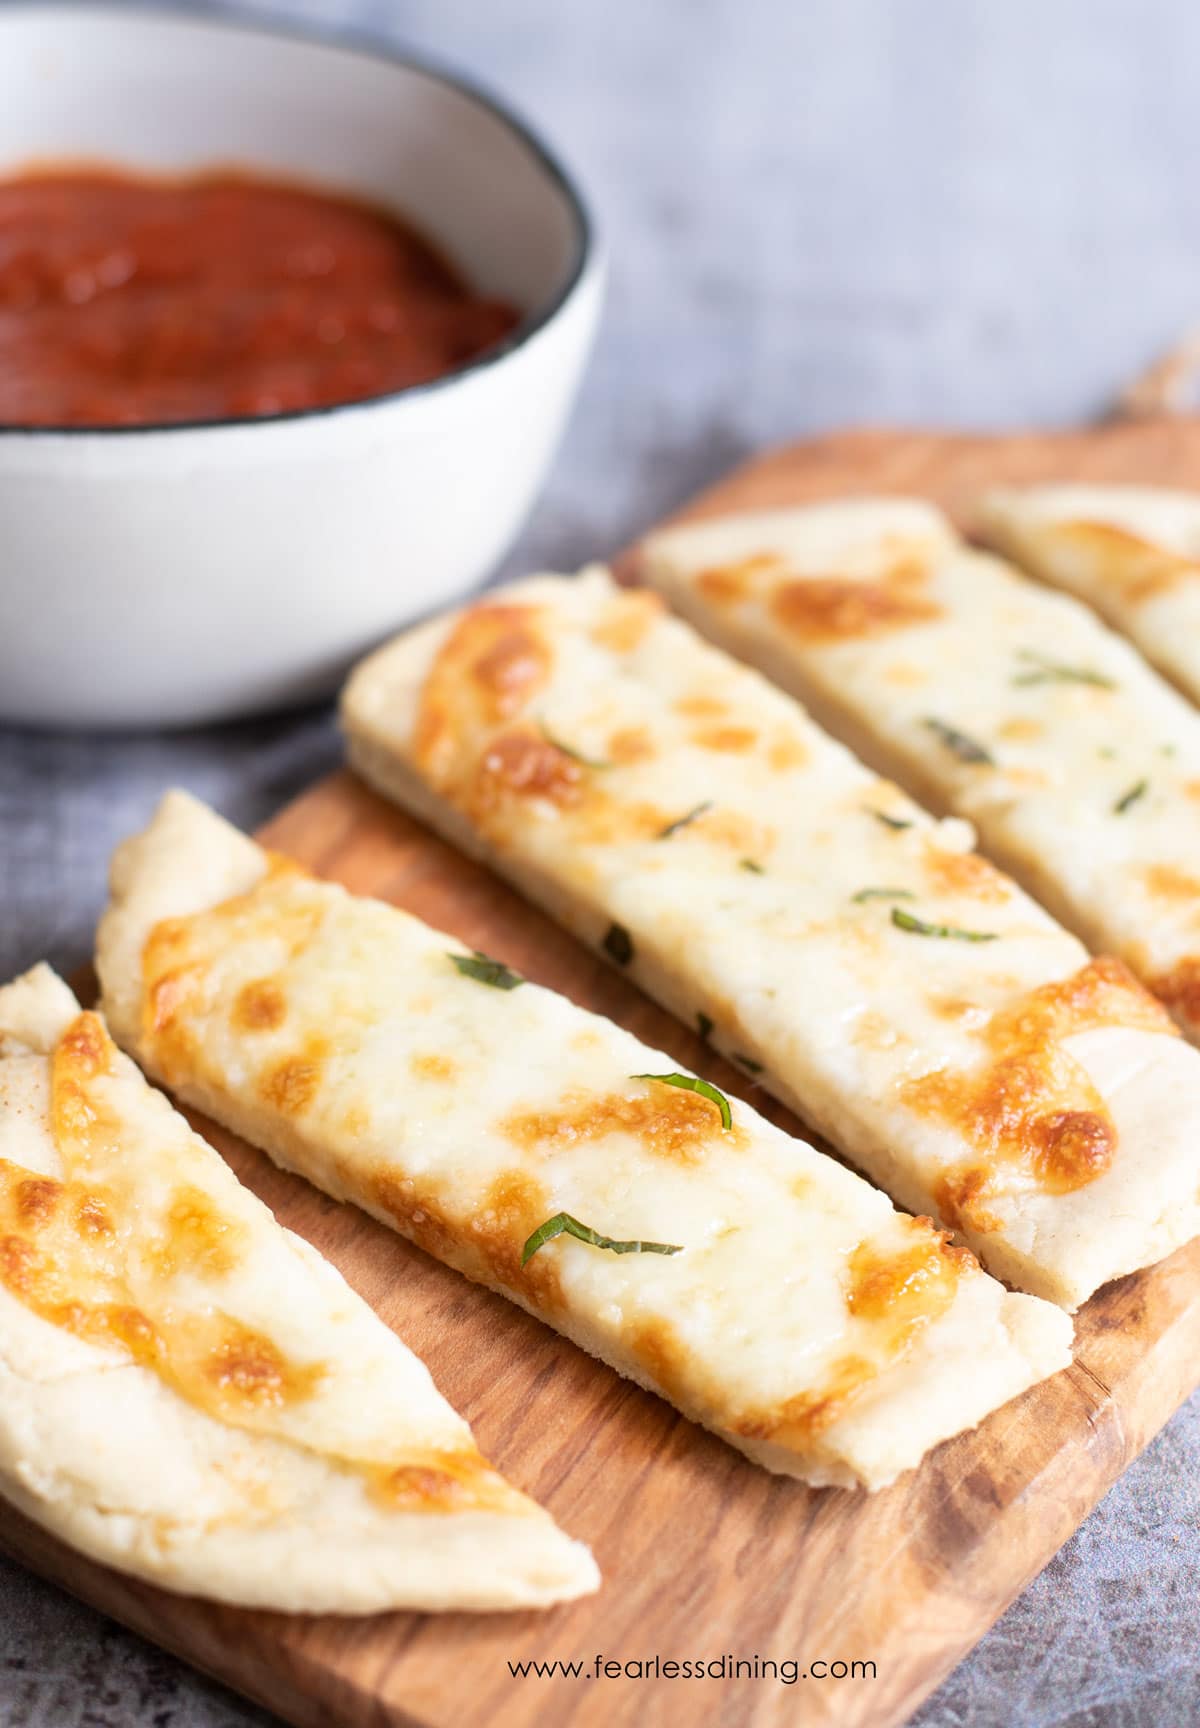
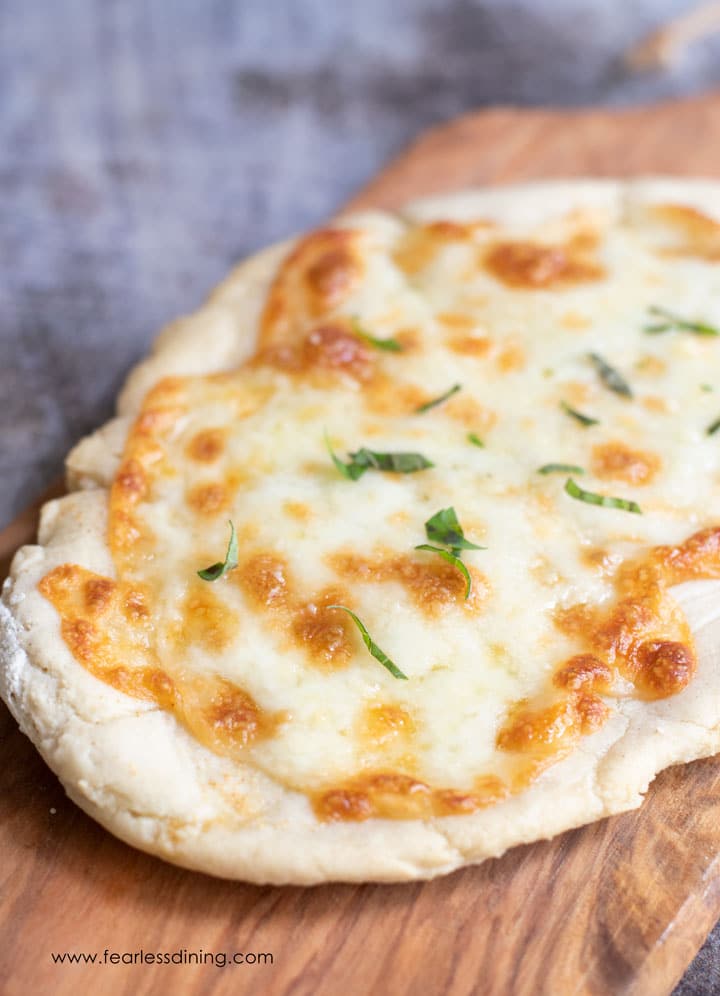
This gluten-free flatbread recipe makes flatbread that is chewy with delicious air bubbles and holds up to sauce and toppings. I will show you below how easy it is to make a gluten free flatbread pizza…my kids love to help make them.
Does your family like gluten free pizza? My family does! My kids would rather have pizza for dinner than anything else. Use my homemade gluten free pizza sauce to top the pizza!
Why I love this gluten-free flatbread recipe:
- This recipe is awesome because it contains so few ingredients: flour, salt, baking powder, water, and yeast.
- You can customize it in so many different ways.
- The family will rave about this flatbread!
- You can use yeast or sourdough starter, have toppings or none, make it a pizza, make it as a wrap, or make it how you like it!
OMG! I made this tonight for my husband who is gluten free and battling cancer. His favorite thing in the world is pizza but he has not found a gf crust he thinks is worth it. Until tonight!! He just loved it! Thank you so much for sharing!
karen s.
Allergen Information:
This easy flatbread is gluten-free, dairy-free, egg-free, soy-free, nut-free, and oat-free.
Flour Blends Tested:
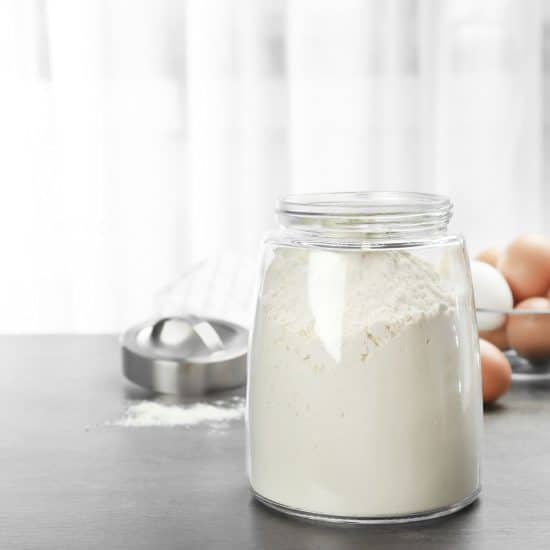
1. Cup4Cup—This blend works really well in my recipes. I don’t have to let the flour blend rest in the batter. Note this blend has dried milk powder.
2. Better Batter—This blend also works well with yeast as well.
Ingredient Notes:
For the full list of ingredients and amounts, please go to the recipe card below.
- Gluten Free Flour Blend – if your gluten free flour blend doesn’t contain one of these, you must add it.
- Yeast – Use or gluten free sourdough starter
- Baking powder and salt – these give the dough some puff!
- Toppings – cheese, pizza sauce, pesto, minced garlic…the sky is the limit!
- Water – I recommend using filtered water in yeast recipes. It helps the yeast grow better.
Always be sure that the flour blend you use works with yeast. Many of the 1:1 blends do not. Here is a good article on what gluten free flour blends work in what types of recipes.
This post may contain affiliate links. Please read our Disclosure Policy.
Tips For Success
1. Be sure your yeast is gluten free!! Red Star “Platinum” is not gluten free.
2. You only get one good rise from gluten free dough. Shape your flatbread, then let it rise.
3. For best results, rise your dough in a warm environment. I preheat my oven to 200º F, then turn it off. 200º F is the best temperature for rising gluten free dough.
Step-by-Step Photos and Directions:
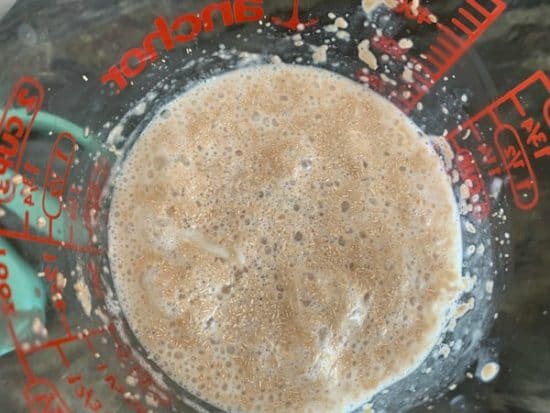
Step 1: Add warm water, a packet of yeast, and a teaspoon of sugar to a bowl. Let it sit for 5 minutes until it gets frothy. If you don’t see bubbles, double-check the expiration date of the yeast. Discard and try a new yeast packet.
👀 Sandi Says: Note: you can use gluten free sourdough starter if you have some on hand. You will need to rise the dough much longer if you use it.
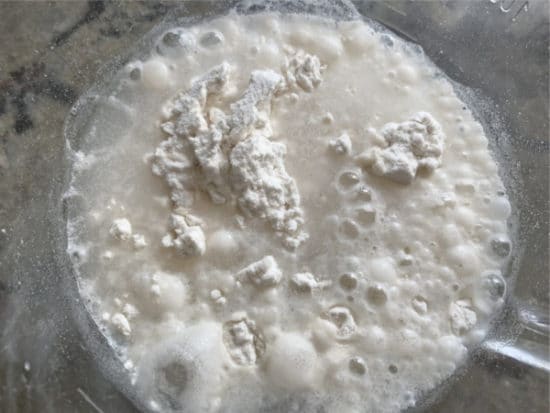
Step 2: Add the dry ingredients to a bowl and whisk to blend. Pour the yeast mixture into the dry ingredients and mix.
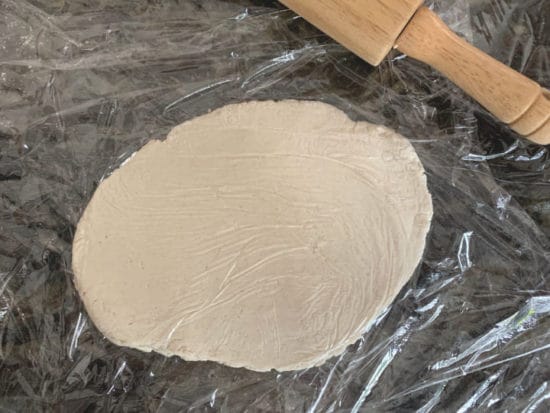
Step 3: You only get one good rise with gluten free, so you will want to rise the dough after rolling it out. Use a rolling pin to roll the dough out. You can roll to any thickness. For pizza, I try to make it 1/2 inch thick. For true flatbread, I roll it to 1/4 inch thickness.
Step 4: Cover the dough with plastic wrap and let it rise in a warm spot for 30-45 minutes.
If using sourdough, you will need a longer rise time. Let your dough rise overnight or for at least 3 hours. Add more flour to make the dough wet but workable.
Three Ways To Cook Flatbread:
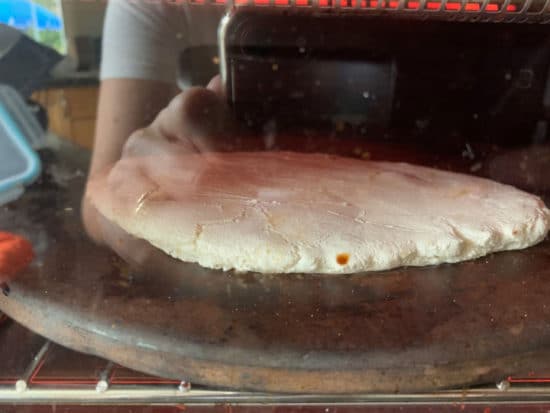
- On the grill: Preheat a pizza stone on the grill to 425º F. Move the dough to the hot baking stone. Bake the flatbread crust on a pizza stone to get nice and crispy. To make pizza, add your toppings after the crust pre-cooks for 10 minutes. Cook an additional 8 minutes until the crust is crisp and the cheese is golden.
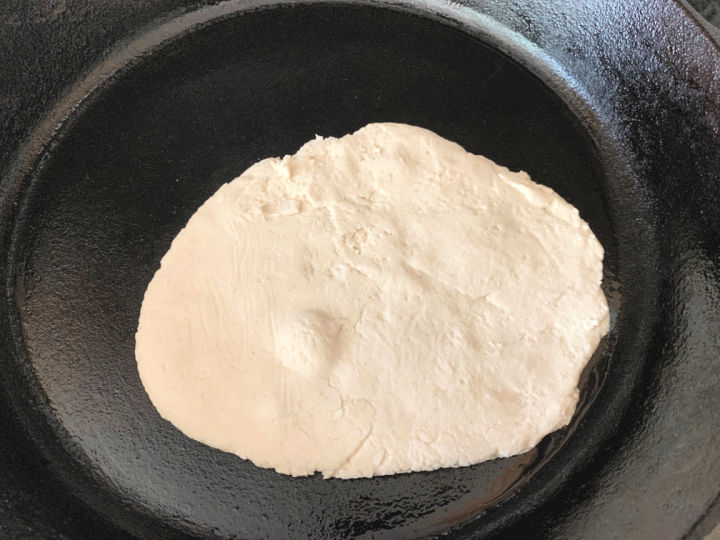
- In a 12″ cast-iron skillet: Preheat the skillet over medium heat. Carefully drop the dough onto the skillet. You want to monitor the heat so your pan doesn’t get too hot and burn your dough. The dough will bubble. Check the bottom and flip when you see the bottom is cooked.
- In an oven or toaster oven: A pizza stone fits beautifully in a large or regular oven. Heat the pizza stone to 425º degrees F degrees. Add the dough and cook as mentioned above in the grill directions.
Step 5: Top your flatbread. You can use pizza sauce, pesto, fresh herbs, and goat cheese…add whatever you like! If you use cheese, cook until the cheese is slightly golden.
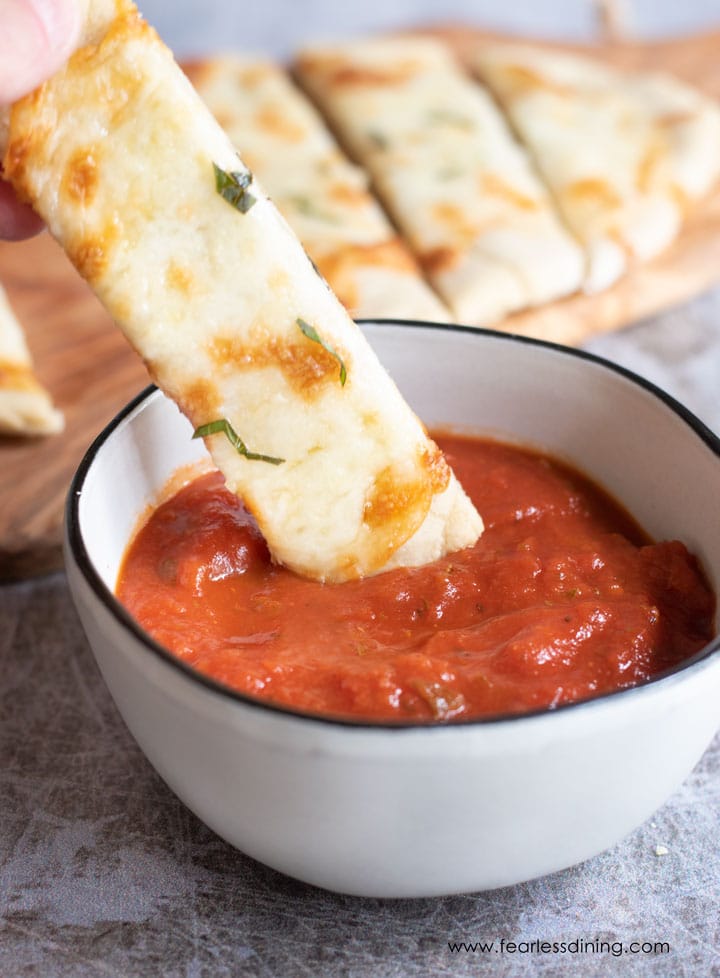
If you love flatbread, try my awesome Gluten Free Naan recipe.
Frequently Asked Questions:
You can freeze this flatbread. Place a cooked and cooled flatbread on wax paper and put it in a freezer bag. It will keep up to four months in the freezer.
This flatbread will stay fresh for 2-3 days in the refrigerator. To make it after storing, put it into the oven at 375º F for 8 minutes.
You can easily make this flatbread without yeast. It will not puff up as much, but the flavor will still be great.
If you love this flatbread recipe, wait until you try my updated Gluten Free Focaccia Bread recipe!! You may also enjoy dipping this gluten-free flatbread into some of these herb infused olive oils!
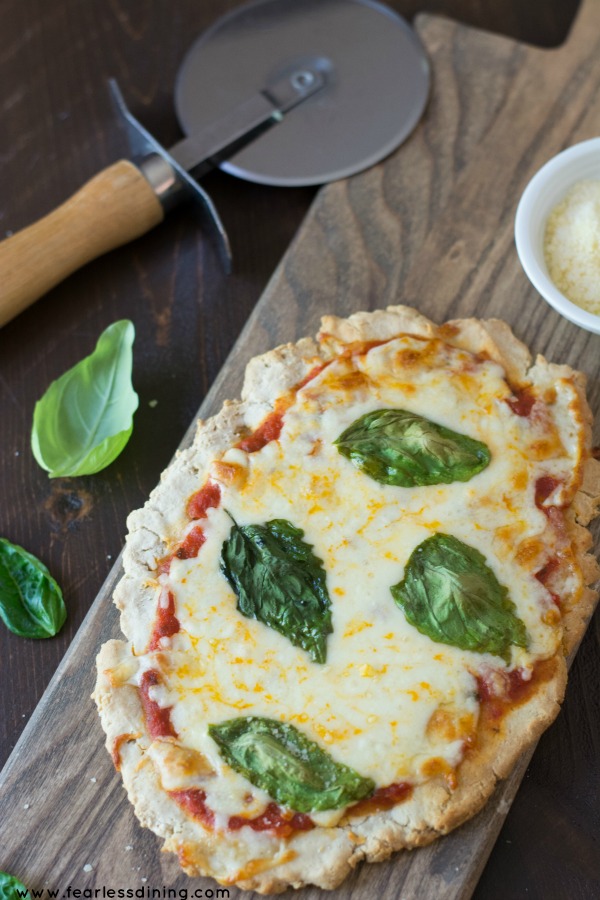
I made this crust and was so surprised at how good it was. I give it a 10. This was amazing”
Christine H., Pinterest user
More Gluten Free Pizza Recipes:
Love This Recipe?
If you made and enjoyed this recipe, I would be incredibly grateful if you could leave a comment below. Please include which flour blend you used. This will help others know this recipe is delicious. Thank you!
Gluten Free Flatbread
Ingredients
- 2 cups gluten free flour blend *see note
- 1 teaspoon sugar
- 2 teaspoons yeast *see note
- 1 teaspoon baking powder
- ½ teaspoon salt
- 1 tablespoons olive oil
- 1 cup warm water
Instructions
- In a small bowl, add sugar, yeast and warm water. Allow to sit for 5 minutes so yeast are bubbly.
- In a large bowl add all dry ingredients. Whisk to blend.
- In the bowl of yeast and water, add olive oil. Pour into dry ingredients and mix.
- Shape the dough into flatbread, cover it with plastic wrap, and let it rise in a 200º F warm spot for 45 minutes.
- Preheat the oven (or grill) to 425º F. If your pizza stone is new and not seasoned yet, put a thin layer of olive oil. Put the pizza stone in the oven while preheating so it gets nice and hot. Remove the stone from the oven. *See note*
- Break pieces of dough off. Put a piece in between two pieces of plastic wrap. Roll to 1/2 inch flat for pizza or 1/4 inch flat for a thinner flatbread. Carefully put on the pizza stone.
- Bake for 8-10 minutes until the crust is crispy.
- If you are adding toppings, remove the crust from the oven and spoon sauce onto the crust. Top with mozzarella cheese. Add your favorite toppings.
- Bake an additional 5-8 minutes until the cheese is melted.
Notes
- I have tested this recipe with Cup4Cup and Better Batter in this recipe. That doesn’t mean others will not work. I just have not tested other flours. The Bob’s didn’t rise as much as the other two blends.
- If your gluten free flour blend doesn’t contain Xanthan Gum or Guar Gum, please add one teaspoon.
- You can also use a sourdough starter in this recipe. Use 1/3 cup instead of a package of yeast. Note your rise time will need to be longer using a sourdough starter.
- On the grill: Preheat a pizza stone on the grill to 425º F. When the stone is very hot, add the dough to the hot baking stone. Bake the flatbread pizza crust on a pizza stone to get nice and crispy. For making pizza, add your toppings after the crust pre-cooks for 10 minutes. Cook an additional 8 minutes until the crust is crisp and the cheese is golden
- In a 12″ cast-iron skillet: Preheat the skillet over medium heat. Carefully drop the dough onto the skillet. You want to monitor the heat, so your pan doesn’t get too hot and burn your dough. The dough will bubble. Check the bottom and flip when you see the bottom is cooked.
- In an oven or toaster oven: A pizza stone fits beautifully in either a large toaster oven or a regular oven. Heat the pizza stone up in the oven to 425º F degrees. Add the dough and cook as mentioned above in the grill directions.
SPECIAL NOTE
Please know that every gluten free flour blend has a different starch to grain ratio. If you use a blend I didn’t test, you may need to adjust your moisture levels in your baked goods.
Nutrition
Nutrition Disclaimer
Nutritional information is an estimate provided to you as a courtesy. You should calculate the actual nutritional information with the products and brands you are using with your preferred nutritional calculator.

Delicious, easy recipe for gluten free pitas. I made it into 8 mini pitas, baked at 425 for 12 minutes, and they were perfect! Better than gluten free bread in the store and I know what’s in it!
Wow, I never thought to use this recipe to make pitas, was there a big air bubble in the middle?
This is tasty! Next time I will sprinkle with coarse salt.
That sounds great!
I made this for Mother’s Day brunch and it was amazing. No one knew it was gluten free. I used Cup4Cup like instructed. A few notes for others: the recipe is confusing (to me, at least) on if you should let the dough rise in the shape of a ball, or roll it out and then let it rise. I elected to let it rise in the shape of a ball. After the rise, I olive oiled my hands and divided it in two (I doubled the recipe). I placed the dough on a piece of parchment paper, covered the top with plastic wrap, and rolled it out. I then carefully removed the plastic wrap from the top and slid the parchment paper onto a cookie sheet. If you use plastic wrap for top and bottom, it seemed to me that it would be difficult to get both pieces removed and the rolled out dough onto a stone/grill/sheet without it falling apart. I made them the day before our gathering, so all I had to do was bring the prepared crust to room temp, add my toppings, and bake until the cheese was melted. They turned out beautifully. Thank you for a fabulous recipe! I will be using Cup4Cup way more often now!
Thank you so much. I am really glad you loved the recipe. I will try to clarify the recipe for folks, I appreciate your valuable feedback.
I made this using Cup 4 Cup for dinner tonight and it turned out amazing! With my kiddos fine tonight, I may eat the exile pan 😂 Thank you for a great recipe!
I am so glad everyone loved this recipe. Thank you so much, Shelly!
Hi, I was also confused with the instructions. In the step-by-step instructions you make it look like you roll out the dough and then let it rise, but in the recipe section, it looks like you let it rise in a dough ball and then roll it out (which I know is what you do with regular pizza dough). I rolled it out first and then put it in the oven flat covered in Saran Wrap and unfortunately my dough came out VERY crispy and didn’t rise much. I used King Arthur 1-1 flour. Would love some tips/feedback for making it better!
Hi Anne, I will look to see if I can clarify. I will say King Arthur 1:1 says on the back of the bag it doesn’t work well in yeast recipes. This is why your dough didn’t rise much. I would recommend Cup4Cup, Better Batter, or Pillsbury GF flour blends in this recipe.
How do you store these? What is the best way to preserve them if we make a bunch? Thanka
I freeze the cooked flatbread and reheat in the microwave or toaster oven.
Hello! So far, this recipe has been great except for one thing… I’m a little confused. It says to let rise in a “warm spot” at 200 degrees. That seemed really high for proofing but not wanting to ruin the recipe I went ahead and did as it says. The only warm spot in my house that gets to 200 is my oven so I proofed it in there and it baked. 🙁 It was raw enough that I could roll it out a little bit but now it’s weak and crackled and I couldn’t break it into smaller flat breads. I’m popping it in the oven now to finish baking and the bit I tasted is really good, so still rating the recipe well but I think there’s a mistake with the 200 degree rising temperature. I still had 25 minutes left to rise and I’m really glad I checked or it would’ve been unusable. Did I misunderstand something?
Hi Brit, The temperature is correct. I turn the oven on to 200º F, then turn it off. I rise the dough with plastic wrap over it until the dough doubles in size. Then I remove it and preheat the oven to the baking temperature. You didn’t mention what gluten free flour blend you used. Many state on the back of the bag they do not work well with yeast, so that could be a reason for the rise not working well.
Directions state to let the dough rise for 45 minutes. The timing at the top of the recipe is rise for 3 hours. Which is correct?
The 3 hours specifies if you are using a sourdough starter. Are you using a starter or active dry yeast?
Active dry yeast so I’ll let it rise 45 minutes. Thanks!
OMG! I mafe this tonight for my husband who is gluten free and battling cancer. His favorite thing in the world is pizza but he has not found a gf crust he thinks is worth it. Until tonight!! He just loved it! Thank you so much for sharing!
I am so glad you and your husband loved it. It makes me so glad he has something to enjoy. I am keeping him in our prayers for a full recovery.
If I use sourdough starter do I have to use less liquid and flour?
Hi Pam, you may need to play around with the ratios a bit. I find that it will vary by what flour or blend is used to make the starter. I would compare your dough to the ones in my step by step photos to make sure you have the right dough consistency.
I just read on Amazon that the Bob’s 1to1 isn’t meant to be used with yeast and to use an all purpose flour instead. When you made the Bob’s, how was it? I only have the 1to1 and wanted to try this recipe so just wanted to check before I buy the All purpose. If it was still tasty, but didn’t rise as much, I’m okay with that.
Hi Nicole, Bob’s 1:1 isn’t great with items you need to rise high, like bread. I find it works okay for this flatbread recipe because I am not trying to get the flatbread to rise as much as bread or rolls.
This looks really good! The instructions say to break off pieces of the dough and roll out, but I’m not sure what size pieces. The recipe card says it makes 6 servings, so do I divide the main dough ball in to 6 smaller ones to roll out? Sorry, just a little confused.
Hi Donna, Thank you for reaching out. You can make as many flatbread as you like. One large one, several small.
I just made this recipe it was absolutely perfect dough. I made the day before so it was chilled in the fridge for about 24 hours. The texture was crispy on the outside, and fluffy on the inside. I will make this again, but this time, I’m going to try freezing the dough disk then thawing in the fridge when I need it.
I am so glad you enjoyed the flatbread Stefani. Thank you so much for coming back to leave a review. That means a lot to me :-).
This gf flatbread tomato basil pizza looks wonderful. I want a piece right now.
So when you make it on the stone, the stone is not hot, right? I always thought you had to get the stone hot before putting anything on it. Or are you forming the crust shape on something else and then sliding it on a hot stone?
Sorry for the dumb questions.
Hi Cathy, Thank you for your question. I did heat the stone first. I am so used to heating it, I forgot to add that. Thank you so much for the reminder 🙂