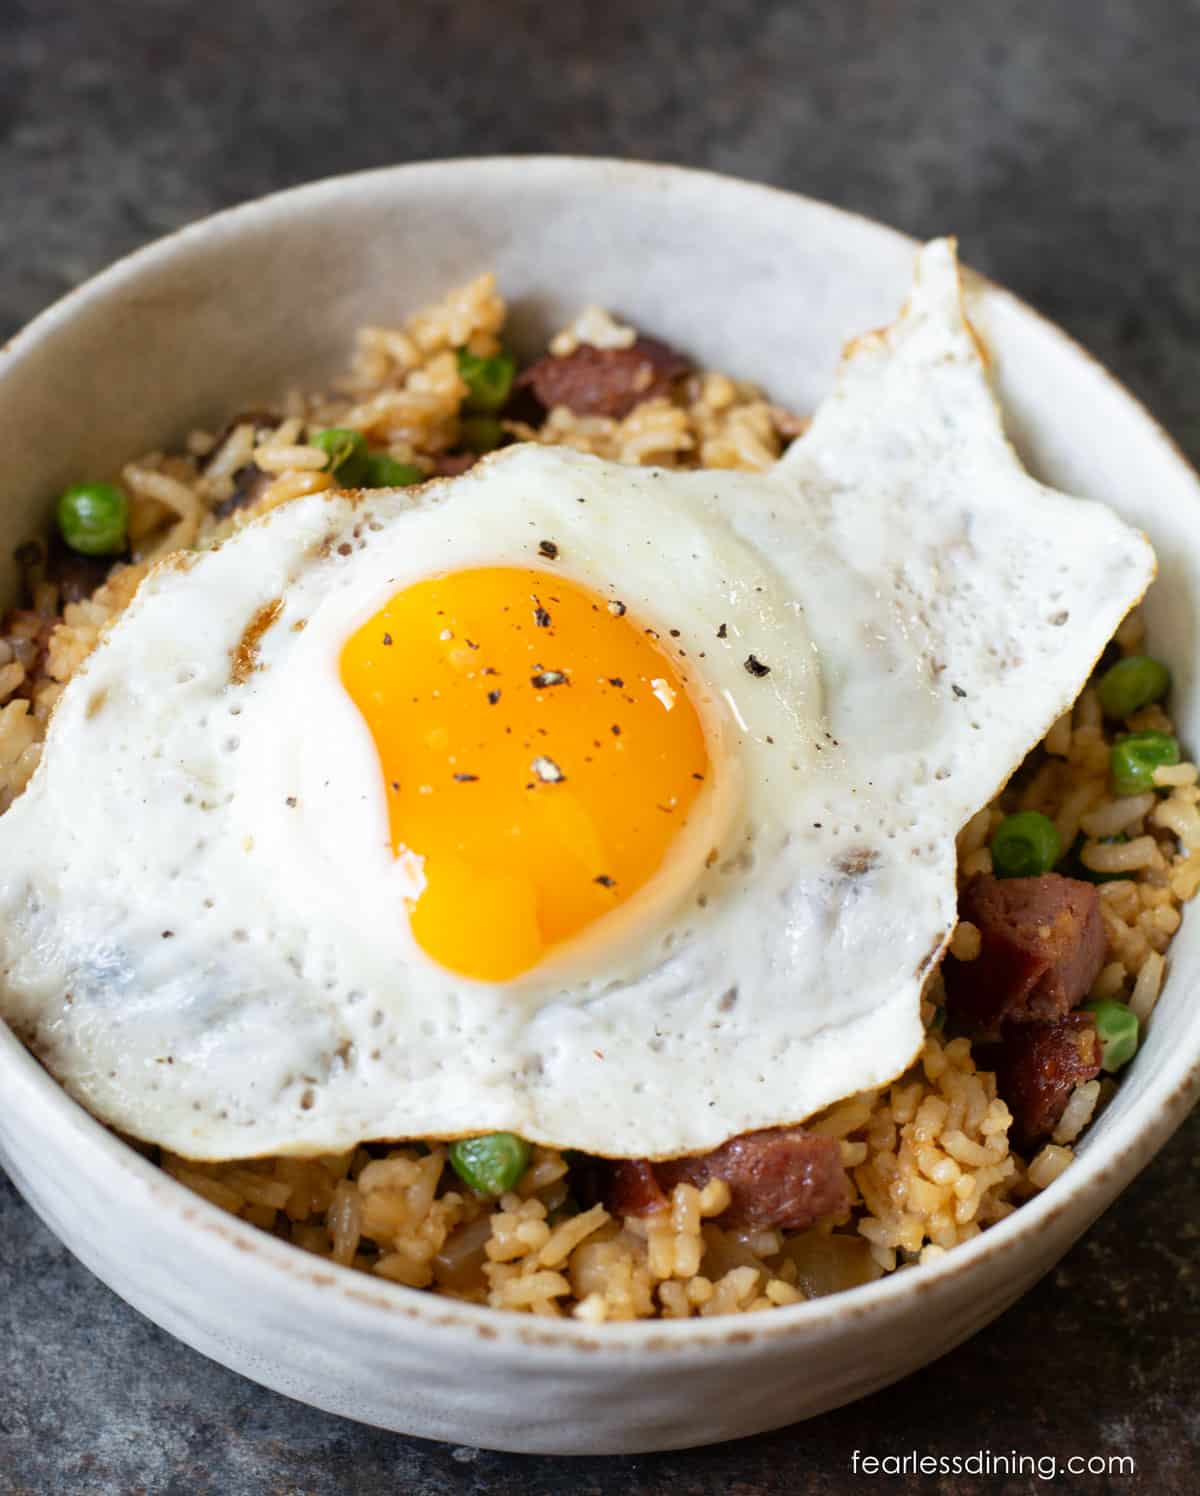
This quick and easy breakfast fried rice may become your new favorite breakfast. It is full of smokey breakfast flavors from kielbasa or bacon, and you can use any vegetables you have on hand. Top it with a fried egg with a runny yolk, and you are going to love this delicious breakfast!
This post may contain affiliate links. Please read our Disclosure Policy.

If you want a quick and easy breakfast that even picky eaters will love, this breakfast fried rice is a great option. It is the best way to use leftover rice and sneak in some vegetables in the morning!! This is also a great budget recipe; you can make a lot to feed a large family or have leftovers!
This is a nice, flexible recipe; you can change the flavors in many ways! You can use kielbasa, sausage, or bacon; change up the vegetables you use, etc. I will include my favorite flavor options below! If you use kielbasa in this breakfast fried rice recipe, use my easy Air Fryer Kielbasa recipe.
If you love a hearty breakfast, check out my delicious gluten-free breakfast recipes on the blog. You are sure to find some new favorite recipes!
Cost To Make This Recipe:
For this breakfast rice recipe, the cost is $11.90. Prices are calculated based on my Walmart store’s prices. Please note there may be regional differences in cost, pricing fluctuation from sales, etc.
Allergen Information:
This homemade breakfast fried rice is gluten-free, dairy-free, nut-free, oat-free, and soy-free (depending on the brand of kielbasa and soy sauce used.)

Ingredient Notes:
For the full list of ingredients and amounts, please go to the recipe card below.
- Cold Cooked Rice – I prefer to use white rice, but you can also use brown rice.
- Kielbasa or Bacon – Both add a delicious smokey flavor to this recipe. I like using kielbasa because it is a bit less fatty. See below for a list of gluten-free kielbasa brands.
- Egg – Use size large.
- Onion – You can use scallions or onions; yellow onion is better than purple onion for this recipe.
- Vegetables – I used peas and shiitake mushrooms. You can use any vegetables you have on hand in the freezer.
- Sesame Oil – I use sesame oil for the toasty flavor. Read Is Sesame Oil Gluten-Free to ensure yours is safe to use.
Tips for Success:
1. Use cold rice; it truly makes a difference in how this recipe and any fried recipe turns out!
2. If you are gluten-free, use Tamari. If you are also soy-free, use Coconut Aminos.
Step-By-Step Photos and Directions:

Step 1: Cook the kielbasa in the air fryer. You can also skip this step if you prefer to just dice the kielbasa and cook it in the pan.
Step 2: Add 1 TBSP cooking oil to a frying pan with high sides. Add the diced onion and cook for 3 minutes until it becomes softened and clear in color. Cook on medium heat.
👀 Sandi Says: If you are using bacon, chop it up and add it to the pan while the onions are cooking.

Email This Recipe To Me!
Step 3: Add the mushrooms to the cooking onions. Stir frequently to prevent the mushrooms from sticking.
Step 4: Place the kielbasa onto a cutting board and cut it into bite-sized pieces. Add the kielbasa to the pan.

Step 5: Continue to cook the onion, mushrooms, and kielbasa. Add the peas and any other vegetables you plan to add. Turn the heat to medium-low.
Step 6: Add the cold rice to the pot and turn the heat down to low.

Step 7: Add the soy sauce, tamari, or coconut aminos to the rice.
Step 8: Use your spatula to break up the rice and mix it into the kielbasa and vegetables. Add more tamari, soy sauce, or coconut aminos as needed.

Now, it is time to add a fried egg to the fried rice!

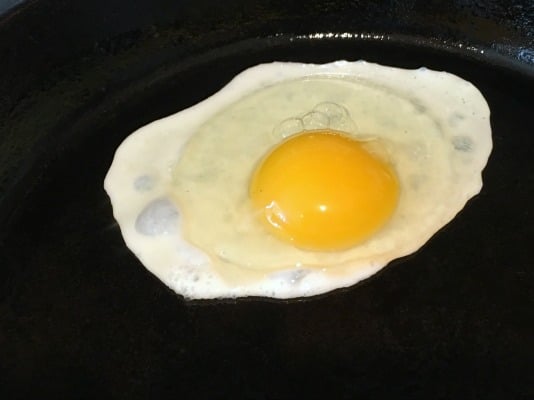
Step 9: Add the fried rice to bowls. Fry an egg Sunnyside up and add a fried egg to the top of each bowl of breakfast rice. Serve this fried rice breakfast hot.
Frequently Asked Questions:
You can use hot, just cooked rice, but it will not turn out the same. When the rice is hot, it is very starchy, clumpy, and sticky. When the rice is cooled, it doesn’t stick together, which improves the texture of the fried rice.
Yes, you can easily make this plain fried rice. Omit the fried egg on top. You may also love this Gluten-Free Fried Rice recipe.
Store the leftover rice in an airtight container in the refrigerator. It will keep fresh for up to 3 days. Reheat it in a microwave-safe dish in your microwave for 40 seconds.

More Gluten Free Breakfast Recipes:
- Homemade Chorizo Migas
- Gluten Free Buckwheat Pancakes with Pear
- Cast Iron Breakfast Skillet
- Gluten Free Oatmeal Breakfast Muffins
Love This Recipe?
If you made and enjoyed this recipe, I would be incredibly grateful if you could leave a comment below. This will help others know it’s delicious. Thank you!

Easy Breakfast Fried Rice
Ingredients
Method
- Cook the kielbasa in the air fryer. You can also skip this step if you prefer to just dice the kielbasa and cook it in the pan.
- Add 1 TBSP cooking oil to a frying pan with high sides. Add the diced onion and cook for 3 minutes until it becomes softened and clear in color. Cook on medium heat.
- If you use bacon instead of kielbasa, chop it up and add it to the pan while the onions cook.
- Add the mushrooms to the cooking onions. Stir frequently to prevent the mushrooms from sticking.
- Place the kielbasa onto a cutting board and cut it into bite-sized pieces. Add the kielbasa to the pan.
- Continue to cook the onion, mushrooms, and kielbasa. Add the peas and any other vegetables you plan to add. Turn the heat to medium-low.
- Add the cold rice to the pot and turn the heat down to low. Add the soy sauce, tamari, or coconut aminos to the rice.
- Use your spatula to break up the rice and mix it into the kielbasa and vegetables. Add more tamari, soy sauce, or coconut aminos as needed.
- Add the fried rice to bowls. Fry an egg Sunnyside up and add a fried egg to the top of each bowl of breakfast rice. Serve this fried rice breakfast hot.
Nutrition
Notes
- I recommend using either Jasmine or Basmati white rice. You can also use brown rice.
- It is important to use cold-cooked rice and not hot, freshly cooked rice in this recipe.
- I include a list of gluten-free kielbasa brands in my Air Fryer Kielbasa post.
- Store the leftover rice in an airtight container in the refrigerator. It will keep fresh for up to 3 days. Reheat it in a microwave-safe dish in your microwave for 40 seconds.
Nutritional Disclaimer
Nutritional information is an estimate provided to you as a courtesy. You should calculate the actual nutritional information with the products and brands you are using with your preferred nutritional calculator.
Tried this recipe?
Let us know how it was!

I’m wondering if you will have an ebook for just breakfast recipes that you have on your website. They look very appealing and I would like to have all in book rather than having to print each one. The Easy Gluten Free Meals only has a few breakfast recipes.
Hi Linda, I love the idea. I wasn’t sure if people would want recipes just from the blog. I have a couple in the works with seasonal recipes, 60% recipes on the blog and 40% brand new recipes…Let me think about this more. Thank you!