This Hawaiian butter mochi is a simple, naturally gluten-free treat you can make in just 35 minutes. These bars are made with a few simple ingredients, including sweet rice flour, coconut milk, sugar, eggs, and butter. Each bite has a creamy texture with a hint of tropical flavor. Whether you are new to baking with sweet rice flour or you grew up enjoying mochi, this recipe is an easy way to bring a taste of Hawaii to your kitchen.
This post may contain affiliate links. Please read our Disclosure Policy.
❤️ Sandi’s Recipe Summary
The Quick Bite: This butter mochi is made with a few simple pantry ingredients. It is a classic Hawaiian treat that is made for snacking. They have the perfect chewy texture, and I share a dairy-free version for those who must avoid dairy.
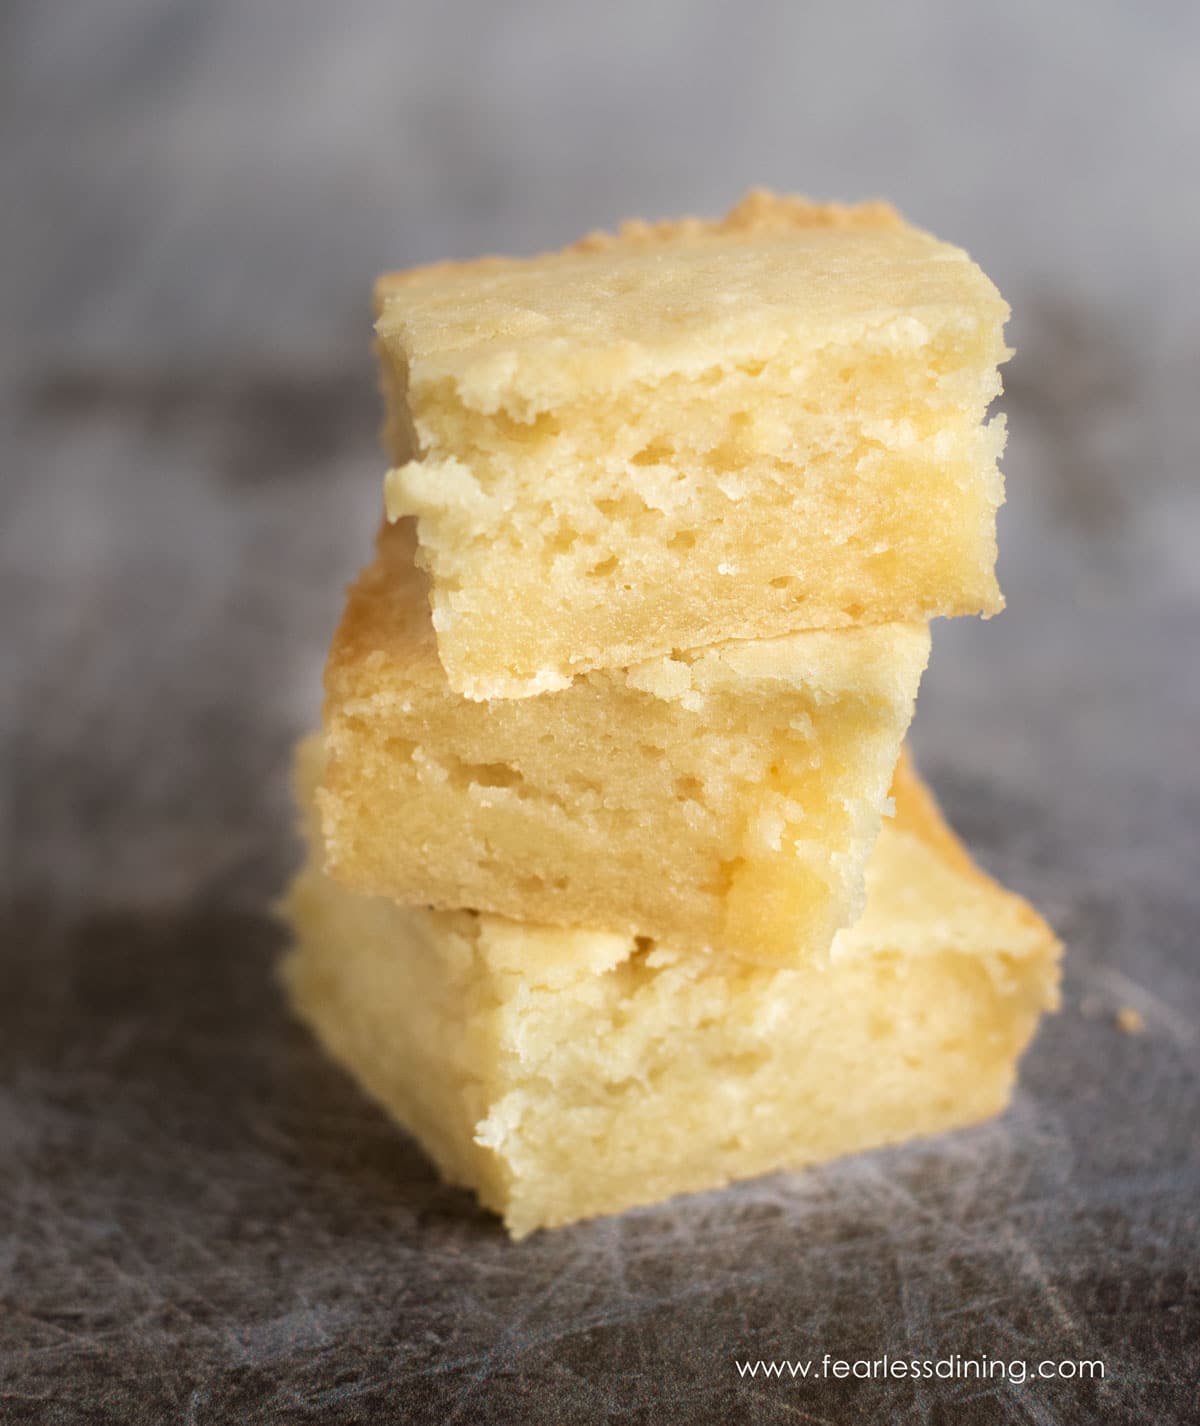
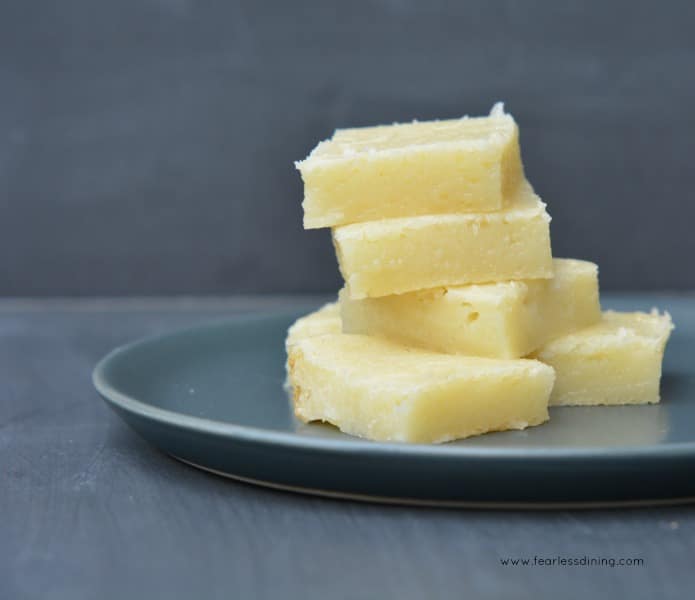
“Bata Mochi,” known as Butter Mochi, is a naturally gluten-free Hawaiian local treat. You may be surprised how easy this butter mochi recipe is to make. Hawaiian mochi cake is naturally gluten-free; our kids love it as a snack or dessert. This mochi tastes like you are on a tropical vacation in Hawaii!
For those who have never heard of butter mochi, think of it like a baked custard made with sweet rice flour. Butter mochi is a soft cake made with coconut (or regular) milk, sweet rice flour, sugar, and eggs. This mochi recipe is seriously good! It is made with very few ingredients and tastes delicious.
When Chef Nagano of Skool restaurant in San Francisco shared her amazing gluten free Black Sesame Banana Bread recipe with me, she also shared her Auntie Ellen’s family mochi recipe. I knew this was special and asked if I could share it with all of you.
If you have never tried mochi, this beginner-friendly butter mochi recipe is worth it! You may also want to try my Matcha Mochi flavor.
Ingredient Notes and Easy Swaps:
For the full list of ingredients and amounts, please go to the recipe card below.
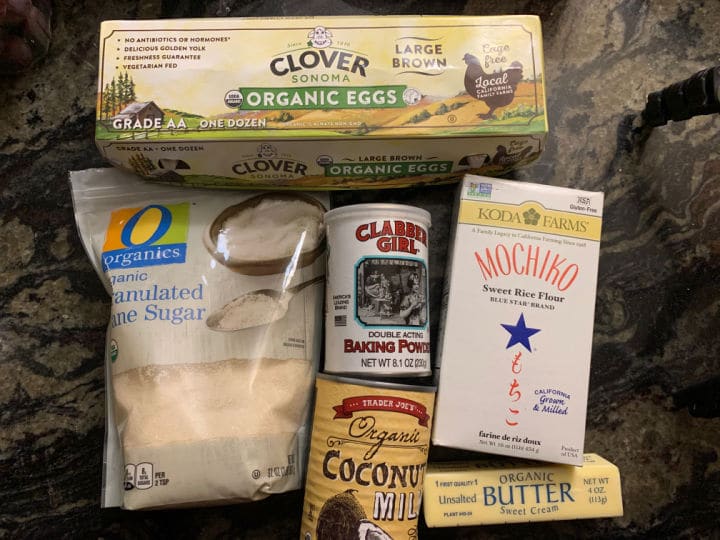
- Sweet Rice Flour (also called Mochiko) – Gives this Hawaiian butter mochi its creamy texture. DO NOT substitute this with regular rice flour or brown rice flour, or your mochi will not turn out. You can find sweet rice flour at many grocery stores. I prefer this Koda Farms brand.
- Milk – I prefer to use canned full-fat coconut milk because it adds sweetness and flavor. You can use regular milk if you prefer, but it will not have the signature light, creamy coconut flavor.
- Butter – Use unsalted butter. Use plant-based butter if you are dairy-free. I tested this recipe with Earth Balance butter.
- Eggs – Size Large.
- Baking Powder – Be sure to use aluminum-free baking powder!

A Note From My Kitchen
This butter mochi is something special. It is an authentic Hawaiian butter mochi dessert that is a naturally gluten-free recipe. I did not have to test it multiple times because the recipe is naturally gluten free and came from the auntie of a chef I once interviewed. I made it with canned full-fat coconut milk (my favorite), and I also tested low-fat coconut milk. The mochi turned out good with the low-fat, but it lacked a bit of the creaminess of using full-fat coconut milk.
How to Make Hawaiian Butter Mochi with Coconut Milk:
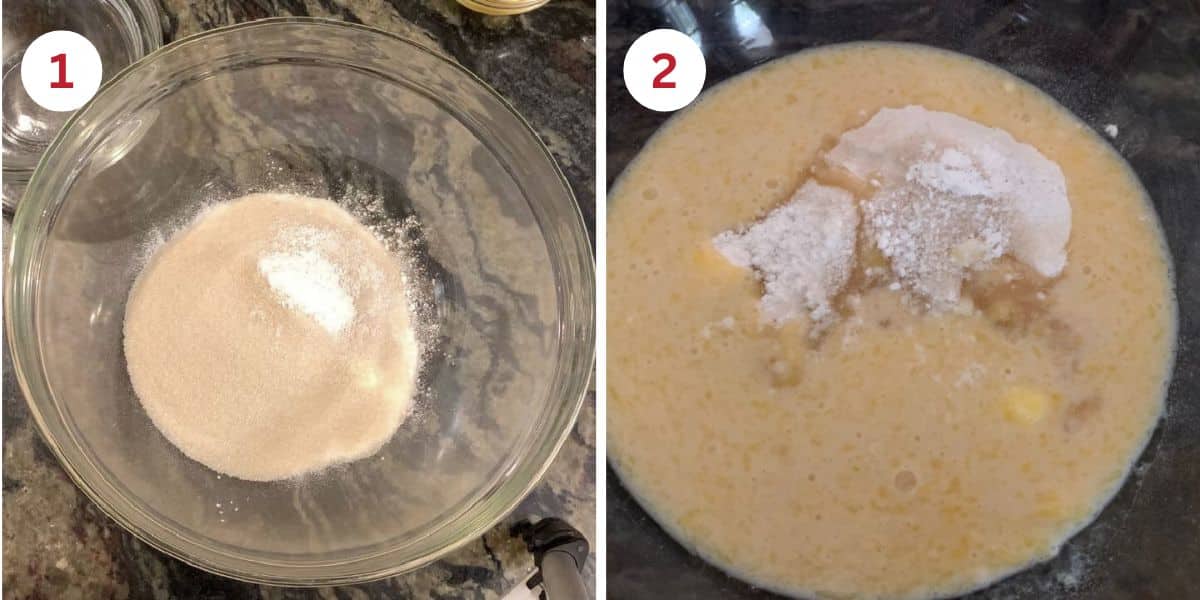
Step 1: Set the oven rack in the middle and preheat the oven to 325°F. Add the sweet rice flour (Mochiko), cane sugar, and other dry ingredients to a large bowl or the bowl of a standing mixer. Whisk to blend.
Step 2: Add the coconut milk, eggs, and melted butter to a small
Email This Recipe To Me!

Step 3: Use a spoon to mix the wet and dry ingredients in the
Step 4: You can either grease an 8×8 pan or line the pan with parchment paper. This butter mochi is easier to remove from the pan using parchment paper.
Carefully pour the mochi batter into an 8×8 baking pan. Bake the mochi cake for 40-45 minutes. Remove the mochi from the oven.
🔑 Sandi says: Allow this mochi to fully cool before cutting the mochi cake! Because of its texture, the mochi will stick to the knife if you slice it while it is warm.
If you love the texture of mochi, you will love these homemade black sesame mochi muffins, too! Check out these mochi waffles, too!
Frequently Asked Questions:
Store your Hawaiian mochi on the countertop, but I recommend refrigerating it. It will last for 3-4 days. (You will know when the mochi goes bad because it will seem dry, hard, and potentially have mold.)
Yes, you can freeze Hawaiian butter mochi. It’s best to wrap the mochi in individual-sized pieces with plastic wrap. Then, place it in a freezer bag or another airtight container. It will last around 3 months in the freezer.
If you love coconut, consider adding shredded coconut. Put up to 1 cup of shredded coconut into the batter. (Add a little more milk to get the batter texture to resemble pancake batter. You can use a little less if you want a subtle coconut flavor. Another option is to toast some coconut and put it on top. Either way, it’s really.
Japanese mochi is typically filled with a sweetened mung bean or other fillings, while Hawaiian mochi is baked cake-style without a filling.
More Gluten-Free Dessert Recipes:
If you are looking for more recipes to try, here are some of my favorite cookie bar recipes:
Love This Recipe?
If you made and enjoyed this recipe, I would be incredibly grateful if you could leave a comment below. Please include which flour blend you used. This will help others know this recipe is delicious. Thank you!
Easy Butter Mochi Recipe (Naturally Gluten-Free)
Ingredients
- 1 cup sweet white rice flour
- 1 cup full-fat coconut milk or regular milk
- ½ cup cane sugar
- 1 large egg
- 2 tablespoons unsalted butter melted
- 1 teaspoon baking powder aluminum-free!
Equipment
Method
- Preheat oven to 325º F.
- Combine 1 cup sweet white rice flour, 1/2 cup cane sugar,2 tablespoons unsalted butter, and 1 teaspoon baking powder in a large mixing bowl. Whisk to blend it together. (You can also use a standing mixer if you prefer.)
- Add egg, coconut milk, and melted butter, and mix well.
- Pour into a greased 8×8 baking dish. You can line the baking pan with parchment paper instead of greasing hte pan.
- Bake at 325º F for 40-45 minutes. Remove to a cooling rack.
- Allow this mochi to fully cool before cutting the mochi cake! Due to the texture, it will stick to the knife if you slice the mochi while it is warm.
Nutrition
Notes
Private Notes
Tried this recipe?
Let us know how it was!
(*This post was updated from a December 2016 post.)
I truly hope you enjoy this recipe. I have been testing and creating gluten-free recipes for over 15 years. Creating gluten-free recipes that do not taste gluten-free is my goal for every recipe. Sometimes I only have to test a new recipe a couple of times, and others it takes multiple times. I do this so you get reliable, delicious results every time!

Does the coconut milk you use have any added gums? Do you think it makes a difference in the final result?
Hii Karen, I don’t have any canned coconut milk in my pantry to check, but you should be able to use a gum-free coconut milk.
I made both the Matcha mochi and the Hawaiian mochi. They both tasted delicious but they didn’t look like yours. Mine were much thinner and flat. I thought of using baking soda to lift them the second go round but didn’t have any. What happened. Any ideas? I did use Lite coconut milk and Swerve natural sweetener in place of the sugar.
Hi Catherine, I have not tested Swerve in any of my recipes, I do not use it, so I do not know how it behaves in baking compared to sugar. I recommend checking to see if your baking powder is expired, that is often a big reason for things not rising.
My grandparents pounded fresh mochi every New Year. One of my favorite desserts at my grandmother’s was Zenzai Sweet Red Bean Soup with Mochi. Every New Year morning we had fried mochi with a slather of butter and a sprinkle of sugar or kinako.
Living in the Inland Northwest, fresh mochi is not available. This year, my mochi-loving 11-year-old granddaughter and I used your Butter Mochi recipe- it was a big hit with the family. She asked for the recipe so she can make it for her family!
I am really glad your family loved this mochi recipe, thank you for coming back to let me know! If you have time, I would love if you could give it a star rating :-).
Thank you Marilyn. I hope you enjoy it as much as we did 🙂
Just tried this using honey 1:1, and it’s wonderful. I did add in a little raw coconut shreds as well.
This recipe is so easy and looks delicious! And such easy-to-find ingredients. I will try this on the weekend for sure! Thank you for sharing to the Gluten Free Blog Hop! 🙂
You are welcome Andrea. I hope you enjoy these treats.