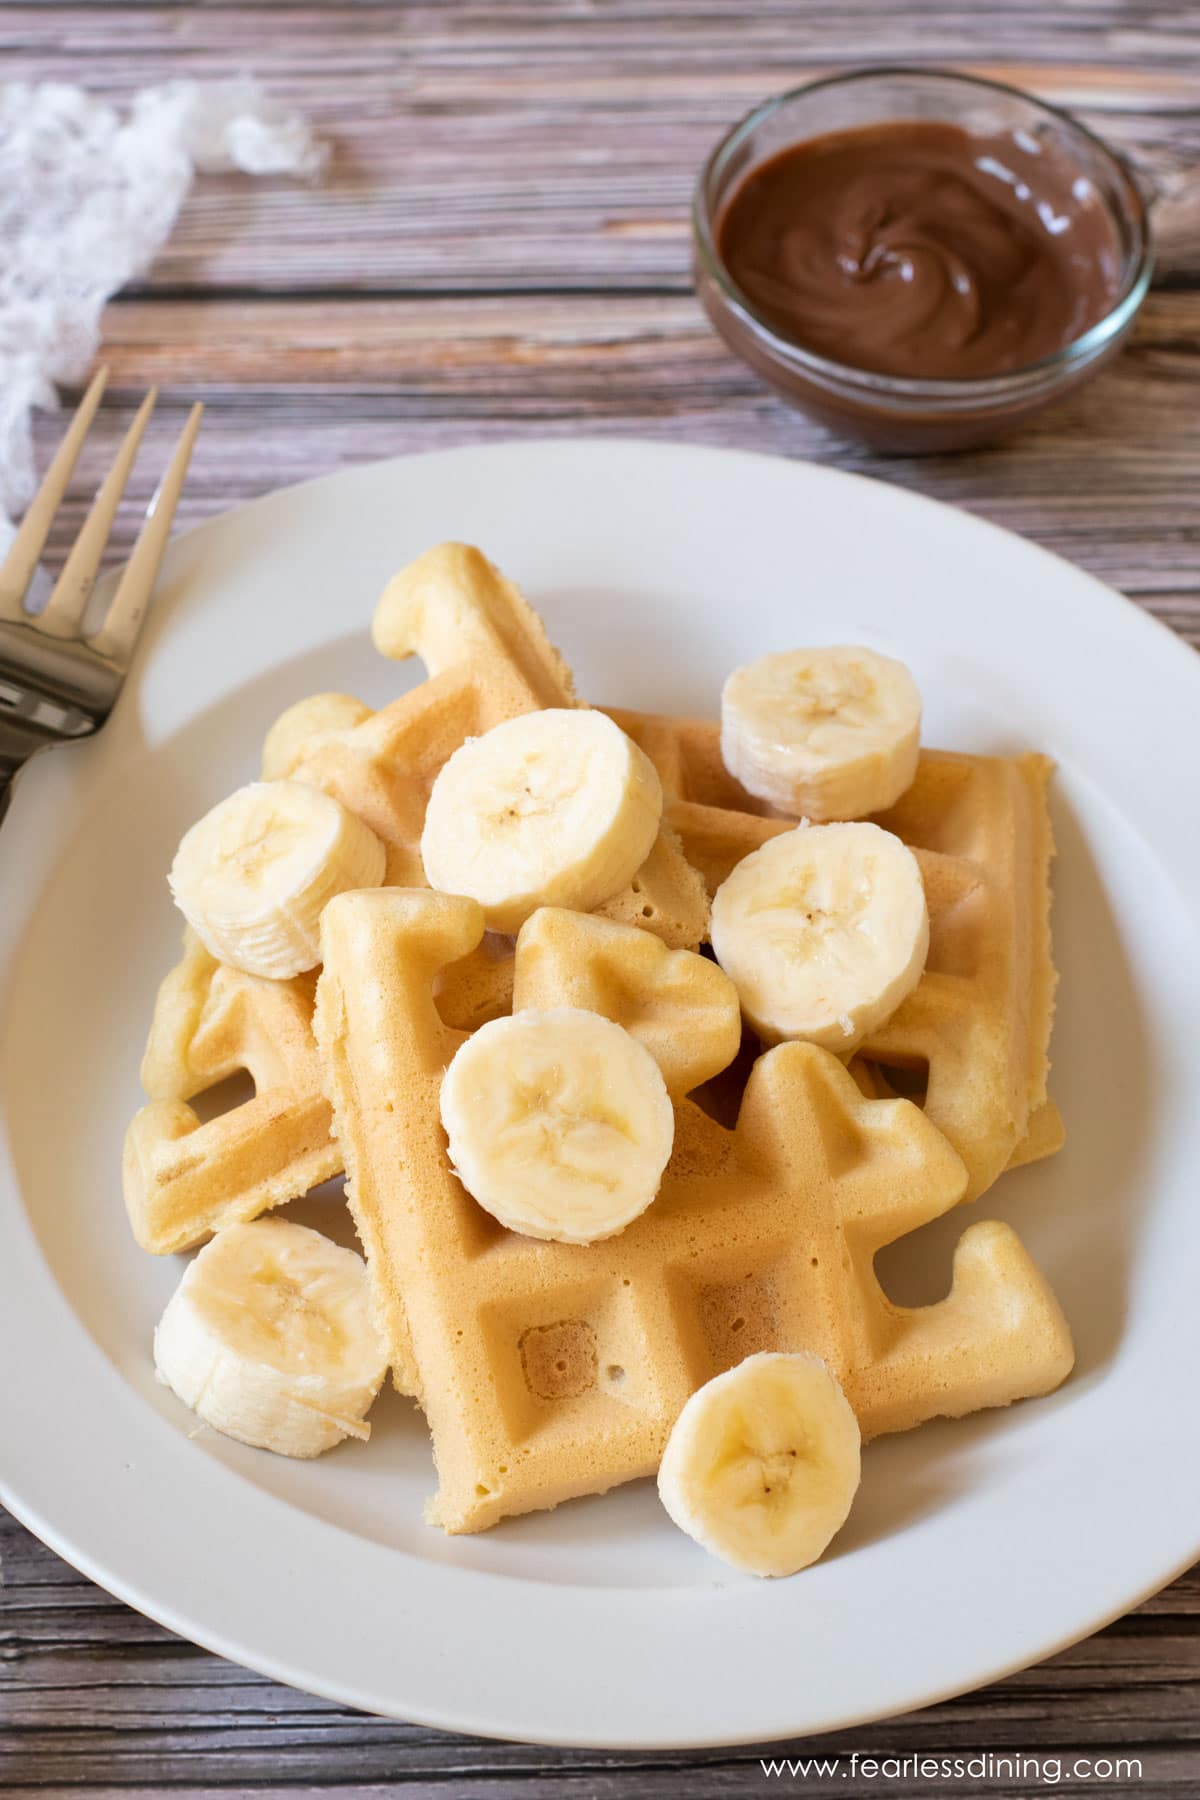
These homemade mochi waffles are soft and spongy on the inside and crisp on the outside. It is by far the easiest mochi waffle recipe to make, and I include several fun flavors to try! Make them in under 20 minutes!
This post may contain affiliate links. Please read our Disclosure Policy.
Would you like to save this recipe?
This post was inspired by a restaurant in San Francisco that I took my son to this past week. This restaurant is a board game lover’s heaven, with an attached kitchen.
Walking into The Game Parlour, you see a small area to order. The place is filled with tables and a gigantic collection of board games—there must be thousands of different board games to choose from!
Everything is gluten free on the menu, and they have an extension of sweet and savory mochi waffle recipes to try! My son and I decided we needed to create mochi waffles for ourselves since we don’t get to San Francisco that often.
These chewy mochi waffles are the best! I topped my mochi waffles with Nutella or used these in my popular Gluten Free Chicken and Waffles recipe!
What is Mochiko Flour?
Mochiko flour is a Japanese sweet rice flour that is naturally gluten free. This rice flour is also called glutinous rice flour, but don’t worry, it doesn’t have gluten that is dangerous for those with Celiac or gluten intolerance. It is milled to a powder-fine texture, making it smooth. It is used in both sweet and savory recipes.
You can find sweet rice flour at most grocery stores or at Asian grocery stores.
If you are wondering what else you can make with Mochiko, try these Black Sesame Mochi Muffins, too!
Why I love these mochi waffles:
- The waffles turn out so fluffy and have the best chewy texture. My kids love them better than regular waffles.
- All you need are six simple ingredients to make these homemade waffles. This is such an easy recipe.
- You can flavor these homemade mochi waffles in several delicious ways. They are a delicious sweet treat!
- They are perfect for both sweet and savory recipes! Mochi rice flour has a sweet flavor, but it also works well in savory recipes.
- If you don’t have a waffle maker, use the batter to make pancakes.
Cost To Make This Recipe:
The total cost is $8.18. Prices are calculated based on pricing at our local Walmart store. Please note there may be regional differences in cost, pricing fluctuation from sales, etc.
Tastes amazing! My family, who usually don’t like the gluten free foods, even loved them.”
sarah, blog comment
If you love mochi as much as we do, you will also want to try these Japanese mochi recipes: Hawaiian Butter Mochi and Matcha Mochi recipes.
Allergen Information:
These fluffy mochi waffles are gluten-free, dairy-free, nut-free, soy-free, and oat-free.
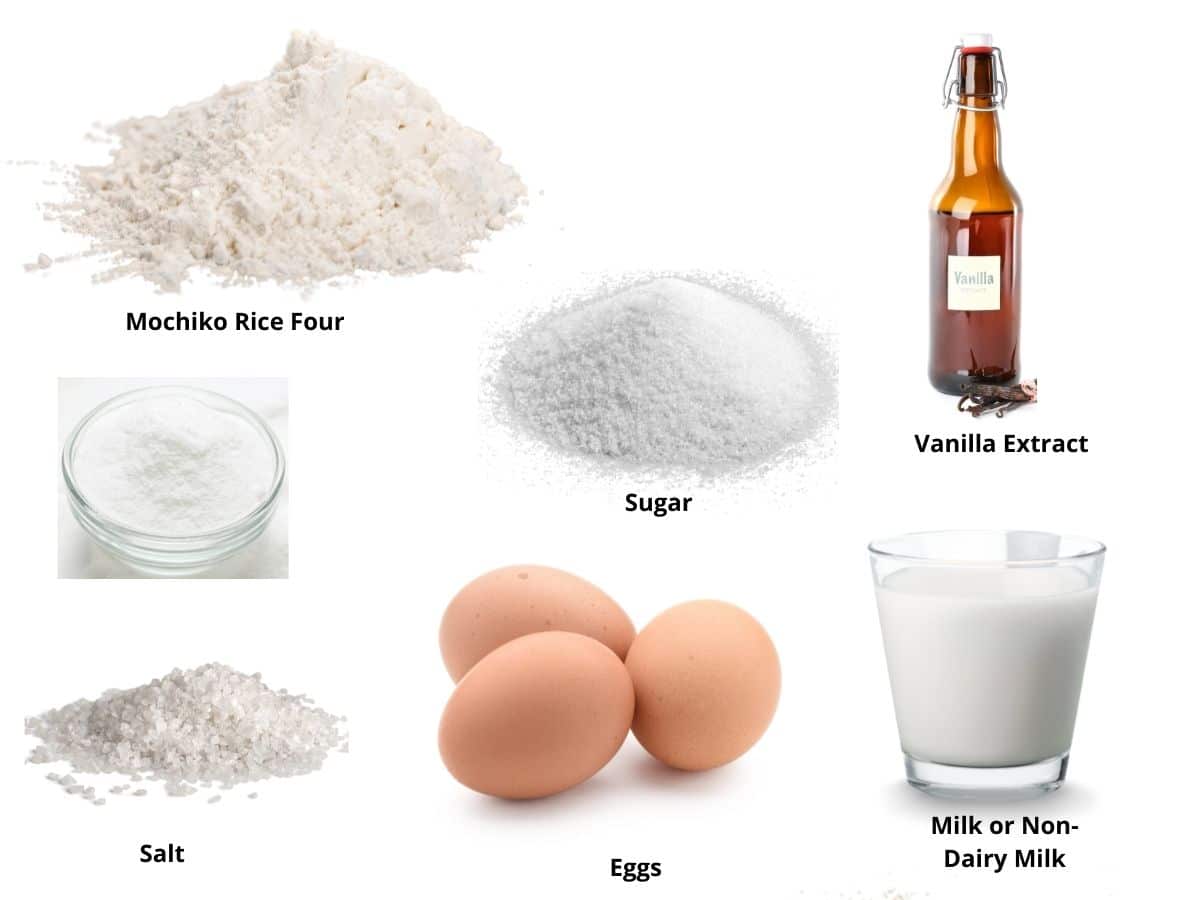
Ingredient Notes:
For the full list of ingredients and amounts, please go to the recipe card below.
- Mochiko sweet rice flour is the best brand to use. Do not use regular rice flour; it is not the same as glutinous rice flour.
- Gluten-free flour Blend – I use a little to give the waffles better structure. You can use any brand of tapioca or Cassava flour.
- Baking Powder – Use aluminum-free. It has no bitter aftertaste like aluminum brands.
- Salt – Use kosher or sea salt.
- Egg – Size Large.
- Milk—Use either regular or non-dairy milk. I used almond milk to make my mochi waffles recipe. You can also use oat or coconut milk, but I don’t recommend canned coconut milk.
Step-By-Step Photos and Directions:
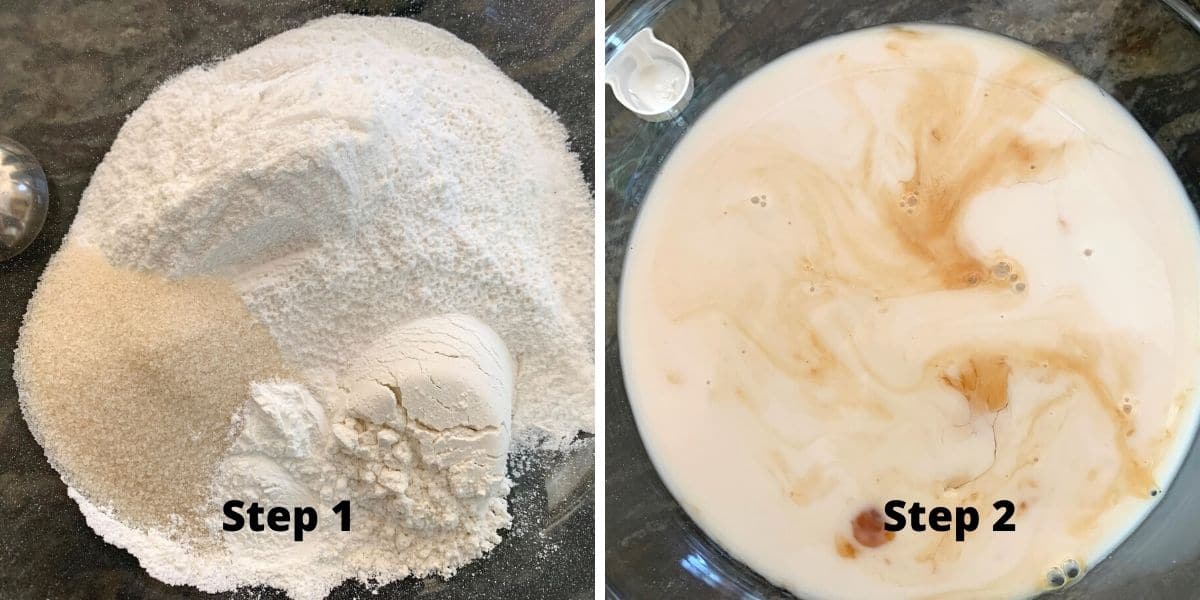
Step 1: Add the sweet rice flour, sugar, gluten free flour, baking powder, and a pinch of salt to a large
Step 2: In a medium bowl, combine the milk or non-dairy milk, egg, and vanilla extract. Whisk to blend.
👀 Sandi Says: You can use a standing mixer with a paddle attachment or whisk attachment to make the mochi waffle batter. If you use a stand mixer, add the wet ingredients first, then slowly add the rest of the ingredients.
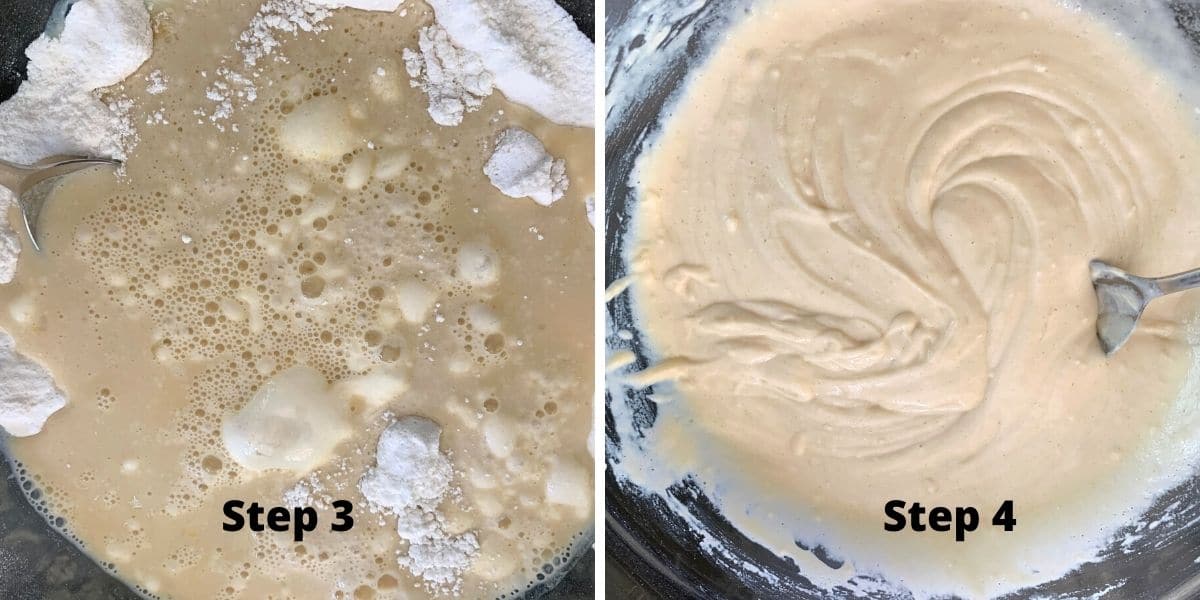
Step 3: Pour the wet ingredients into the dry ingredients. For best results, scrape down the sides so all the dry ingredients get mixed into the batter.
Step 4: This is what your mochi batter will look like. I wanted you to see a photo so you can compare the consistency of your batter to my photo.
📢 Sandi says: Every gluten-free flour blend has a different starch-to-grain ratio. The brand of gluten-free flour you use will affect the moisture of the batter. If your cake batter is too runny, add more flour, and if it is too thick, add more liquids.
Read Why Gluten-Free Flour Blends Vary to learn more about this.
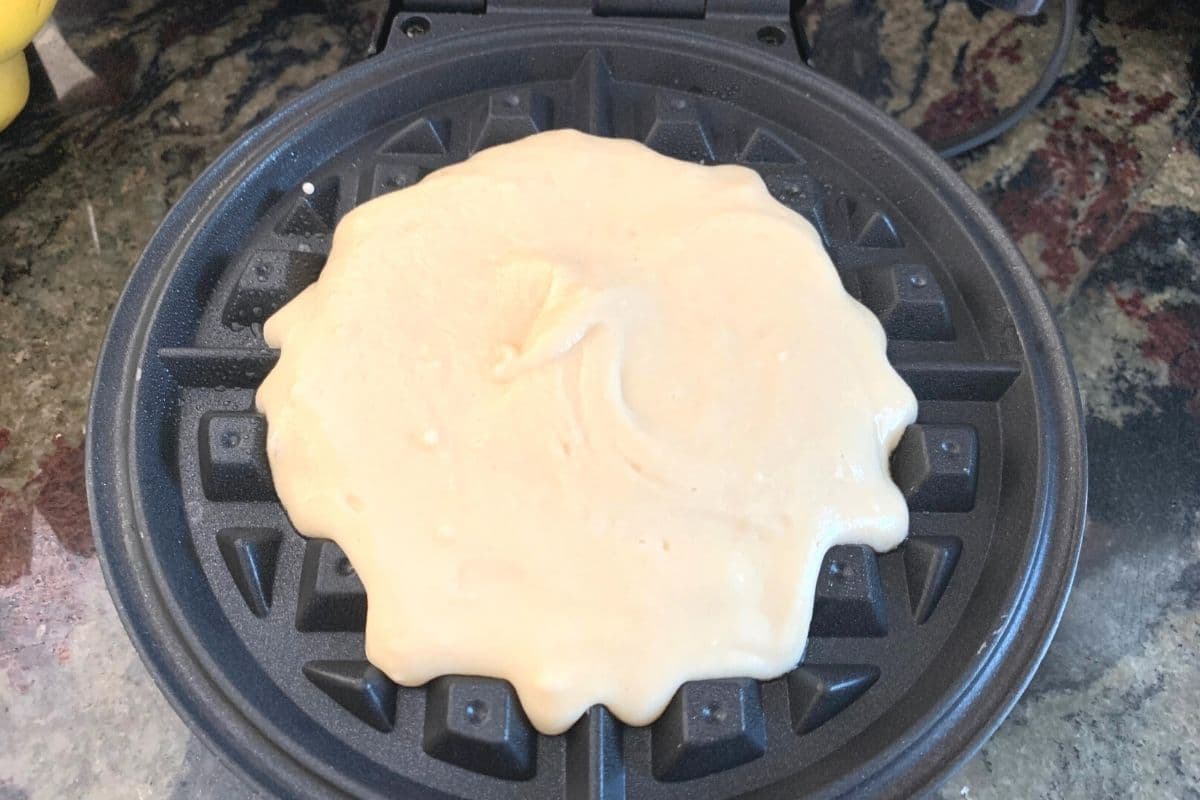
Step 5: Preheat your waffle iron. You can use a regular waffle iron or a Belgian waffle maker. Spray it with non-stick oil. Use an ice cream scoop or soup ladle to pour waffle batter on the hot waffle iron.
Pull the waffle iron top down and cook the waffle for 3-4 minutes until it is done. Every waffle maker’s heat settings vary widely, so please use the medium-high setting on your waffle cooker.
Step 6: Remove the waffle to a plate while you make the rest of the mochi waffles.
If you love waffles, check out my fluffy Gluten Free Pumpkin Waffles recipe too!
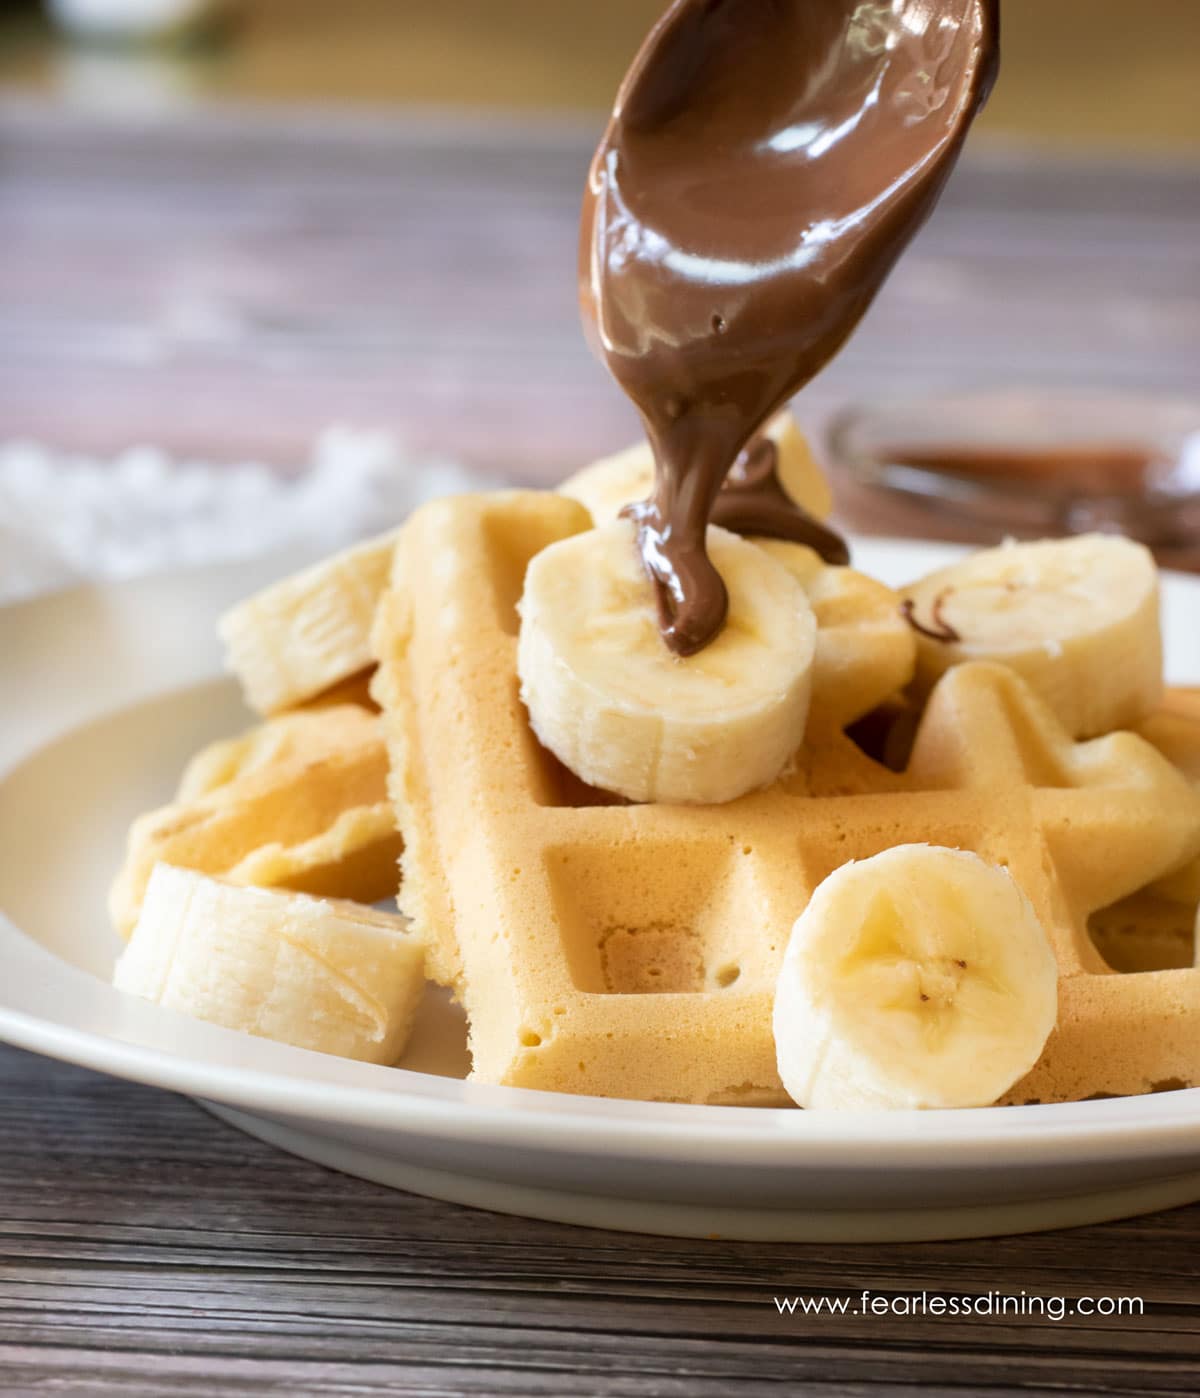
Our favorite way to top these waffles is with Nutella and sliced bananas. You can also use fresh fruit. If you want to know if Nutella is gluten free, or learn fun facts about Nutella, check out Is Nutella Gluten Free.
Traditional maple syrup is also a great waffle topper! You can read all about which maple syrups are gluten free.
You can also make it a dessert by topping your mochi waffles with ice cream!
Mochi Waffles Flavor Options:
- Add one tablespoon of matcha and one tablespoon of sugar to make matcha mochi waffles.
- Add 1/4 cup cocoa powder and 2 tablespoons of sugar to make chocolate mochi waffles.
- Add 3-4 tablespoons crushed (to a fine powder) freeze-dried strawberries to make strawberry-flavored mochi.
Frequently Asked Questions:
You can easily still make this recipe! A great way is to just make them as mochi pancakes on a griddle or skillet.
Unfortunately, you can not use white or brown rice flour to make mochi waffles. These flours will not yield the chewy texture of sweet rice flour.
The best way to store these mochi waffles is in an air-tight container in the refrigerator or freeze them in a freezer bag.
These waffles will keep fresh in the refrigerator for up to 3 days or in a freezer bag in the freezer for up to 4 months.

More Gluten Free Waffle Recipes:
Love This Recipe?
If you made and enjoyed this recipe, I would be incredibly grateful if you could leave a comment below. Please include which flour blend you used. This will help others know this recipe is delicious. Thank you!

Easy Mochi Waffle Recipe
Ingredients
- 1 ¾ cups sweet rice flour * I recommend Mochiko brand
- ⅓ cup gluten free flour blend * see note
- ¼ cup sugar If you are making sweet and 2 TBSP for savory!
- 2 teaspoons baking powder aluminum-free
- ⅛ teaspoon sea salt
- 2 large eggs
- 1 teaspoon pure vanilla extract
- 1 ½ cups milk or non-dairy milk * see note
Would you like to save this recipe?
Instructions
- Preheat your waffle iron according to manufacturer directions.
- In a large bowl, combine the sweet rice flour, gluten free flour blend, baking powder, and salt. Whisk to blend the dry ingredients.
- In a medium bowl, add the wet ingredients and whisk.
- Pour the wet ingredients into the dry ingredients and mix into a smooth mochi pancake batter.
- Add a ladle of pancake batter in the waffle iron and cook 2-3 minutes, or as directed by the waffle maker directions.
- Remove the cooked waffle and continue until you use all of the mochi batter.
- Top with syrup, Nutella, fruit, or anything you like.
Notes
- Any brand of gluten free flour is okay, avoid any with bean flour.
- I used almond milk to make my waffles, any milk is okay to use. I don’t recommend canned coconut milk because it is pretty thick.
- Do NOT use regular white rice or brown rice flour. You need to use sweet rice flour in this recipe. Mochiko brand is the easiest to find at most grocery stores. It is naturally gluten free.
SPECIAL NOTE
Please know that every gluten free flour blend has a different starch to grain ratio. If you use a blend I didn’t test, you may need to adjust your moisture levels in your baked goods.
Nutrition
Nutrition Disclaimer
Nutritional information is an estimate provided to you as a courtesy. You should calculate the actual nutritional information with the products and brands you are using with your preferred nutritional calculator.


Where are the ingredient measurements? The format confuses me.
Hi Ruby, Google requires a lot of instruction in the post. If you just want the recipe, just click the Jump to Recipe at the very top of the article.
Tastes amazing! My family, who usually don’t like the gluten free foods, even loved them.
Hi Sarah, I am so glad everyone loved these waffles. They are one of our favorites because they turn out so fluffy! Thank you!