
When summer heat makes turning on the oven a no-go, this easy gluten-free icebox cake is the cool, creamy dessert you need. Layers of whipped cream and crisp graham crackers soften into a dreamy, cake-like texture. It is chilled to perfection and bursting with fresh berry flavor. Whether you want to serve it up in slices or single cups, this no-bake treat is a refreshing way to sweeten any summer day.
This post may contain affiliate links. Please read our Disclosure Policy.
Email This Recipe To Me!
❤️ Sandi’s Recipe Summary
1. You only need three simple ingredients to make this cool and creamy summer cake.
2. This gluten-free icebox cake is made to be made ahead.
3. No oven is needed! That is the joy of this no-bake cake recipe.
4. This cake is even better the next day, which makes it ideal for parties or summer get-togethers. Build the cake the night before and store it covered in the fridge.
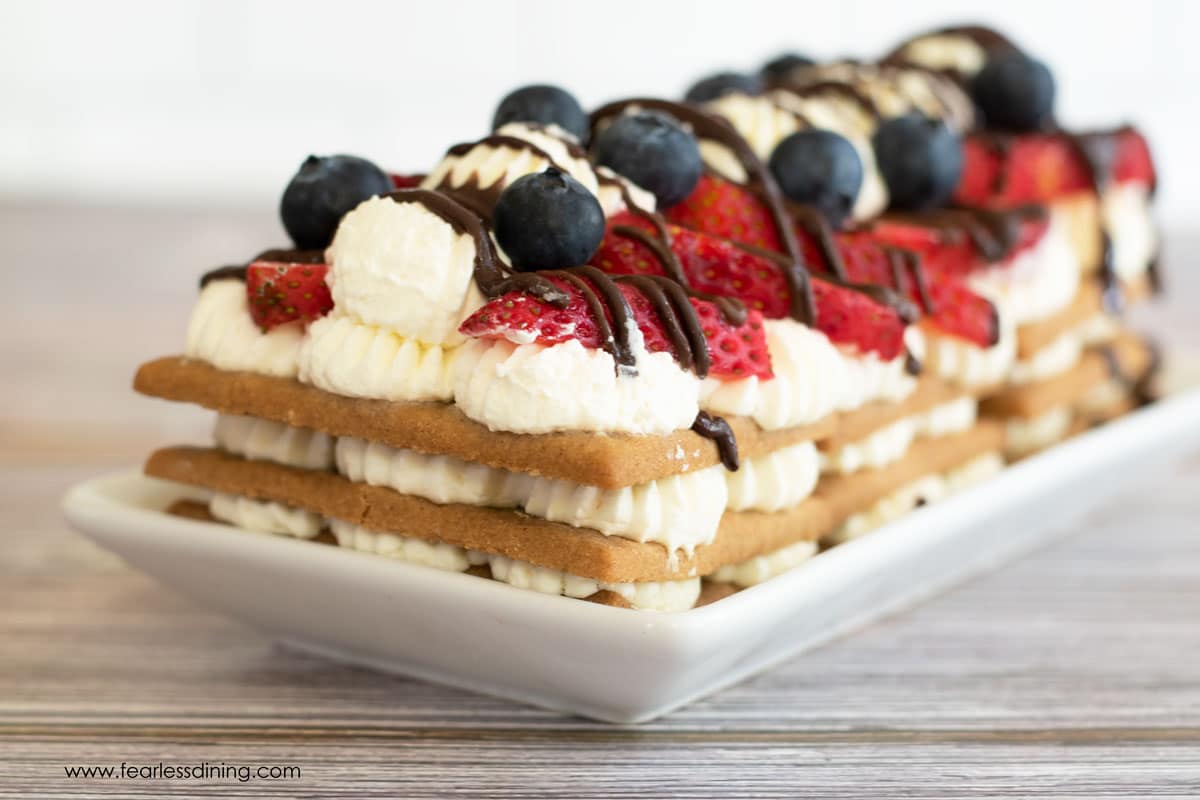
This no-bake gluten-free icebox cake is the ultimate easy summer dessert. Made with just graham crackers, whipped cream, and fresh fruit, it comes together in minutes and chills to soft, creamy perfection in the fridge. There is no oven needed!
My family was skeptical when I said I was making a new cake recipe. Everyone panicked that the oven would turn on, heating the house on a broiling hot day! Luckily, they now know an icebox cake is a good thing!
Try another easy gluten-free dessert with whipped cream, like this Gluten Free Nutella No-Bake Cheesecake, too! While you are here, you will want to check out all my delicious, summery gluten free cake recipes! I have some incredible cakes on the blog.
Ingredient Notes and Easy Swaps:
For the full list of ingredients and amounts, please go to the recipe card below.
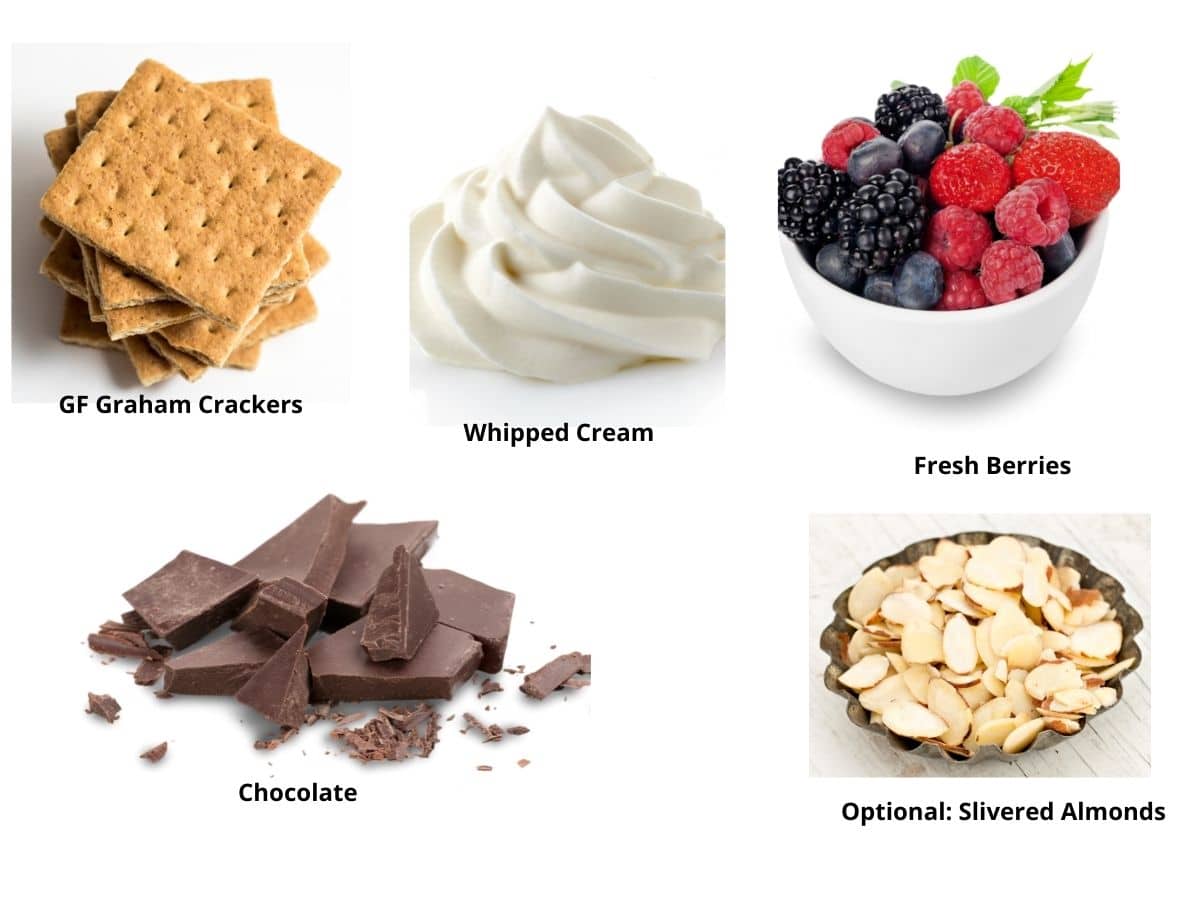
- Gluten-Free Graham Crackers – I used Pamela’s Honey Grahams, but any gluten free graham cracker works well in this recipe. Other great brands are Schär and Kinnikinnick.
- Whipped Cream – I include my creamy homemade whipped cream recipe using heavy cream below. Store-bought whipped toppings like Cool Whip or TruWhip also work well. Avoid using spray-can whipped cream because they tend to collapse quickly and won’t give you those thick, luscious layers this cake is known for.
- Fruit – Use any fresh berries or fruit you like.
- Chocolate – Optional if you want a chocolate drizzle over the cake, as I did.
Substitutions:
- Make this cake nut-free (if you omit the slivered almonds)
- Make this cake dairy-free. If you use TruWhip or SoDelicious whipped cream brands, you can make this gluten free icebox cake dairy-free too!
- Ensure it is soy-free. If you use a soy-free brand of gluten free graham crackers, like Pamela’s, this recipe is soy-free.

A Note From My Kitchen
This icebox cake was fun to test out. I tested this recipe with two brands of gluten-free graham crackers. Not that the Kinnikinnick brand needed longer to soften because they are a lot thicker. I have also tested this recipe with homemade whipped cream and TruWhip, which is my go-to store-bought brand. Both tasted good, I almost liked the TruWhip more because it was sweeter than homemade.
How to Make a Gluten-Free Icebox Cake (Step-By-Step)
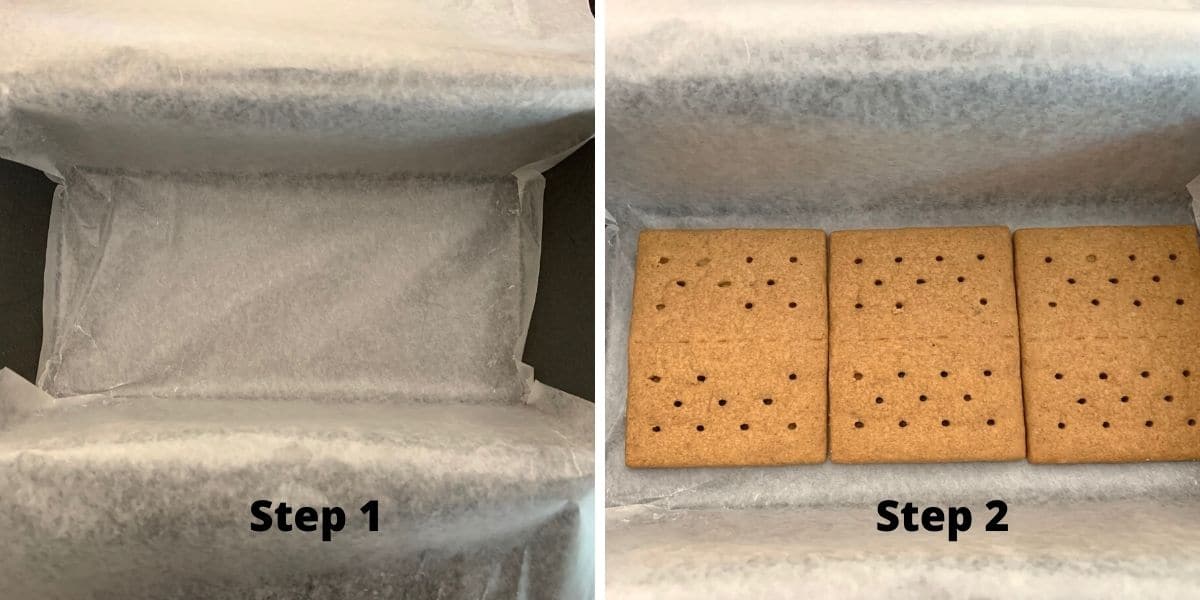
Step 1: Line a bread loaf tin with wax paper for best results. Let the paper overhang the sides so it is easy to remove the cake from the pan. You can also make this in a square shape by using an 8×8 pan.
Step 2: Line the bottom of the pan with gluten free graham crackers. You can build this in a loaf pan for a pretty slice, or layer it into mason jars for individual party servings.
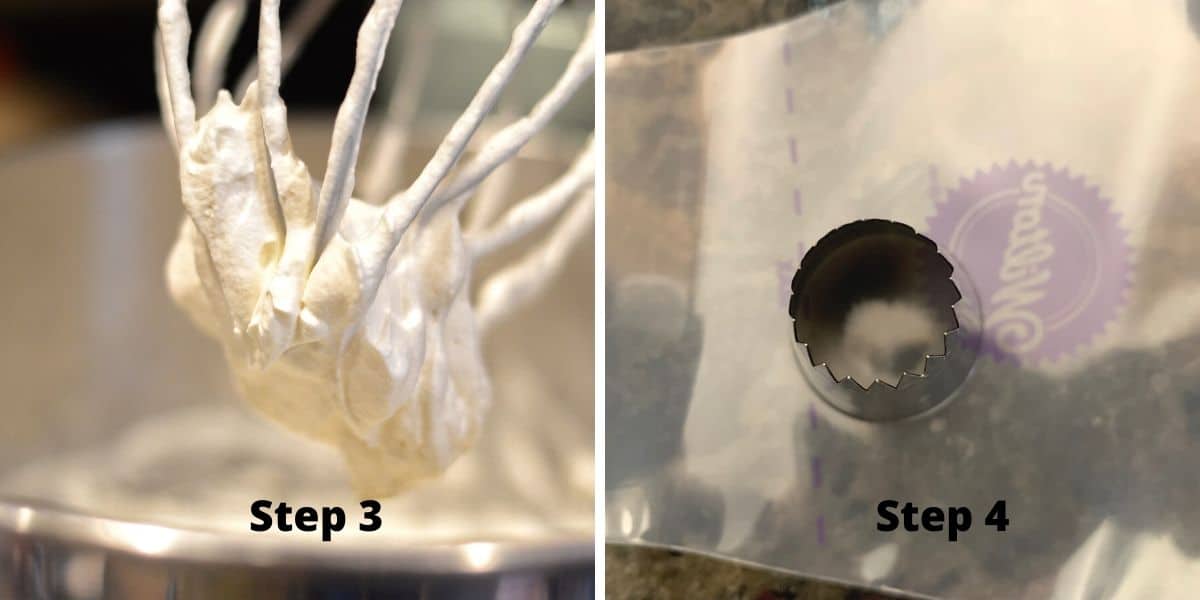
Step 3: If you use my homemade whipped cream recipe below, whip it up in a stand mixer or with an electric mixer now.
Step 4: Gently dollop the whipped cream over the graham crackers, smoothing it with the back of a spoon, or, if you’re feeling fancy, pipe soft peaks using a frosting bag with a star tip. The piped cream gives your cake a beautiful, bakery-style look with very little effort.
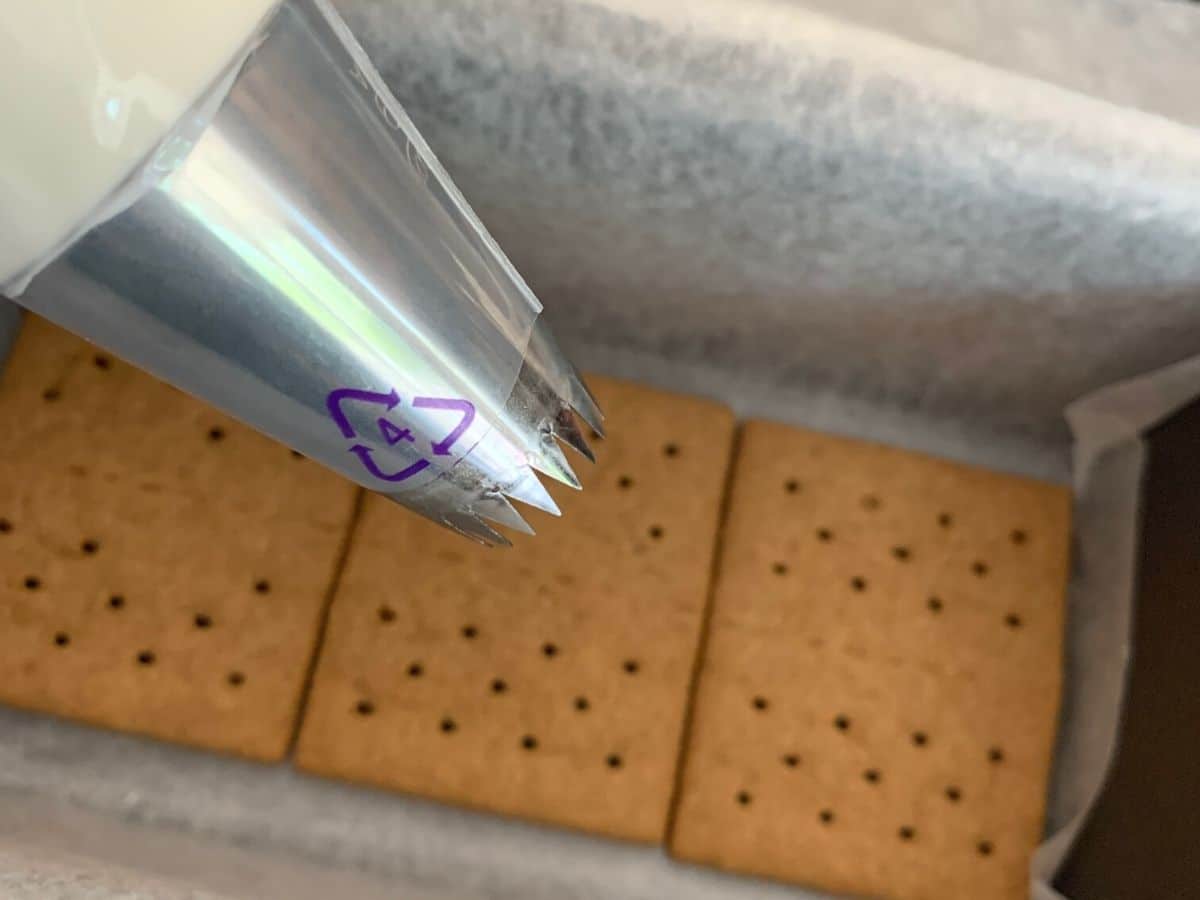
NOTE: If you do not have a frosting bag and tips, you can use a spoon to spread the whipped cream over the crackers.
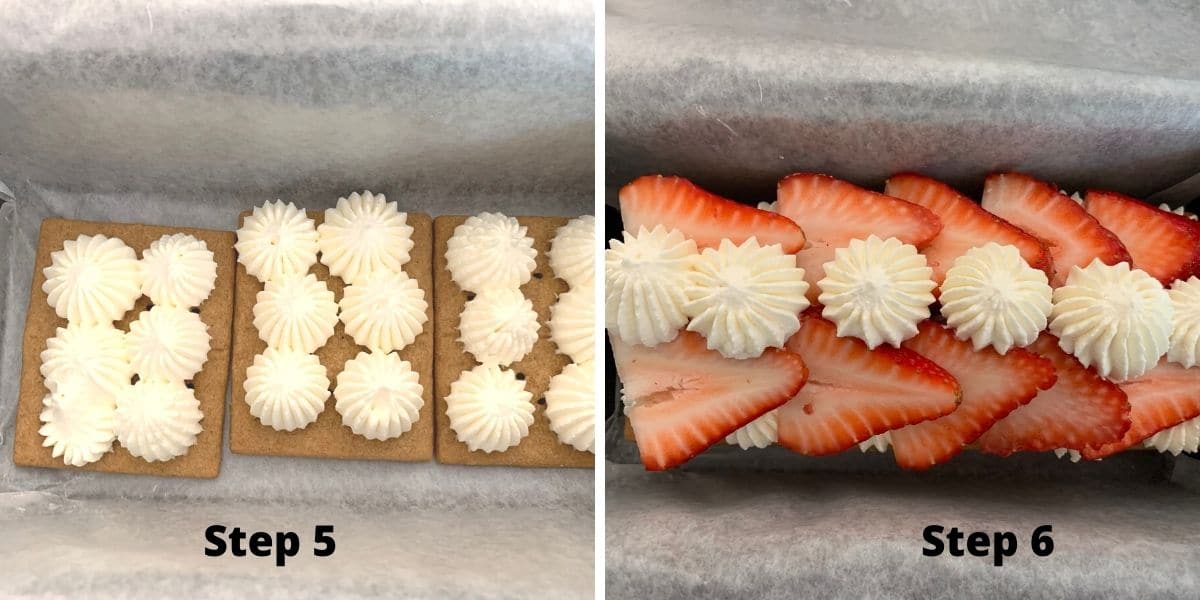
Step 5: Pipe the whipped cream onto the gluten free graham crackers. I made little peaks all over the crackers because they look pretty when you make the layers.
Step 6: Repeat this 2 to 3 times; add fresh fruit to the top. Feel free to drizzle chocolate over the top.
Flavor Options:
- Add some lemon zest to the fresh berries for a citrusy zing.
- Top with strawberries and add a Nutella swirl over the berries.
- Top with banana slices and drizzle melted peanut butter over the top.
Tips For Success
1. Skip the spray-can whipped cream. It is too airy and melts fast, which can make your cake collapse. For best results, use a whipped topping with a little structure, or whip your own for that thick, pillowy consistency.
2. Stick to 2 to 3 layers. While it may be tempting to stack high, the cake softens as it chills. Too many layers can cause it to tip or slide once it warms slightly during serving.
3. If this gluten-free refrigerator cake will sit out for a while, consider stabilizing the whipped cream.
Storage Tips:
Store this gluten-free icebox cake covered in the refrigerator for up to 3 days. You can also freeze individual slices wrapped tightly in plastic wrap and foil.
Frequently Asked Questions:
They call this an icebox cake because it is made to soften and get ready in the refrigerator. The moisture from the whipped cream softens the gluten free graham crackers into an almost cake-like texture.
Chill for at least 2 hours, but overnight is best. This gives the whipped cream time to soften the graham crackers into a cake-like texture.
You can freeze this cake by wrapping it in plastic wrap and then gently wrapping it in aluminum foil. Make sure the cake is chilled from the refrigerator before wrapping it up.
More Gluten-Free Summer Dessert Recipes:
- Gluten Free, No-Bake Nutella Cheesecake
- No-Bake Chocolate Oat Cookies
- Gluten-Free Blueberry Pie
- Easy Gluten-Free Strawberry Shortcake
Love This Recipe?
💬 Did you make this gluten-free icebox cake recipe? Drop a comment below, and let me know how it turned out! ⭐⭐⭐⭐⭐ This will help others see how yummy this recipe is. Thank you!
Gluten Free Icebox Cake (A Summer Favorite!)
Ingredients
- 15 ounces gluten free graham crackers 2 boxes of Pamela's Gluten Free Honey Grahams
- 2 cups heavy cream
- ¼ cup powdered sugar
- 1 teaspoon pure vanilla extract
- 2 pints fresh berries
- 2 ounces dark chocolate optional for the drizzle
Equipment
Method
- In a large bowl, add 2 cups heavy cream and whip until it forms stiff peaks.
- Gently fold in 1/4 cup powdered sugar and 1 teaspoon pure vanilla extract.
- In a wax paper-lined 9.5×5 loaf pan, add a bottom layer of the graham crackers. I used a large loaf pan. The wax paper should fold over the sides. This will help you easily remove the whipped cream cake when it is cooled.
- Put the whipped cream into a piping bag with a large frosting tip. You can spoon the whipped cream over the graham crackers too, it just depends how you want the cake to look. Both ways are fine and will taste the same way.
- Pipe or spoon whipped cream over the layer of gluten free graham crackers.
- Top with a layer of gluten free graham crackers. Repeat two more times so you have 3 layers of graham crackers.
- Add the final layer of whipped cream on top.
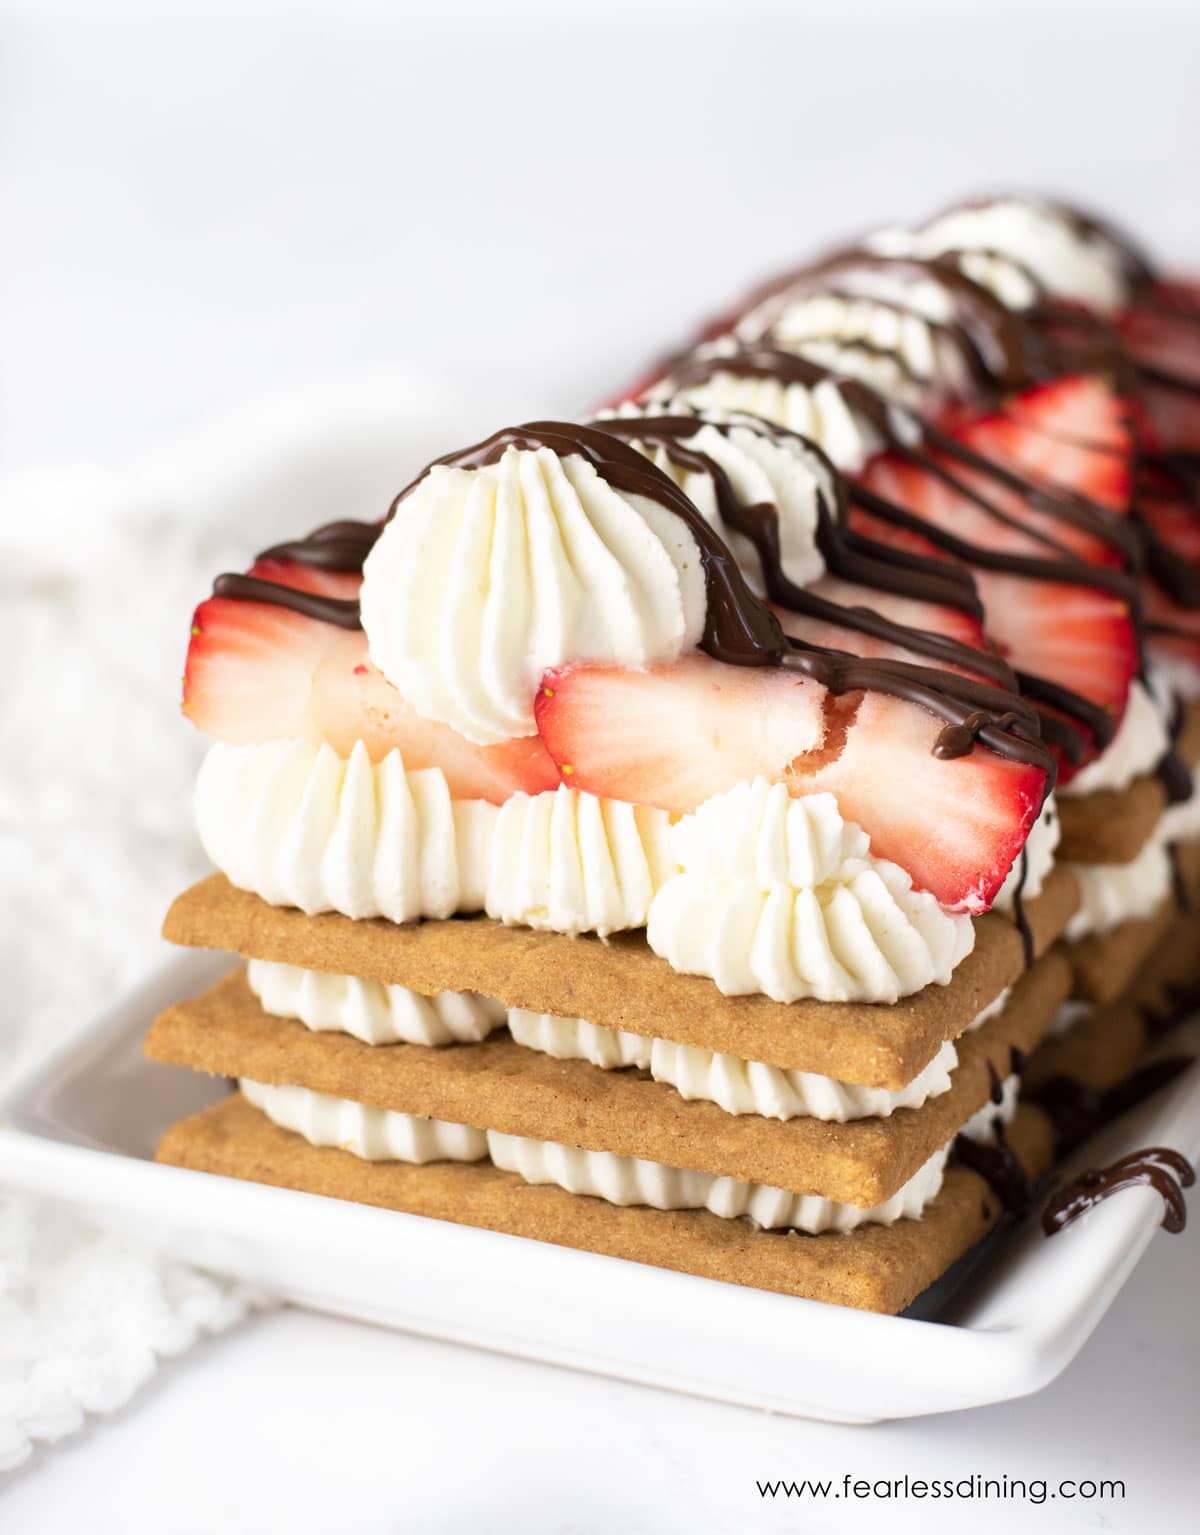
- Decorate the top of the icebox cake with fresh berries.
- Optional: Melt 2 ounces dark chocolate in a microwave-safe bowl. I recommend doing this at 15-second intervals to avoid burning. Drizzle over the cake.
- Refrigerate a minimum of 2 hours. I like to refrigerate it overnight so the graham crackers get nice and soft.
Nutrition
Notes
- I like to use Pamela’s Gluten Free Honey Grahams, but Schar Honeygrahams, and Kinnikinick are also good. Note for Kinnikinick you need to let the cake sit in the refrigerator longer because those graham crackers are a lot denser than the other two brands.
- Many ask if you can make this recipe dairy-free. You can if you use very cold coconut milk instead of heavy cream. I refrigerate the coconut milk overnight. If it isn’t really cold, it will not whip up. You can also use TruWhip, SoDelicious, or Cool Whip for the whipped cream.
- Using TruWhip or SoDelicious whipped cream will make this recipe dairy-free.
- Use any berries you like, or use a mix of berries like I did.
- Store in an airtight container in the refrigerator. This cake will keep fresh for up to 3 days. I do not recommend freezing this dessert.
Private Notes
Tried this recipe?
Let us know how it was!
This post was updated from an older June 2021 post with more details.
I truly hope you enjoy this recipe. I have been testing and creating gluten-free recipes for over 15 years. Creating gluten-free recipes that do not taste gluten-free is my goal for every recipe. Sometimes I only have to test a new recipe a couple of times, and others it takes multiple times. I do this so you get reliable, delicious results every time!
