
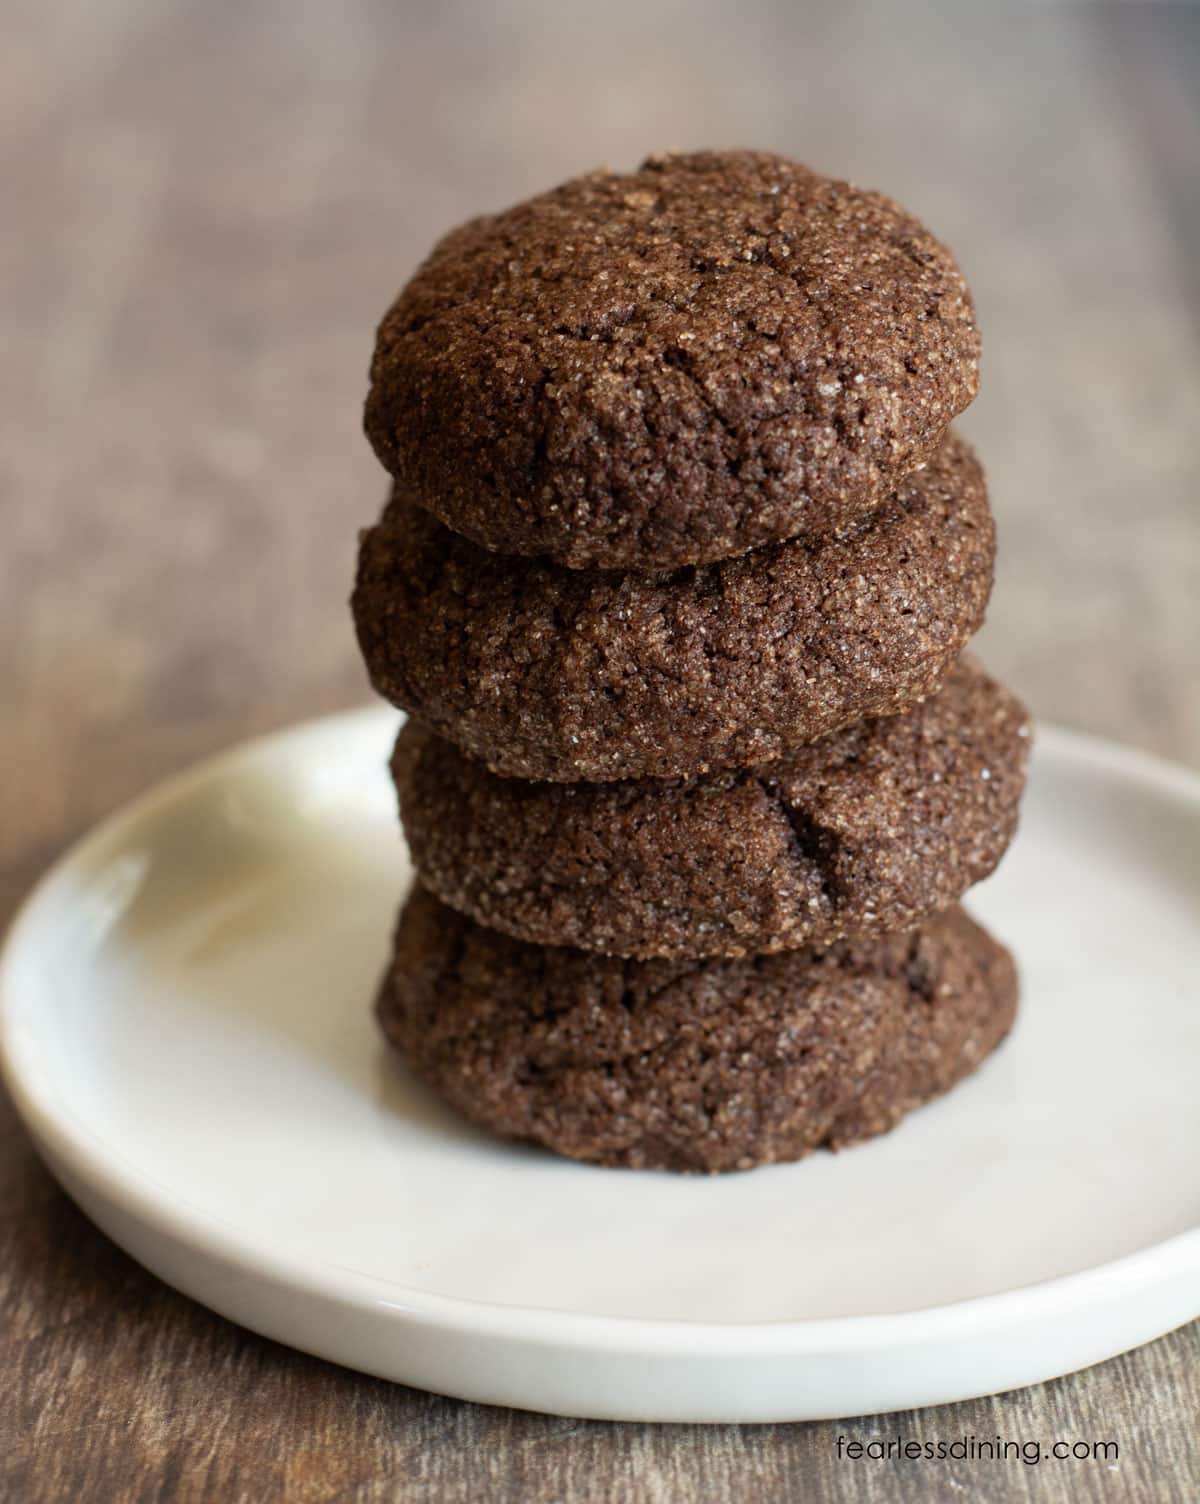
Today, I’m whipping up a batch of chewy, gluten-free chocolate snickerdoodles that are so good, nobody will guess they’re gluten free. This gluten free chocolate cookie recipe is full of rich chocolate flavor, plus they have that signature cinnamon sugar finish that snickerdoodles are famous for. Get ready to roll up your sleeves and dive into some deliciousness!
This post may contain affiliate links. Please read our Disclosure Policy.
One of my long-time readers has been making my classic Gluten-Free Snickerdoodles recipe with her grandson for a long time. She asked me if I had a chocolate version a few weeks ago. I told her I didn’t, but I promised to create a recipe before the holidays. I can’t wait to hear what her grandson thinks of these chocolaty snickerdoodles!
This is a great gluten-free chocolate cookie recipe to make with your kids. They should be able to help with every step if they are supervised, except for putting the cookies in the oven and taking the cookies out of the oven.
If you love snickerdoodles, check out these yummy Gluten-Free Chai Snickerdoodles, Gluten-Free Pumpkin Snickerdoodles, Gluten-Free Apple Butter Snickerdoodles, and my Gluten-Free Crumbl Snickerdoodle copycat cookies (with cinnamon buttercream frosting!)
I have over 100 delicious gluten-free cookie recipes on the blog. Let me know which one you have tried!

A Note From My Kitchen
This chocolate snickerdoodle idea started with a chocolate craving. I only tested this recipe with one flour blend, but I have tested other blends in some of my other snickerdoodle cookie recipes. Most blends should work, but you will need to tweak the moisture ratio depending on the grain-to-starch ratio.
Read my cocoa powder tips in the Ingredient Notes below, because whether you use baking powder or soda will depend on the type of cocoa powder used. If you use the wrong one, your cookies will not get the same texture.
Ingredient Notes:
For the full list of ingredients and amounts, please go to the recipe card below.
- Gluten-Free Flour Blend – I tested this recipe with King Arthur Measure for Measure. Other blends should work well. All blends have a different starch-to-grain ratio, which can affect the cookie’s moisture level. My rule of thumb is to add more liquid if the cookie dough seems dry, and add more flour if the cookie dough seems too wet.
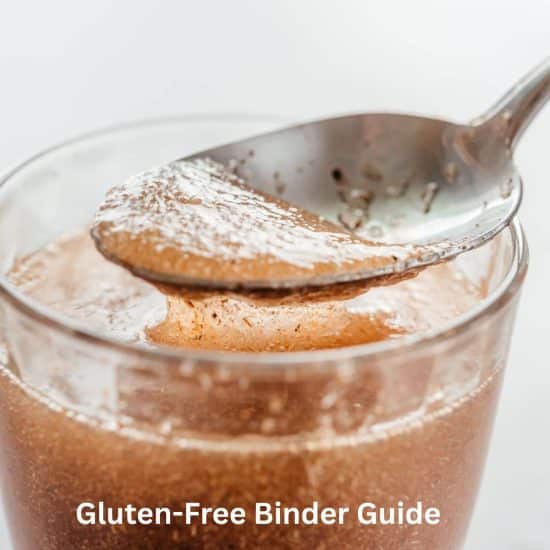
- Binder – If your gluten free flour blend doesn’t contain a binder, I recommend adding 3/4 teaspoon of xanthan gum. Binders are important because they act like the glue that holds gluten free baked goods together to mimic wheat. Commonly used binders include xanthan gum, guar gum, and psyllium husk powder.
- Cocoa Powder – I used Dutch-process cocoa powder, which has a higher pH level than regular cocoa powder. You can use regular cocoa powder. Swap the baking soda for baking powder if you use regular cocoa powder.
- Baking Soda and Cream of Tartar – Using baking soda or powder will depend on what type of cocoa powder you use. See Cocoa Powder above for more details.
- Butter – I recommend unsalted butter. If you use salted butter, omit the additional salt.
- Eggs – Use large eggs.

How To Make Gluten Free Chocolate Snickerdoodles:

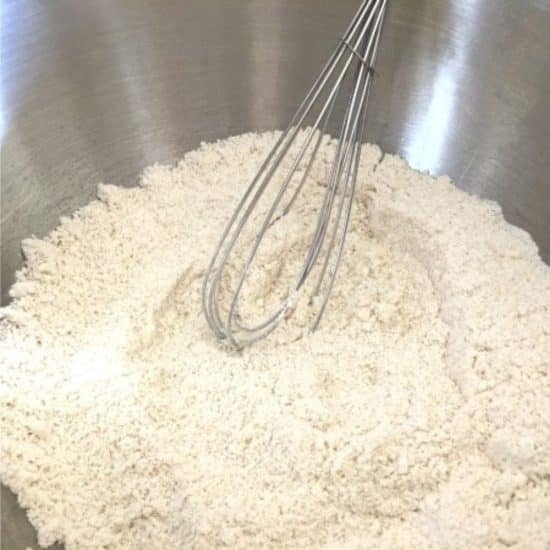
Step 1: Mix the Dry Ingredients in a large mixing bowl and whisk together so they are evenly combined.
👀 Sandi Says: You can use a stand mixer or mix the cookie dough by hand as I did. If you use a stand mixer, add the wet ingredients to the mixer bowl and use the paddle attachment to mix. I still recommend mixing the dry ingredients before gradually adding them to the mixer. This reduces clumping and ensures an even mix.
Step 2: In a microwave-safe dish, partially melt the butter in the microwave for 25 seconds. Whisk and let it cool for a minute or two. Add vanilla extract and room-temperature eggs to the butter, then whisk until smooth.

Step 3: Pour the wet ingredients into the dry ingredients and mix until a cookie dough forms. Look at your dough and check the moisture level. My rule is that if the dough feels too wet, add more flour (1 tablespoon at a time). If it is too thick, add a small splash of additional butter.
📢 Sandi says: Every gluten-free flour blend has a different starch-to-grain ratio. The brand of gluten-free flour you use will affect the moisture of the batter. Read my research on Why Gluten-Free Flour Blends Vary to learn more.
Step 4: Shape the dough into a rough ball and wrap it tightly in plastic wrap. Chill in the refrigerator for 30 minutes.

Email This Recipe To Me!
Step 5: Remove the cookie dough from the refrigerator. Use a medium-sized cookie scoop, or approximately two tablespoons of cookie dough, to scoop balls of cookie dough. Use your hands to roll each scoop into a smooth ball.
Sandi’s recommendation: I love using my XOXO cookie scoop. I have had it for years, and it is still working great! I used to own a cheaper one that broke within a few months of using it.
Step 6: In a small bowl, mix together cane sugar and ground cinnamon. Roll each cookie ball in the mixture until fully coated.

Step 7: Place the cookie dough balls onto a parchment paper lined cookie sheet or a silicone mat. Place cookie balls on the prepared sheet, leaving about 2 inches of space between each. Gently press down on the tops of the cookies using the bottom of a glass. (Just press slightly, don’t flatten them.)
👀 Sandi’s Tip: Why Parchment Paper? It helps cookies bake evenly and prevents sticking better than spray.
Bake the gluten free chocolate cookies at 350°F for 10 minutes for small cookies or 12 minutes for larger cookies.
Step 8: Remove the cookies from the oven and transfer the parchment paper (with cookies) to a wire cooling rack. Let the cookies cool for 5 minutes, then carefully lift each cookie with a spatula and place it directly on the rack to finish cooling.
Cookie Tips For Success
1. If you want to remove any gritiness, let the cookie dough sit for 15-20 minutes before baking. This will allow the rice flour to soften.
2. After baking, only let the cookies sit for up to 5 minutes on the baking sheet. The pan will still be hot and continue baking the cookies otherwise.
3. Get more cookie-making tips in my Gluten Free Cookie Troubleshooting Guide.

Frequently Asked Questions:
Yes, dairy-free butter, such as Smart Balance, works well in this homemade cookie recipe.
Coconut sugar should work, but it may alter the texture of the cinnamon sugar coating as it bakes on the cookies.
I find these cookies hold together better and don’t overspread if the cookie dough is chilled.
These cookies will be done baking if they are set and not runny when you carefully touch the top of the cookies.
How To Store Gluten-Free Cookies:
- Place them into an airtight container. They will keep fresh for up to four days. In the summer, when it is hot, I recommend storing them in the refrigerator. Gluten-free products tend to spoil more quickly.
- You can also freeze the cookie dough or baked cookies. I prefer to store them in a freezer-safe zipper bag.
- To thaw, remove the cookies or cookie dough balls from the freezer and let them come to room temperature.
More Gluten Free Cookie Recipes:
Baking cookies is one of my favorite stress busters. If you want a great recipe, try one of these:
Love This Recipe?
If you made and enjoyed this recipe, I would be incredibly grateful if you could leave a comment below. Please include which flour blend you used. This will help others know this recipe is delicious. Thank you!
Easy-Gluten Free Chocolate Snickerdoodles
Ingredients
- 1 ¼ cups gluten free flour blend * see notes
- ¾ cup cocoa powder * see notes
- 1 cup cane sugar
- ½ teaspoon baking soda or baking powder * see notes
- ½ teaspoon cream of tartar
- ¼ teaspoon salt
- ¾ cup unsalted butter If you use salted, omit additional salt
- 2 large eggs
- 2 teaspoons pure vanilla extract
- ¼ cup cane sugar
- 1 teaspoon ground cinnamon
Method
- In a large mixing bowl, whisk together 1 cup cane sugar, 1 ¼ cups gluten free flour blend, ¾ cup cocoa powder, ½ teaspoon baking soda or baking powder, depending on the type of cocoa powder you use, ½ teaspoon cream of tartar, and ¼ teaspoon salt.
- NOTE: You can use a stand mixer or mix this by hand as I did. If you use a stand mixer, add the wet ingredients to the mixer bowl and use the paddle attachment to mix. I still recommend mixing the dry ingredients before gradually adding them to the mixer. This reduces clumping and ensures an even mix.
- Partially melt ¾ cup unsalted butter in the microwave for 25 seconds. Whisk and let it cool for a minute or two. Add 2 teaspoons pure vanilla extract and 2 large eggs at room temperature to the butter, then whisk until smooth.
- Pour the wet ingredients into the dry ingredients and mix into cookie dough. My rule is that if the dough feels too wet, add more flour (1 tablespoon at a time). If it is too thick, add a small splash of additional butter.
- Shape the dough into a rough ball and wrap it tightly in plastic wrap. Chill in the refrigerator for 30 minutes. While waiting, preheat your oven to 350°F and adjust the oven rack to the middle position.
- Remove the cookie dough from the refrigerator. Use a medium-sized cookie scoop, or approximately two tablespoons of cookie dough, to scoop balls of cookie dough. Use your hands to roll each scoop into a smooth
- Sandi's recommendation: I love using my XOXO cookie scoop. I have had it for years, and it is still working great! I used to own a cheaper one that broke within a few months of using it.
- In a small bowl, mix together the ¼ cup cane sugar and 1 teaspoon ground cinnamon. Roll each cookie ball in the mixture until fully coated.
- Place the cookie dough balls onto a parchment paper-lined cookie sheet or a silicone mat. Place cookie balls on the prepared sheet, leaving about 2 inches of space between each. Gently press down on the tops of the cookies using the bottom of a glass. (Don’t flatten completely, just press slightly.)
- Bake the gluten free chocolate cookies at 350°F for 10 minutes for small cookies or 12 minutes for larger cookies.
- Remove the cookies from the oven and transfer the parchment paper (with cookies) to a wire cooling rack. Let the cookies cool for 5 minutes, then carefully lift each cookie with a spatula and place it directly on the rack to finish cooling.
Nutrition
Notes
- I tested this cookie recipe with King Arthur Measure for Measure. Another flour blend should work well, but note that each blend has a different starch-to-grain ratio, and this can affect the moisture levels.
- If your blend doesn’t contain a binder, be sure to add 3/4 a teaspoon of xanthan or guar gum to the dry ingredients. A binder is what helps hold gluten-free baked goods together, so it is important to add it if your flour doesn’t already contain one.
- Cocoa powder comes in several varieties, from regular to Dutch process to black cocoa powder. If you use regular cocoa powder, use baking powder. Dutch process and black cocoa powder are more acidic. If you use one of these, use baking soda.
- Optional: You can add 2/3 cup of chocolate chips or your favorite nuts as mix-ins.
- These cookies are easy to store. Place them into an airtight container. They will keep fresh for up to four days. In the summer, when it is hot, I recommend storing them in the refrigerator. Gluten-free products tend to spoil more quickly.
- You can also freeze the cookie dough or baked cookies. I prefer to store them in a freezer-safe zipper bag. To thaw, remove them from the freezer and let the cookies or cookie dough balls come to room temperature.
Private Notes
Tried this recipe?
Let us know how it was!
Gluten-Free Related Reading
Gluten-free baking is like a science experiment. There are so many things you need to understand the different components of baking without gluten. My Gluten-Free Resources Section is here to help teach you the tools you need to know to become a confident gluten free baker.
My Best Gluten-Free Baking Tips For Better Baking!
Why Binders Are Important In Gluten-Free Baking

The Best Gluten Free Flour Blends – And how to use them!
I truly hope you enjoy this recipe. I have been testing and creating gluten-free recipes for over 15 years. Creating gluten-free recipes that do not taste gluten-free is my goal for every recipe. Sometimes I only have to test a new recipe a couple of times, and others it takes multiple times. I do this so you get reliable, delicious results every time!
