
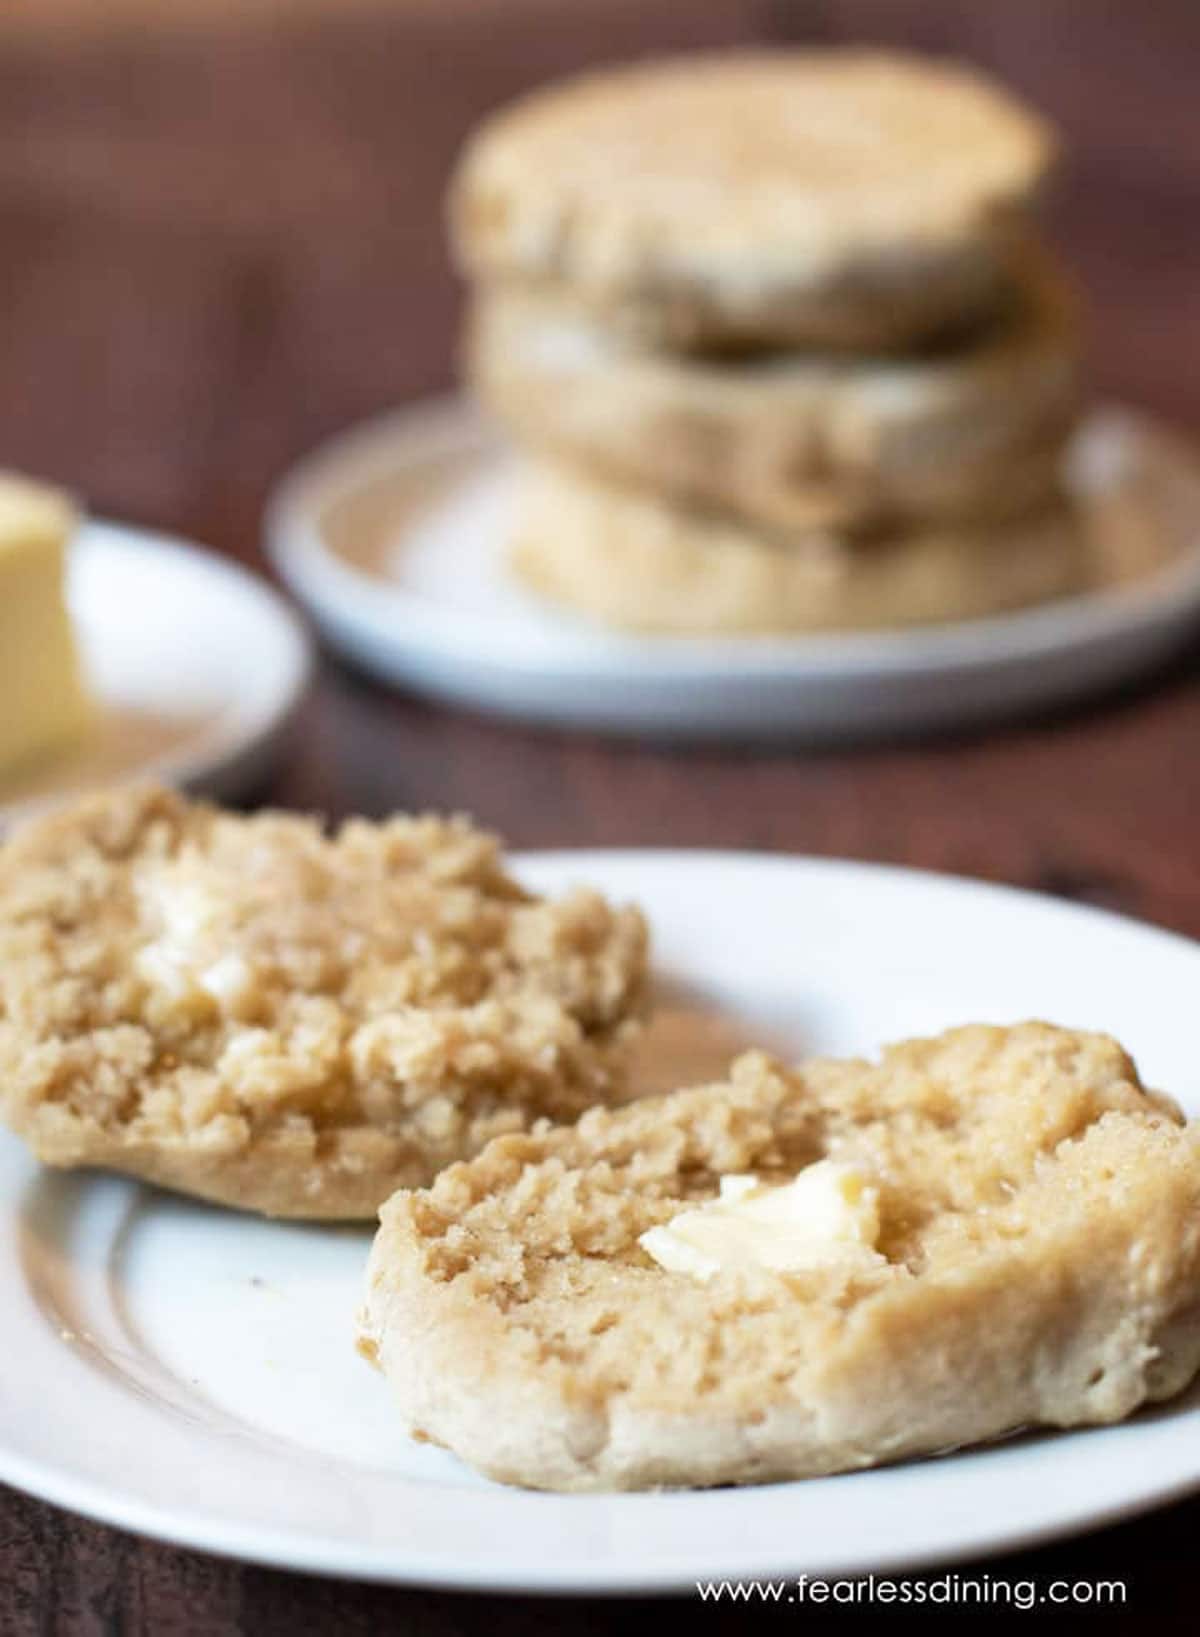
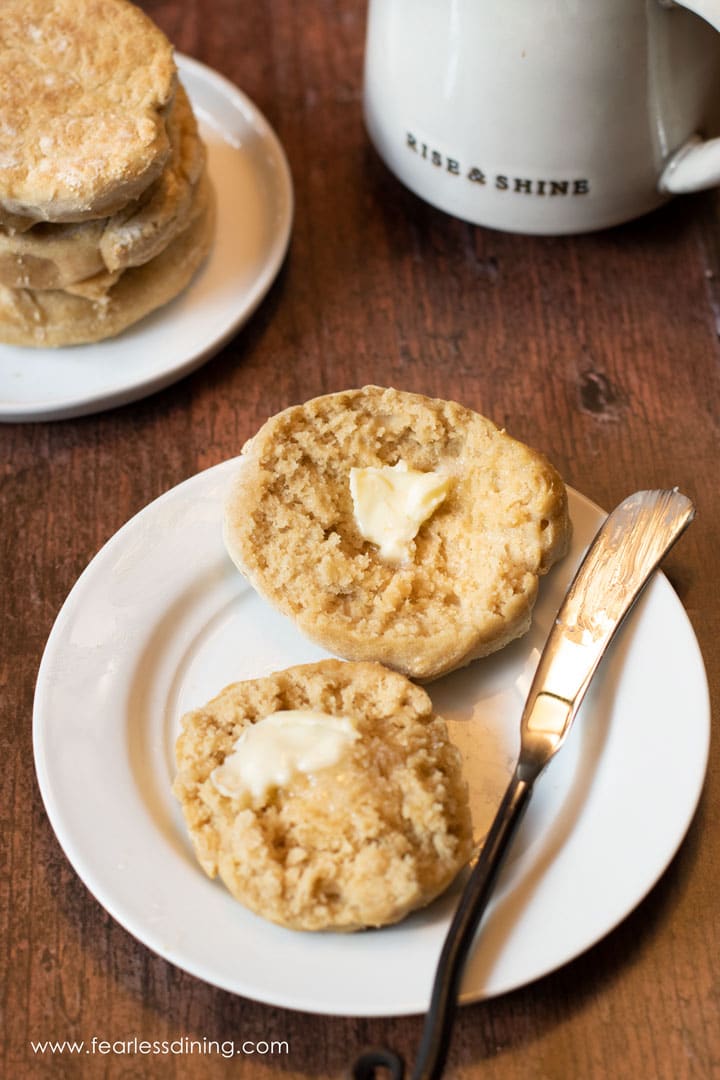
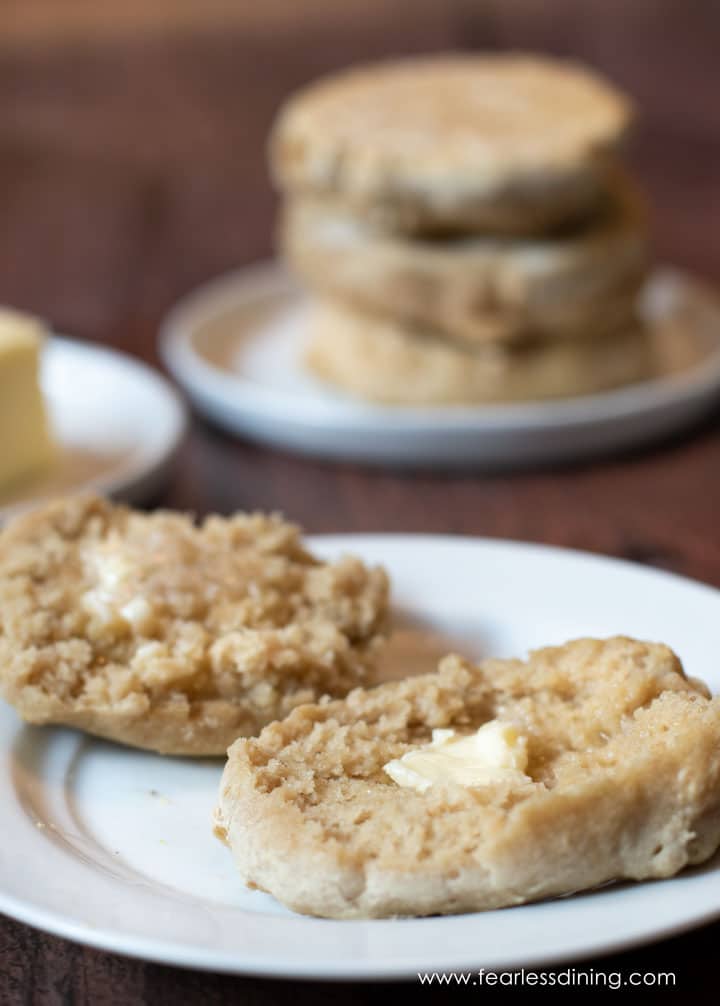
If you love English muffins, wait until you try this homemade gluten-free English muffin recipe. They are slightly crisp on the outside and soft on the inside, with lots of nooks and crannies. They have a nice flavor that is delicious with butter and jam! All you need are 6 simple ingredients!
This post may contain affiliate links. Please read our Disclosure Policy.
This recipe has been in the works for months, and I finally nailed it. I am happy to say these English muffins are also dairy-free and egg-free, making them vegan too! They have been tested with specific flour blends, so be sure to read the post to see those notes.
If you have missed English muffins since going gluten free, you are in for a treat with this simple gluten free breakfast recipe. All you need are four ingredients that are probably already in your pantry! For more breakfast ideas, check out all of my gluten free breakfast recipes.
These turned out great despite using the wrong kind of yeast and forgetting the salt. Whoops! I used King Arthur gf flour. I cooked them in a cast iron skillet and the outer texture came out nice a crunchy/chewy. And now I’ll make with the right ingredients!”
heidi, blog comment
Ingredient Notes:
For the full list of ingredients and amounts, please go to the recipe card below.
- Gluten Free Flour Blend – I have tested this recipe with Authentic Food’s Steve’s GF Bread Blend and Cup4Cup. Other gluten free flour blends should work, but you need to be sure to use a gluten free flour blend that works well with yeast. Note – King Arthur’s Measure for Measure and Bob’s Red Mill 1 to 1 GF Blend state on their bags that these blends don’t rise well in yeast recipes.
- Xanthan Gum – Note: if your gluten free flour blend doesn’t contain Xanthan Gum, psyllium husk, or Guar Gum, you will need to add that too.
- Yeast – double-check the brand you use is gluten free. Red Star Platinum is NOT gluten free!
- Honey or Sugar – You can use either. This recipe only calls for a small amount to proof the yeast.
- Water-purified is best because the chlorine in tap water really can mess with yeast and rising.
Step-By-Step Photos and Directions:
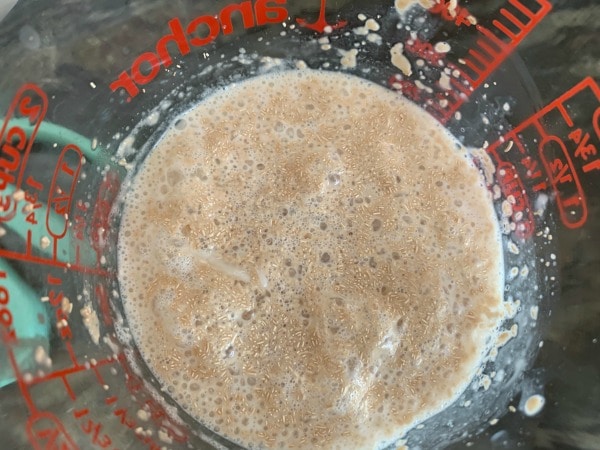
Step 1: Add the sugar and dry yeast to warm water in a glass measuring cup or bowl. Ensure the water is about 120º F. Allow the yeast to sit and foam for 5-10 minutes. You will know the yeast is ready to use when it is bubbly.
Tip: Use purified water if you can. The chlorine in tap water may affect your yeast and hinder its growth.
Step 2: Add the flour mixture, baking soda, and salt to a large mixing bowl. Whisk to blend the dry ingredients.
To make this bread dough, you can also use a stand mixer with a paddle or dough hook attachment.
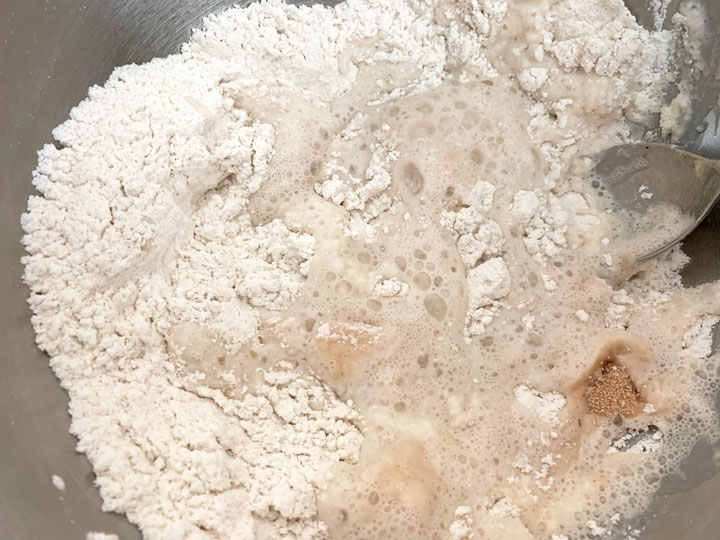
Step 3: Pour the yeast mixture (or sourdough starter) in, then add water. Mix well with a spoon, scraping the bowl’s sides to get all the batter.
You can also use a standing mixer with either a dough hook attachment or a paddle attachment to mix the dough.
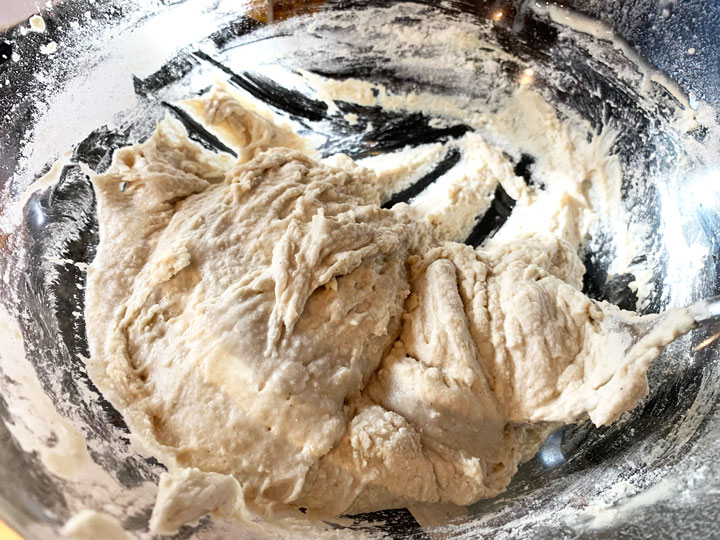
This photo gives you an idea of the batter’s consistency. You will note that it is like a very thick pancake batter. Getting your batter wetter like this means tweaking and adding more or less liquid depending on the flour blend.
📢 Sandi says: Every gluten-free flour blend has a different starch-to-grain ratio. The brand of gluten-free flour you use will affect the moisture of the batter. If your cake batter is too runny, add more flour, and if it is too thick, add more liquid.
Read Why Gluten-Free Flour Blends Vary to learn more about this.
Email This Recipe To Me!
Step 4: Place the dough in a warm spot for the dough to rise. For sourdough, you must let the batter rise longer than when you use active dry yeast.
I have tried making gluten free English muffins multiple times with multiple failures. I first tried using thick dough that you could shape with your hands, but the dough was too dense, and it didn’t get the puffy nooks and crannies that English muffins are famous for. This is why my batter is a little thicker.
🔑 Sandi says: In most recipes, you must shape your dough before the rise. With this gluten free English Muffin recipe, you rise the dough first. That means when you scoop up the dough to cook, you need to be careful not to deflate the dough!
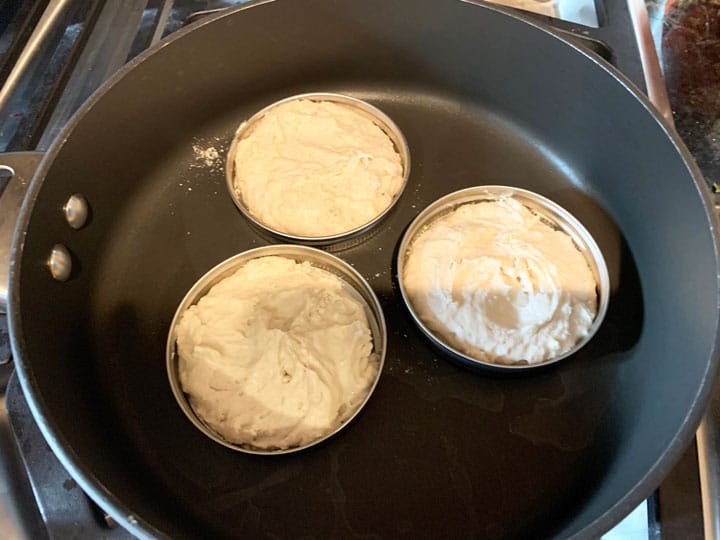
Step 5: Time to cook your English muffins! I used mason jar lids (without the middle part), and I made some without. If you have English muffin rings, use those. For best results, spray the inside of the rings with cooking spray. (I used a spray of avocado oil that I found at my local grocery store.)
Step 6: Heat a non-stick pan on your stovetop over medium heat. Place your mason jar lids in the skillet and then fill with batter.
Optional: Sprinkle a very small amount of cornmeal into each lid before adding the batter.
Step 7: Cover the pan and cook your muffins for 7-8 minutes, then flip over to cook the other side. If you are not using mason jar rings, just put the dough on the pan and try to make it into a circle shape. Press the dough down to about 1 1/2 inches tall.
Covering your pan creates steam, which helps the bubbles in your nooks and crannies form better.
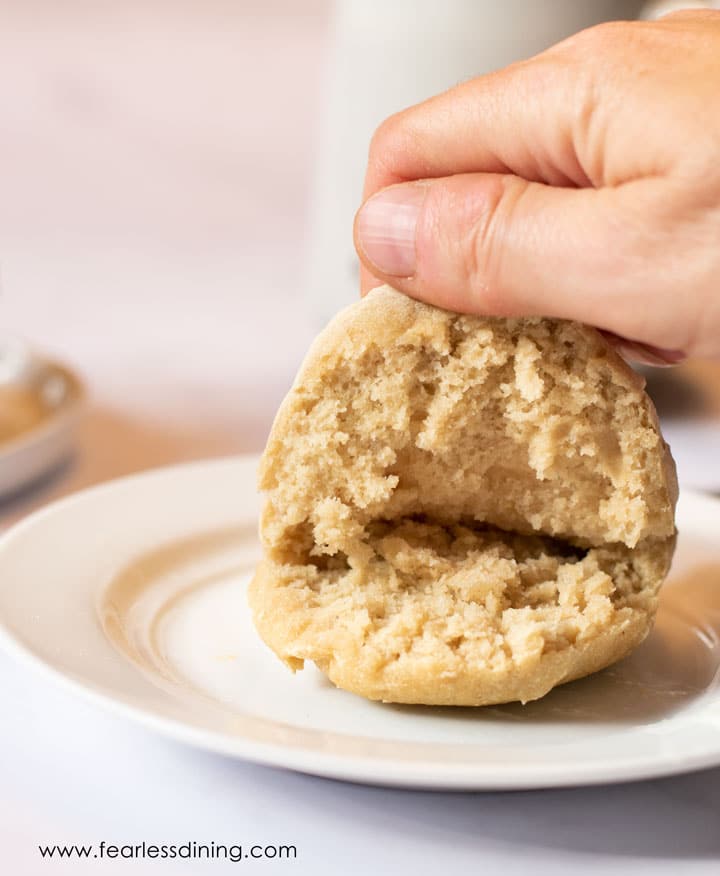
Step 8: Have you ever wondered how to get those nooks and crannies in your English muffin? These nooks and crannies are from air bubbles while the muffins are cooking. This is the perfect texture you are looking for when making this recipe.
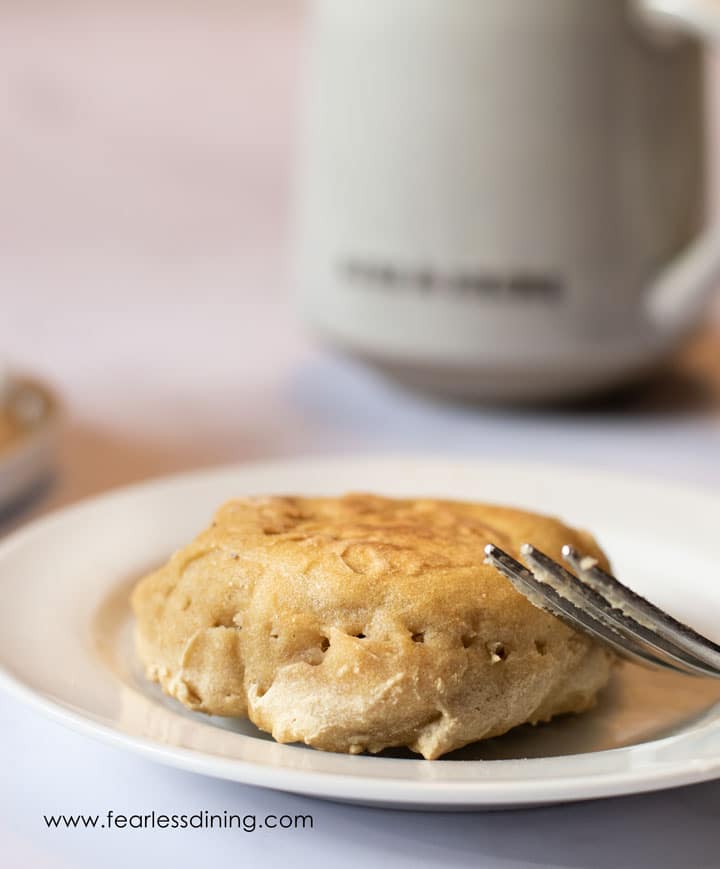
Step 9: Use a fork to poke holes around the English muffin in a row. This helps you split the English muffin in half without cutting through the nooks and crannies.
If your muffins are still warm, enjoy. You can toast them in a toaster or toaster oven for added crispness. These nooks and crannies fill with melted butter and taste amazing!
Easy English Muffin Tips:
1. For sourdough starter – For best results, allow rising in a warm spot for 4 hours. For active dry yeast – allow rising for 45-60 minutes.
2. Dough Rising Tip: Preheat your oven to 200º F, then turn it off. Cover your dough bowl with plastic wrap and place the mixing bowl into the oven. This is the type of warm place you need for rising dough.
3. Covering your pan will create steam, which makes the bubbles in your nooks and crannies form better. I use a large lid that fits over the top of the pan without crushing the English muffins.
4. If you use Cup4Cup, you need more flour than Steve’s GF Bread Blend. Use my photos as a dough guide to compare your dough to mine.
5. Store these English muffins the right way to keep them fresh! Learn How to Store Gluten Free Bread so you can keep it fresh.
Frequently Asked Questions:
English muffins are typically made with wheat flour, so unless the English muffins specifically say gluten free, they are not gluten free.
Good news! These are naturally gluten free and vegan English muffins. There is no need to look for substitutes for dairy products. Note: Cup4Cup has dried milk powder, so if you are dairy-free, use a different flour blend.
These should keep fresh for up to 2 days in an airtight container or up to 4 months in the freezer. To reheat, you need to toast them to get the crispness back.
The best way to enhance the nooks and crannies while cooking is to cover your pan while it is cooking. The steam will help make the nooks and crannies.
You can easily freeze these English muffins. Just let them cool completely, poke the sides around with a fork, then pop them into a zipper freezer bag.
To thaw, microwave the English muffin for 30 seconds or let it sit on the counter until thawed.
More Gluten Free Breakfast Recipes:
- Gluten Free Bagels
- Light & Fluffy Gluten Free Pancakes
- Gluten Free Cheese Danish
- Gluten Free Peanut Butter Glazed Cinnamon Rolls
Love This Recipe?
If you made and enjoyed this recipe, I would be incredibly grateful if you could leave a comment below. Please include which flour blend you used. This will help others know this recipe is delicious. Thank you!
Gluten Free English Muffins
Ingredients
- 2 cups gluten free flour blend *see note
- 1 teaspoon baking soda
- ½ teaspoon salt
- ¾ cups purified water 120º F. Use 1 cup of water if using Steve's GF Bread Blend.
- 2 ¼ teaspoons active dry yeast or 1 packet
- 2 teaspoons cane sugar
Method
- Add warm 3/4 cups purified water, 2 teaspoons cane sugar, and 2 1/4 teaspoons active dry yeast in a small bowl. Allow to sit and proof for 10 minutes until it is bubbly and frothy.
- Add your 2 cups gluten free flour blend, 1/2 teaspoon salt, and 1 teaspoon baking soda to a large mixing bowl and whisk to blend.
- Pour the yeast mixture into the flour mixture and mix well. Your mixture should have the consistency of very thick pancake batter. Add more water as needed to get the consistency to match my photo above. (Every gluten free flour blend is different and higher starch blends need more water than others.)
- Cover with plastic wrap and allow to rise for at least 2 hours. I let mine rise overnight so I could make them when we woke up.
- You can cook your English muffins in two ways. First, you can use rings like mason jar lids without the middles, or drop style. Both work well.
- Heat a non-stick pan over medium heat. Spray the mason jar lids with cooking spray.
- Drop in the mason jar lid rings and fill each with English muffin batter. Cover tge pan and cook for 7-8 minutes and then flip to cook the other side for 7 minutes. *Covering your pan allows steam to form. The steam helps make better nooks and crannies!
- Keep an eye on the pan temperature. You may need to adjust your heat lower if the muffins cook too fast. Remove from the heat when finished cooking.
- To cook drop style, drop the dough onto the pan and shape in circles with a spoon. Try to use your spoon to flatten the top. Cover and cook the same as if you had the mason jar lids as described above.
- To get those nooks and crannies, use a fork and make a horizontal line of fork holes all the way around each muffin. Pull open.
- Toast and serve with butter and or jam.
Nutrition
Notes
- I have tested this recipe with Cup4Cup and Authentic Foods Steve’s GF Bread Blend in this recipe. That doesn’t mean others will not work, I just have not tested other flours. Note to add 1 cup of water (and maybe a little more depending on humidity levels) if using the Steve’s blend. You will probably need more flour if using Cup4Cup.
- If your gluten free flour blend doesn’t contain Xanthan Gum, psyllium husk, or Guar Gum, please add 1 teaspoon. Note Steve’s blend using a different binder so don’t add any additional gums.
- Pay attention to the rise times so your muffins turn out fluffy with lots of nooks and crannies.
- These muffins will keep up to 2 days in an air-tight container, or up to 4 months in the freezer. Once you store them, you will need to toast them to crisp them up again.
Private Notes
Tried this recipe?
Let us know how it was!
This post was updated with more information and better instructions from an older November 2020 post.
I truly hope you enjoy this recipe. I have been testing and creating gluten-free recipes for over 15 years. Creating gluten-free recipes that do not taste gluten-free is my goal for every recipe. Sometimes I only have to test a new recipe a couple of times, and others it takes multiple times. I do this so you get reliable, delicious results every time!

I didn’t see where it said how many it made but I got 6 out of this recipe. I made my own of flour blend ans needed more water but it turned out great!
I am so glad you enjoyed the recipe. Thank you very much, Susan.
Hoping my star rating holds up as I have not made them yet. I have looked through the post several times and don’t see how many muffins this makes. I bake for friends that have many food restrictions and they all say my results are wonderful. These will go with a jar of homemade jam for Christmas gifts.
Hi Kathy, This should make 6-8 muffins, depending on the size you make them.
Please help. Made the dough twice, it doesnt rise. I followed directions to the letter. Using King Arthur g.f. bread flour. Yeast rose beautifully, poured it into the dry ingredients, mixed with a fork, until well blended. looks more like a bread dough than pancake batter, never the less. Covered with plastic wrap and put on low on a warming plate. Did not rise.
Previous day, used king arthur 1 to 1 g.f. flour, same problem.
Hi Brenda, The texture of the dough should be soft, but formed. It shouldn’t be like a pancake. If the yeast rose when you activated it, but the dough didn’t rise, I recommend checking two things. Length of time you used to rise the dough and whether the dough was too dry to expand? The KA bread flour should work. The 1:1 doesn’t work with yeast. Every gluten-free flour blend has a different starch-to-grain ratio. The brand of gluten-free flour you use will affect the moisture of the dough. My rule of thumb is if your batter or dough is too runny, add more flour, and if it is too thick, add more liquids.