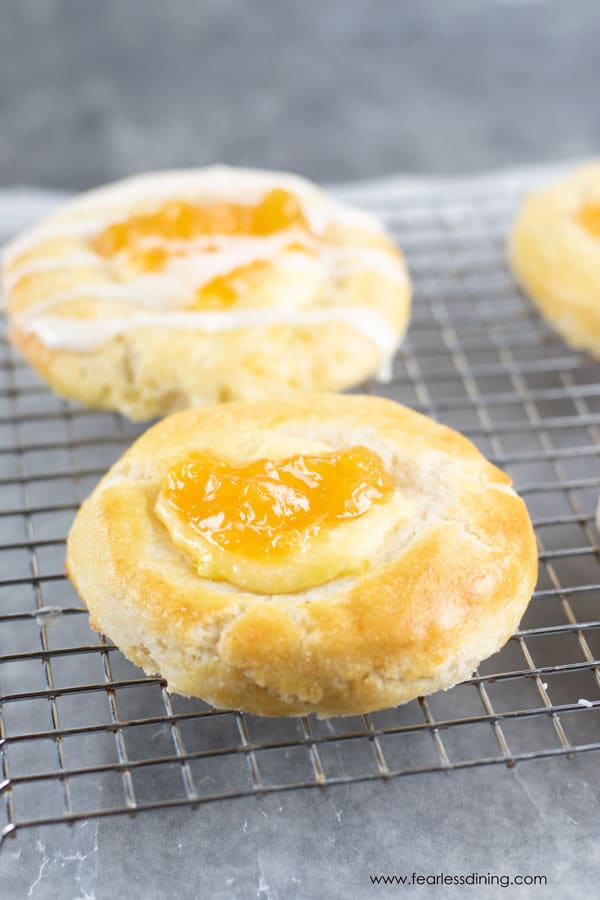
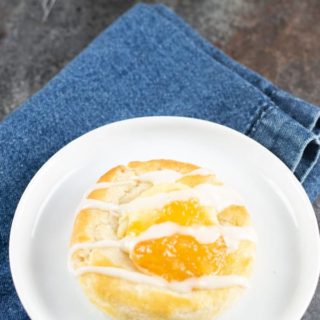
If you love flaky pastries and have missed them since going gluten free, you will LOVE this Gluten Free Cheese Danish recipe!! I took my most popular flaky pastry dough recipe and took it to the next level with this easy Gluten Free Danish recipe.
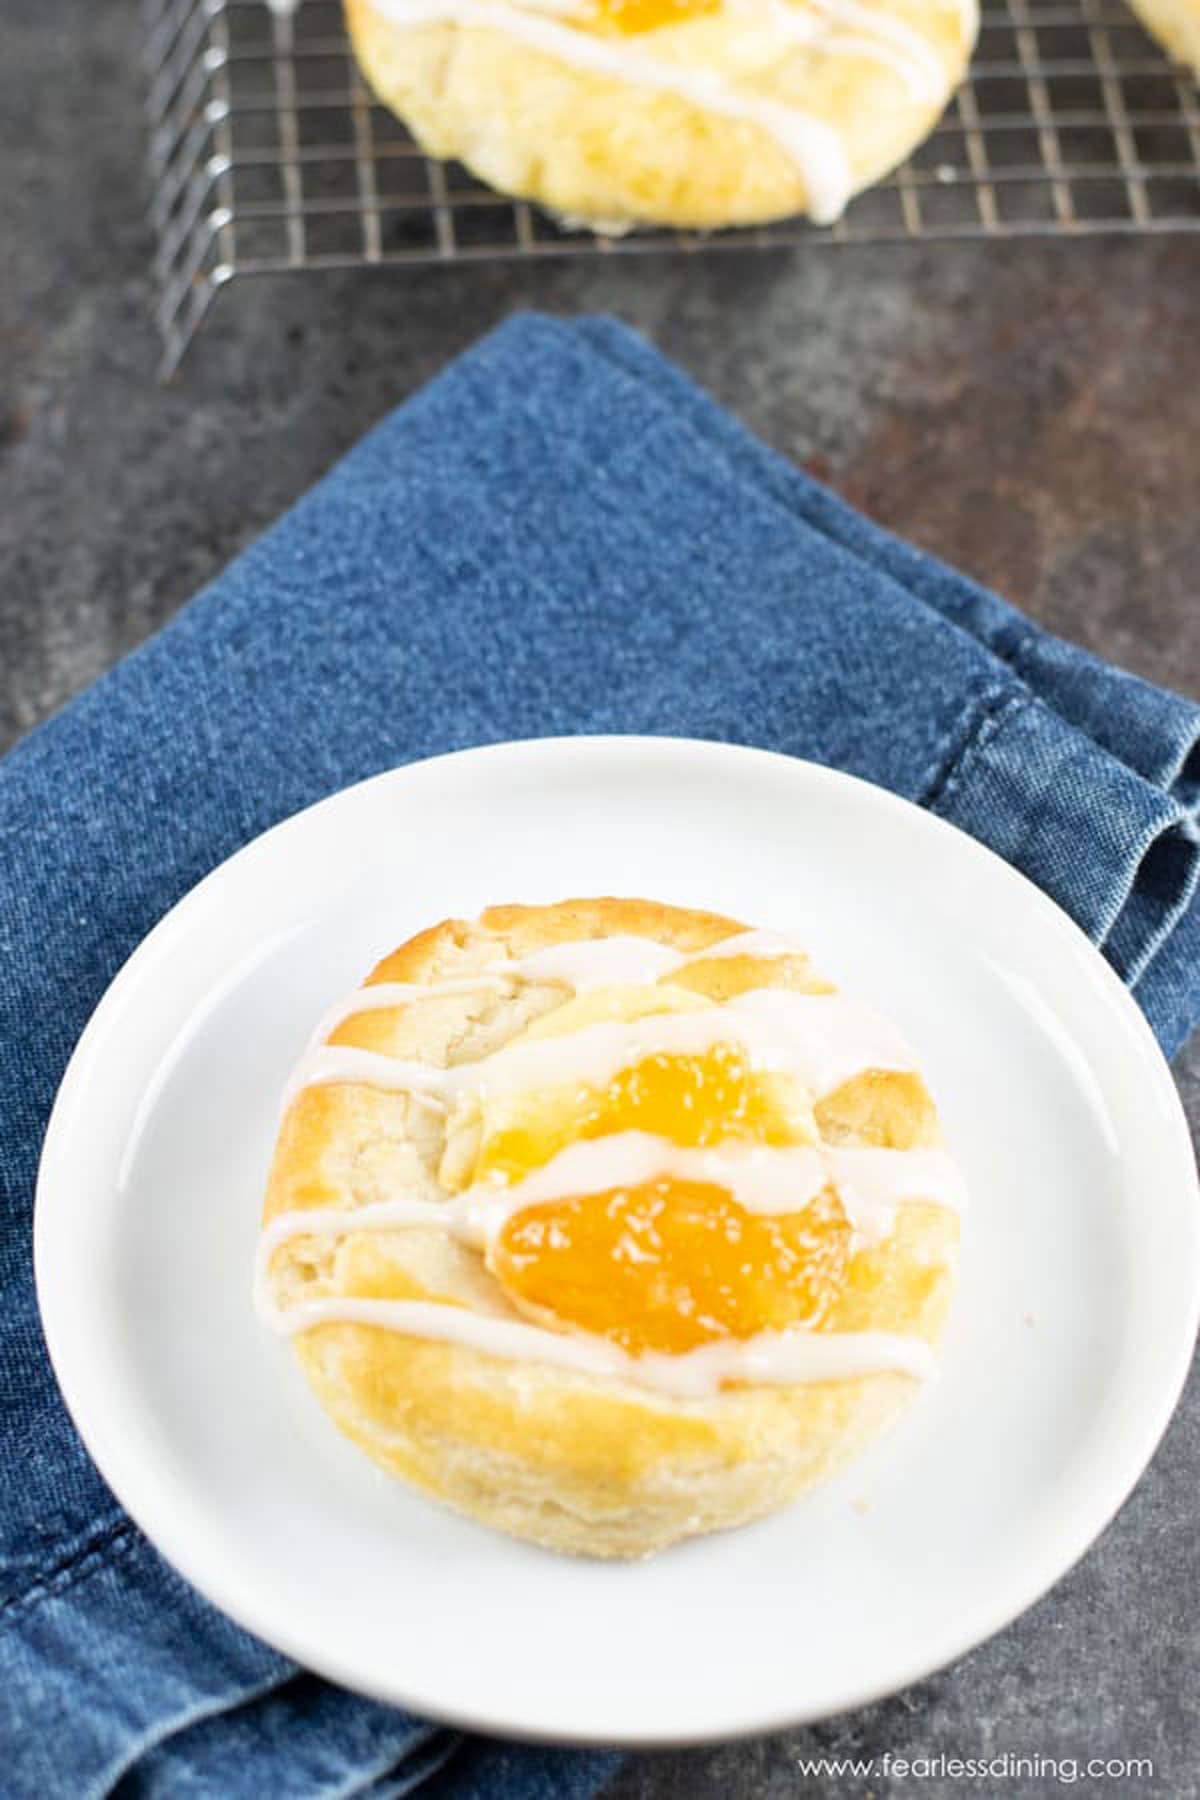
This gluten free cheese Danish recipe will be your new favorite breakfast! Don’t wait for a special occasion to make this; it should be made often! When you bite into this sweet, delicious Danish, you will be shocked that there is no gluten in it. My gluten free pastry recipe has been a favorite of my readers for years, and I used it as the base for this recipe.
This post may contain affiliate links. Please read our Disclosure Policy.
If you love pastries, you will also want to try my Czech Gluten Free Kolache recipe!
If you are a breakfast fanatic like we are, you will want to check out ALL of my yummy gluten free breakfast recipes.
Why I love this gluten-free Danish recipe:
- You can eat pastry for breakfast again! You can make these danishes for breakfast, but they are also great for brunch.
- These Danish do have a lot of steps, but sooo worth it to get those yummy, flaky pastry layers!
- There are no complicated ingredients, but you do need to ensure you use a good gluten free flour blend that works with yeast recipes.
- If you do a lot of meal planning, you could also make these on the weekend to have a quick grab-and-go breakfast when you are on the way out the door. (Remember to bring an extra napkin!!)
I used Bobs Red Mill gf flour. I also did not refrigerate after each butter addition to the dough, I was too impatient. Easy dough to work with and such a yummy danish! My daughter, who has celiac disease, loved them! As did everyone else in the family who does not need to eat
Carol E., blog comment
gluten free. Thanks for the recipe!
This base gluten-free pastry dough is based on my most popular Gluten Free Flaky Pastries recipe.
Allergen Information:
This homemade cheese Danish recipe is gluten-free, nut-free, soy-free, and oat-free. Make it dairy-free using plant-based butter.
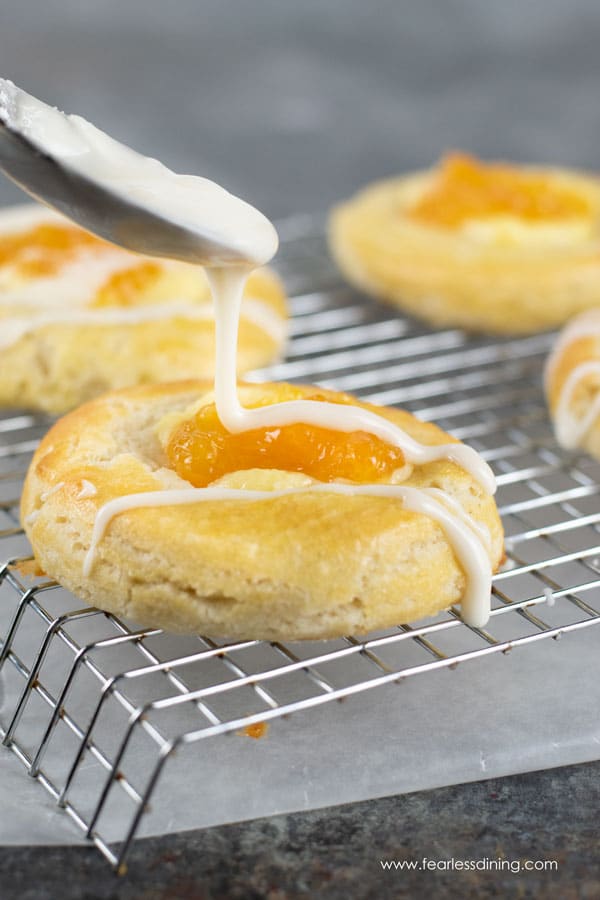
Each Danish has the perfect amount of flakiness and sweet goodness! You will fall in love once you make this pastry recipe and figure out its versatility. Below are a few more ideas for using the same recipe and making a few adjustments to change it up.
Flour Blends Tested:
- Cup4Cup—This blend works really well in this recipe. Note it has dried milk powder and is not dairy-free.
- My DIY Gluten Free Flour Blend also works well, you may need a little more liquid than with the Cup4Cup flour.
Ingredient Notes:
For the full list of ingredients and amounts, please go to the recipe card below.
- Gluten Free Four Blend – Do NOT use any gluten free flour containing bean flour blends. Note that some gluten-free all-purpose flour is not made to work with yeast, so always check the back of the bag of flour to make sure it is recommended for yeast use.
- Xanthan Gum – If your gluten free flour blend doesn’t contain xanthan gum or guar gum, please add 1 teaspoon. This helps to hold the pastries together.
- White Sugar – This is to help get the yeast bubbling.
- Jam – use your favorite flavor!
- Yeast – double-check the brand you use is gluten free. Red Star Platinum is NOT gluten free!
- Butter – In this recipe, vegan butter doesn’t do an excellent job in making the flaky layers…for this reason, I do not think it can be converted to dairy-free. Use unsalted butter.
- Eggs – Use size large.
- Cream Cheese – I used full-fat because it is a creamy cheese, but low-fat also works well. Be sure to read the label to ensure your cream cheese is gluten free.
- Vanilla – Please use pure vanilla extract if you can. Imitation often leaves an off-taste. If you are curious if vanilla is gluten free, you can read more about it.
Fun flavor variations to try!
There are various filling options when making a Danish. Here are some of my favorites:
- Add chocolate or Nutella
- Add nuts and marshmallows or sprinkle with coarse sugar
- Sprinkle with cinnamon & sugar mixture
- Add any flavor of jam or fruit filling you like
- Use cookie cutters to make fun shapes
- You can make a large cheese Danish in the form of a rectangle.
Yeast Rising Tips:
Getting gluten free dough to rise can be tricky. Here are a few tips for this recipe and for different gluten free bread recipes you want to make.
- When you ferment the yeast with warm milk, ensure it isn’t over 110 degrees F. Because milk has sugar in it when you use it to ferment your yeast, the sugars will feed the yeast.
- I found that letting my yeast sit in the milk with a little sugar longer helps it really get bubbly and active! Mine sat for 15 minutes and went crazy…making this dough super puffy!
- Preheat the oven to 200º F and then turn the oven off. For best results, rise the dough in this warm oven with the oven door cracked open.
Step-By-Step Photos and Directions:
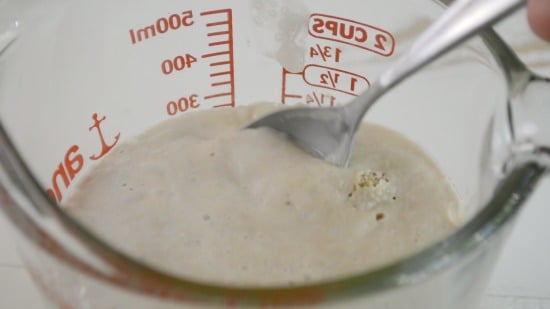
Step 1: To make the Danish dough, add the active dry yeast, sugar, and milk to a bowl. Allow the yeast to be proofread for 10-15 minutes. Add the yeast and wet ingredients to a bowl and whisk to blend.
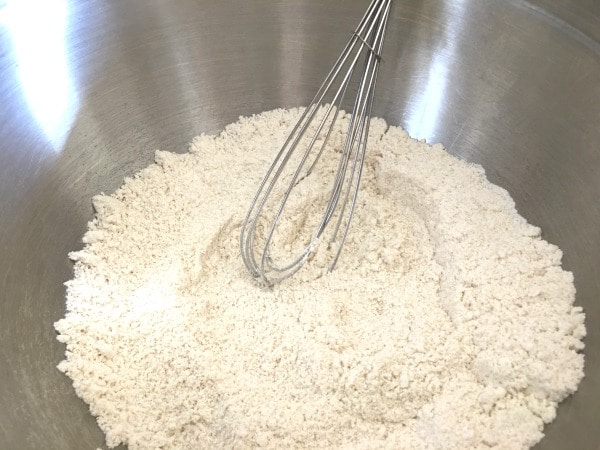
Step 2: Add the dry ingredients to a bowl and use a whisk to blend the dry ingredients together.
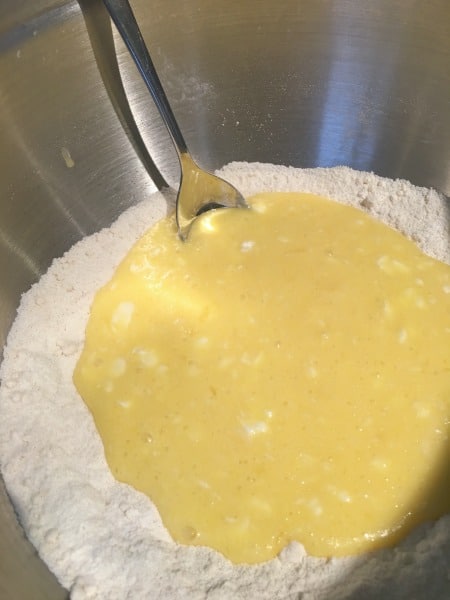
Step 3: Pour the wet ingredients into the dry ingredients. Mix well. Note that you can use a standing mixer with a dough hook or paddle attachment.
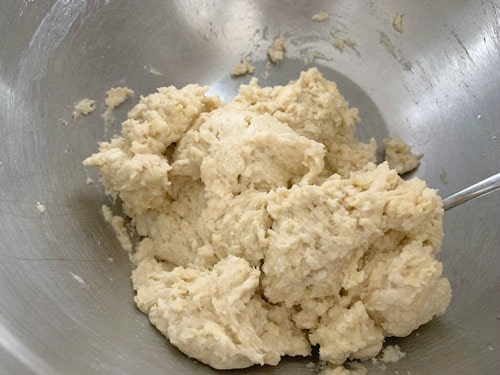
Step 4: You only get one good rise, so you must quickly shape your dough and work the butter layers in.
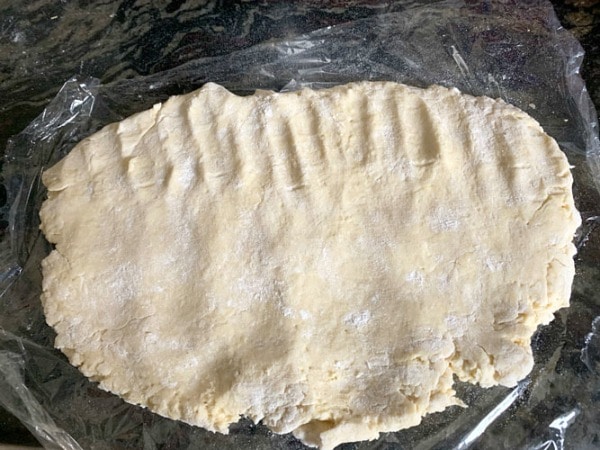
Step 5: Roll out the dough on a clean work surface with a rolling pin. Rolling of the dough should be done quickly before the dough starts to rise.
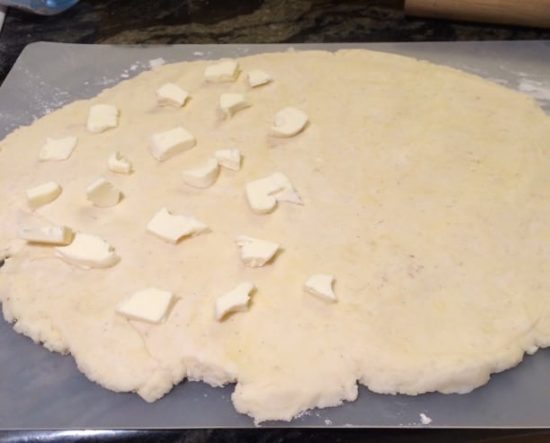
Step 6: Add cold butter to the dough. Fold the dough over the butter and roll with your rolling pin again. You will be repeating this process several times. If the texture of the dough is sticky, add more flour.
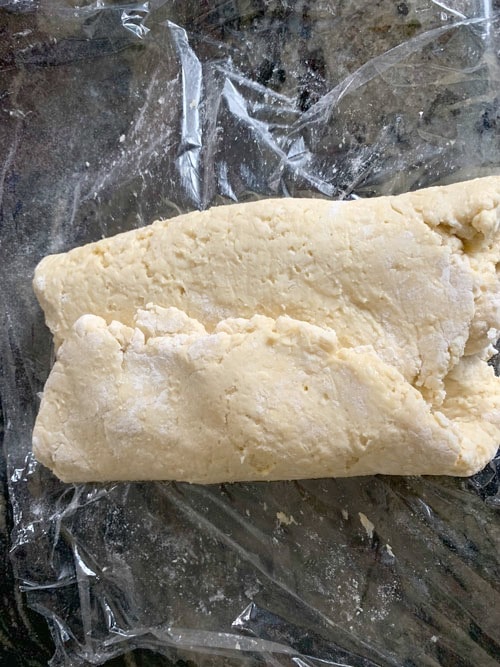
Step 7: The dough is folded over and ready to roll again. Once rolled out, add more butter and fold the dough back over itself again. Roll it flat again. My original flaky pastry recipe explains the steps and includes more pictures.
Roll the dough flat for the last time. Grab a round cookie cutter.
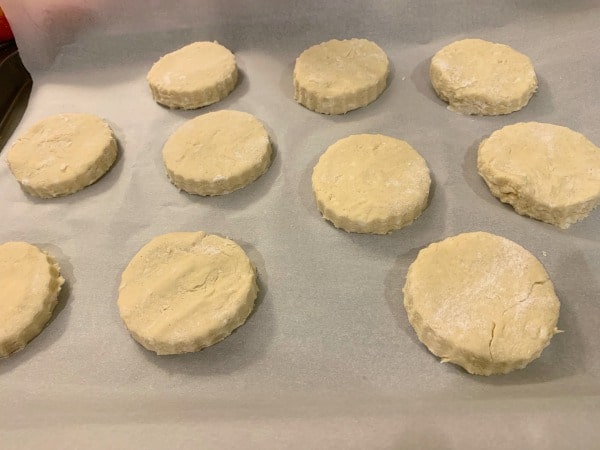
Step 8: Lay out the round dough circles on a parchment paper-lined baking sheet.
Use your fingers or the back of a teaspoon to press down the middle, making a shallow indentation. Cover loosely with plastic wrap and let the Danish rise for 45 minutes.
Getting gluten free dough to rise can be tricky. See the Recipe FAQ for my best tips to rise gluten free dough.
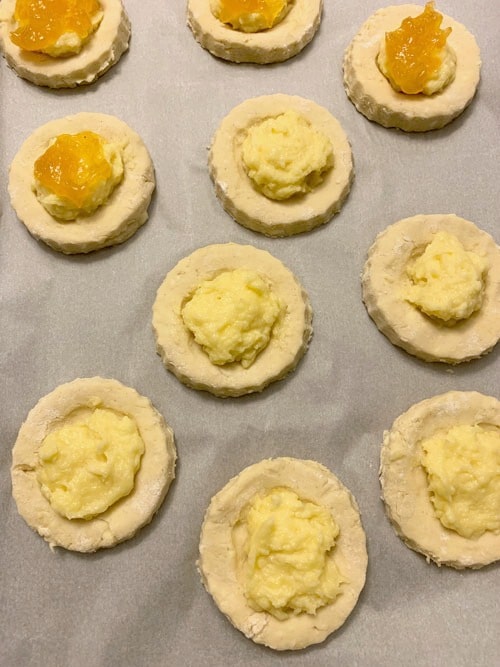
Step 9: Fill each pastry circle with the cream cheese filling and jam. In the fall, try this recipe with apple pie filling!
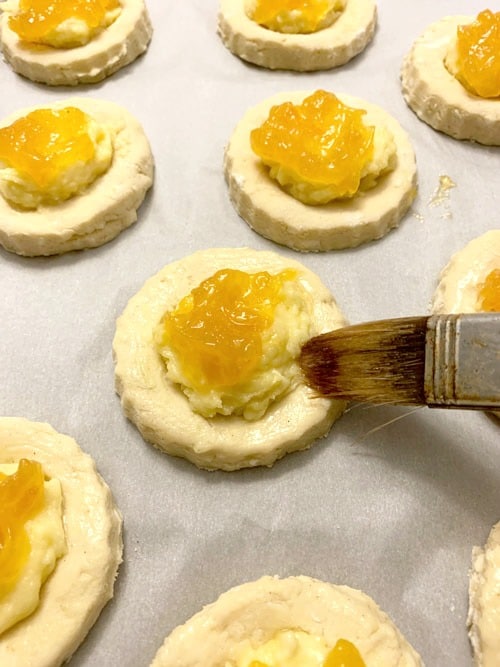
Step 10: Preheat the oven to 350º F. In a small bowl, break an egg and whisk it. Brush the egg wash over each pastry. Bake at 350º F for 18-20 minutes until done. The tops will get a light golden brown.
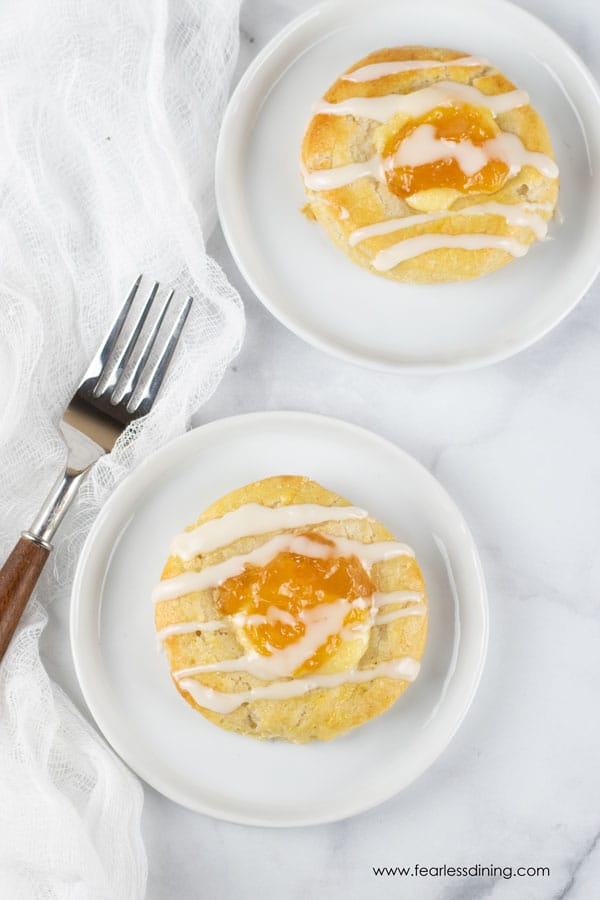
If you love this pastry, you will also want to try my homemade gluten free cinnamon rolls recipe.
Frequently Asked Questions:
Yes! You can fold, twist, and shape this pastry dough any way you like!
You will know the pastry is done when it is slightly golden.
These pastries will keep fresh for up to 4 days in the refrigerator. With all of the butter, they will get hard. To soften them back up, microwave for 25-30 seconds.
What Jam Flavors Are Best For Pastry?
There are many flavors of jam, or even pie fruit filling, that works beautifully in this gluten-free Danish recipe. Here are a few of my favorite pastry fillings:
- Apricot
- Peach
- Raspberry
- Strawberry
- Blueberry
European and French Gluten Free Recipes:
- Gluten Free Dairy Free Crepes
- Easy Gluten Free French Apple Cakes
- Gluten Free German Apple Cake
- Light & Fluffy Gluten Free Cream Puffs (Profiteroles)
Love This Recipe?
If you made and enjoyed this recipe, I would be incredibly grateful if you could leave a comment below. Please include which flour blend you used. This will help others know this recipe is delicious. Thank you!
Gluten Free Cheese Danish
Ingredients
- 2 cups gluten free flour blend * see note
- ¼ cup tapioca starch
- ⅛ teaspoon salt
- 10 tablespoons butter
- 2 teaspoons yeast
- 1 teaspoon sugar For the yeast
- ⅓ cup sugar
- ½ cup warm milk (*feel free to use non-dairy milk)
- 3 eggs (*note, one is for the egg wash and two for the dough)
- 1 teaspoon pure vanilla extract
- 1 teaspoon lemon juice
Icing:
- 1 ½ tablespoons lemon juice
- 1 cup powdered sugar
- For Filling:
- 8 ounces cream cheese room temperature
- 1 egg yolk
- 1 tablespoon sugar
For Rolling Dough:
- extra flour for when the dough gets sticky
Instructions
- In a small bowl, add the yeast, one teaspoon sugar, and warm milk. Allow sitting for 10 minutes to let it get frothy.
- In a large bowl, add the dry ingredients and whisk to blend.
- In a medium-sized bowl, add all of the wet ingredients. Pour in the frothy yeast mixture and whisk to blend.
- Pour the wet ingredients, including 4 of the tablespoons of butter melted, into the dry ingredients and mix.
- Place plastic wrap onto a cutting board. Sprinkle with flour.
- Put the dough to the cutting board. Sprinkle the top of the dough with more flour. Use a rolling pin or your hands to press it flat to 3/4 inch thick. Use as much flour as needed to prevent it from being sticky. At any time you can refrigerate the dough to help.
- Add chunks of butter and then fold the dough onto itself. Roll flat again.
- Add more butter chunks and roll again. You will keep repeating this process so that you have lots of butter layers. This is what makes your pastry dough flaky. It is a bit time consuming but it is worth it!
- Repeat this process until you use all of the butter. Again, you will want to refrigerate the dough a bit between each butter layer. Cold butter works a lot better in making flaky layers.
- Make the cream cheese layer by adding room temperature cream cheese, the egg yolk, and sugar to a mixer and whip until creamy.
- Roll your dough to 1/2 to 3/4 inch thickness. Use a cookie cutter to cut out circles, or another shape.
- Place the danish dough rounds in a warm place to rise for 45 minutes.
- Use your fingers to press down the dough in the center of the circle. Add one spoon full of the cream cheese mixture and jam to each center.
- Preheat the oven to 350º F.
- Beat an egg in a small bowl. Use a brush to spread the egg onto the exposed dough of each pastry.
- Bake for 18-20 minutes until done. Allow cooling.
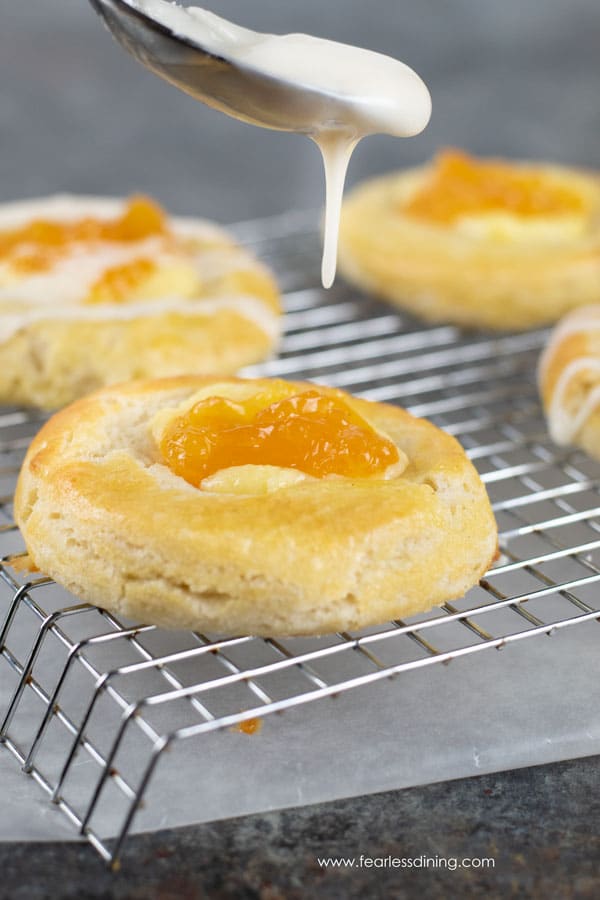
- Make the icing with the powdered sugar and lemon juice to a bowl. Feel free to add more lemon juice to get the right consistency. Drizzle onto each Danish.
Video
Notes
- I have tested this recipe with Cup4Cup and Bob’s Red Mill 1 to 1 GF blend. That doesn’t mean others will not work, I just have not tested other flours.
- If your gluten free flour blend doesn’t contain xanthan gum or guar gum, please add 1 teaspoon.
- I used milk but dairy-free kinds of milk will work but I do not recommend canned coconut milk.
- Use a biscuit cutter or large circle cookie cutter to cut out your circles so the Danish are all the same size.
- Use any jam flavor you like!
- These pastries will keep up to 4 days in an air-tight container, or up to 4 months in the freezer.
SPECIAL NOTE
Please know that every gluten free flour blend has a different starch to grain ratio. If you use a blend I didn’t test, you may need to adjust your moisture levels in your baked goods.
Nutrition
Nutrition Disclaimer
Nutritional information is an estimate provided to you as a courtesy. You should calculate the actual nutritional information with the products and brands you are using with your preferred nutritional calculator.
This post was updated from an older January 2019 post with more detailed instructions.


I’m excited to try this out!! Can I sub the tapioca starch for potato starch?
Hi Sharon, I haven’t tested that, but it should be okay to substitute. Just keep an eye on the moisture level and add more flour if needed.