
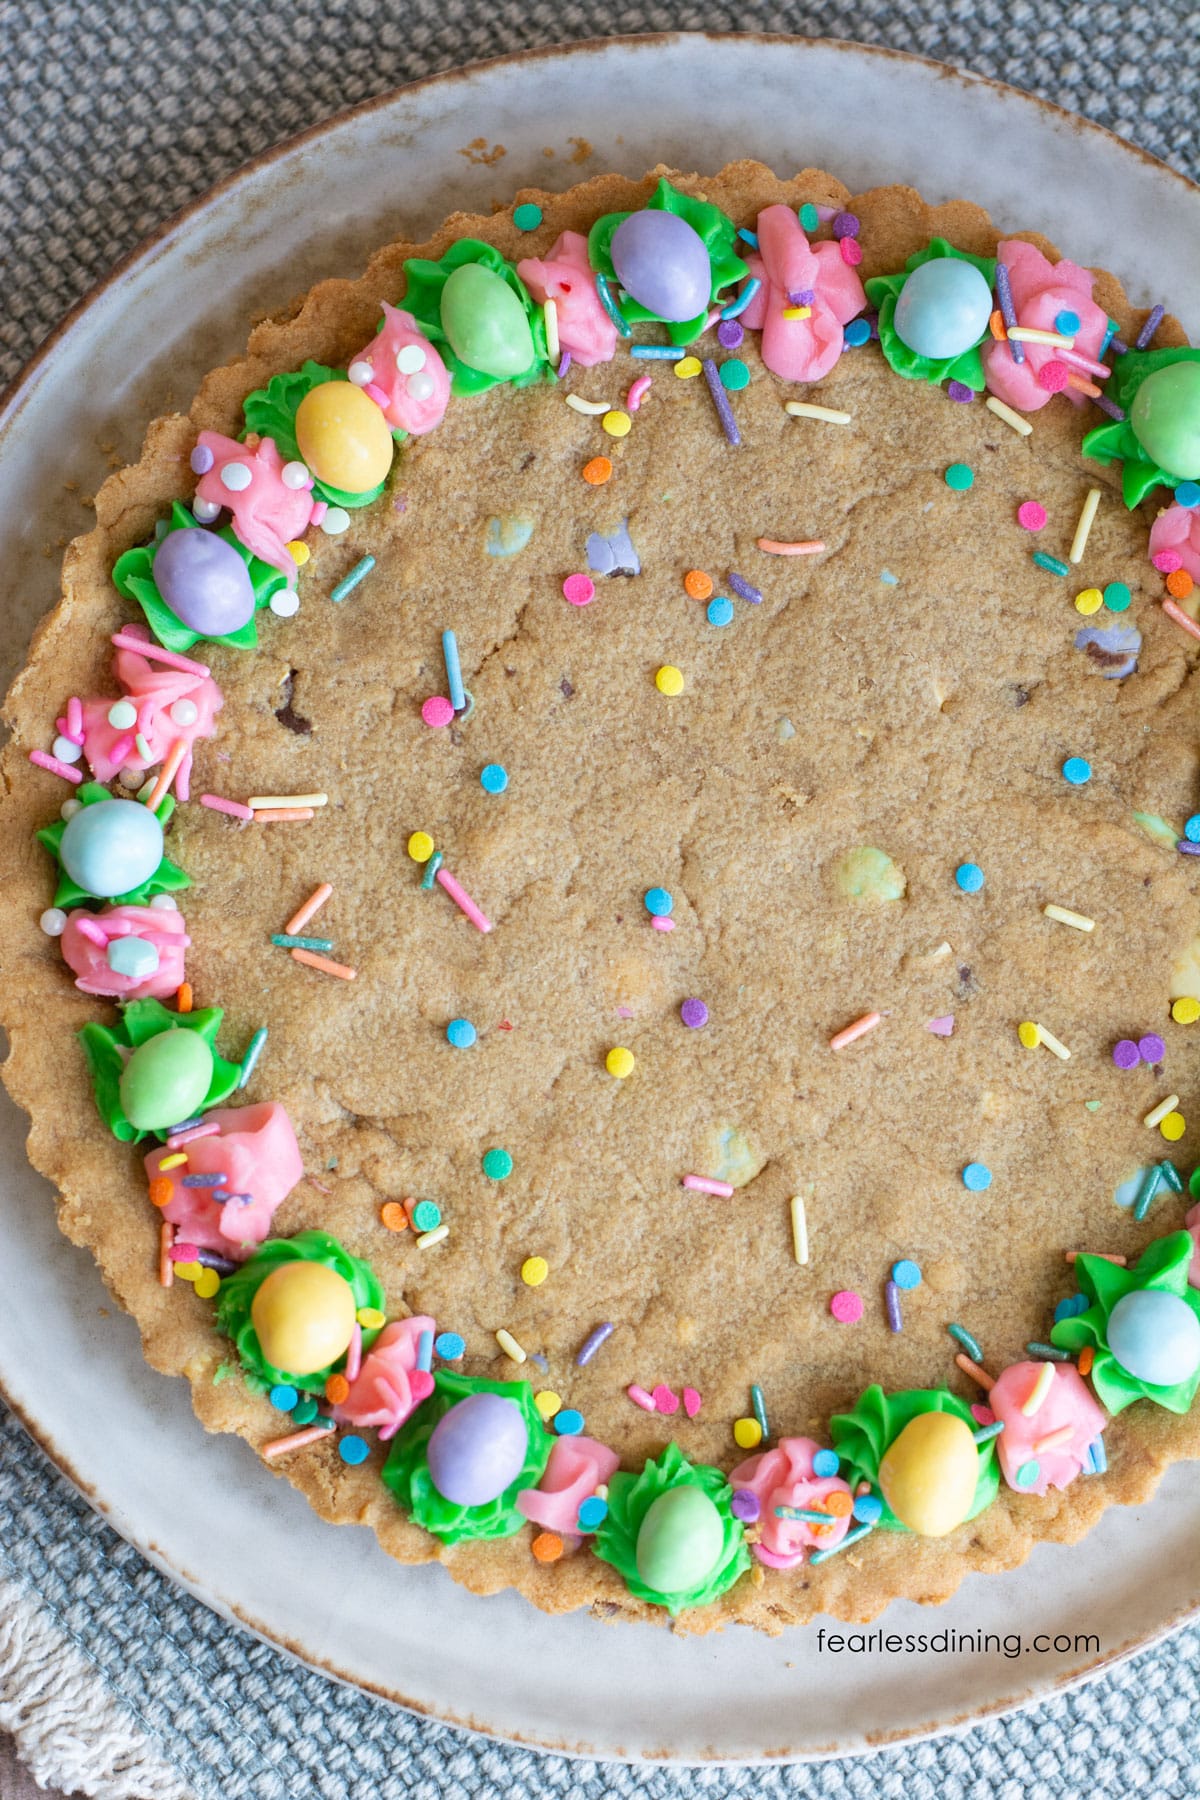
If you’re craving a warm, homemade dessert, this gluten-free peanut butter cookie cake is just the thing! It is packed with rich peanut butter flavor and colorful M&Ms. It bakes up golden on the edges and soft in the center. This easy cookie cake recipe makes an incredible holiday or birthday cake.
This post may contain affiliate links. Please read our Disclosure Policy.
❤️ Sandi’s Recipe Summary
If you love peanut butter, you are in for a special treat…this quick and easy gluten-free peanut butter cookie cake will make your day! It is loaded with M&Ms and can be baked in a tart pan, as shown above, or a cast-iron skillet, which gives you some fun options.
If you love making cookie cakes like you see in Mrs. Fields’ Cookies stores, you will also love my Gluten-Free Chocolate Chip Cookie Cake.
Ingredient Notes:
For the full list of ingredients and amounts, please go to the recipe card below.
- Gluten-Free Flour Blend – I tested this recipe with Bob’s Red Mill 1:1 Blend and King Arthur Measure for Measure. If using King Arthur’s blend, reduce the flour by 1 tablespoon to prevent a dry texture. These blends already include binders like xanthan gum, but if your blend doesn’t, add 3/4 teaspoon xanthan gum to help hold the cookie together and improve structure.
- Brown Sugar – You can use light or dark brown sugar. Both add sweetness and moisture, but dark brown sugar gives a slightly deeper, richer flavor due to the higher molasses content.
- Baking Powder and Soda – These leavening agents work together to create a light, slightly puffy texture with crisp edges.
- Peanut Butter – For best results, use a blended, no-stir peanut butter like Skippy Naturals. Natural peanut butter (with separated oil) doesn’t work well in this recipe, and it can affect the texture and spread of the cookie.
- Butter – I used unsalted butter to give you control of the overall salt level in the recipe. Butter adds richness and moisture, helping the cookie brown nicely and stay soft in the center.
- Mix-Ins – Use M&Ms, chocolate chips, sprinkles, nuts, candy bar bits, or anything you like!
For more tips and tricks to bake the perfect cookie cake, read my Gluten-Free Cookie Troubleshooting Guide. I also talk a lot about my favorite cookie baking tools that can help you bake the perfect cookies.

A Note From My Kitchen
Birthdays are a big deal for us. To make sure this recipe works every time, I tested it with two different store-bought flour blends. Other blends will work, but you may need to adjust the moisture. Avoid natural peanut butter; it really will not work in this recipe due to the oils that separate. I tested this recipe with Earth Balance if you need a dairy-free option.
How to Make a Gluten-Free Peanut Butter Cookie Cake (Step-By-Step)

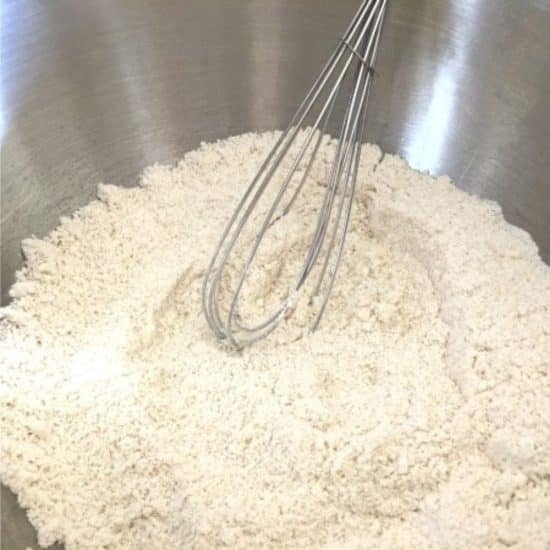
Step 1: Prepare the dry ingredients by adding gluten free flour, brown sugar, baking soda, baking powder, and salt to a large mixing bowl. Use a wire whisk to blend the ingredients until well combined.
Step 2: Melt the butter in a microwave-safe dish. Whisk in the peanut butter, eggs, and vanilla extract until smooth.
👀 Sandi Says: You can mix the dough by hand or use a stand mixer with the paddle attachment, whichever you prefer!
Email This Recipe To Me!

Step 3: Pour the wet ingredients into the dry ingredients and add any mix-ins you plan to add. Stir with a large spoon or rubber spatula to combine.
Step 4: Mix into soft cookie dough. If your dough seems dry, add more melted butter. If your dough seems too wet or sticky, add more gluten-free flour. Read Why Gluten-Free Flour Blends Vary to learn more about this.

Step 5: Spray a 9 inch round tart pan with removable bottom or a 9-inch springform pan with gluten-free baking spray. This is doubly important if your tart pan has fluted edges, as shown above. Press the cookie dough into the pan (or cast-iron skillet) and press it into the fluted edges.
👀 Sandi’s TIP: If you are using a 10-inch cast-iron skillet, omit the baking spray!
Step 6: Bake the cookie for 20 minutes. Note: If you use a different-sized baking pan or skillet, adjust your baking time accordingly. The cookie is finished baking when the edges look baked, and the middle is baked but still soft.
Step 7: Remove the pan from the oven and place it onto a cooling rack. Do not remove the cookie from the pan for 10 minutes. This allows time for the entire cookie to set. If you use a cast-iron skillet, the cookie will remain in the skillet.
Step 8: Once the cookie cake is completely cooled, decorate it however you like. Use frosting, sprinkles, candy, or chocolate drizzle. Do not decorate the cake until it is fully cooled, or your frosting will melt.
Tips For the Perfect Gluten-Free Peanut Butter Cookie Cake:
1. Measure the gluten free flour blend correctly. If you add too much gluten-free flour or other ingredients, it can make the cookie dry or too soft. Every flour blend has different ingredients and weights. If the cookie dough is dry, add more melted butter; if it’s too wet, add more flour.
2. Let the cookie fully cool before attempting to remove it from the pan. If you’ve used a tart pan with a removable bottom, wait until it’s cool and then gently push up from the base to release the sides. If baking in a cast-iron or oven-safe skillet, serve the skillet cookie right from the pan. It is part of the charm and helps it retain its shape.
Frequently Asked Questions
Overbaking is the most common reason a cookie cakes turn out dry. Bake the cookie cake until the edges are set and the center is just slightly soft. It will continue to set as it cools. Also, be sure to measure your gluten-free flour correctly to help maintain the right texture.
Yes! There are two ways to do this. First, you can refrigerate the dough and bake it the day you need it. Second, you can bake the cookie cake a day ahead. Let it cool completely, cover it tightly in an airtight container, and store at room temperature. Frost or decorate just before serving.

I made this for my cousin’s birthday and we all LOVED it! Half of the group had celiac, but the whole group enjoyed it and went back for seconds! The non-celiacs even asked for the recipe.” Monet, blog comment.
More Gluten-Free Cookie Recipes:
Cookies are our favorite! If you enjoy baking lots of cookies, try some of my favorites:
Love This Recipe?
💬 Did you make this recipe? Drop a comment below, and let me know how it turned out! ⭐⭐⭐⭐⭐ Please include which flour blend you used. This will help others know this recipe is delicious. Thank you!

Gluten Free Peanut Butter Cookie Cake
Equipment
- 9" round tart pan, springform pan, or 10" cast iron skillet
Ingredients
- 1 ½ cups gluten free flour blend * see notes
- 1 teaspoon baking powder
- ¼ teaspoon salt Add only if you use unsalted butter!
- ¾ cup brown sugar
- ¼ cup cane sugar
- 1 ¼ cups peanut butter Do not use natural peanut butter.
- 2 large eggs
- 12 tablespoons partially melted unsalted butter
- 1 teaspoon pure vanilla extract
- ½ cup M&Ms
Instructions
- Preheat your oven to 350º F (regular bake, not convection) and check to make sure the oven rack is in the center position.
- Prepare the dry ingredients by adding 1 1/2 cups gluten free flour blend, 3/4 cup brown sugar, 1/4 cup cane sugar, 1 teaspoon baking powder, and 1/4 teaspoon salt to a large mixing bowl. Use a wire whisk to blend the ingredients until well combined.
- Melt the 12 tablespoons partially melted unsalted butter in a microwave-safe dish. Whisk in the 1 1/4 cups peanut butter, 2 large eggs, and 1 teaspoon pure vanilla extract until smooth.
- NOTE: You can mix the dough by hand or use a stand mixer with the paddle attachment, whichever you prefer! If you use a stand mixer, mix your M&Ms or other mixins by hand. Otherwise, the mixer will break many of the M&Ms.
- Pour the wet ingredients into the dry ingredients and add any mix-ins like 1/2 cup M&Ms you plan to add. Stir with a large spoon or rubber spatula to combine.
- Mix into a soft cookie dough forms.
- Every gluten-free flour blend has a different starch-to-grain ratio. The brand of gluten-free flour you use will affect the moisture of the batter. If your cookie dough is too runny, add more flour, and if it is too thick, add more liquids. Read Why Gluten-Free Flour Blends Vary to learn more about this.
- Spray a 9-inch round tart pan with removable bottom or a 9-inch springform pan with gluten-free baking spray. This is important if your tart pan has fluted edges, as shown above. Press the cookie dough into the pan (or cast-iron skillet) and press it into the fluted edges.
- Sandi's TIP: If you use a 10-inch cast-iron skillet, omit the baking spray!
- Bake the monster cookie for 20 minutes. Note: If you use a different sized baking pan or skillet, you will need to adjust your baking time. The cookie is finished baking when the edges look baked, and the middle is baked but still soft.
- Remove the pan from the oven and place it onto a cooling rack. Do not remove the cookie from the pan for 10 minutes. This allows time for the entire cookie to set. If you use a cast-iron skillet, the cookie will remain in the skillet.
- Once the cookie cake is completely cooled, decorate it however you like. I love using frosting, sprinkles, candy, or chocolate drizzle. Do not decorate the cake until it is fully cooled, or your frosting will melt.
Notes
- I tested this peanut butter cookie cake with Bob’s Red Mill 1:1 and King Arthur Measure for Measure. Other blends should work, but keep an eye on the cookie batter texture and adjust accordingly.
- If your blend doesn’t contain a binder, add 3/4 teaspoon of xanthan gum.
- Mix-in ideas: M&Ms, nuts, chocolate chips, candy bits, etc.
- Store leftovers in an airtight container. It should stay fresh for up to 4 days. You can also freeze the cake in a freezer safe quart sized zipper bag.
Email This Recipe To Me!
SPECIAL NOTE
Please know that every gluten free flour blend has a different starch to grain ratio. If you use a blend I didn’t test, my rule of thumb is to add more flour if your dough or batter is wet and add more liquid if the dough or batter is too dry!
Nutrition
Nutrition Disclaimer
Nutritional information is an estimate provided to you as a courtesy. You should calculate the actual nutritional information with the products and brands you are using with your preferred nutritional calculator.
Gluten-Free Related Reading
Gluten-free baking is like a science experiment. There are so many things you need to understand the different components of baking without gluten. My Gluten-Free Resources Section is here to help teach you the tools you need to know to become a confident gluten free baker.
My Best Gluten-Free Baking Tips For Better Baking!
Why Binders Are Important In Gluten-Free Baking

The Best Gluten Free Flour Blends – And how to use them!
I truly hope you enjoy this recipe. I have been testing and creating gluten-free recipes for over 15 years. Creating gluten-free recipes that do not taste gluten-free is my goal for every recipe. Sometimes I only have to test a new recipe a couple of times, and others it takes multiple times. I do this so you get reliable, delicious results every time!

I made this for my cousin’s birthday and we all LOVED it! Half of the group had celiac, but the whole group enjoyed it and went back for seconds! The non-celiacs even asked for the recipe.
If you can have dairy, it pairs well with a peanut butter cup ice cream. My mix-in was peanut butter chips. I added a chocolate buttercream to make it more birthday-like.
The only other modification that I made was baking the cookie about 20 min longer than the recipe states so the outside and center was more golden brown. It was still soft in the inside, a little crumbly on the outside. Everything a cookie should be!
Thank you so much for trusting my recipe for your cousin’s birthday. Thank you so much and I appreciate your coming back to let me know that it was a bit hit!
Oh, this was good! Loved your other cookie cake recipe so we decided to try this one too…so delicious! Mine baked for a little closer to 30 mins, but my oven is usually slow.
I am so glad you loved this big peanut butter cookie. Thank you so much for coming back to let others know it was delicious.
How many does this serve?
It bakes in a 10 inch cast iron skillet and it really depends how big the slices you make are. We got about 10 slices, some bigger than others depending on the person’s preference in how big of a slice they wanted.