
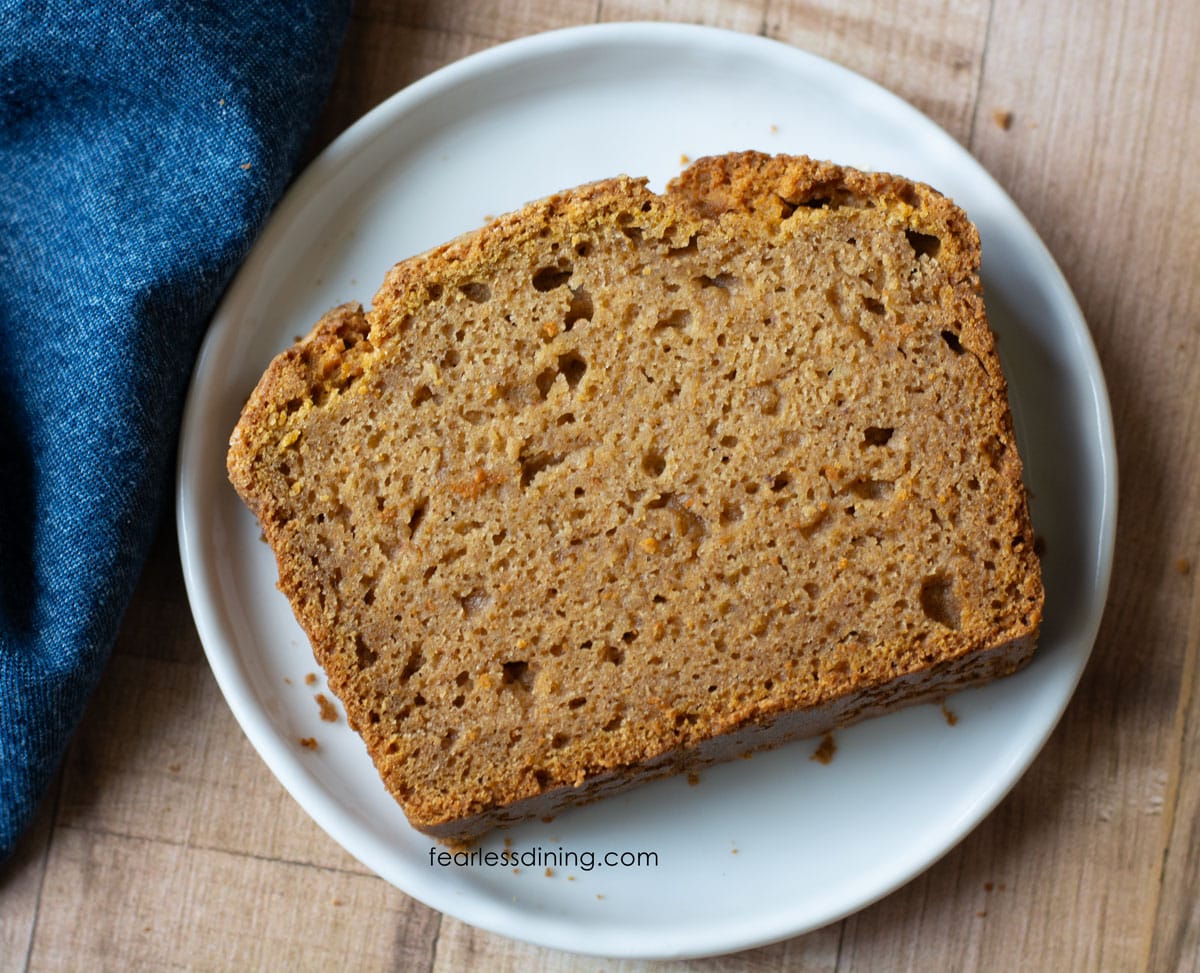
This gluten-free sweet potato pound cake is soft, rich, and packed with warm spices. Whether you call it a loaf cake, pound cake, or just a delicious sweet potato cake, this recipe is perfect for dessert or snacking! Bake this decadent sweet potato cake as a loaf cake, bundt cake, or a sheet cake; it pairs beautifully with my cinnamon buttercream frosting for an irresistible treat.
This post may contain affiliate links. Please read our Disclosure Policy.
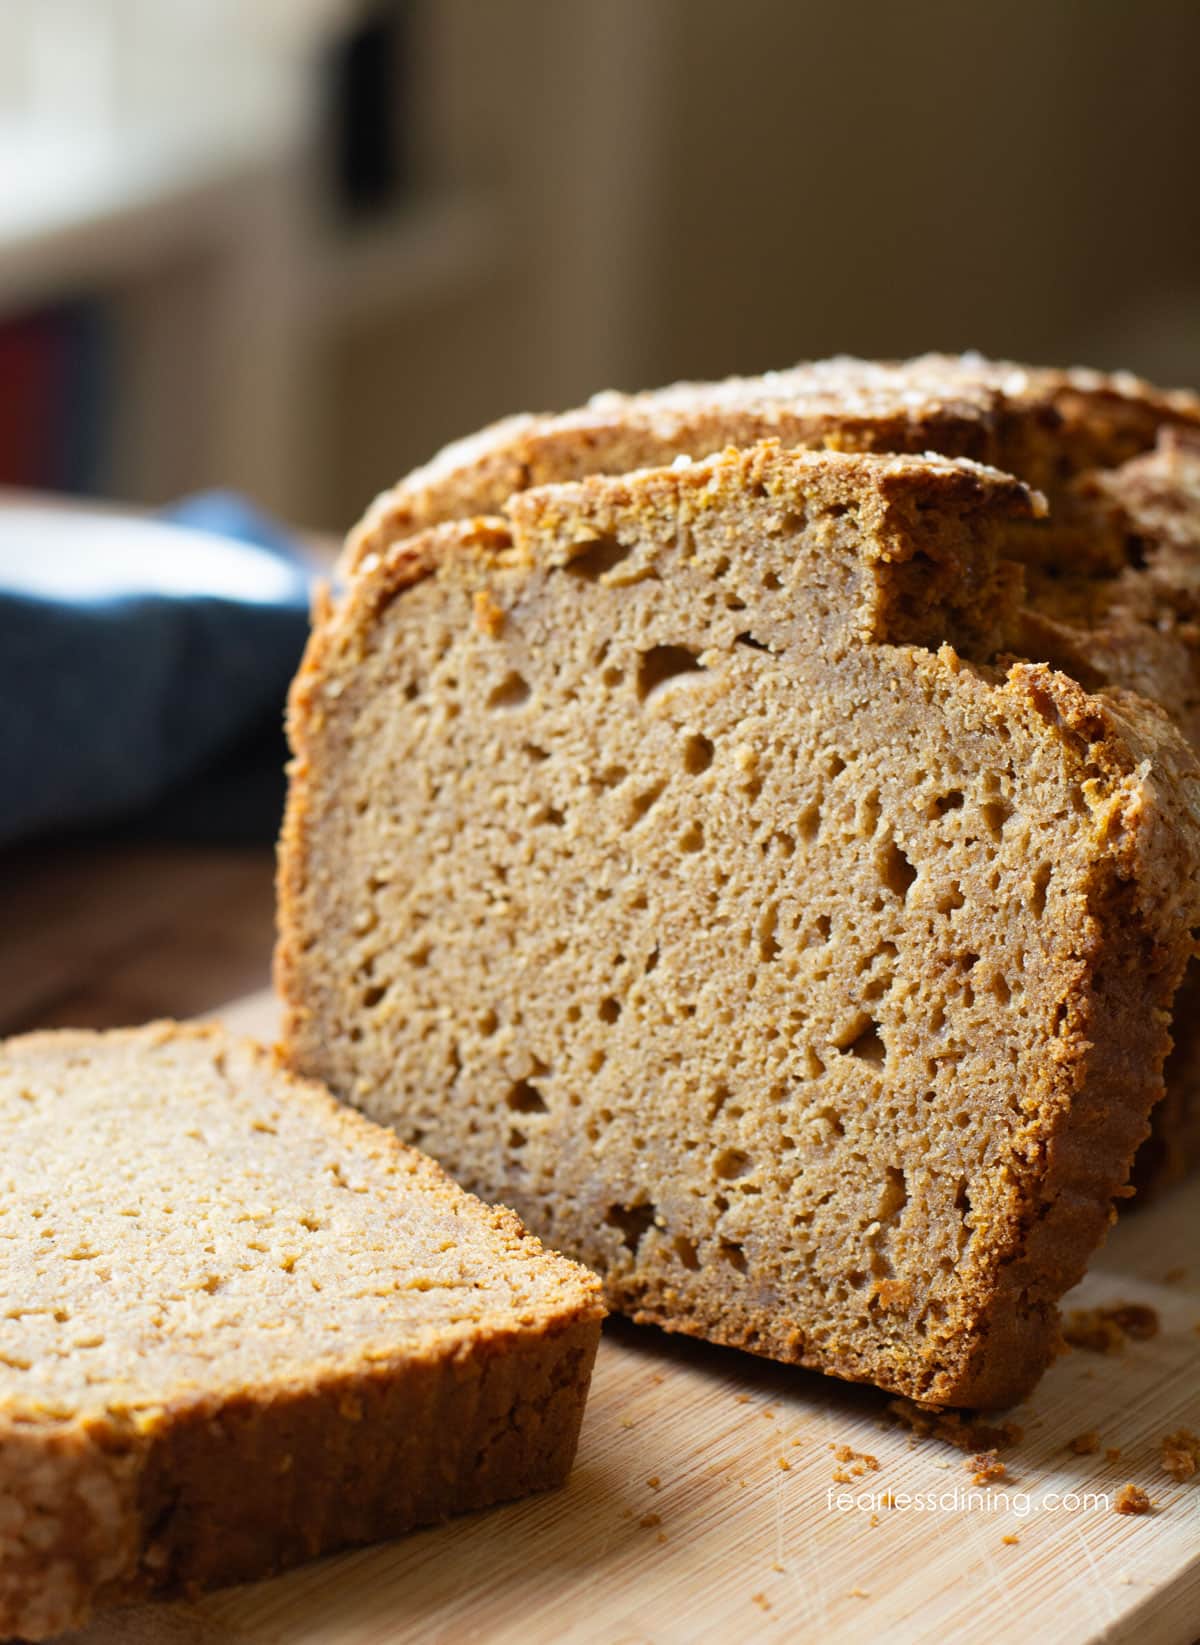
My old gluten-free sweet potato cake just got a major makeover, and this new version is even better! It’s rich, sweet, and buttery, with a texture similar to a classic Sara Lee Pound Cake—dense yet incredibly soft. My family couldn’t believe it’s packed with sweet potato purée! This cake bakes beautifully as a bundt cake or snack cake, but it’s a little too rich for a layered cake. If you love indulgent, bakery-style pound cakes, this is a must-try!
If you love cake, check out my incredible gluten free cake recipes. I have so many delicious cake flavors to choose from! I also have a few delicious gluten-free pound cake flavors on the blog. Try this rich lemony Gluten Free Lemon Pound Cake recipe.
Ingredient Notes:
For the full list of ingredients and amounts, please go to the recipe card below.
- Gluten Free Flour Blend – I tested this recipe with Bob’s Red Mill 1:1 Blend and King Arthur Measure for Measure. Other blends should work, but you may need to adjust the wet or dry ingredient amounts. My rule of thumb is if your batter or dough is too runny, add more flour, and if it is too thick, add more liquids.
- Xanthan Gum – If your flour blend doesn’t contain a binder, you will need to add one to prevent the bread from turning out crumbly. Add 3/4 teaspoon of xanthan gum to the dry ingredients. For more information about binders, read my Related Reading section below.
- Baking Soda – This ingredient is essential for helping the cake rise properly in the loaf pan, creating a light and fluffy texture.
- Sweet Potato – For best results, I recommend using canned sweet potato puree because it has the ideal consistency for this cake. If you prefer to roast and puree your own fresh sweet potatoes, you may need to add a little water to match the smooth texture of canned puree.
- Eggs – Use large eggs for proper structure and moisture in the cake.
- Butter – For the best flavor and texture, use unsalted butter to control the salt level in the recipe.
- Non-Dairy Milk – I used Oatly Simply oat milk in this recipe. Any form of non-dairy or regular milk will work. Do not use canned coconut milk.
For more sweet potato goodness, try this easy Gluten Free Sweet Potato Scones recipe, too!
Tips For Success
1. Avoid overmixing the batter. Overmixing can make the cake dense instead of light and tender. Stir just until the ingredients are combined.
2. Skip the stand mixer. Mixing by hand is best for this cake to prevent overworking the batter.
3. Check for doneness properly. If baking in a loaf pan, it can be tricky to tell when it’s fully baked. Insert a toothpick into the center—if it comes out clean, the cake is done. If you see wet batter or sticky crumbs, continue baking and check again in a few minutes.
Step-By-Step Photos and Directions:
These are my step-by-step photos and directions to make this gluten-free sweet potato loaf cake. I cover every step from start to finish. Preheat the oven to 350º F and set the rack position to the middle of the oven.
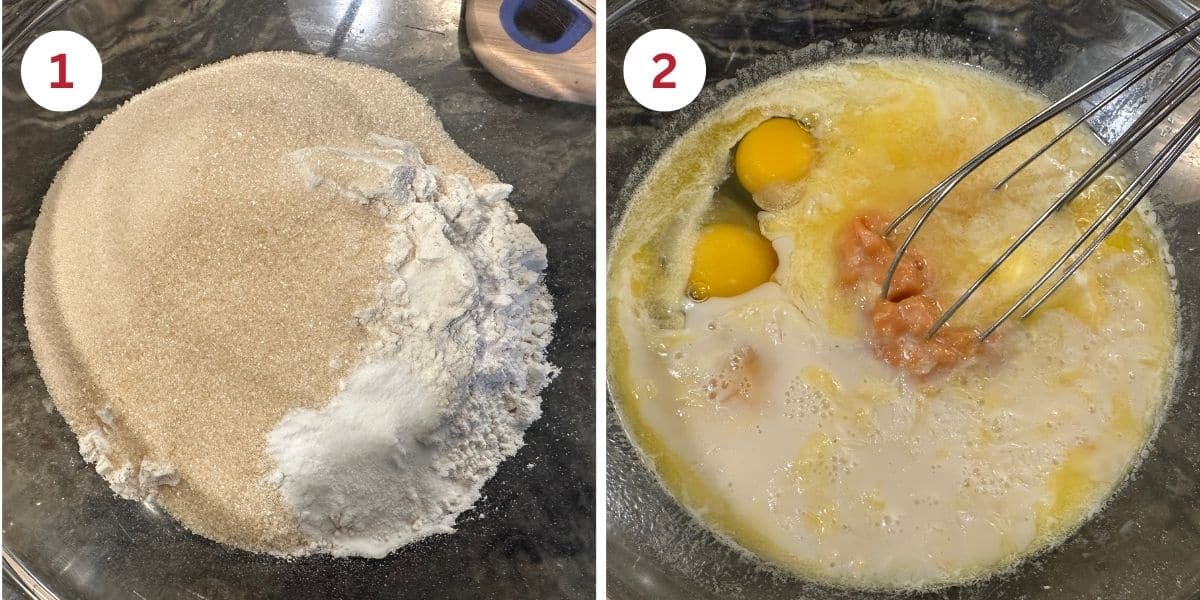
Step 1: Prepare the dry ingredients. Combine the gluten free flour, sugar, baking soda, ground cinnamon and salt to a large mixing bowl. Use a wire whisk to blend the ingredients. This ensures the leavening agents are distributed properly for even rising.
Step 2: Prepare the wet ingredients. Add the eggs, melted butter, sweet potato, and milk to a mixing bowl. Whisk to combine. Properly mixing the wet ingredients before adding them to the dry ingredients helps create a uniform batter.
Email This Recipe To Me!
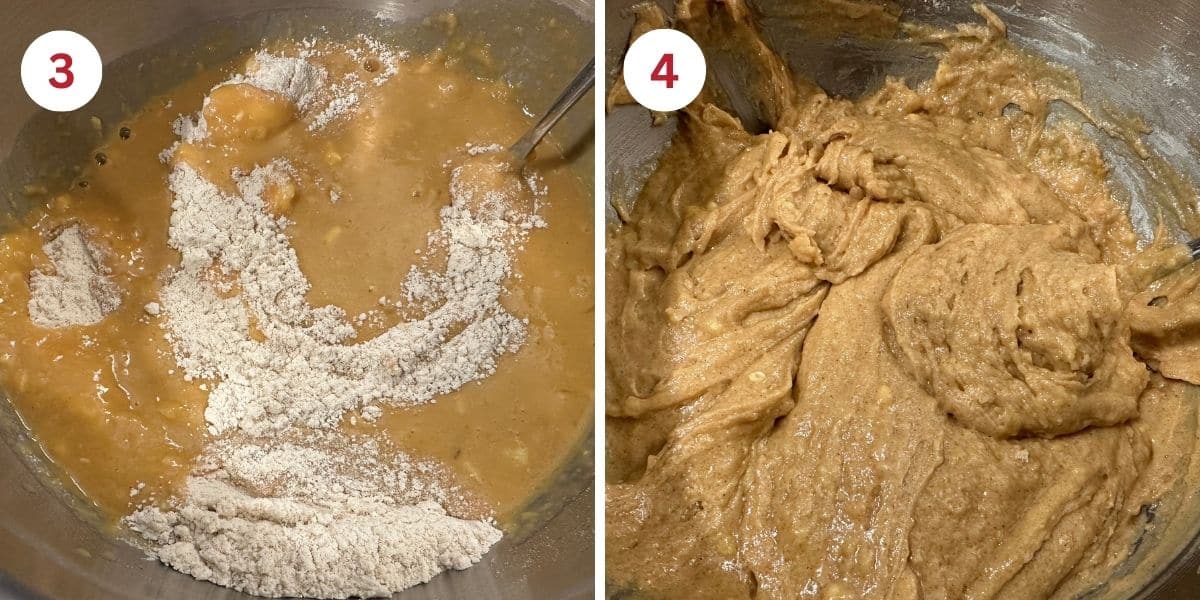
Step 3: Slowly pour the wet ingredients into the dry ingredients and mix gently until just combined. Do not overmix, as this can lead to a dense texture. (See Tips for Success above for more details on why overmixing should be avoided.)
📢 Sandi says: Every gluten-free flour blend has a different starch-to-grain ratio. The brand of gluten-free flour you use will affect the moisture of the batter. If your cake batter is too runny, add more flour, and if it is too thick, add more liquids. Read Why Gluten-Free Flour Blends Vary to learn more about this.
Step 4: Compare your batter to my photo. If your batter is runny, add more flour and if your batter is thicker, add more milk.
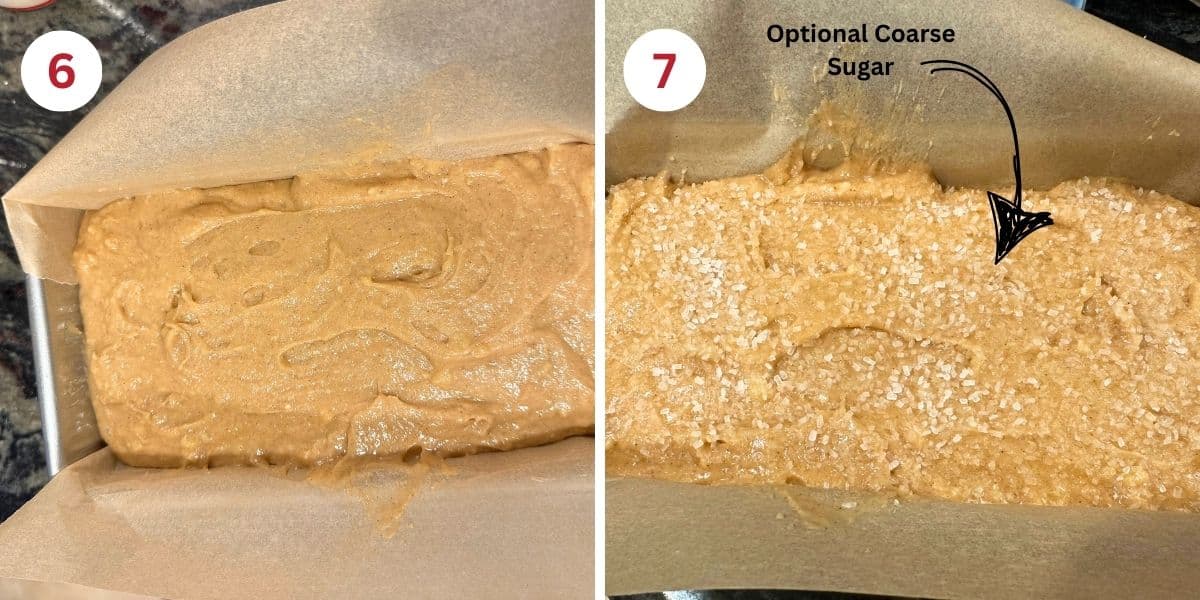
Step 5: Prepare the loaf pan. If you are using a loaf pan as I did, line it with a piece of parchment paper. This is my favorite way to ensure that my cake doesn’t stick to the pan. You can also spray gluten-free baking spray in the pan. Note: Pam baking spray is not gluten-free. Pour the batter into the pan and spread it out to fill it evenly. Optional: sprinkle the top of the cake with coarse sugar, nuts, or chocolate chips.
Step 6: Bake the cake for 40-45 minutes. If you are baking this cake in a bundt pan, you will need to bake it longer. The baking time will vary depending on the pan you use and how deep the pan is.
Step 7: Test for doneness. Remove the cake from the oven and insert a toothpick into the center. If it comes out clean, the cake is done. If you see wet batter or sticky crumbs, return the cake to the oven and check again after a few more minutes.
Step 8: Place the cake in the pan on a cooling rack for 10 minutes to fully set. After this, use the parchment paper to lift the cake out of the pan gently. Place it on the cooling rack. Let the cake cool completely before slicing for the best texture.

Frosting Recipes:
Want to top this yummy cake with frosting? Use either this Cinnamon Buttercream Frosting recipe from my pumpkin cupcakes recipe or my popular Vanilla Buttercream Frosting recipe.
If you love sweet potatoes as much as we do, you will also want to try my Gluten Free Sweet Potato Pie recipe!
Storage and Freezing Tips:
Store this cake in an airtight container in the refrigerator. It will keep fresh for up to 4 days. If you like it warm, you can soften it in the microwave for 35-40 seconds. This cake is easy to freeze, either whole or in slices. After cooling this cake to room temperature, place it in a freezer-safe zipper bag, squeeze out the extra air, and seal it. It will keep fresh for up to four months in the freezer.
Frequently Asked Questions:
If you have questions, I have answers!! If you have a question that you do not see here or not answered in the post, please drop me a comment, and I will respond to your question quickly!
Bake your sweet potatoes in the oven or air fryer as usual. Scoop out the sweet potato flesh into a blender and pulse it with 2 tablespoons of water to soften it more for this recipe.
Yes! You can swap the pureéd sweet potatoes for canned pumkin or canned butternut squash. It is fun to use these substitutes for a flavor variety.
More Gluten Free Cake Recipes:
- Gluten Free Hummingbird Cake
- Easy Gluten Free Chocolate Pound Cake
- Gluten Free Spice Cake
- Gluten Free Pumpkin Bundt Cake – You can use sweet potato puree instead of pumpkin to make a yummy sweet potato bundt cake!
Love This Recipe?
If you made and enjoyed this recipe, I would be incredibly grateful if you could leave a comment below. Please include which flour blend you used. This will help others know this recipe is delicious. Thank you!

Gluten-Free Sweet Potato Pound Cake – Moist & Buttery Dessert
Equipment
Ingredients
- 2 cups gluten free flour blend * see notes
- ¾ cup cane sugar
- 1 teaspoon baking soda
- 1 teaspoon ground cinnamon
- ½ tablespoon salt
- ½ cup unsalted melted butter
- 3 large eggs
- ⅔ cup canned sweet potato pureé * see notes
- 1 cup non-dairy or regular milk
Instructions
- Preheat the oven to 350º F and set the rack position to the middle of the oven.
- Prepare the dry ingredients. Combine 2 cups gluten free flour blend, 3/4 cup cane sugar, 1 teaspoon baking soda, 1 teaspoon ground cinnamon, and 1/2 tablespoon salt to a large mixing bowl. Use a wire whisk to blend the ingredients. This ensures the leavening agents are distributed properly for even rising.
- Prepare the wet ingredients. Add 3 large eggs, 1/2 cup unsalted melted butter, 2/3 cup canned sweet potato pureé, and 1 cup non-dairy or regular milkto a mixing bowl. Whisk to combine. Properly mixing the wet ingredients before adding them to the dry ingredients helps create a uniform batter.
- Slowly pour the wet ingredients into the dry ingredients and mix gently until just combined. Do not overmix, as this can lead to a dense texture. (See Tips for Success above for more details on why overmixing should be avoided.)
- TIP: Every gluten-free flour blend has a different starch-to-grain ratio. The brand of gluten-free flour you use will affect the moisture of the batter. If your cake batter is too runny, add more flour; if it is too thick, add more liquids. Read Why Gluten-Free Flour Blends Vary to learn more about this.
- Prepare the loaf pan. If you use a loaf pan as I did, line it with a piece of parchment paper. This is my favorite way to ensure that my cake doesn't stick to the pan. If using a bundt pan spray gluten-free baking spray in the pan. Note: Pam baking spray is not gluten-free. Pour the batter into the pan and spread it out to fill it evenly. Optional: sprinkle the top of the cake with coarse sugar, nuts, or chocolate chips.
- Bake the cake for 40-45 minutes. If baking this cake in a bundt pan, you will need to bake it longer. The baking time will vary depending on the pan you use and how deep the pan is.
- Test for doneness. Remove the cake from the oven and insert a toothpick into the center. If it comes out clean, the cake is done. If you see wet batter or sticky crumbs, return the cake to the oven and check again after a few more minutes.
- Place the cake in the pan on a cooling rack for 10 minutes to fully set. After this, gently lift the cake out of the pan using the parchment paper. Place it on the cooling rack. Let the cake cool completely before slicing for the best texture.
- Want to top this yummy cake with frosting? Use either this Cinnamon Buttercream Frosting recipe from my pumpkin cupcakes recipe or my popular Vanilla Buttercream Frosting recipe.
Notes
- I have tested this recipe with King Arthur Measure for Measure GF and Bob’s Red Mill 1 to 1 GF blend. That doesn’t mean others will not work. I just have not tested other flours.
- If your gluten free flour blend doesn’t contain xanthan or guar gum, add one teaspoon.
- I highly recommend using canned pureed sweet potatoes, but you can definitely roast and use fresh sweet potatoes as well.
- Store this cake in an airtight container in the refrigerator. It will keep fresh for up to 4 days. If you like it warm, you can soften it in the microwave for 35-40 seconds.
- This cake is easy to freeze, either whole or in slices. After cooling this cake to room temperature, place it in a freezer-safe zipper bag, squeeze out the extra air, and seal it. It will keep fresh for up to four months in the freezer.
2. Skip the stand mixer. Mixing by hand is best for this cake to prevent overworking the batter.
3. Check for doneness properly. If baking in a loaf pan, it can be tricky to tell when it’s fully baked. Insert a toothpick into the center—if it comes out clean, the cake is done. If you see wet batter or sticky crumbs, continue baking and check again in a few minutes.
Email This Recipe To Me!
SPECIAL NOTE
Please know that every gluten free flour blend has a different starch to grain ratio. If you use a blend I didn’t test, my rule of thumb is to add more flour if your dough or batter is wet and add more liquid if the dough or batter is too dry!
Nutrition
Nutrition Disclaimer
Nutritional information is an estimate provided to you as a courtesy. You should calculate the actual nutritional information with the products and brands you are using with your preferred nutritional calculator.
I truly hope you enjoy this recipe. I have been testing and creating gluten-free recipes for over 15 years. Creating gluten-free recipes that do not taste gluten-free is my goal for every recipe. Sometimes I only have to test a new recipe a couple of times, and others it takes multiple times. I do this so you get reliable, delicious results every time!

Could you use baked sweet potato instead of canned purée? Would it still be 2/3 cup?
Hi Jude, You can, but fresh baked is going to be thicker. You would want to think them out blending them with a little water so that it matches a canned sweet potato texture…it is similar to soft canned pumpkin texture.
A sweet spicy “like Pound cake” recipe-what’s not to like? I am definitley going to try this! I am imagining it toasted and buttered-yum! Can I share my biggest recipe frustration with you? Giving the calorie count per serving is uselss information if not accompanied by how many servings are in a recipe. Are you using 8, 10 or more slices to the loaf, when you gave the 266 calorie count? I truly have no idea what the calories are. Would you consider adding servings count to your recipes format? Thanks for this recipe!
I appreciate your feedback on the calorie count. All food bloggers use a recipe card, which has a built in calorie counter that gives a guesstimate. It isn’t easy to edit…but I usually base it on how many slices or pieces I get when making the recipe. For this recipe, I got 10 slices of the cake…and the calorie counter is based on 2 slice. I hope this helps.
would canned pumpkin puree work as well? If so, would there need to be any adjustments in this recipe? Thank you.
Hi Michele, No adjustments should be necessary as canned pumpkin and sweet potato have a similar consistency. Depending on the flour blend you use, you may need to tweak the amount of flour or milk/non-dairy milk added. Use the photos I posted in the recipe post to compare your batter to mine.