


This roasted red kuri squash is a simple side dish that packs a lot of sweet, roasted squash flavor. As it roasts, the squash turns golden and caramelized around the edges. You only need a few pantry staples to make this recipe shine, and you can cook it in an air fryer or the oven.
This post may contain affiliate links. Please read our Disclosure Policy.
❤️ Sandi’s Recipe Summary
The Quick Bite: This homemade roasted kuri squash makes a delicious side dish throughout the fall and winter. It also makes a great Thanksgiving side either served roasted and sliced or mashed with some butter. It is naturally sweet, but roasting with a little honey helps to deepen the flavor. All you need are 4 ingredients, and you can make it in an air fryer or the oven.
“Simple yummy recipe! Thank you!”
Elena, Blog comment
Winter is the best time to enjoy seasonal winter squash varieties. One of the farmers in our market always carries red kuri squash, also known as orange Hokkaido squash. This week, I bought a kuri squash to roast for a fall side dish recipe. If you haven’t tried this winter squash, it is similar to other squash like butternut, but I find it has a slightly sweeter flavor and turns a deep, bright reddish orange when roasted
When making this squash recipe, I use the oven when I have an hour, because the caramelized flavors slowly bake and develop. The air fryer also gets a nice roasted flavor, and it is a huge time saver when I need to get dinner on the table quickly. I still want a hot side dish. You can serve this kuri squash cut into pieces or scoop the roasted squash out of the rind and mash it with butter to make a mashed squash side dish.
We love how the kuri squash tastes sweet and caramelized after roasting, and you can use it to make Roasted Kuri Squash Soup. You can also cut it and cook it as I did in this Butternut and Thyme recipe.
Include the roasted kuri squash with my Dry Brined Orange Marmalade Turkey, this Gluten Free Texas Toast Stuffing, Air Fried Italian Green Beans, Cream Cheese Mashed Potatoes, and my classic Gluten Free Biscuits for your Thanksgiving meal.
Ingredient Notes:
For the full list of ingredients and amounts, please go to the recipe card below.
- Kuri Squash – You can use any size of red kuri squash.
- Olive Oil – I prefer extra virgin olive oil.
- Honey – Any variety of honey works well in this recipe.
How To Know When Winter Squash Is Ripe:
1. Look for a thick, woody stem. If it is bendy, the squash may not be ripe yet.
2. Red kuri squash will have a deep orange color when it is ripe.
3. A typical ripe kuri squash weighs between 3 and 10 pounds. In the U.S.A., you will most often see between 3 and 5 pounds.

Email This Recipe To Me!
This is what a ripe kuri squash looks like. Note the vibrant color and woody stem.
How to Roast a Kuri Squash (Step-By-Step)

Step 1: Preheat the oven to 375º F. Use a sharp knife to slice the kuri squash in half, from bottom to the stem. Kuri squash has a thin rind, but the flesh is dense and hard.
Use caution when cutting the squash. Lay that side down on the cutting board, with the flatter side down. Hold it carefully with one hand on the stem, and slowly push the knife into the squash behind the stem, cutting in a line toward the opposite end. Repeat on the other side. When you pull the sides apart, the stem will end up on one side.
Step 2: Scoop out the seeds with a large spoon. Kuri squash seeds resemble pumpkin seeds.

Step 3: Place the squash on a baking pan. I like to line my pan with foil, so cleanup is a lot easier. Use a pastry brush to brush the squash with olive oil and honey.
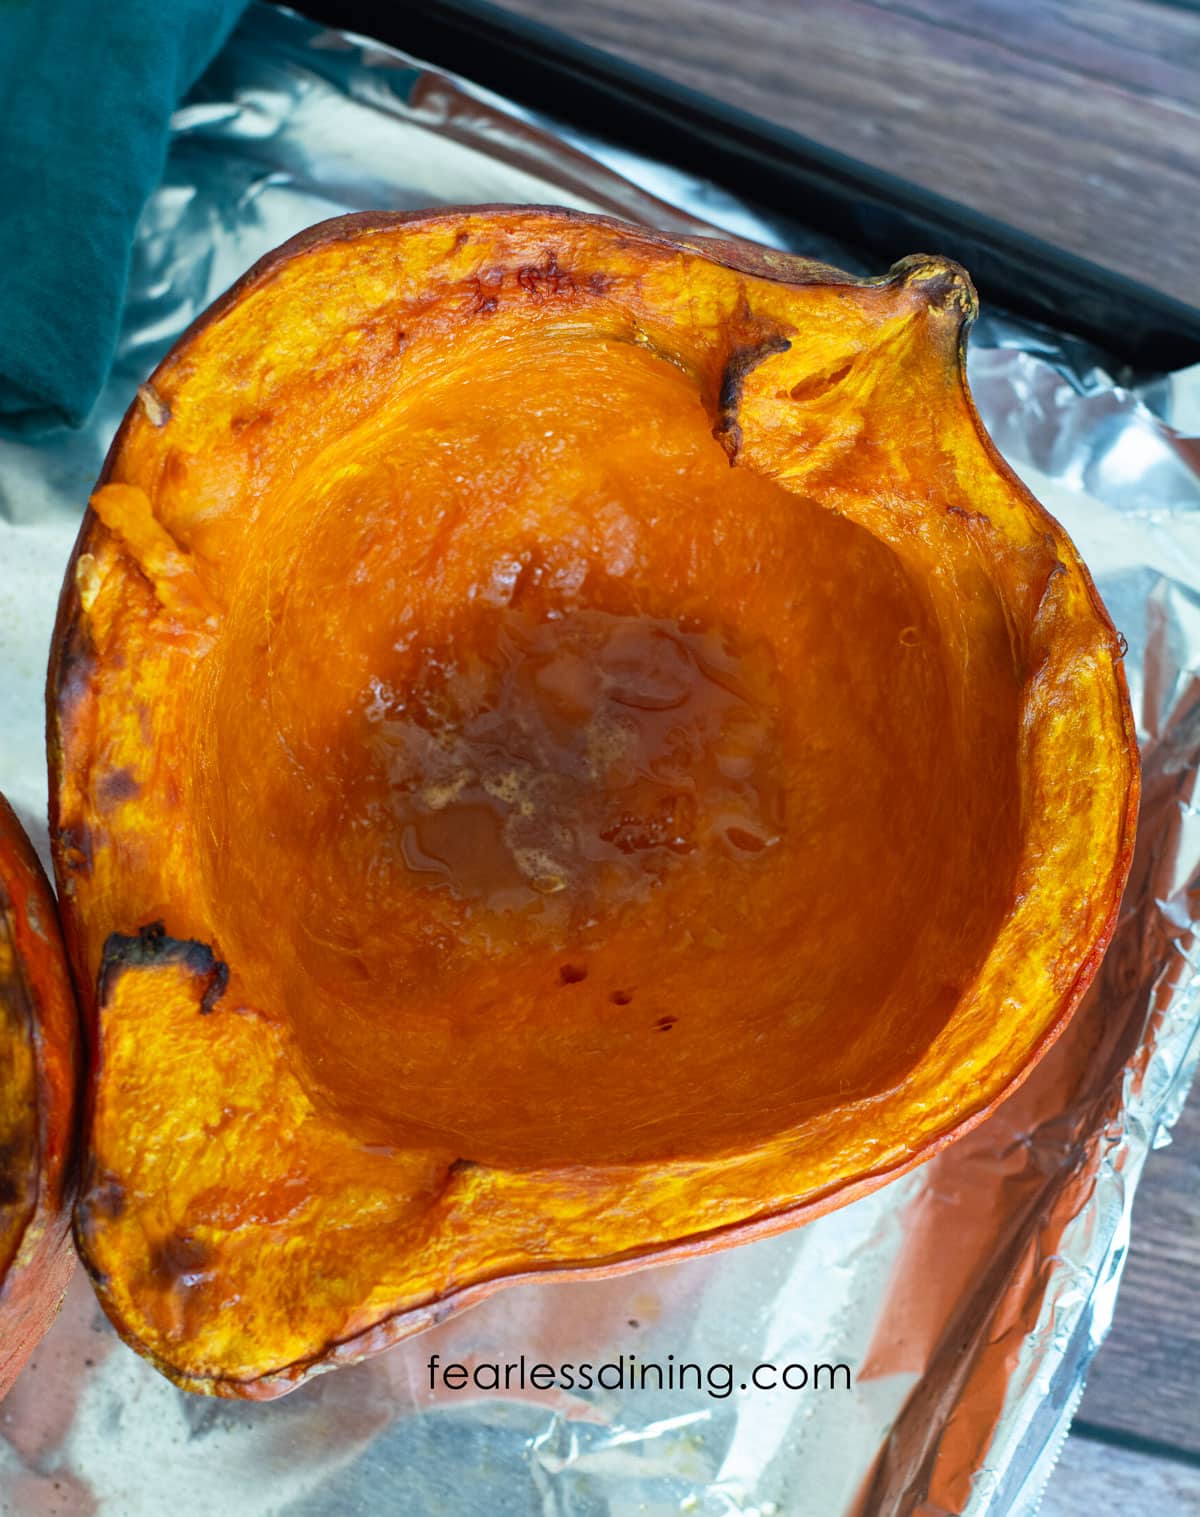
Step 4: Bake the squash for 45-60 minutes. Baking time will vary depending on the size and thickness of your kuri squash. I first baked the squash for 45 minutes, but my first test was on a smaller squash. The next time I made this squash, it was a little bigger. I found it needed closer to an hour, so I now give a range and ask you to check with a fork.
Step 5: Serve the squash hot. Slice the half into halves and serve 1/4 of the roasted squash per plate. You can also scoop the roasted squash out of the rind and mash it with salted butter.
Air Fryer Directions:
- Slice and clean the seeds out of your squash the same as listed above.
- Brush the squash with the honey-and-oil mixture.
- Place the squash halves into the air fryer.
- Cook the squash at 375º F for 20-25 minutes. Stick a fork into the squash to see if it is soft. The total cooking time will vary depending on the size of your squash. If the squash isn’t soft and a little golden, cook it 5 minutes longer.
Frequently Asked Questions:
If you cook the squash, you can eat it. Its skin isn’t as soft as some squash, like delicata squash, but it is edible.
You do not have to peel the skin. It gets soft when the squash is cooked, so it is easy to remove after cooking.

More Gluten-Free Winter Squash Recipes:
- Stuffed Kabocha Squash
- Butternut Squash Breakfast Skillet
- Homemade Roasted Acorn Squash Soup with Pumpkin Spice Croutons
- Gluten Free Pumpkin and Caramelized Onion Bread Pudding
Love This Recipe?
If you made and enjoyed this recipe, I would be incredibly grateful if you could leave a comment below. This will help others know it’s delicious. Thank you!
Honey Roasted Red Kuri Squash (Oven or Air Fryer)
Method
- Preheat the oven to 375º F. Use a sharp knife to slice the 1 Kuri squash in half.
- Scoop out the seeds with a spoon.
- Place the squash on a baking pan, face up. I line my pan with foil, so cleanup is a lot easier. Use a pastry brush to brush the squash with 1 tablespoon olive oil and 1 tablespoon honey. The honey helps sweeten and caramelize the squash while roasting.
- Place the squash in the oven and bake for 45-60 minutes. The actual baking time will vary depending on the size of your kuri squash.
- Serve the squash hot. Slice the half into halves and serve 1/4 of the roasted squash per plate.
- Slice and clean the seeds out of your squash the same as listed above. Brush the honey and oil over the squash.
- Place the squash halves into the air fryer.
- Cook the squash at 375º F for 25 minutes. (Again the time will vary depending on the size of your kuri squash.) Stick a fork into the squash to see if it is soft. The total cooking time will vary depending on the size of your squash. If the squash isn't soft and little golden, cook it 5 minutes longer.
Nutrition
Notes
- If you prefer mashed squash, you can remove the roasted squash from the rind and mash it with butter or dairy-free butter.
-
Store leftovers in an airtight container in the refrigerator. The squash will keep fresh for up to 4 days.
Private Notes
Tried this recipe?
Let us know how it was!
I truly hope you enjoy this recipe. I have been testing and creating gluten-free recipes for over 15 years. Creating gluten-free recipes that do not taste gluten-free is my goal for every recipe. Sometimes I only have to test a new recipe a couple of times, and others it takes multiple times. I do this so you get reliable, delicious results every time!

Simple yummy recipe! Thank you!
I am so glad you found Kuri squash and used my recipe. Thank you so much.