
These delicious gluten free cookies for St. Patrick’s Day are made with the luck of the Irish! The gluten-free cut-out sugar cookie dough is easy to make, and there is a dairy-free option! I include the royal icing recipe and share all of my tips and tricks to decorate these gluten free shamrock cookies with royal icing!
This post may contain affiliate links. Please read our Disclosure Policy.
❤️ Sandi’s Recipe Summary
The Quick Bite: These are easy-to-make gluten-free sugar cookies that you can decorate with colorful royal icing. I share step-by-step directions and photos to walk you through making and decorating them for St. Patrick’s Day.
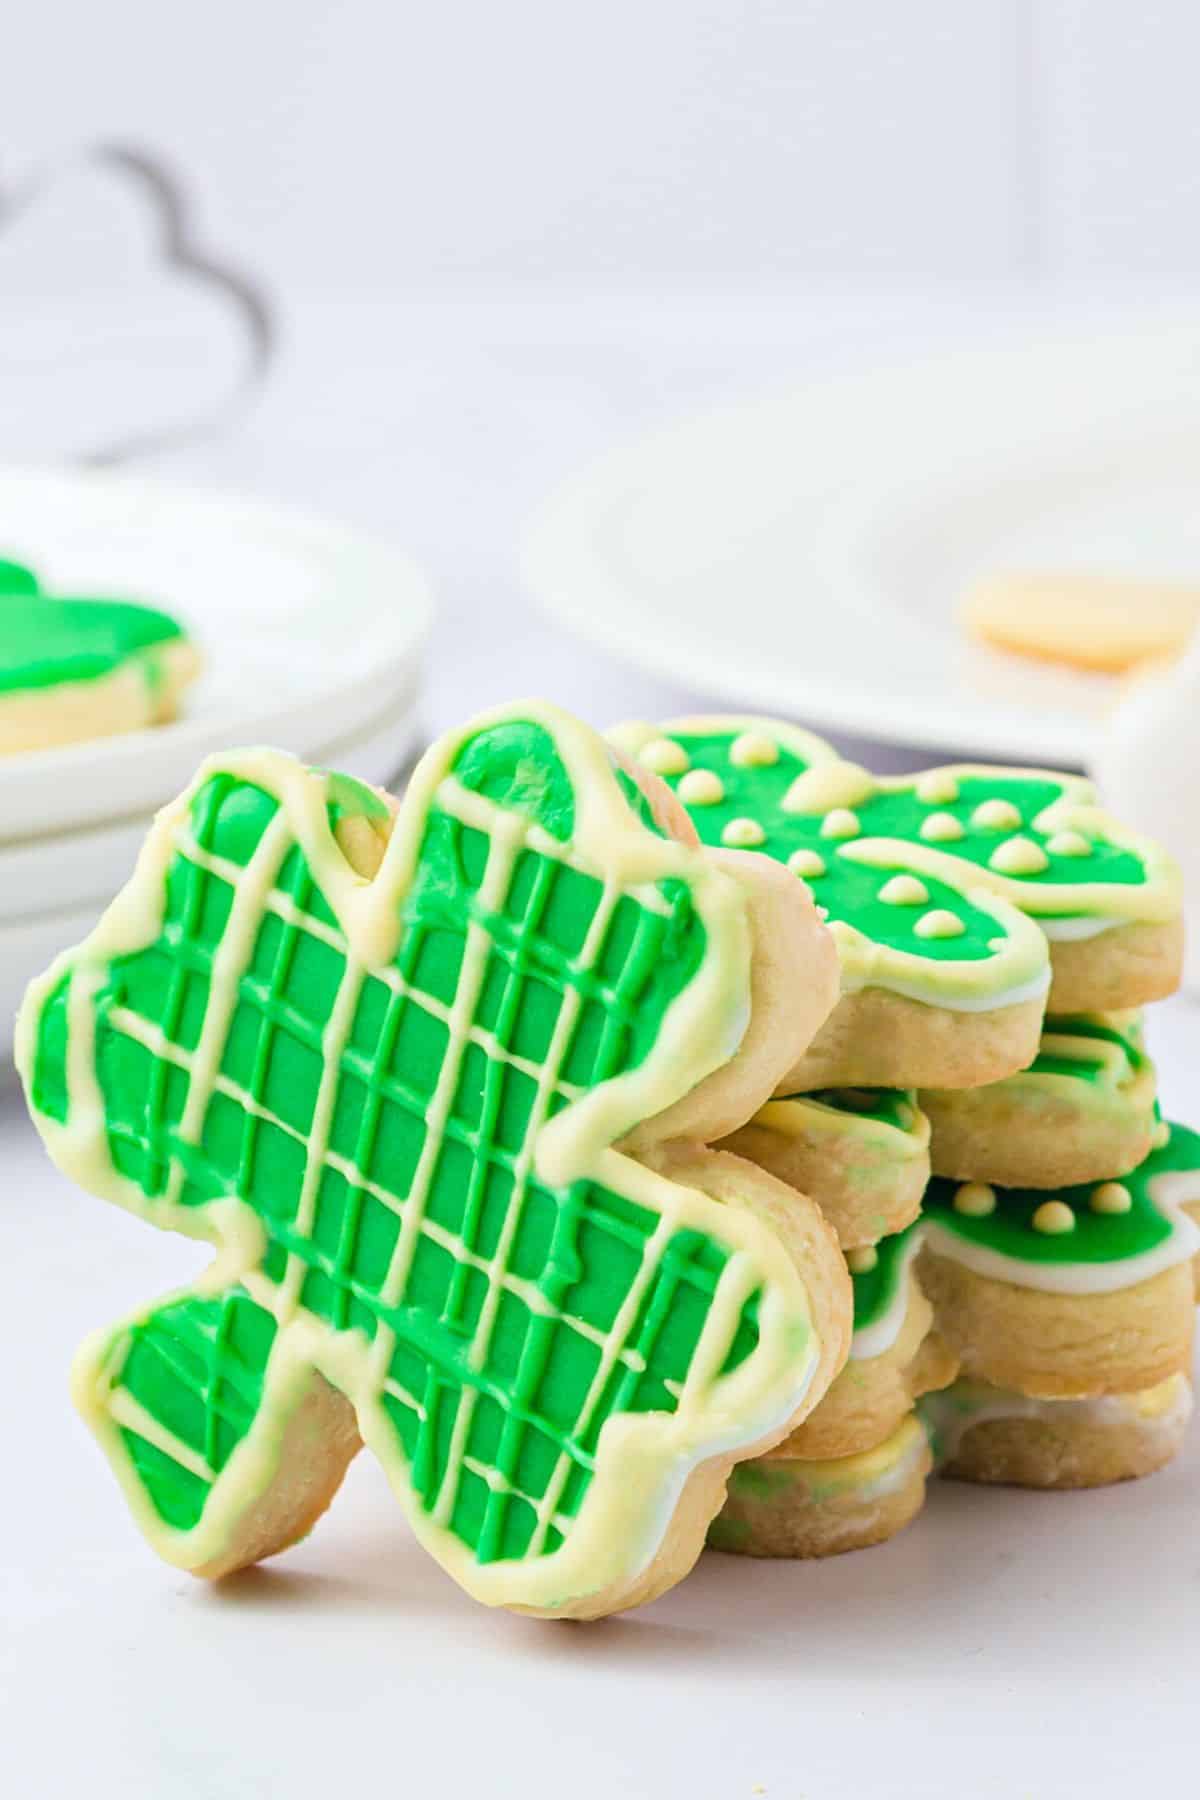
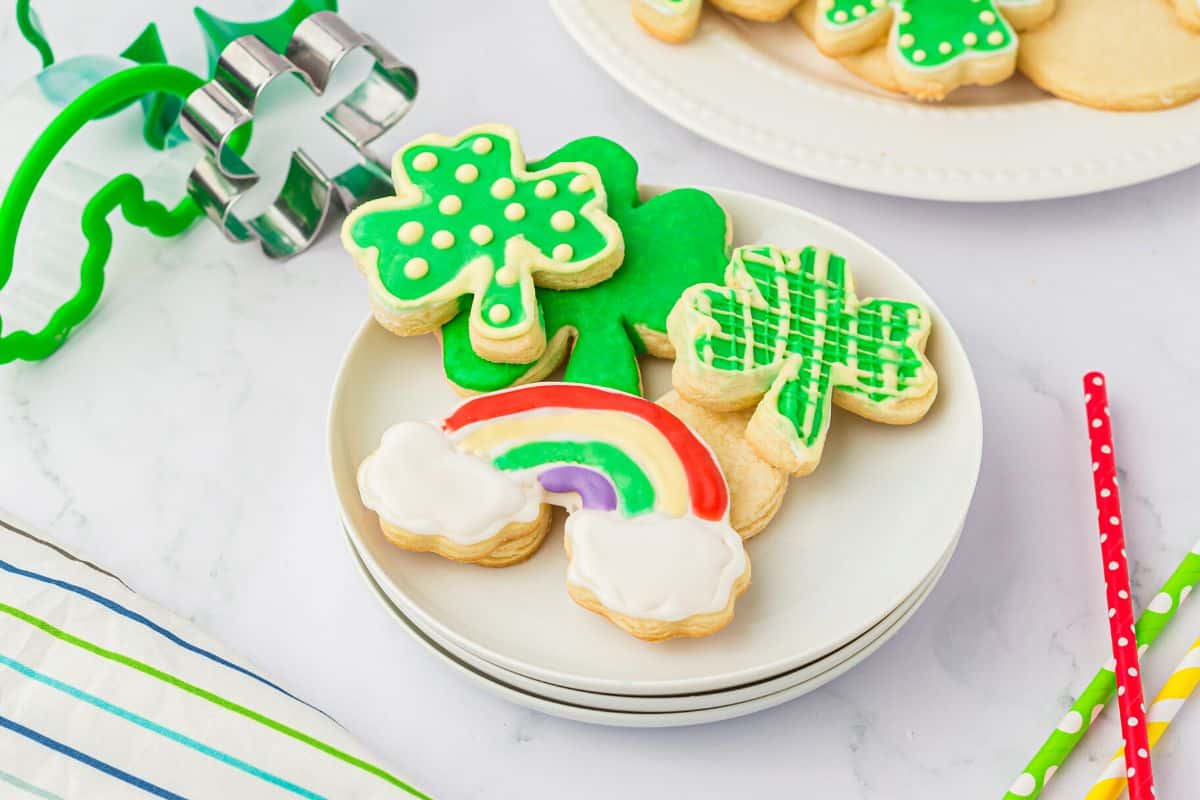
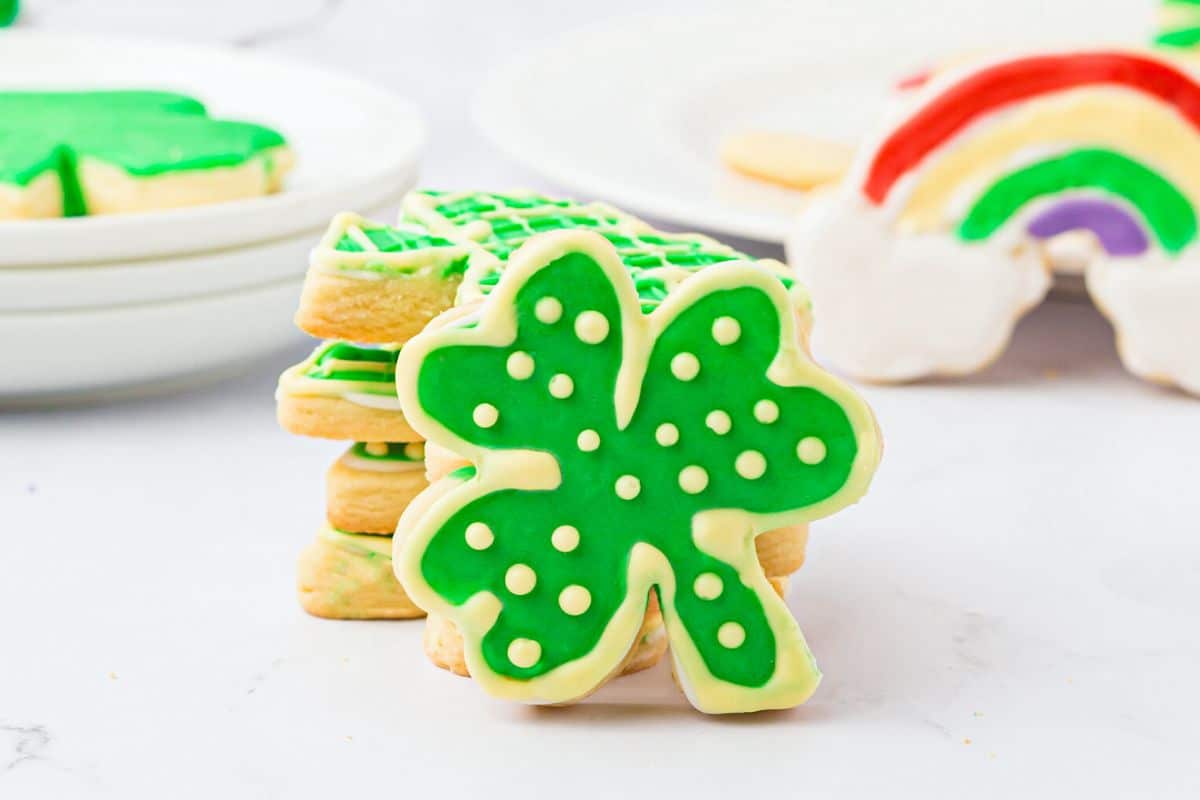
These gluten free shamrock-shaped sugar cookies are made with my popular gluten free cut-out sugar cookie dough. They are cut out into shamrocks and rainbows because these are well-known symbols for St. Patrick’s Day.
The cookies are then baked and decorated with vibrantly colored royal icing. If you haven’t used royal icing, it is a type of icing made from powdered sugar, egg whites, and colorings. The royal icing is piped onto the cookies in various colors and designs and allowed to dry, creating a smooth, hard finish.
You end up with an incredibly festive and delicious treat to serve for St. Patrick’s Day. We love decorating holiday cookies with royal icing, so be sure to also check out these Gluten Free Valentine’s Day Cookies, too!
Ingredient Notes:
For the full list of ingredients and amounts, please go to the recipe card below.
- Gluten Free Flour Blend – I recommend using King Arthur Measure for Measure or Bob’s Red Mill 1:1. Note, I found in testing this recipe that you may need to add 1-2 TBSP of additional flour if you use Bob’s.
- Binder – If the blend you have does not contain a binder like xanthan gum, you will need to add 1 teaspoon.
- Baking Powder – Use aluminum-free!
- Butter – I recommend unsalted butter
- Vanilla – Use pure vanilla extract, immitation will not taste as good in this recipe.
- Eggs – Size large.
- Powdered Sugar – Most brands are gluten free, but you can also check my powdered sugar list.
- Cream of Tartar – This is needed for the royal icing.
- Food Coloring – You can use gel or liquid food coloring. Note that natural food colorings will not be as vibrant in color as other food colorings.
How to Make Gluten-Free Cookies for St. Patrick’s Day (Step-By-Step)
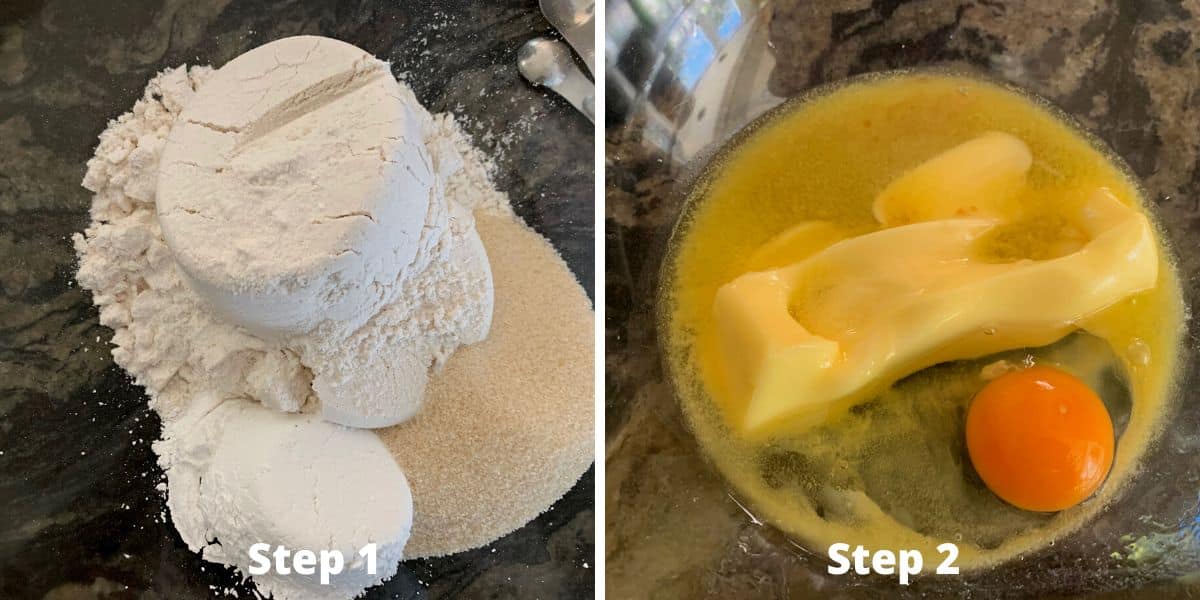
Step 1: Add the sugar, flour, baking powder, and salt to a large mixing bowl. Use a wire whisk to blend them together.
Step 2: Add the softened butter, egg, and vanilla to a medium-sized bowl. Use the whisk to mix the. You can use a stand mixer with a paddle attachment if you prefer.
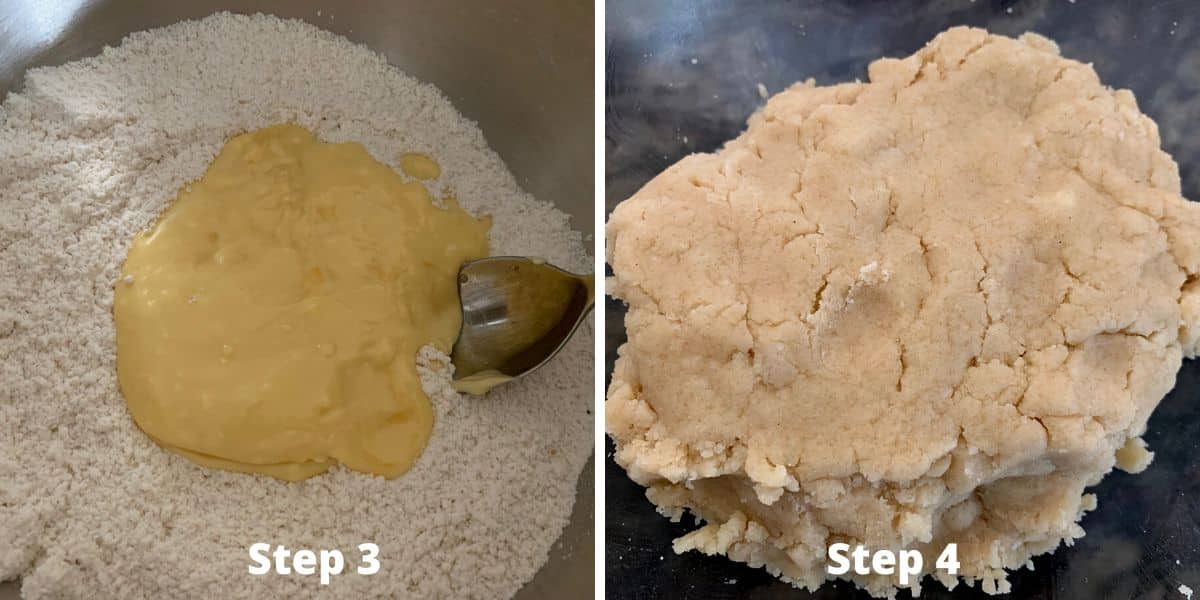
Step 3: Pour the wet ingredients into the dry ingredients. Be sure to use a bowl scraper on the sides of the bowl to get all of the wet ingredients out of the bowl.
Step 4: Wrap the cookie dough in plastic wrap and refrigerate the dough for 30-45 minutes. This is to keep the dough from spreading when you bake it, AND it helps soften the rice flour in the gluten free flour blend so there is no grittiness.
Step 5: Preheat your oven to 350º F. Make sure the oven rack is in the middle position in your oven.
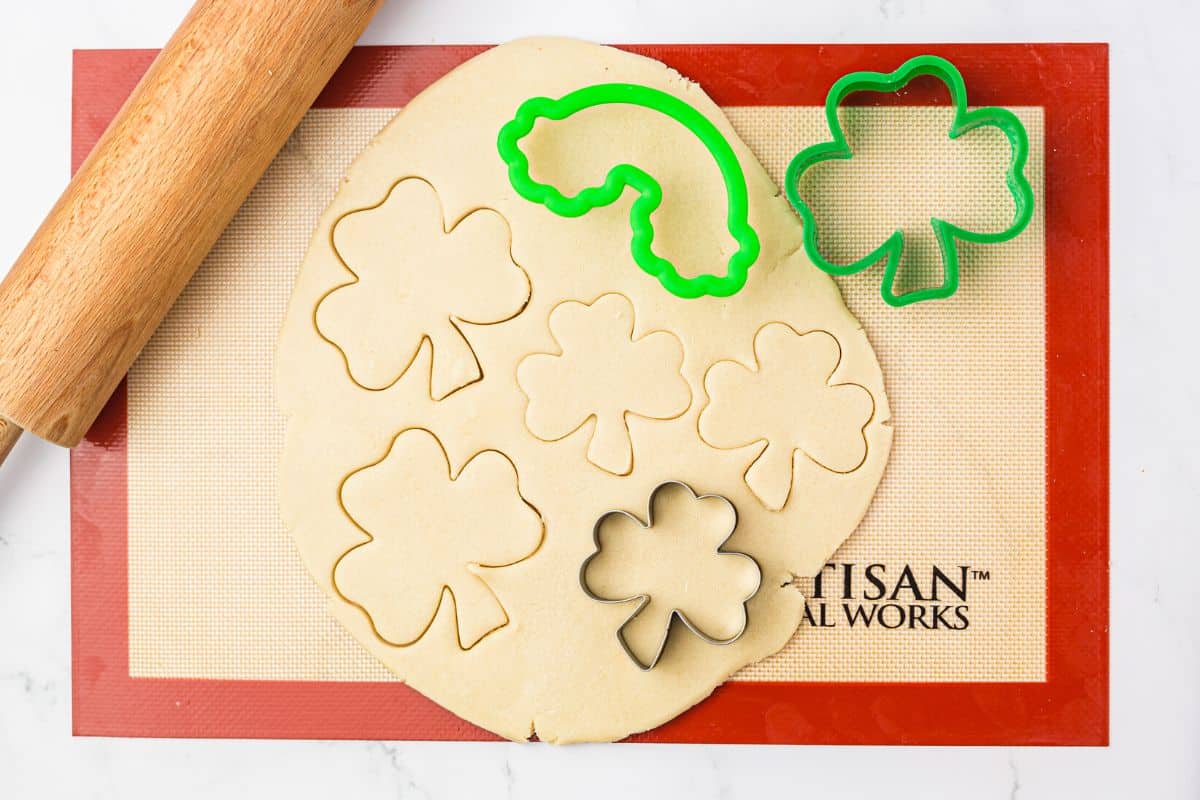
Remove the dough from the refrigerator. Place it onto a silicone mat or a clean surface. Use a rolling pin to roll the dough to a thickness of ¼ to ½ inch.
Step 6: Use your cookie cutters to cut out shapes. Place the cookie shapes on a parchment-paper-lined cookie sheet.
Step 7: Bake the cookies for 10 to 11 minutes, depending on the size and thickness of your cookies. Move them to a cooling rack. Do not ice your cookies until they are fully cooled.
Email This Recipe To Me!
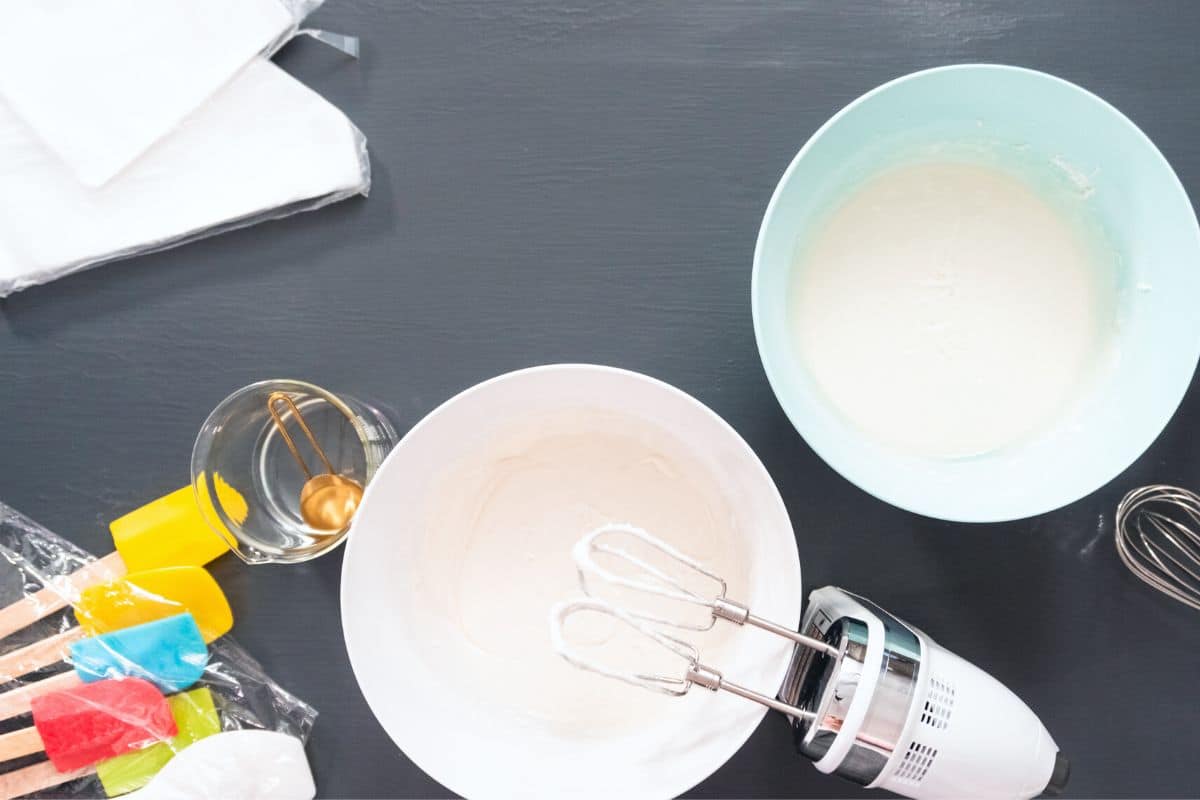
Step 8: Let’s make the royal icing. It is really easy to make, but it is definitely easier to make with a stand mixer and a whisk attachment. (Your arms can get tired if you use an electric mixer.)
Step 9: Add the royal icing ingredients to a large bowl (if you are using an electric hand mixer) or to the bowl of a stand mixer with a whisk attachment. Whip up your homemade royal icing by starting on low speed.
Mix for 9-10 minutes. The icing should not be runny when you are done mixing!
Step 10: Add a little royal icing to several bowls. Use your food coloring to turn the royal icing into the colors you want.
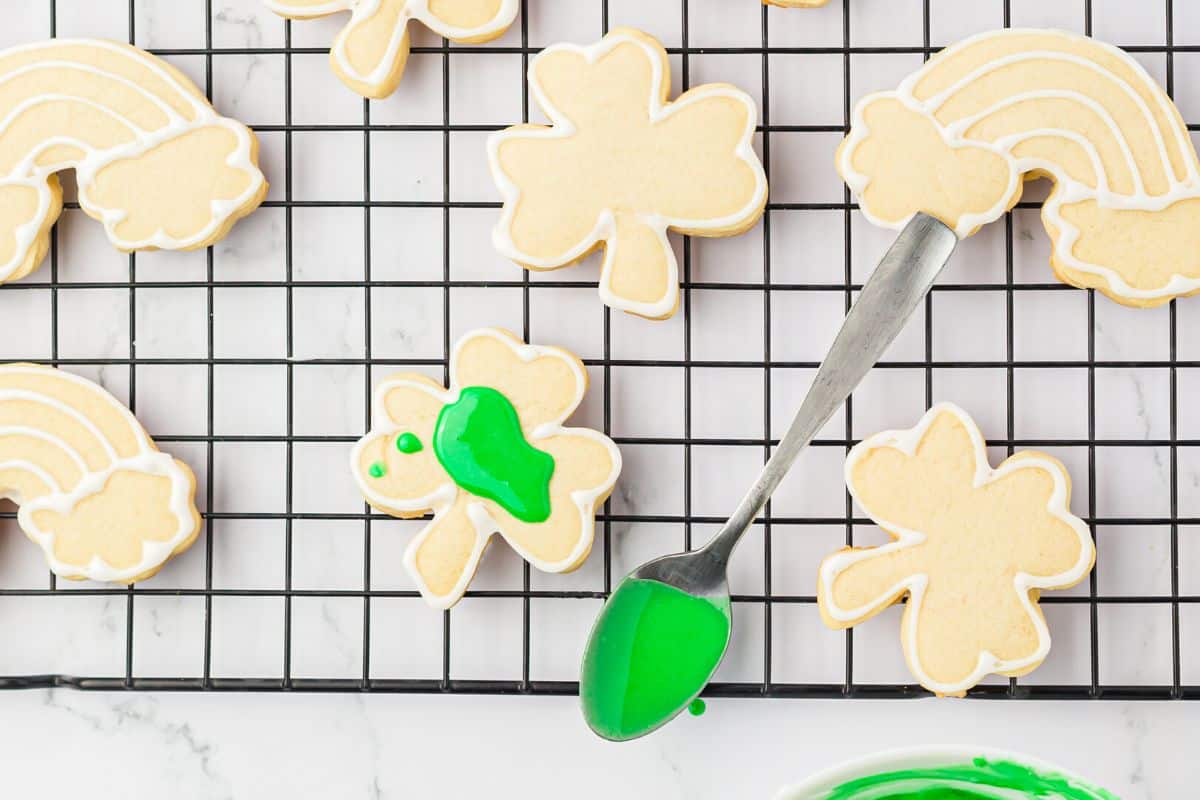
Step 11: When decorating cookies with royal icing, think in layers. I first applied white icing and piped it along the edges of the cookies and the rainbow sections. Let the white icing dry before adding the next color!
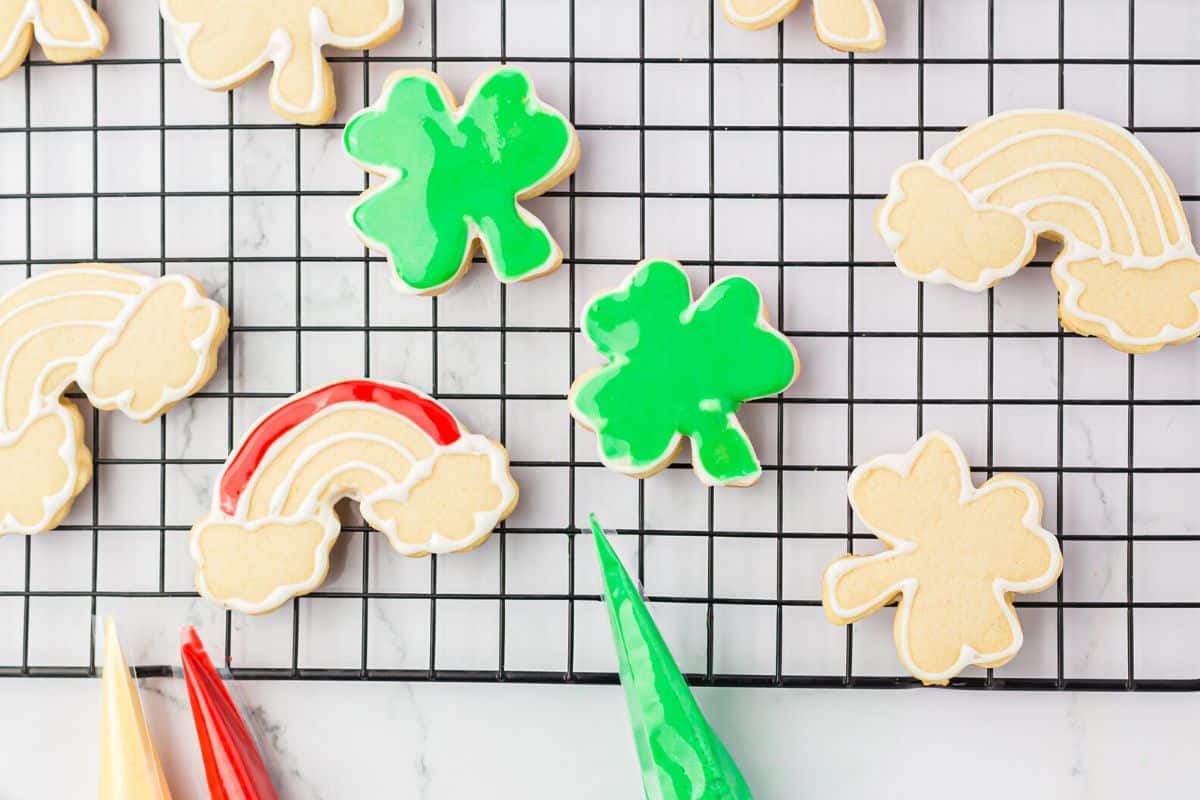
If you plan to make sections of the same color as these rainbows, add royal icing to one section, then let that section dry. This will leave indentations or lines between the sections. You can see more examples of how to decorate in this way in my Gluten Free Halloween Cut-Out Cookies post.
Step 12: Let the cookies sit until the icing has hardened. Depending on how thick you painted the royal icing on the cookies, this will take several hours.
Store these cookies in an airtight container. They will keep fresh for up to 3 days. Otherwise, freeze them in a freezer bag. Be sure the royal icing has hardened before you put them into a container.
If you need more guidance, I also share a ton of gluten free baking tips that help you bake even better.
Tips For Success:
- Measure correctly. If you add in too much gluten free flour or other ingredients, it can mess with the cookies as they bake. If they don’t have the proper ingredient ratios, you may end up with a mess.
- Chill the dough when possible. I know you are probably ready to eat your cookies right now, but taking a few minutes to chill the batter makes them less likely to spread.
- Don’t put the batter on a hot baking pan. They start baking immediately, and it messes with them. Use a couple of sheets and rotate them out when making large batches of cookies.
- Always let your royal icing dry before adding a new layer or color!
If you enjoy the cinnamon flavor, you can use this Gluten Free Cinnamon Sugar Cookie recipe as the base for decorating. You can also use shortbread as a base, as in these Gluten Free Maple Shortbread Cookies.
More Gluten Free Cookies Recipes:
If you love cookies, I have TONS OF gluten free cookie recipes for you! Easter is around the corner, so be sure to check out these Gluten Free Easter Cookies, too.
- Gluten Free Cookies and Cream Cookies
- Easy Gluten Free Animal Cookies (aka circus cookies)
- Gluten Free Lemon Shortbread
- Gluten Free Cowboy Cookies
Love This Recipe?
If you made and enjoyed this recipe, I would be incredibly grateful if you could leave a comment below. Please include which flour blend you used. This will help others know this recipe is delicious. Thank you!
Easy Gluten Free Shamrock Cookies (Cut Out Cookie Recipe)
Ingredients
- 2 cups gluten free flour blend * see note
- ½ cup cane sugar
- 1 teaspoon baking powder aluminum-free
- dash salt
- ⅔ cup unsalted butter
- 1 large egg
- 1 ½ teaspoons pure vanilla extract
- 3 cups powdered sugar
- 2 egg whites
- ½ teaspoon cream of tartar
- food coloring
Method
- In a large bowl, combine the 2 cups gluten free flour blend, ½ cup cane sugar, 1 teaspoon baking powder, and dash salt. Use a whisk to mix them.
- Add the 1 large egg, 1 ½ teaspoons pure vanilla extract, and softened ⅔ cup unsalted butter to a medium bowl and whisk to blend.
- Pour the wet ingredients into the dry ingredients and mix into cookie dough.
- Wrap the cookie dough in plastic wrap and chill in the fridge for 45 minutes. This helps the dough to not spread while baking, and it helps soften the rice flour in your blend so the cookies don't have a gritty texture.
- Preheat the oven to 350º F.
- Remove the cookie dough from the refrigerator, and place it onto a silicone mat. Roll the dough to 1/4 thickness.
- Use your cookie cutters to cut out the cookie shapes. Place them onto a parchment paper-lined baking sheet.
- Bake the cookies for 10-11 minutes. The time may vary depending on the thickness and size of the cookies.
- Remove the cookies and then them cool completely on a cooling rack. Your cookies need to be 100% cooled before you decorate them.
- Add the 3 cups powdered sugar, 2 egg whites, and ½ teaspoon cream of tartar to a stand mixer. Use the whisk attachment. Whip on low speed as the powdered sugar gets mixed in. You can use an electric mixer.
- Mix the icing for 9 minutes. This is what will thicken this mixture into royal icing.
- Move some of the royal icing into small bowls and use food coloring to color each batch. I made a few shades of green icing.
- If you plan to make sections of the same color as in the rainbow cookies pictured in the post, add royal icing to one section, then let that section dry. This will leave indentations or lines between the sections. You can see more examples of how to decorate in this way in my Gluten Free Halloween Cut-Out Cookies post
- Allow the cookies to fully dry. The royal icing will harden to lock in the pattern. This will take 4-5 hours, longer if it is humid.
Nutrition
Notes
- I tested this recipe with King Arthur Measure for Measure and Bob’s 1:1. Every gluten free flour blend is different, and they all need different levels of moist ingredients. If your dough looks we and is sticky, you are using a starchier blend and you need more flour added. (Note Bob’s flour needed a little more flour.)
- If your blend doesn’t have xanthan gum, add one teaspoon.
- If you use natural food coloring, your colors will be more muted and not as vibrant.
- Store in an airtight container for up to 3 days, or freeze them in a freezer bag. Note the icing should be hardened before storing them.
Private Notes
Tried this recipe?
Let us know how it was!
I truly hope you enjoy this recipe. I have been testing and creating gluten-free recipes for over 15 years. Creating gluten-free recipes that do not taste gluten-free is my goal for every recipe. Sometimes I only have to test a new recipe a couple of times, and others it takes multiple times. I do this so you get reliable, delicious results every time!

Every Christmas season my grandkids come over for a cookie making day. Their favorite of course is cutout sugar cookies. This recipe is a winner in every way. It comes together beautifully, rolls out and cuts nicely and bakes up so delicious! The grands can’t even tell they are gluten free (and neither can I). Thanks for another fantastic gf recipe!!
I am so glad you and your grandkids have this tradition of making cookies. Thank you for using my recipe.
What if I use an egg replacer such as applesauce, will these flours work and should I put the dough in fridge for an hour prior to making them?
Hi Brandy, I haven’t tested my recipe with an egg replacer so I do not know if it would work.
I made a test batch to see if this cookie recipe would work for a homeschool St. Patrick’s Day treat – and they’re really, really good!
I am so glad you are trying them out. I hope everyone loves them!