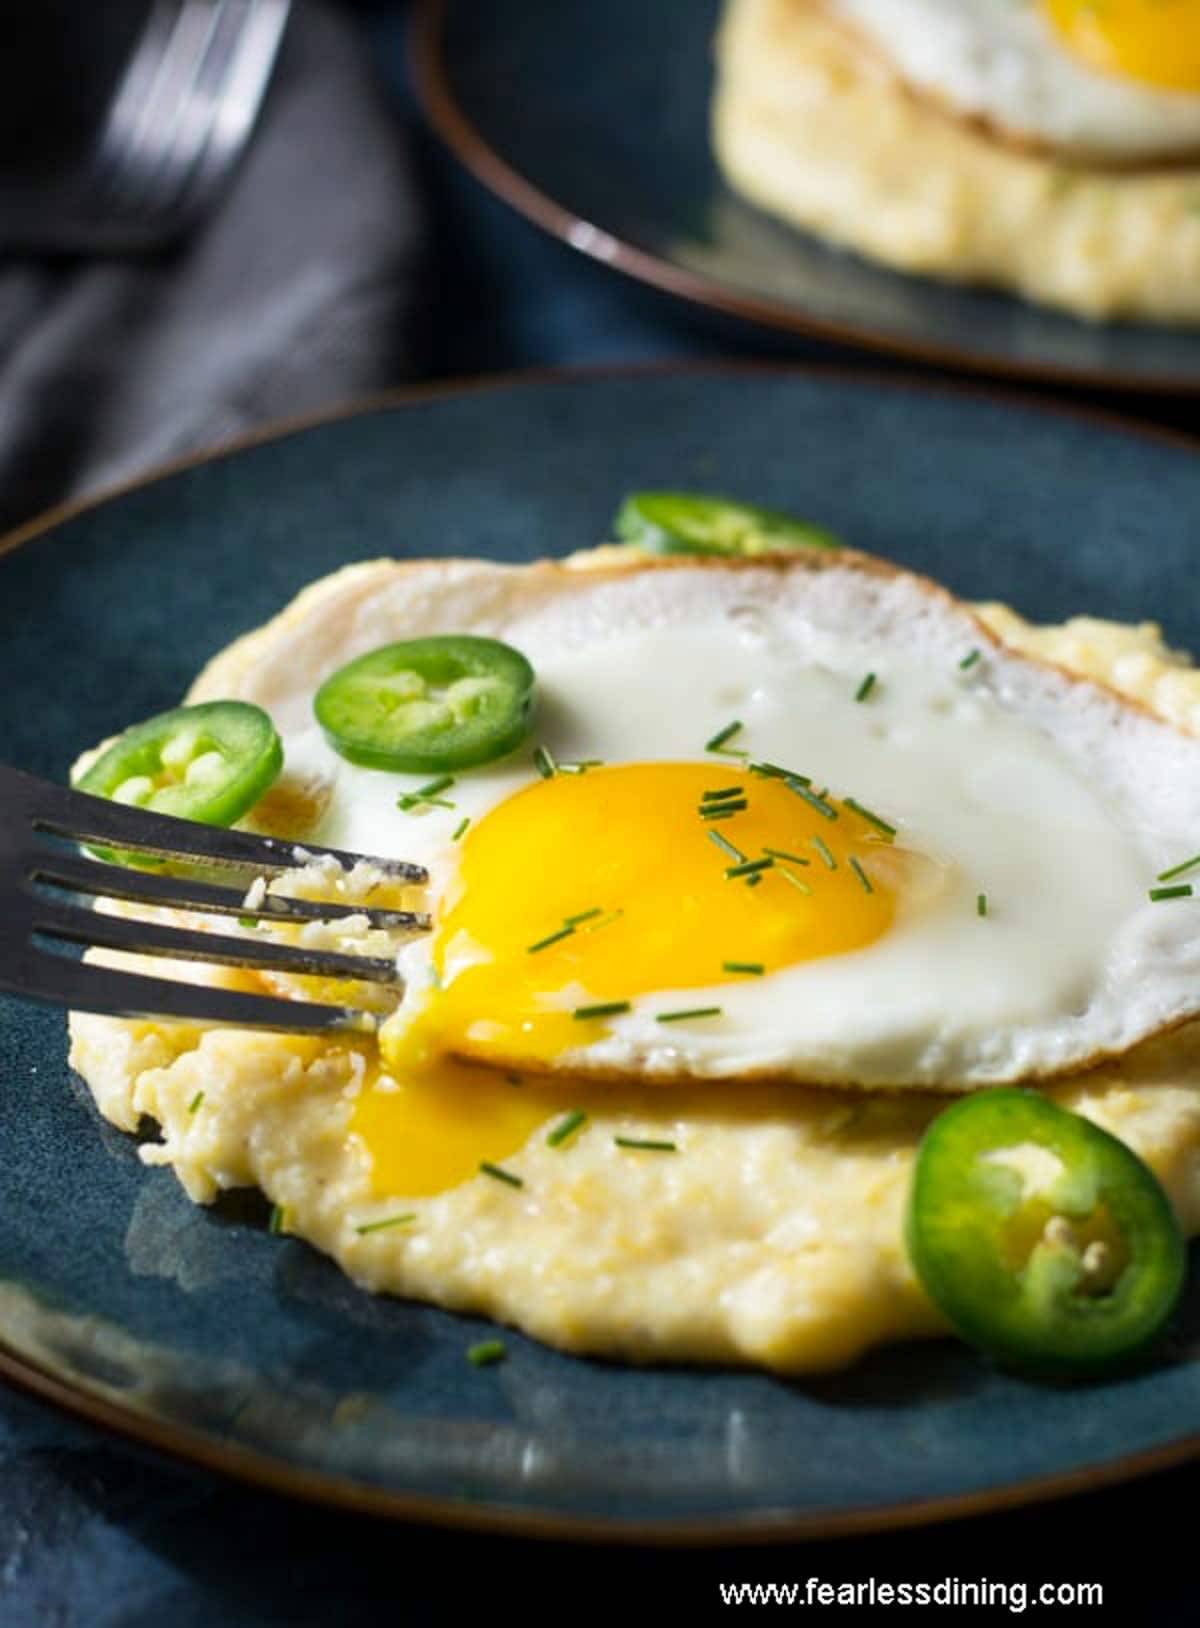
If you love cheese with a hint of spice, this cheesy fire-roasted hatch chile eggs and grits will make you hungry. Top these cheese grits with eggs, chives, and jalapeños for a spicy treat. Enjoy this easy grits and eggs breakfast in just 20 minutes!!
This post may contain affiliate links. Please read our Disclosure Policy.
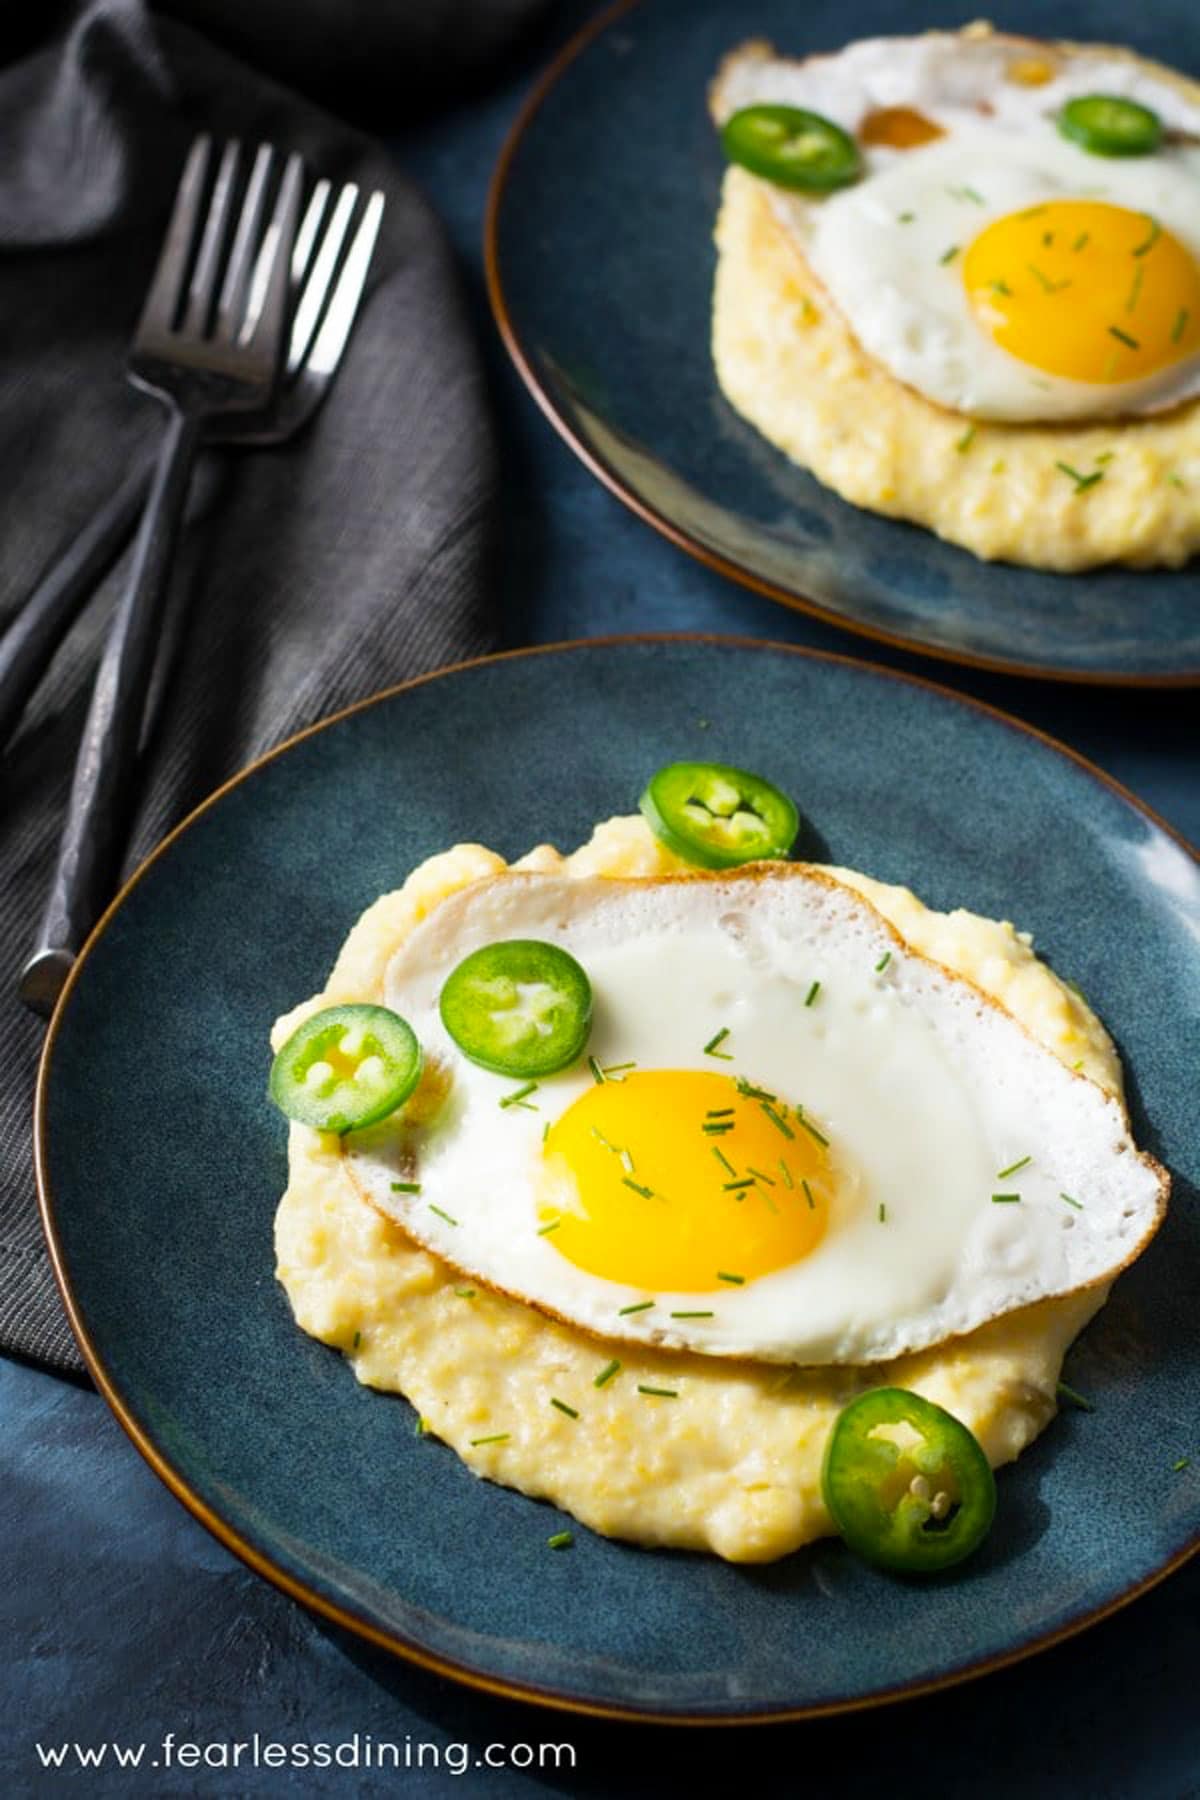
This recipe is something I used to enjoy when I lived in Austin, Texas. Grits are a Southern staple, but when combined with the flavors of spicy roasted chiles, they take on a special Texan flair!
The star of this cheese grits recipe is the fire-roasted hatch chiles. I am on the tail end of using the hatch chiles I fire-roasted a few months ago. I fire-roasted them in bulk and then froze the extras. I love their spicy, peppery flavor.
If you are new to hatch chiles or want to watch my video on how to fire roast hatch chiles, I share all of my Hatch Chile Tips and Tricks in the tutorial.
If you love roasted hatch chiles, try them in this Hatch Chile Hummus recipe.
Testing Notes:
This recipe was tested twice. I adjusted the amount of roasted Hatch chiles in both tests to find the perfect level of heat and balance with the cheese. I used fire-roasted Hatch chiles that I had stored in my freezer, and I recommend starting with a small amount of chiles if you’re unsure how spicy your batch will be. It’s then easy to add more if you want your grits spicier. Mine were pretty spicy, but I love spicy!
Ingredient Notes:
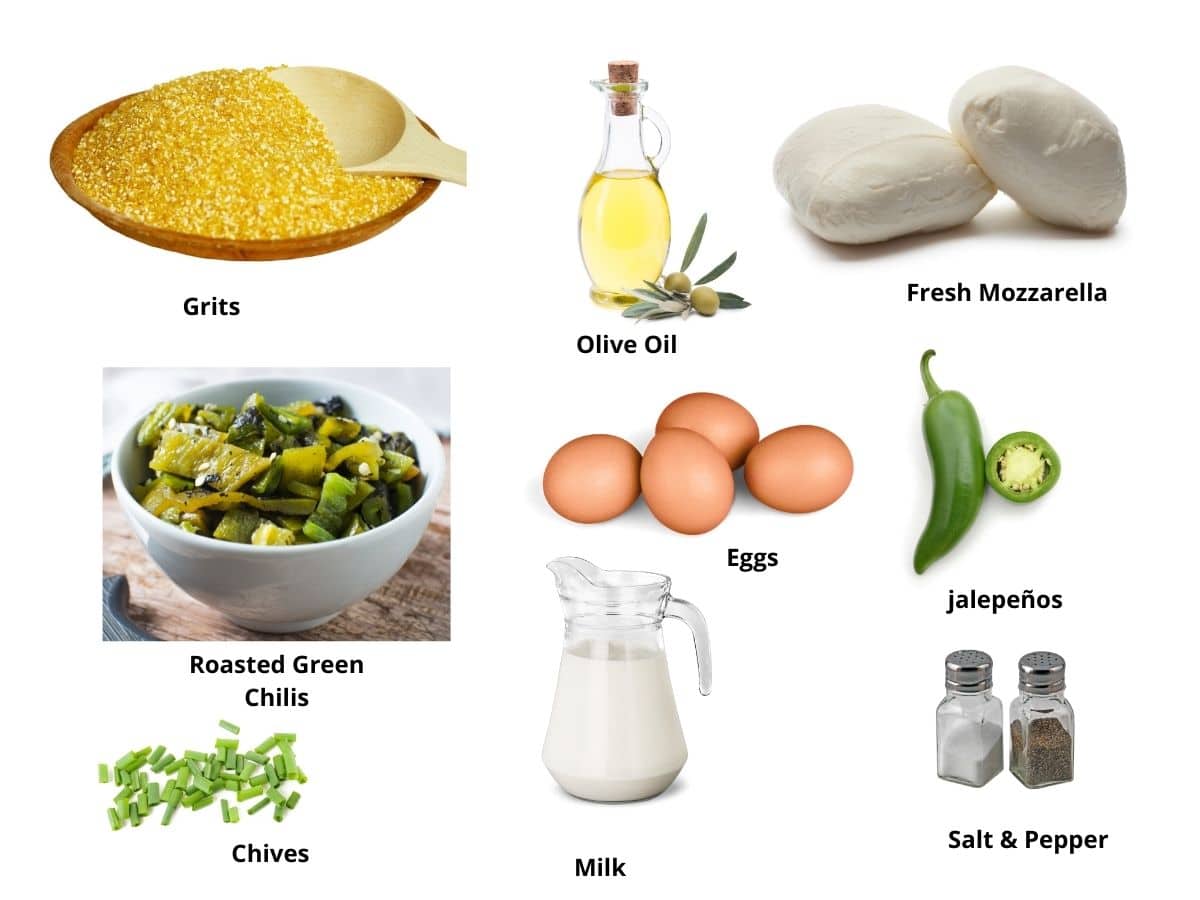
For the full list of ingredients and amounts, please go to the recipe card below.
- Grits – I use a coarser grind for my grits. It adds texture to the creaminess.
- Cheese – you can use any cheese. I love to use fresh mozzarella because it melts beautifully and lends to a creamy flavor. Cheddar cheese also works really well in making cheddar grits.
- Hatch Green Chiles – Nothing beats their smoky, earthy heat. The chiles are the star of this dish. Use roasted Hatch chiles (mild to hot) depending on your spice preference. You can find them fresh in season, canned, or frozen year-round.
Canned Chiles vs Fresh Roasted Hatch Chiles:
- Both come in varying spice levels.
- Canned chiles are a lot easier to use.
- Freshly roasted Hatch chiles have better, fresher flavor.
- I buy a lot of Hatch chiles once a year and roast them. I freeze them in an ice cube tray so I have them to use throughout the year.

A Note From My Kitchen
You don’t need any fancy tools to make this breakfast recipe. Grab a good pan and use patience while the grits cook slowly. I used stone-ground grits for that creamy texture, but regular grits work. A fried egg on top adds richness and turns it into a satisfying breakfast. I topped mine with fresh chives and jalapeño slices, but feel free to skip the jalapeños if you want a milder dish.
Whether you’re cooking brunch for family or if you just want something cozy on a weekend morning, this recipe is easy to adapt and delicious every time.
How to Make Grits with Hatch Chiles (Step-By-Step)
Email This Recipe To Me!
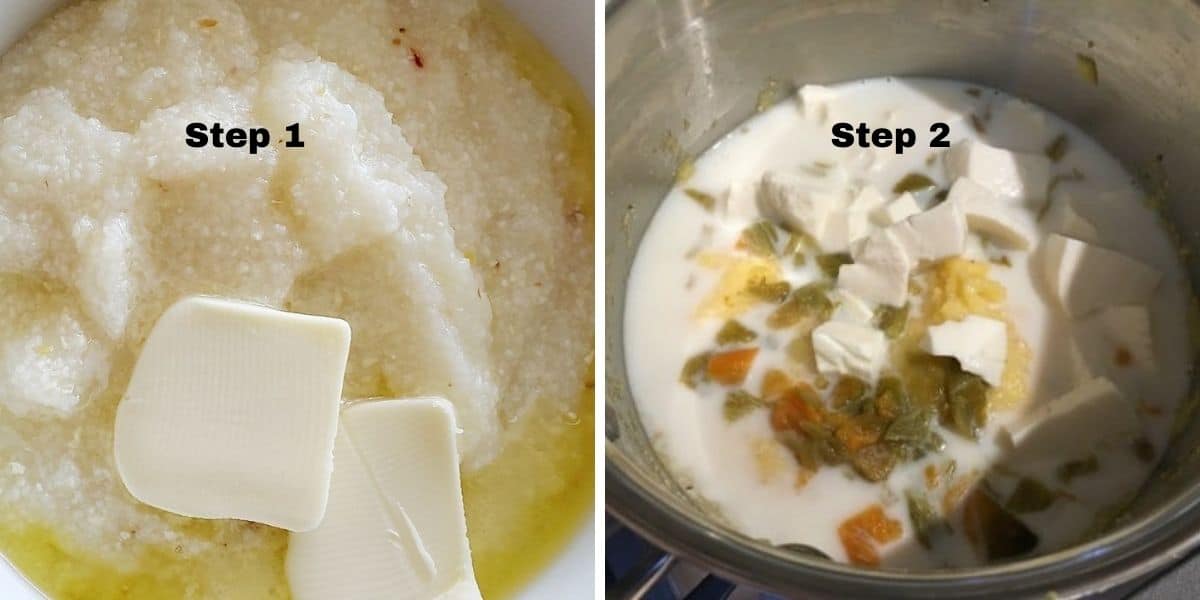
Step 1: Cook the grits according to the package. Each brand’s instructions are slightly different, so it is best to cook your grits according to the package directions, and then we will add the spice and flavor. Be sure to stir often.
👀 Sandi Says: If the grits start to clump, whisk them vigorously or use a fork to break them up early.
Step 2: When they are almost finished cooking, turn the heat to low and add milk, hatch chiles, and cheese. Stir until the ingredients are blended. Simmer an additional 5 minutes.
Start with a small amount of chiles, then taste and add more if you want it to be spicier. I tested this with both mild and medium chiles. Some chiles were much hotter than expected!
Fun Swap: If you don’t have hatch chiles or a can of green chiles, you can dice jalapeños to make jalapeño cheese grits.
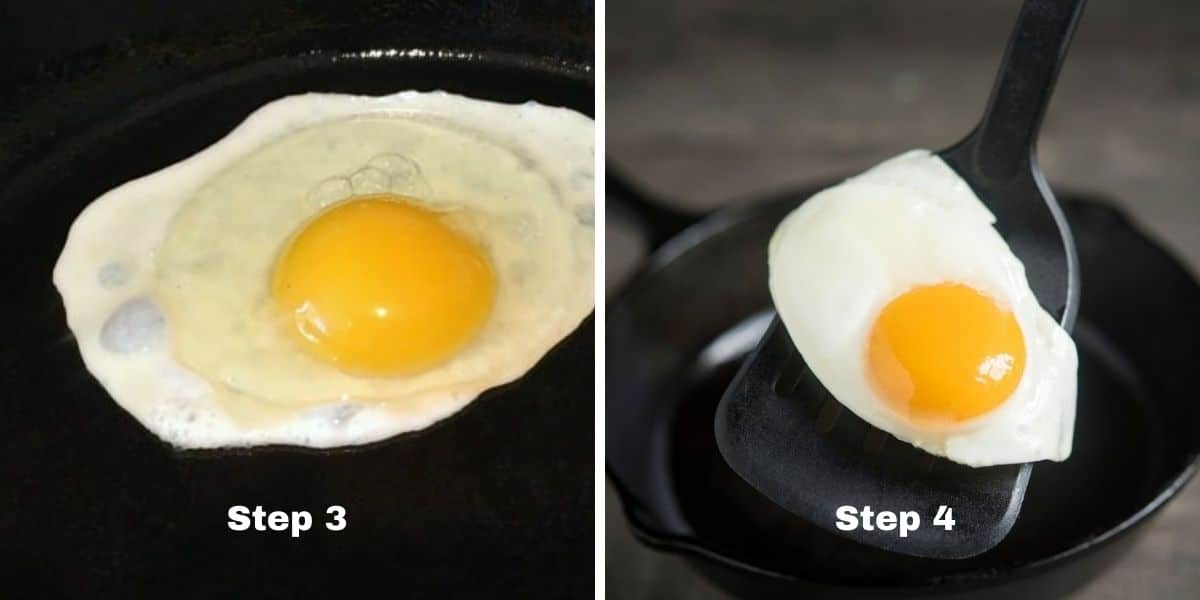
Step 3: Fry your eggs sunny-side up so the yolk can be broken over the cooked grits. The creamy yolk helps soften the spices from the roasted hatch chiles.
Step 4: Add some of the cheesy grits onto your plate. Use a spatula to move a sunny-side-up fried egg on top of the cooked grits and garnish with fresh chives and jalapeño.
More ways to serve these spicy grits:
- Serve these grits under a protein like grilled chicken or steak.
- Poach the eggs instead of frying them.
- Serve with grilled shrimp to make a classic Southern dinner.
Frequently Asked Questions:
Cheese grits are made of ground cornmeal, milk, and cheese.
You can use dairy-free cheese to make this recipe. It may not melt as well as real cheese, but the flavor should be great.
The primary difference between grits and polenta is texture. Polenta is made with a coarser grind of corn. Polenta is made with white corn or hominy, and polenta is made with yellow corn
These grits will last up to 4 days in an airtight container in the refrigerator.
More Gluten-Free Breakfast Recipes:
- Ground Turkey Chili Shakshuka
- Gluten-Free Buckwheat Pancakes
- Breakfast Fried Rice
- Easy Gluten-Free Bagels
Love This Recipe?
💬 Did you make this gluten-free spicy cheese grits recipe? I’d love to hear how it turned out—and which pan or flour blend you used! Your feedback helps others (and helps me keep improving these recipes for you). ⭐⭐⭐⭐⭐

Roasted Hatch Chile Cheese Grits and Eggs
Ingredients
- grits * see note
- 1 package fresh mozzarella cheese * see note
- ¼ cup roasted hatch chiles or canned chiles * see note
- ¾ cup milk
- 4 large eggs
- 1 tablespoon olive oil
- fresh chives
- jalapenos
- salt/pepper to taste
Email This Recipe To Me!
Instructions
- In a pot, cook the grits according to package instructions. (I used 1 cup grits to 3 cups water with 1/2 teaspoon salt.) Different brands require different ratios, so definitely check the package. Stir frequently to avoid clumps.
- When the grits are almost done, add 3/4 cup milk , 1/4 cup roasted hatch chiles or canned chiles, and 1 package fresh mozzarella cheese. I recommend adding just a few Hatch chiles to start, tasting it to make sure the level of spice is where you want it. Some chiles are spicier than others, and it is good to go slowly and add more until you get the level of spice you want.
- Simmer for an additional 10 minutes until the cheese is melted throughout the grits.
- In a frying pan, add 1 tablespoon olive oil and allow the pan to heat up.
- Fry 4 large eggs, sunny side up.
- Use salt and pepper to taste.
- Spread grits on a plate and top with an egg.
- Sprinkle chives and sliced jalapeños on top. Serve hot.
Notes
- You can use fresh mozzarella cheese as I did, or cheddar cheese. Both taste delicious with the chile flavors.
- Use freshly fire-roasted hatch chiles or canned green chiles. If you don’t have either you can add some finely diced jalapeños.
- I like to use coarse grits, but you can use a finer grind if you like a smoother texture.
- These grits will keep up to 4 days in the refrigerator. Store in an airtight container.
SPECIAL NOTE
Please know that every gluten free flour blend has a different starch to grain ratio. If you use a blend I didn’t test, my rule of thumb is to add more flour if your dough or batter is wet and add more liquid if the dough or batter is too dry!
Nutrition
Nutrition Disclaimer
Nutritional information is an estimate provided to you as a courtesy. You should calculate the actual nutritional information with the products and brands you are using with your preferred nutritional calculator.


Oh heck yeah! This is what I’ve been craving and didn’t even know it. Thanks for the great recipe. I could eat this every morning!!
You are very welcome Renee :-).