

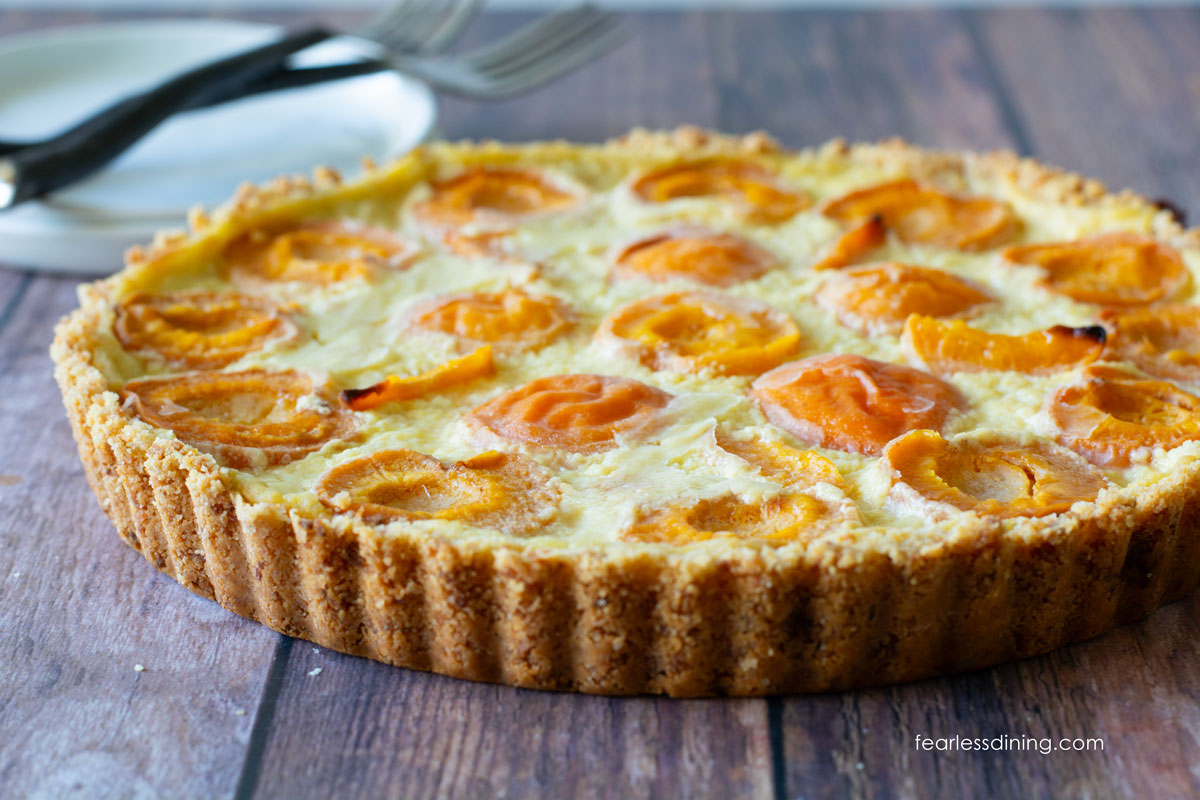
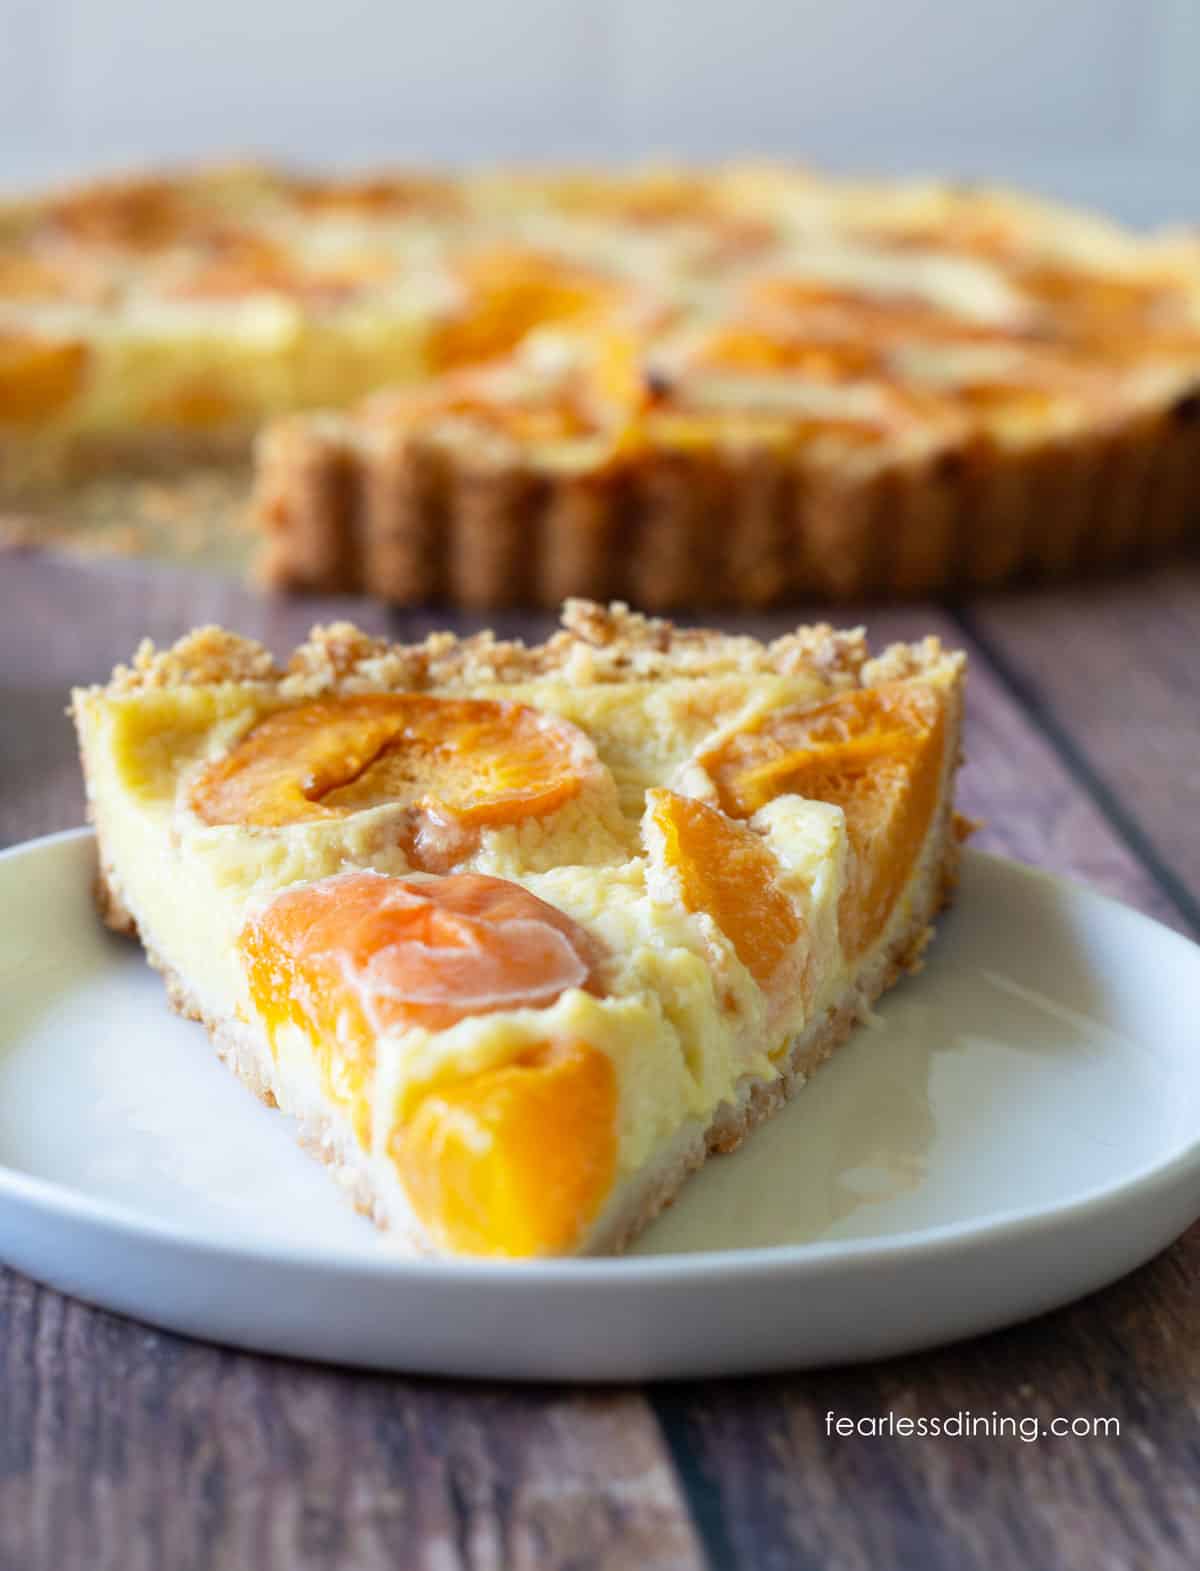
When apricots are in season, this summery gluten-free apricot tart is a delicious way to showcase them. Sweet, golden fruit softens into jammy perfection as they bake into a thick vanilla custard layered over a lightly crisp almond and coconut crust. This delicious gluten-free tart is also dairy-free.
This post may contain affiliate links. Please read our Disclosure Policy.
This gluten-free apricot tart recipe is based on my popular Gluten-Free Caramel Apple Tart recipe. Since it is summer, I wanted to showcase apricots. Usually, when I bake with apricots, many of the apricots are from our tree. Unfortunately, we had a rainstorm around the time our tree was blossoming, and we didn’t get many apricots this year, so I am using store-bought, ripened apricots.
I tested this tart recipe twice to achieve the perfect custard texture. The first version did not set properly, so I adjusted the simmer time and made sure to use full-fat coconut milk. The result? A custard that baked up creamy and sliceable, even without dairy.
Need another great apricot recipe? Try my Gluten-Free Apricot Crisp recipe. I love baking with summer stone fruits.

Ingredient Notes and Easy Swaps:
For the full list of ingredients and amounts, please go to the recipe card below.
- Almond Flour – Use either regular or blanched almond flour. I prefer using Anthony’s Almond Flour for baking as it is finely ground and tested to ensure it is gluten-free.
- Shredded Coconut – Use unsweetened coconut. Use small shreds and not large shreds (different brands have different lengths and sizes of the coconut shreds!) Anthony’s Shredded Coconut has small shreds. Anthony’s is also drier than some brands. If your shredded coconut is wetter, you will want to decrease the amount of oil in the crust mix.
- Coconut Oil – I like the flavor of coconut oil, but any light cooking oil will work.
- Coconut Milk – Use full-fat coconut milk. Low-fat coconut milk will not form the custard as well.
- Egg Yolks – Use large eggs. You can use the leftover egg whites to make my Vanilla Meringues.
- Sugar – Use cane sugar. I don’t recommend coconut or brown sugar.
- Cornstarch – Cornstarch helps to thicken the custard. See the substitutions above for alternatives if you are corn-free.
- Vanilla Extract – Do not use imitation vanilla; you will taste the difference.
- Apricots – Fresh apricots are best. If you use frozen, you will need to thaw them and pat them dry.
- Substitute the cornstarch for potato or tapioca starch when making the custard.
- If you can not have coconut, you can use regular whole milk instead of the coconut milk, and you can use the almond crust I used in my Gluten-Free Lemon Tart recipe.
- If you are nut-free, use my Gluten-Free Pie Crust recipe to make the tart crust.
Before You Bake: Tips and Testing Notes
I have tested this homemade apricot tart recipe twice. Whisk frequently to prevent burning.
- Place the tart pan on a cookie sheet or in another pan. That way, if your tart pan leaks, it won’t leak juices on the bottom of your oven.
- This seems pretty simplistic, but you want to wash the apricots and remove the pits.
- If you have vanilla beans or vanilla bean paste, use them instead of pure vanilla extract. They add incredible vanilla flavor depth.
- Let the tart chill in the refrigerator so the custard can set fully.

A Note From My Kitchen
When testing this recipe, I found that the custard texture really depends on two things: using 100% full-fat canned coconut milk (or whole milk) and simmering the custard ingredients long enough for it to thicken. In my first test, the custard didn’t set properly because I pulled it off the heat too early. Once I gave it more simmer time and whisked it frequently over low heat, it thickened beautifully and set perfectly in the tart. Also, be sure to pat your apricots dry if they’re extra juicy; they’ll hold their shape better while baking.
How to Make a Gluten-Free Apricot Tart (Step-By-Step)
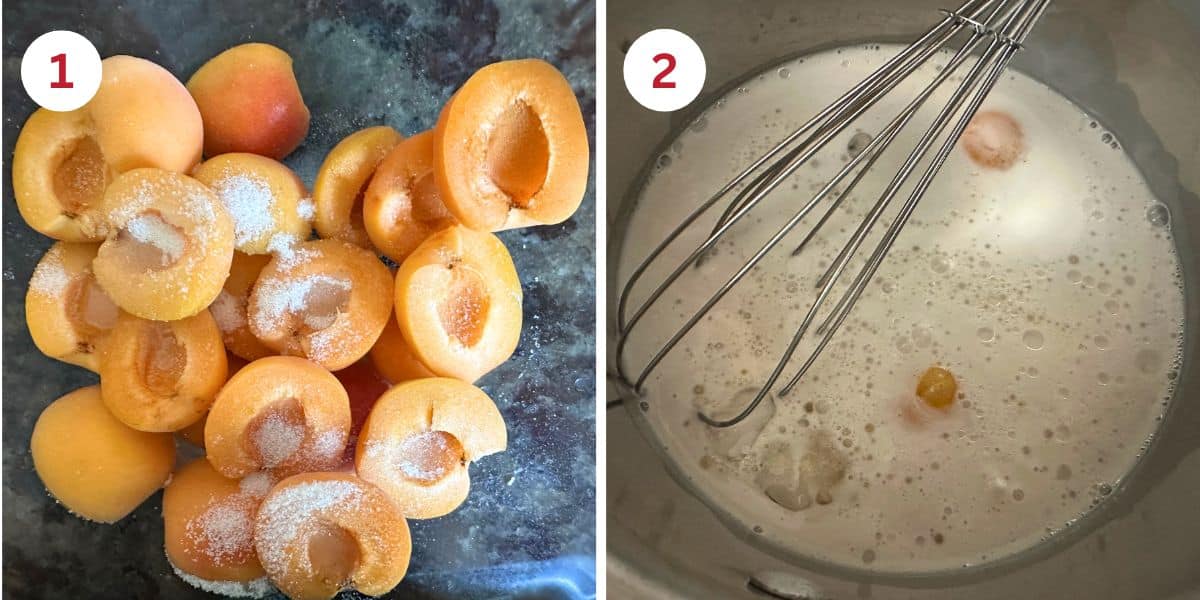
Step 1: Wash, slice, and remove the pit from the apricots. Sprinkle with sugar and lemon juice. The lemon juice will help prevent the apricots from browning, so they keep their vibrant orange color.
Step 2: Add the custard ingredients, except the cornstarch, to a saucepan. Use a whisk to blend them. Bring to a slow boil on medium heat, then reduce the heat to a simmer. (Do not cover the pot.) You need to stir and whisk the mixture often to prevent burning.
Email This Recipe To Me!
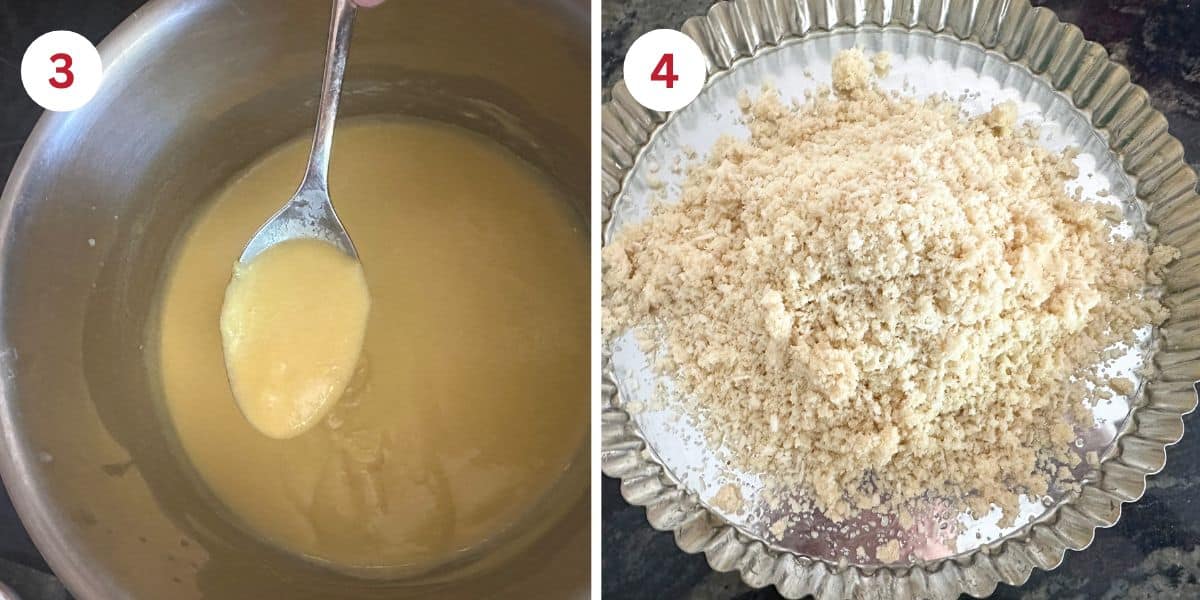
Step 3: Spoon some hot custard into a small bowl. Whisk in the cornstarch and add it back to the pan. Whisk it all together. When the custard has thickened, turn off the heat and let the mixture cool. Preheat the oven to 350ºF.
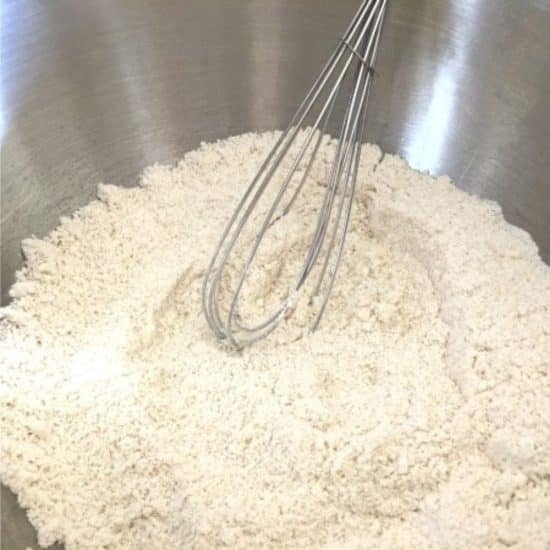
Step 4: In a large mixing bowl, add the almond flour and unsweetened coconut. Whisk to blend. Add the melted coconut oil (or light oil) and mix. The mixture will not look wet as shown in the photo above. When it is pressed down, it will have just the right amount of moisture.
Spray gluten-free baking spray in a round or rectangular-shaped tart pan. My pan is a 9-inch fluted tart pan. Whatever tart pan you use, you want to ensure the bottom is removable. This is the best because it allows you to lift the tart pan out of the pan.
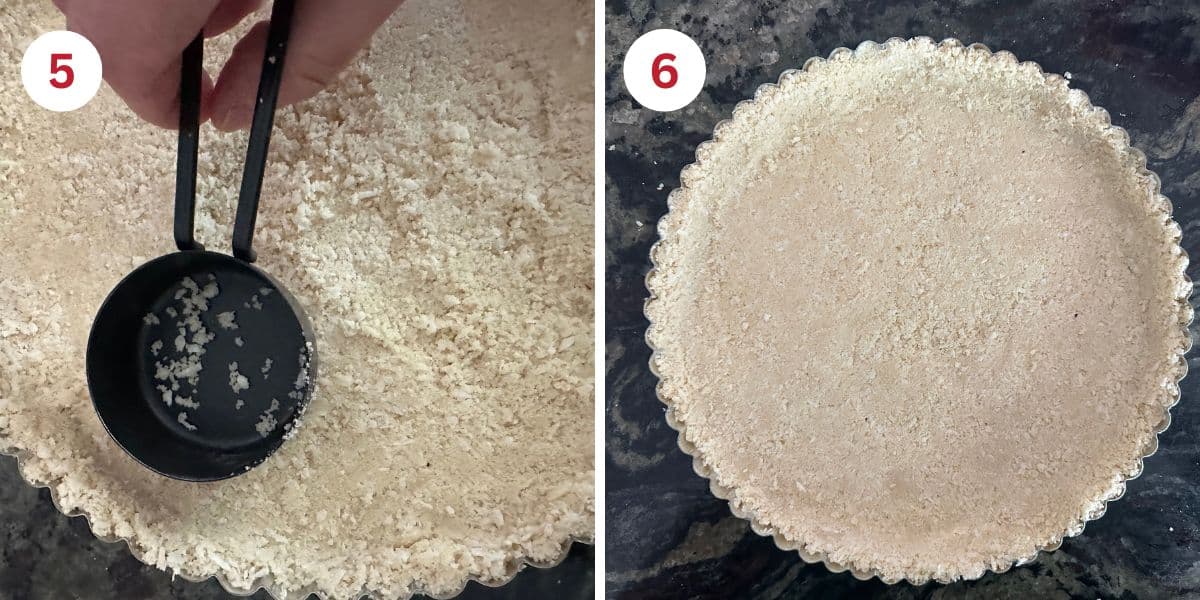
Step 5: Use a flat-bottom measuring cup to press down the crust mixture. Press it up into the fluted edges. Make sure the crust is evenly distributed.
Step 6: This is what the tart crust should look like. Note that all of the fluted sections have an even amount of the crust mixture.
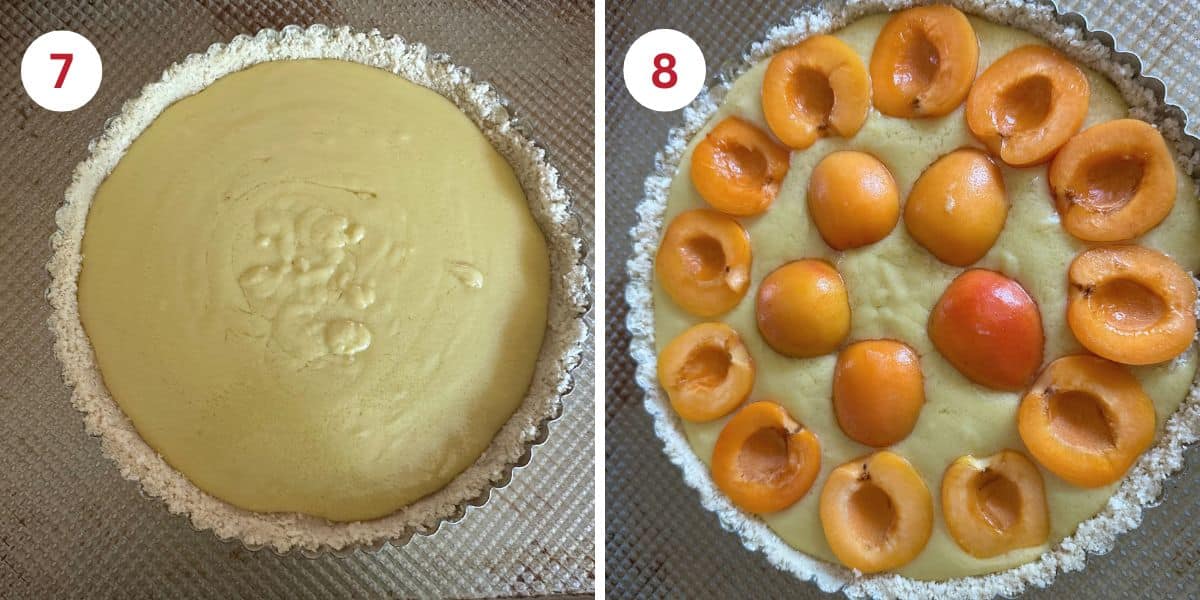
Step 7: Pour the gluten-free vanilla custard into the tart pan. Use the bottom of a spoon or a spatula to spread the custard across the pie crust evenly.
Step 8: Place the apricot halves across the top of the custard. They should not sink. Make any design you like. Note, the apricots do shrink a bit when they are baked into the tart…so keep this in mind when you create designs.
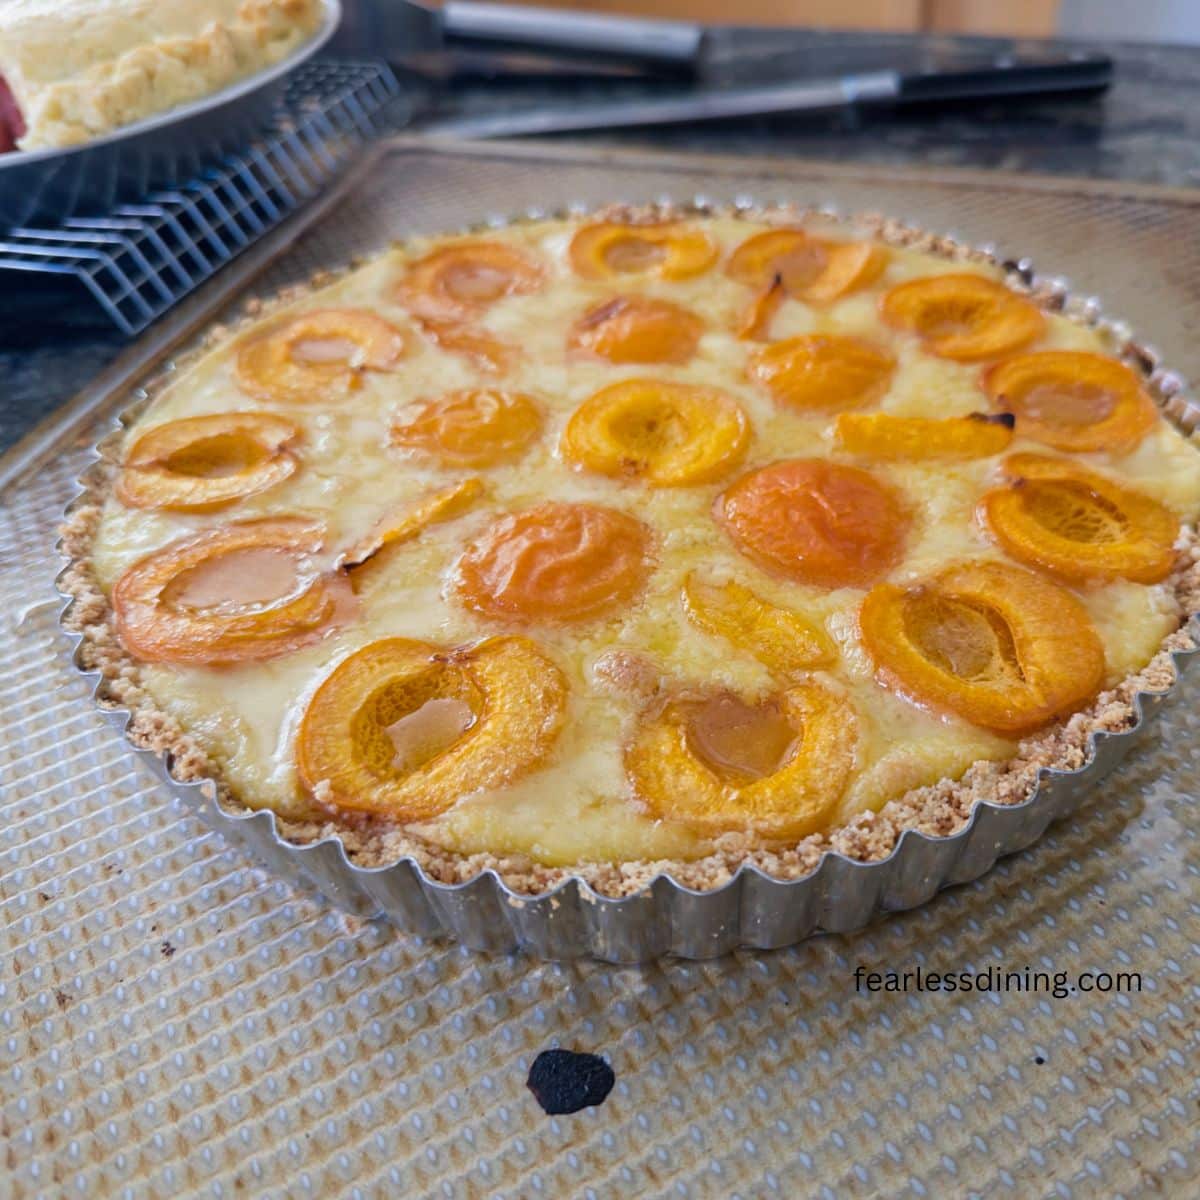
Step 9: Bake the tart for 40 to 45 minutes, or until the apricots are softened and the custard looks mostly set. (It will set more as it cools.) The actual baking time will vary depending on what you bake the tart in and the material it is made with.
Remove the tart pan from the oven and place it on a cooling rack. When it has cooled to room temperature, cover it with plastic wrap and refrigerate for at least one hour.
Storage and Freezing Tips
- Store the tart wrapped in plastic wrap in your refrigerator. After it is cut, you can put pieces into an airtight container. It will keep fresh for up to 3 days.
- I have not tested freezing this tart. If you try it, please drop a comment and let us know how it worked out.
Frequently Asked Questions:
Yes! Other fruit types taste great in this tart recipe. Try plums, peaches, and strawberries.
Yes! This tart can be made 1 to 2 days ahead. In fact, making this apricot tart the day before allows the custard to fully set and the flavors to develop. Just keep it covered with plastic wrap to prevent it from drying out. Refrigerate it until ready to serve. For best results, add any garnishes (like powdered sugar or extra fruit) just before serving.
No need! This almond coconut crust bakes with the custard and apricots. Just press it in firmly and bake the whole tart together.
Why didn’t my custard set?
There are a few common issues that can cause a custard not to set:
- You may have removed it from the heat too soon. It should be thick before pouring.
- Did you use low-fat coconut milk, or a substitute may not have enough fat to thicken? Swapping starches (e.g., arrowroot) can affect the final texture.
- Did you skip the chill time? This custard needs at least 1 hour to fully set.
More Gluten-Free Pie and Tart Recipes:
For more pie and tart baking inspiration, check out some of these popular recipes on my blog:
- Homemade Gluten-Free Blueberry Pie
- Rustic Gluten-Free Plum Galette
- Gluten-Free Summery Lemon Tart
- Perfect Gluten-Free Apple Pie
Love This Recipe?
💬 Did you make this gluten-free apricot tart recipe? I’d love to hear how it turned out, and which pan or flour blend you used! Your feedback helps others (and helps me keep improving these recipes for you). ⭐⭐⭐⭐⭐

Gluten-Free Apricot Tart with Vanilla Custard (Dairy-Free)
Equipment
Ingredients
Crust:
- 1 cup almond flour
- ⅓ cup unsweetened shredded coconut * see notes
- 3 tablespoons melted coconut oil or light oil
Vanilla Custard:
- 1 ½ cups full-fat canned coconut milk * see notes
- 4 large egg yolks
- ¼ cup cane sugar
- 2 tablespoons cornstarch * see notes
- 1 teaspoon vanilla bean paste or vanilla extract
Fruit
- 10-12 fresh apricots
- 1 tablespoon lemon juice
- 2 tablespoons cane sugar
Instructions
- Preheat the oven to 350ºF.
- Wash and slice your apricots in half, then remove the pits. I like to toss the apricots with a little sugar and lemon juice. The lemon not only adds a little flavor, but also helps preserve their pretty orange color while baking.
Custard
- Add 1 1/2 cups full-fat canned coconut milk, 4 large egg yolks, 1/4 cup cane sugar, and 1 teaspoon vanilla bean paste or vanilla extract to a medium-sized pot. Whisk to combine.
- Set the pan over medium heat and bring it slowly to a boil. Once it starts to gently bubble, lower the heat and let it simmer. Be sure to stir or whisk often
- You are looking for the custard to thicken enough to coat the back of a spoon. Do not rush this step, or the tart might not set properly.
- Spoon some hot custard into a small bowl. Whisk in the cornstarch and add it back to the pan. Whisk it all together. When the custard has thickened, take the pan off the heat and let it cool slightly while you prepare the crust.
- In a large bowl, mix together 1 cup almond flour and 1/3 cup unsweetened shredded coconut. Add the 3 tablespoons melted coconut oil (or another light-tasting oil) and stir until the mixture holds together when pressed between your fingers. It won't look overly wet, and that’s okay.
- Grease a tart pan with gluten-free baking spray. I used a 9-inch fluted tart pan with a removable bottom.
- Pour the crust mixture into the pan and use a flat-bottomed measuring cup to press it down firmly and evenly, including up the sides.
- Once your crust is pressed in and the custard has cooled a bit, spoon the custard into the crust and smooth it into an even layer.
- Arrange the apricot halves on top. You can place them cut-side up, cut-side down, or in a decorative pattern.
- Bake the tart for 40 to 45 minutes, or until the apricots are tender and the custard has set mostly. (It will set more as it cools.) The actual baking time will vary depending on what you bake the tart in and the material it is made with.
- Let the tart cool on a wire rack until it reaches room temperature. Then cover it with plastic wrap and refrigerate it for at least an hour before serving. Chilling helps the custard finish setting and makes it easier to slice cleanly.
Notes
- Try to use shredded coconut with small shreds instead of long ones. It will form the crust better.
- Use full-fat and not low-fat canned coconut milk. Regular whole milk will also work.
- If you can’t have corn, you can swap the cornstarch for potato starch in this recipe.
- Store whole wrapped in plastic wrap in the refrigerator. Store slices in an airtight container. It will keep fresh for about 4 days. I have not tested freezing this tart.
Email This Recipe To Me!
SPECIAL NOTE
Please know that every gluten free flour blend has a different starch to grain ratio. If you use a blend I didn’t test, my rule of thumb is to add more flour if your dough or batter is wet and add more liquid if the dough or batter is too dry!
Nutrition
Nutrition Disclaimer
Nutritional information is an estimate provided to you as a courtesy. You should calculate the actual nutritional information with the products and brands you are using with your preferred nutritional calculator.
Gluten-Free Related Reading
Gluten-free baking is like a science experiment. There are so many things you need to understand the different components of baking without gluten. My Gluten-Free Resources Section is here to help teach you the tools you need to know to become a confident gluten free baker.
My Best Gluten-Free Baking Tips For Better Baking!
Why Binders Are Important In Gluten-Free Baking

The Best Gluten Free Flour Blends – And how to use them!
I truly hope you enjoy this recipe. I have been testing and creating gluten-free recipes for over 15 years. Creating gluten-free recipes that do not taste gluten-free is my goal for every recipe. Sometimes I only have to test a new recipe a couple of times, and others it takes multiple times. I do this so you get reliable, delicious results every time!

You list 2 tbl. Light oil in with the filling ingredients, but nowhere do you add it. Does it go into the custard somewhere or am i just missing it.
Hi Ann, Thank you for noticing this. It should be fixed now.