
Treat yourself to these delicious gluten-free chocolate whoopie pies! These soft, cake-like chocolate cookies are filled with a smooth, creamy buttercream center that will satisfy your sweet tooth. Perfect for a snack or dessert, these treats are perfect for your next Halloween party. There is also a dairy-free option!
This post may contain affiliate links. Please read our Disclosure Policy.
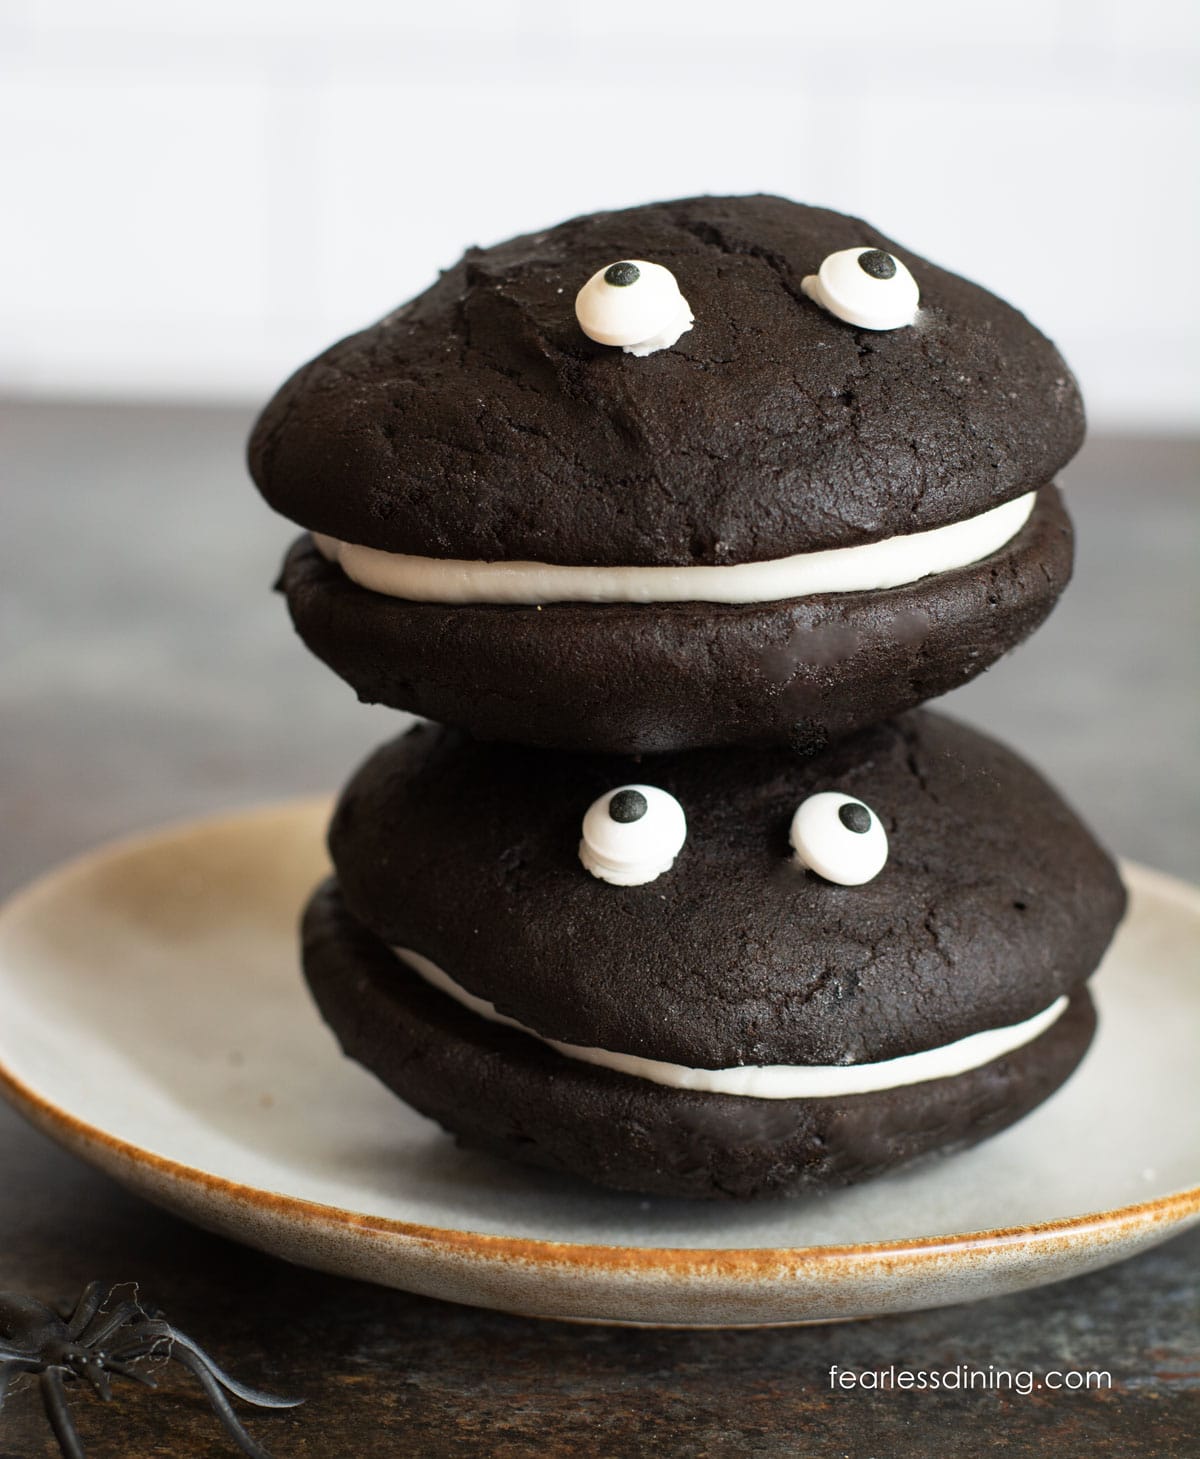
Although I am sharing a Halloween version of these beloved black moon whoopie pies, they are so good that you can enjoy them ALL year long. The gluten-free chocolate cookies are incredibly soft, cake-like, and fudgy; they truly are incredible. Add vanilla buttercream frosting between the cookies, and this will become the most popular whoopie pie recipe on my blog!
If you love whoopie pies, add this to your MUST-make list; you won’t want to miss this recipe. If you love whoopie pies, try these Gluten-Free Pumpkin Whoopie Pies! I have 100s of easy gluten-free cookie recipes on the blog for you to browse. I hope you find some new favorites!
Ingredient Notes:
For the full list of ingredients and amounts, please go to the recipe card below.
- Gluten-Free Flour Blend – I tested this recipe with King Arthur Measure for Measure and Bob’s Red Mill 1:1 Blend. Other blends should work, but depending on the batter’s consistency, you may need to add more flour or liquid.
- Xanthan Gum – If your flour blend doesn’t contain a binder, add 3/4 teaspoon.
- Black Cocoa Powder – Black cocoa powder gives these Halloween whoopie pies their deep, dark black color. Regular cocoa powder will work and taste great, but you will not get the same color.
- Sugar – Use cane sugar in the whoopie pies and powdered sugar in the frosting.
- Baking Powder – Using black cocoa powder or Dutch process cocoa requires baking powder for the rise. If you use regular cocoa powder, you need to use baking soda.
- Eggs – Use large eggs.
- Unsalted Butter – I recommend unsalted butter.
- Milk or Non-Dairy Milk – I used Oatly oatmilk to test this recipe. Other dairy-free milk types and regular milk will both work.
- Frosting – Use my fluffy Gluten-Free Buttercream Frosting recipe. You will love all of the fun ways to flavor and color this frosting as well.
How to Make Dark Gluten-Free Chocolate Whoopie Pies (Step-By-Step)

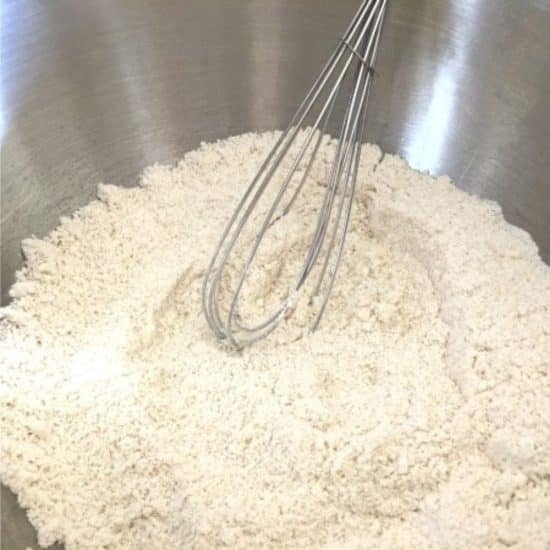
Step 1: In a large mixing bowl, combine the dry ingredients, including sugar, gluten-free flour blend, black cocoa, baking powder or soda (depending on the type of cocoa used), and salt. Whisk to blend. In a smaller bowl, add the melted butter, eggs, and milk or non-dairy milk. Whisk to blend.
👀 Sandi Says: If you prefer, mix the batter in a stand mixer with a paddle attachment.
Step 2: Pour the wet ingredients into the dry ingredients and mix until a soft cookie dough forms.
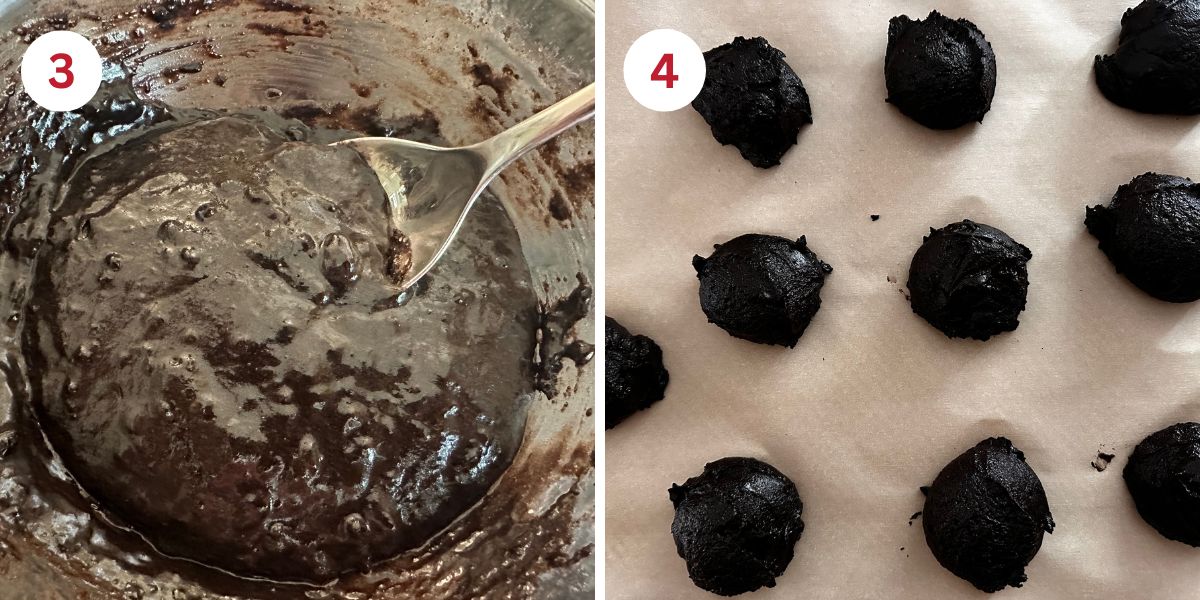
Step 3: Your batter should be soft yet a little firm. If your batter is thicker, add a little more milk. If your batter is wetter, add a bit more flour. Read Why Gluten-Free Flour Blends Vary to learn more about this.
Cover the bowl with plastic wrap and chill the batter for 1-2 hours. It will also firm up while chilling. This is important because you don’t want the whoopie pie batter to spread too much during baking.
Step 4: Preheat the oven to 350ºF. Line a cookie sheet with a sheet of parchment paper. I love using parchment paper because it prevents sticking without extra oil.
Decide what size whoopie pies you want to make. Use an ice cream scoop if you want large whoopie pies like I made or a cookie scoop for smaller ones. Scoop the cold dough and drop the dough balls onto the parchment paper.
Step 5: Bake the whoopie pies for 12-14 minutes, depending on the size you make. The tops should feel firm when you touch them.

Email This Recipe To Me!
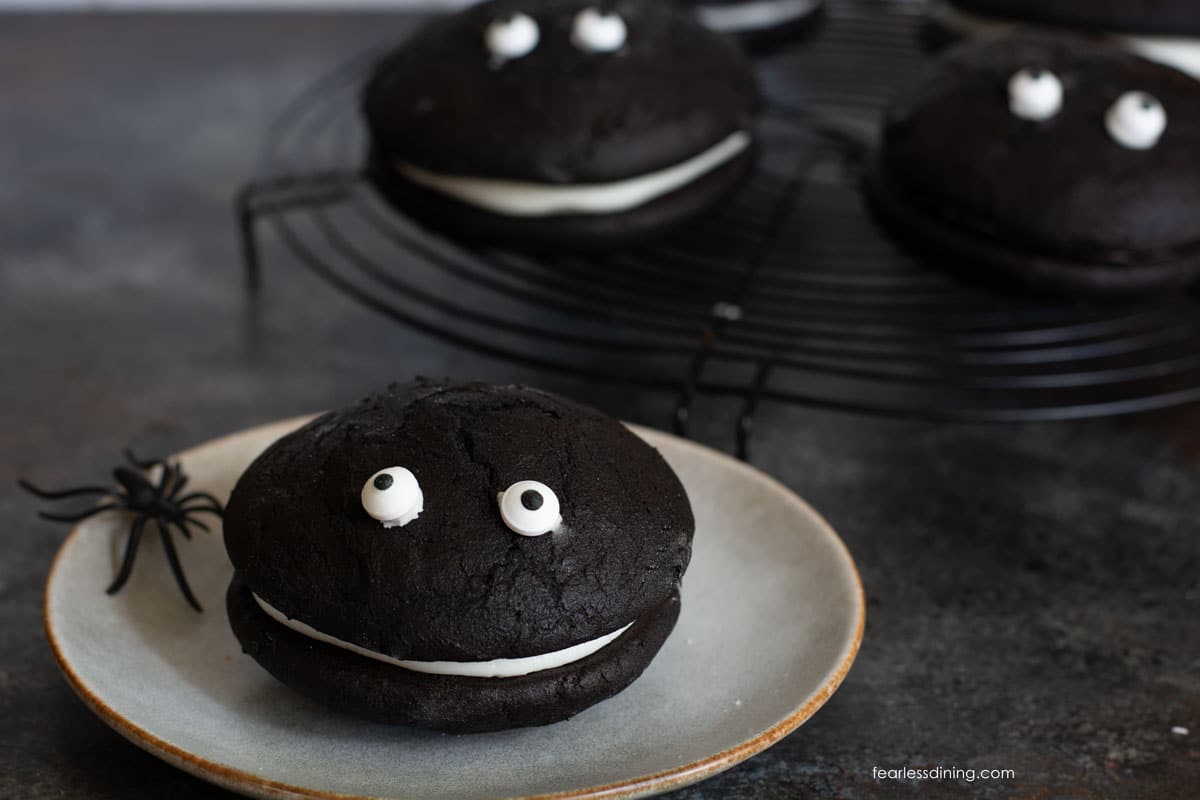
Step 6: Remove the woopie pies from the oven. Slide the cookies on the parchment paper onto a wire cooling rack. The cookies must be fully cooled before frosting them.
Step 7: Mix the frosting. In a stand mixer with a whisk attachment, add powdered sugar, unsalted soft butter, vanilla extract, and water. Mix until the frosting is light and creamy.
You can use a piping bag with a circle tip to pipe the frosting onto the whoopie pie cookie, or use a spoon to drop a dollop of frosting on the cookie and spread it around. Either way works very well.
To make the sandwich, place a whoopie pie cookie on top of the frosting. If you want to add googly eyes, place a dab of frosting on the cookie and a googly eye on the frosting.
Check out these yummy Gluten-Free Halloween recipes.
Tips For Success
1. Chill the chocolate cookie batter. This is the key way to prevent the batter from spreading while baking.
2. Do not put cookie dough on a hot cookie sheet and put the batter on it, or the cookies will not turn out well. They start baking immediately, and it messes with their shape.
3. Ensure the cookies are fully cooled before putting frosting on them.

Frequently Asked Questions:
You can fill whoopie pies with buttercream frosting or marshmallow fluff. This Marshmallow Fluff brand is gluten-free.
Store whoopie pies in an airtight container in the refrigerator. They will keep fresh for up to 4 days.
I love freezing whoopie pies. This helps them last a lot longer. They thaw quickly on the counter, but I also love eating them frozen! Store them in a freezer-safe container or zip baggie.
More Gluten-Free Halloween Recipes:
Do you need more treats for your Halloween party? Here are some more gluten-free Halloween recipes to make:
- Gluten-Free Halloween Cut-Out Cookies (With Royal Icing)
- Easy Gluten-Free Cakesicles
- Gluten-Free Pumpkin Madeleines
- Gluten-Free Skeleton Cookies (Gluten-Free Chocolate Cut Out Cookies)
Love This Recipe?
If you made and enjoyed this recipe, I would be incredibly grateful if you could leave a comment below. Please include which flour blend you used. This will help others know this recipe is delicious. Thank you!
Gluten-Free Black Velvet Whoopie Pies
Ingredients
- 1 ¾ cup gluten free flour blend * see notes
- ½ cup black cocoa powder * see notes
- 1 cup cane sugar
- ¾ teaspoon baking powder * see notes
- ⅛ teaspoon salt
- ½ cup unsalted butter
- 2 large eggs
- 1 ¼ cups non-dairy or regular milk
- 3 cups powdered sugar
- 1 ½ teaspoons pure vanilla extract
- ½ cup butter room temperature
- 2-3 tablespoons milk or non-dairy milk
Method
- Add the dry ingredients to a large mixing bowl, including the 1 cup cane sugar, 1 3/4 cup gluten free flour blend, 1/2 cup black cocoa powder, 3/4 teaspoon baking powder, and 1/8 teaspoon salt. Whisk to blend.
- In a smaller bowl, add the melted 1/2 cup unsalted butter, 2 large eggs, and 1 1/4 cups non-dairy or regular milk. Whisk to blend.
- Pour the wet ingredients into the dry ingredients and mix into a soft cookie dough.
- Your batter should be soft yet a little firm. Cover the bowl with plastic wrap and chill the batter for 1-2 hours. It will also firm up while chilling. This is important because you don't want the whoopie pie batter to spread during baking.
- Preheat the oven to 350º F. Line a cookie sheet with a sheet of parchment paper. I love using parchment paper because it prevents sticking without extra oil.
- Decide what size whoopie pies you want to make. Use an ice cream scoop if you want large whoopie pies like I made or a cookie scoop for smaller whoopie pies. Scoop the cold dough and drop the dough balls onto the parchment paper.
- Bake the whoopie pies for 12-15 minutes, depending on the size you make. The tops should feel firm when you touch them.
- Remove the woopie pies from the oven. Slide the cookies on the parchment paper onto a wire cooling rack. The cookies must be fully cooled before frosting them.
- Mix the frosting. In a stand mixer with a whisk attachment, add 3 cups powdered sugar, 1/2 cup butter (softened), v1 1/2 teaspoons pure vanilla extract, and 2-3 tablespoons milk or non-dairy milk. Mix until the frosting is light and creamy.
- You can use a piping bag with a circle tip to pipe the frosting onto the whoopie pie cookie or use a spoon to drop a dollop of frosting on the cookie and spread it around. Either way works very well.
- Place a whoopie pie cookie on top of the frosting to make the sandwich. If you want to add googly eyes, place a dab of frosting on the cookie and place a googly eye on the frosting.
Nutrition
Notes
- I tested this recipe with King Arthur Measure for Measure and Bob’s Red Mill 1:1 Flour blends. Other blends should work, but you may need to tweak the flour or liquids depending on the batter’s consistency.
- If your blend doesn’t have a binder, add 3/4 teaspoon of xanthan gum.
- If you use black or Dutch-process cocoa powder, use baking powder. If you use regular cocoa powder, use baking soda.
- Store in an airtight container in the refrigerator for up to four days.
Private Notes
Tried this recipe?
Let us know how it was!
Gluten-Free Related Reading
Gluten-free baking is like a science experiment. There are so many things you need to understand the different components of baking without gluten. My Gluten-Free Resources Section is here to help teach you the tools you need to know to become a confident gluten free baker.
My Best Gluten-Free Baking Tips For Better Baking!
Why Binders Are Important In Gluten-Free Baking

The Best Gluten Free Flour Blends – And how to use them!
I truly hope you enjoy this recipe. I have been testing and creating gluten-free recipes for over 15 years. Creating gluten-free recipes that do not taste gluten-free is my goal for every recipe. Sometimes I only have to test a new recipe a couple of times, and others it takes multiple times. I do this so you get reliable, delicious results every time!

Would this cookie, rolled or pressed thin, make a good ice cream sandwich? Always enjoy your posts & great recipes!
That is a great question. I use my brownie recipe to make ice cream sandwiches. This would probably work, but be sure the ice cream is softened so you don’t break the cookies pressing them down over the ice cream.
I can’t wait to make these!!
Bravo!
Sandi!!
Thank you so much. Please do come back and let me know how you like the recipe!
Have you ever tried making these with an egg replacement?
Hi Jess, I haven’t, but I have made something similar with Bob’s Red Mill Egg Replacer. I think it is worth your trying that.