
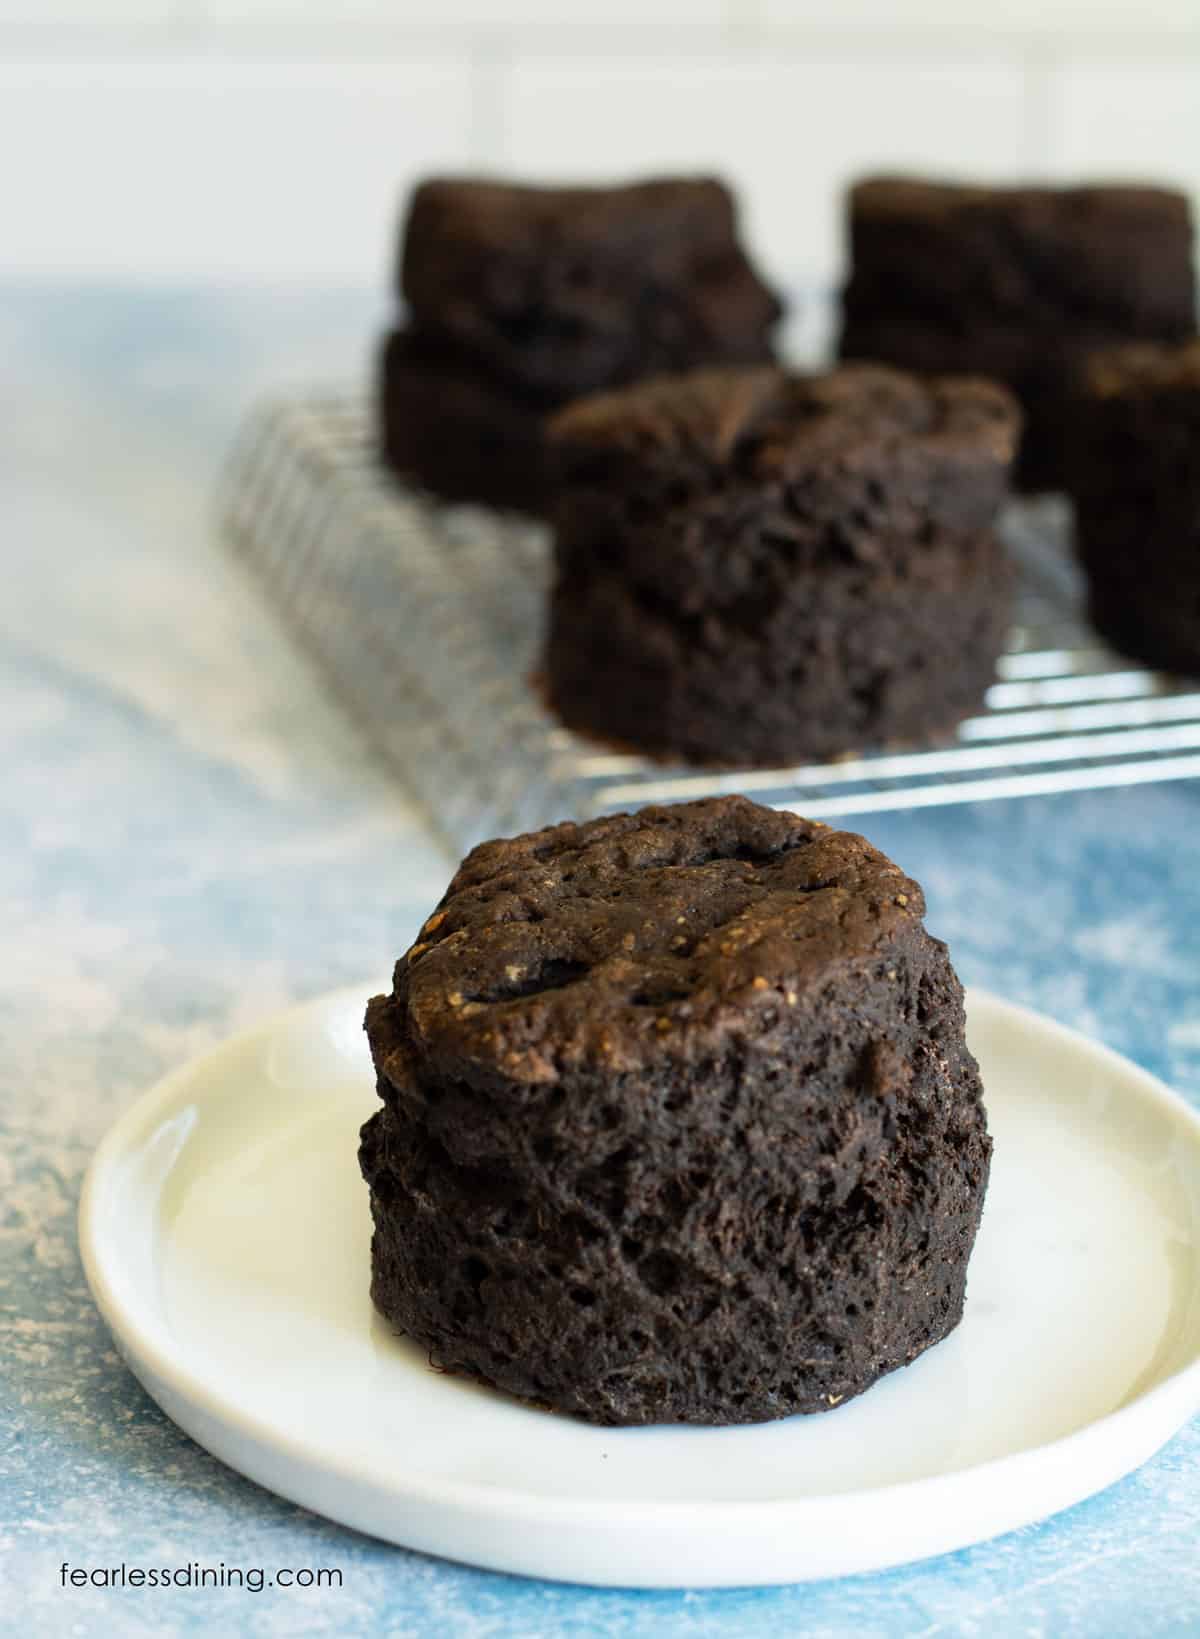
This homemade gluten-free chocolate biscuits recipe can be made sweet or borderline savory to serve with breakfast, brunch, dinner, or dessert! These biscuits boast a rich dark cocoa flavor balanced with the perfect hint of sweetness; they will satisfy your dessert desires. You get a delightful fusion of flavors in every bite!
This post may contain affiliate links. Please read our Disclosure Policy.
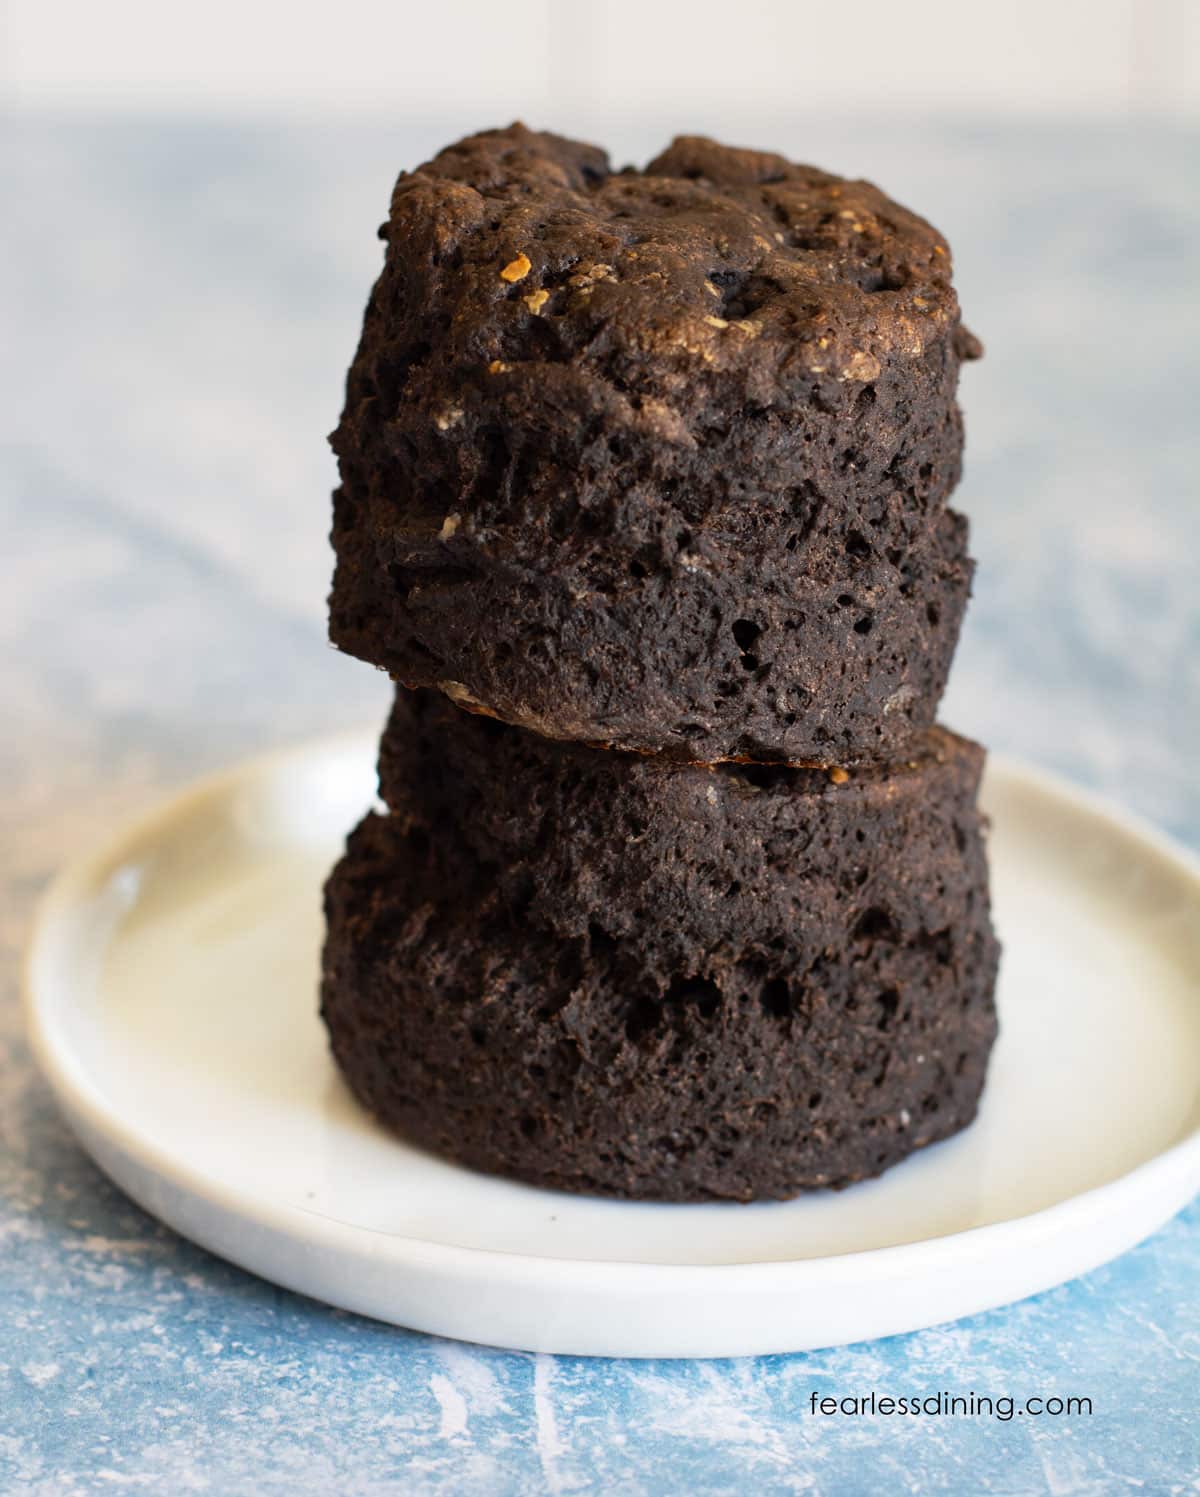
I am in love with these decadent, rich, dark chocolate biscuits. I have been playing with cocoa powder and learning all of the fun chemistry behind it. Did you know that black cocoa has almost no acid, while regular cocoa powder has a lot of acid? This affects everything, especially the rise!
This recipe is easy to make with black cocoa or regular cocoa powder. I share a tip and minor adjustments, depending on which you use. This recipe is based on my popular, classic Gluten Free Biscuit recipe. I tested 10 different gluten-free flour blends to find which work and which don’t. You can use sourdough discard in the recipe by swapping 1 cup liquid for 1 cup sourdough starter. Check out my Gluten Free Sourdough Discard Biscuits.
If you love baking biscuits, check out all of my incredible, flaky, gluten-free biscuit recipes!
Allergen Information:
These chocolate biscuits are gluten-free, egg-free, nut-free, and soy-free. I have not tested a dairy-free version, though you can easily try it with this vegan buttermilk recipe.
You will notice this is an egg-free recipe. If you can’t tolerate eggs due to allergy, here is a quick shortcut to all of my gluten-free egg-free recipes.
Ingredient Notes:
For the full list of ingredients and amounts, please go to the recipe card below.
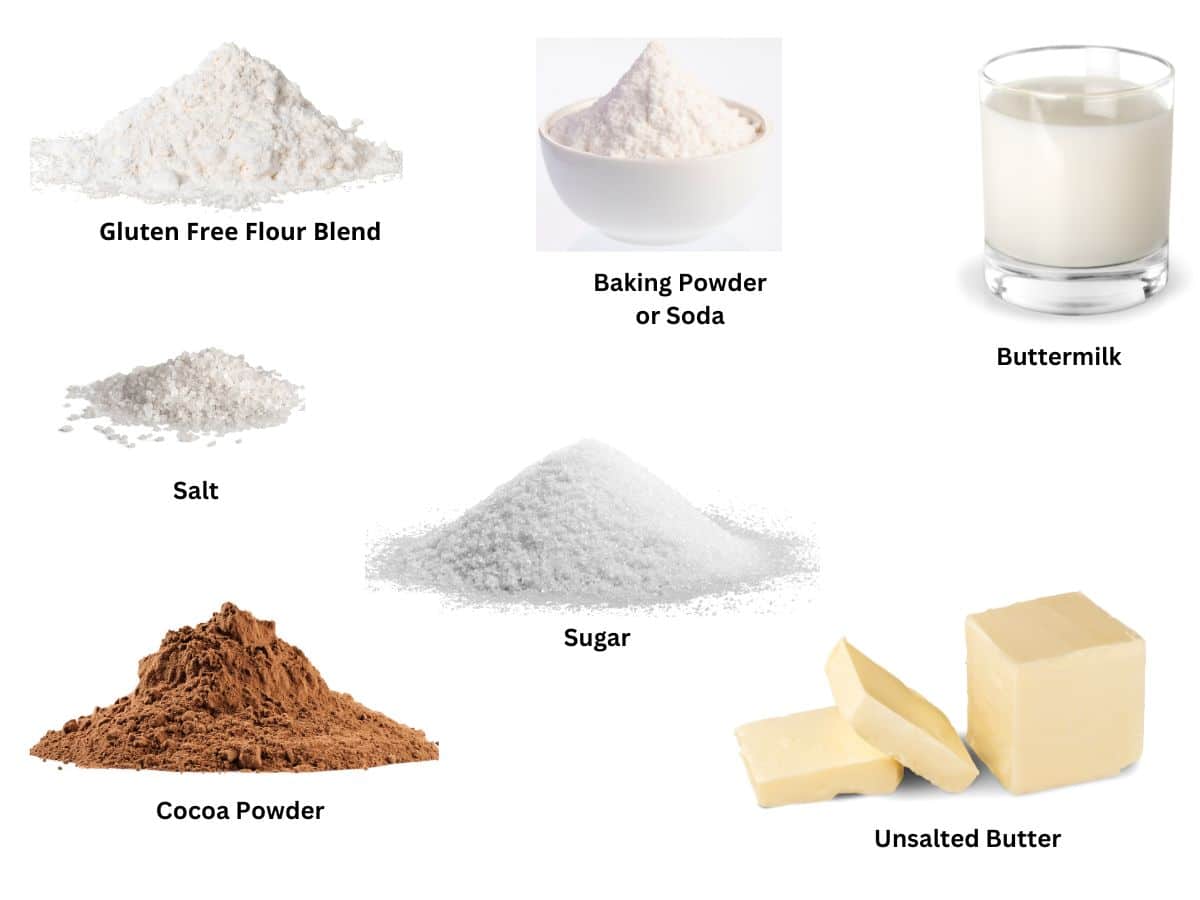
- Gluten Free Flour Blend – I tested this recipe with Cup4Cup, King Arthur Measure for Measure, and Bob’s Red Mill 1:1 flour blends.
- Xanthan Gum – If your blend doesn’t contain a binder, add one teaspoon. Read this guide to binders in gluten free baking for more information.
- Cocoa Powder – I tested this recipe with black cocoa powder, my favorite, and regular cocoa powder. Depending on your use, you must use either baking powder or soda.
- Baking Powder or Soda – This fully depends upon the type of cocoa powder you use! See the Tips For Success below for more information.
- Sugar – I used cane sugar.
- Butter – I recommend unsalted butter.
- Buttermilk – Regular or non-dairy milk will also work if you don’t want to use buttermilk. See the allergen information above for a vegan buttermilk recipe option.
Biscuit Baking Tips:
- Be sure to know the type of cocoa powder you are using. Black cocoa powder and Dutch process cocoa powder need baking powder, and regular cocoa powder needs baking soda! This article by King Arthur explains the differences in cocoa powder really well.
- Freeze your butter for at least an hour before using it in this recipe.
- Chill the dough for one hour. It makes a big difference, and you get a lot of great flaky layers.
- If you prefer, make them in your air fryer following the air fryer directions in my Air Fryer Biscuits recipe.
If you love to bake, I have a lot of helpful gluten free resources to help you every step of the way. It is important to start with the right gluten free flour blend for what you are making!
Step-By-Step Photos and Directions:
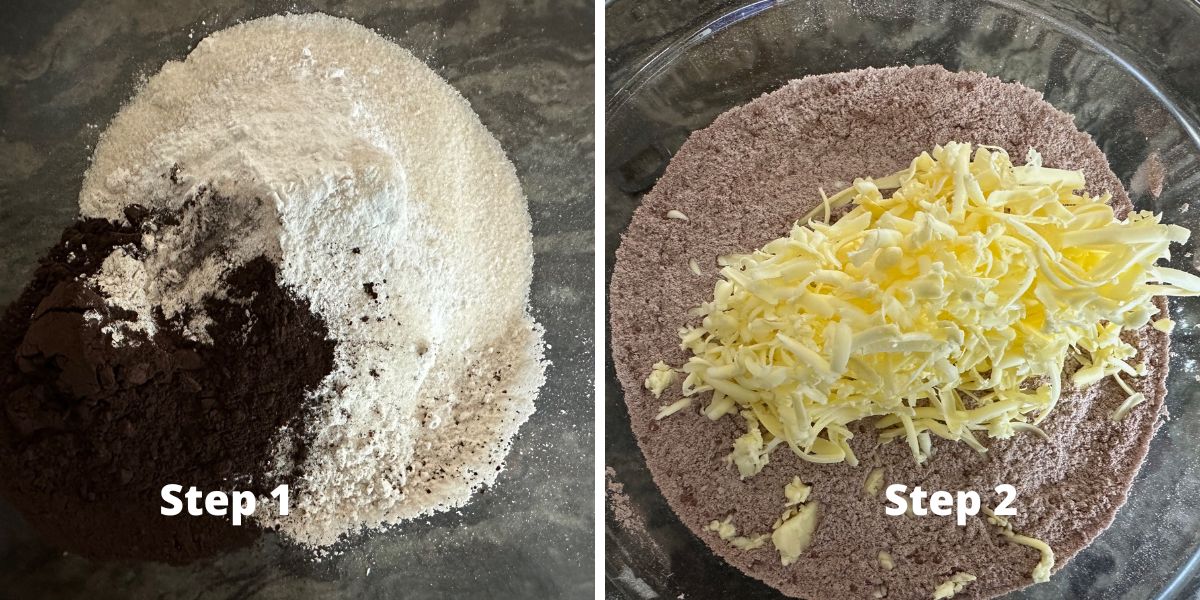
Step 1: Add the gluten free flour, sugar, cocoa powder, and baking soda or powder. Just to reiterate what I mentioned above, if you use regular cocoa powder, you want to use baking soda. If you use black or Dutch-processed cocoa powder, use baking powder. Use a whisk to blend them together.
Step 2: Remove the butter from the freezer and use a large cheese grater to grate the frozen butter into the dry ingredients. Another option is to use a pastry blender to cut the butter into the flour.
Use a spoon to scoop flour and pour it over the frozen butter. This will prevent the butter shreds from sticking together, giving you evenly disbursed flaky layers.
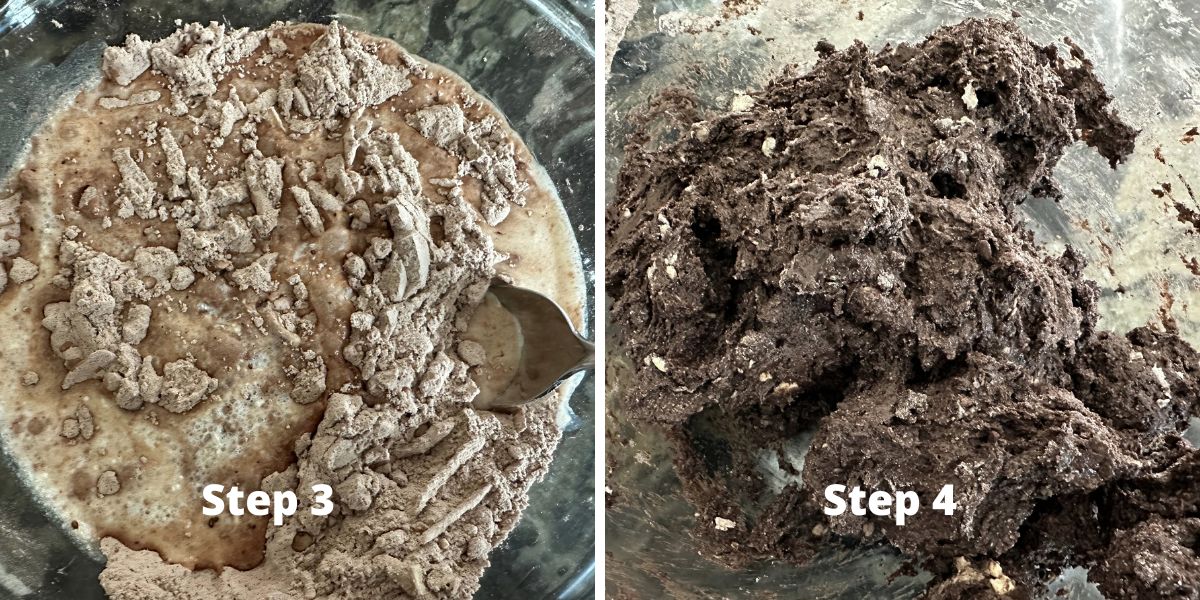
Step 3: Pour the buttermilk into the dry ingredients.
Step 4: Mix the wet and dry ingredients into a nice dough. Depending on the flour blend you use, you may need to add more flour or a little bit more buttermilk. Every gluten free flour blend varies a little bit depending on the grain-to-starch ratio. I encourage you to learn more about this in my guide about why gluten free flour blends vary so much.
As a guide, if your dough is very firm, add more buttermilk, and if your dough is sticky, add more flour. Wrap the dough in plastic wrap and chill for one hour.
Email This Recipe To Me!
Step 5: Remove the dough from the fridge and unwrap it from the plastic wrap. Preheat the oven to 425º F.
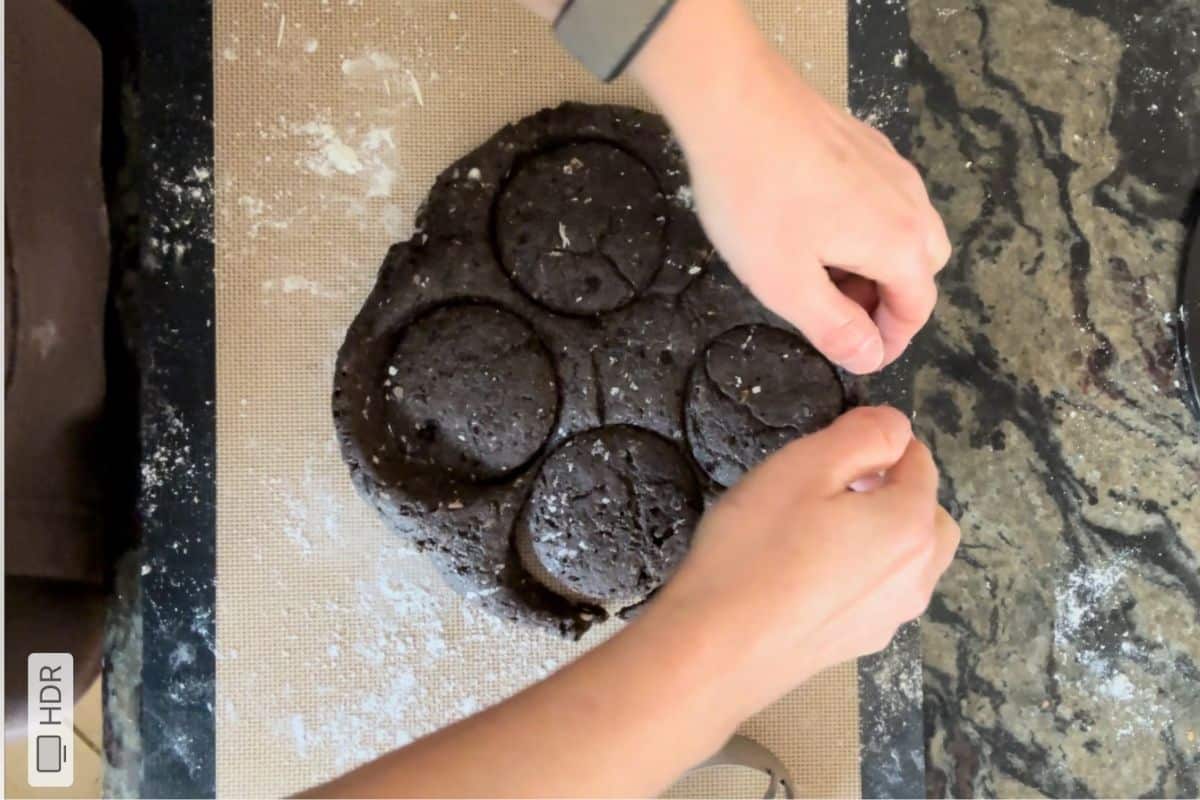
Step 6: Dust a silicone mat or clean surface with a little gluten free flour. This is especially important if you use Cup4Cup, as the dough is a little stickier than other flour blends. Press the dough onto the mat into a round 1 1/2 to 2-inch thick circle. Use a biscuit cutter to cut out biscuits. DO NOT twist the biscuit cutter, or you risk sealing the edges, which affects the rise.
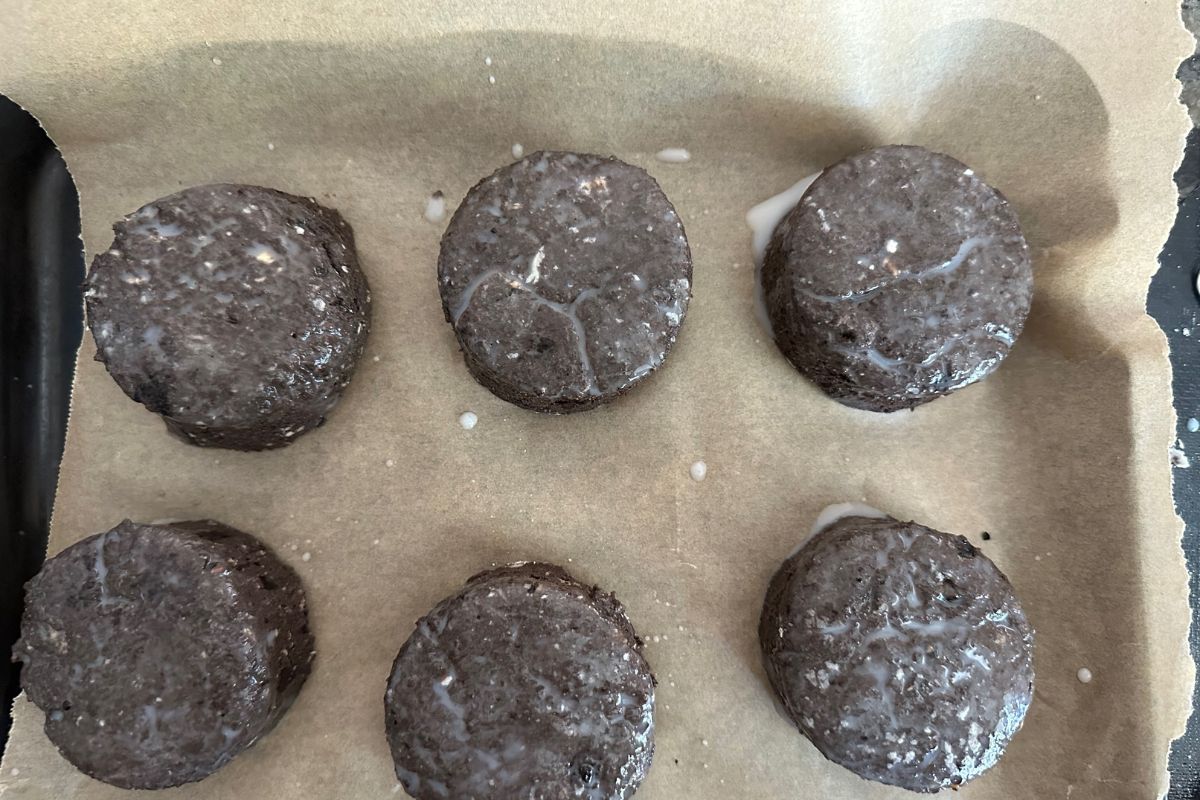
Step 7: Place the biscuits on a parchment paper-lined baking sheet. You can also use a gluten free baking spray to prepare your pan.
Step 8: Bake the biscuits at 425º F for 22-25 minutes. The actual baking time will vary depending on how big and thick your biscuits are.
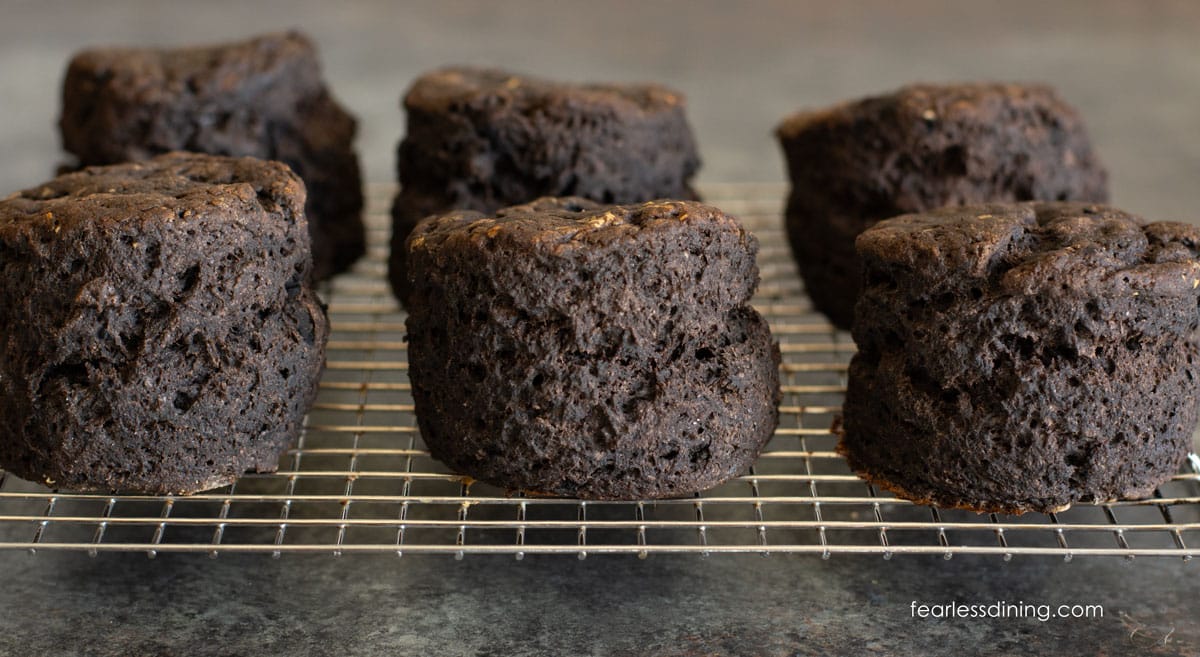
Step 9: Remove the biscuits from the oven and place them on a wire cooling rack. You can enjoy them warm or cold.
If you are interested in more recipes using black cocoa powder, try these Gluten-Free Chocolate Scones or these Gluten-Free Espresso Brownies.
Serving Suggestions:
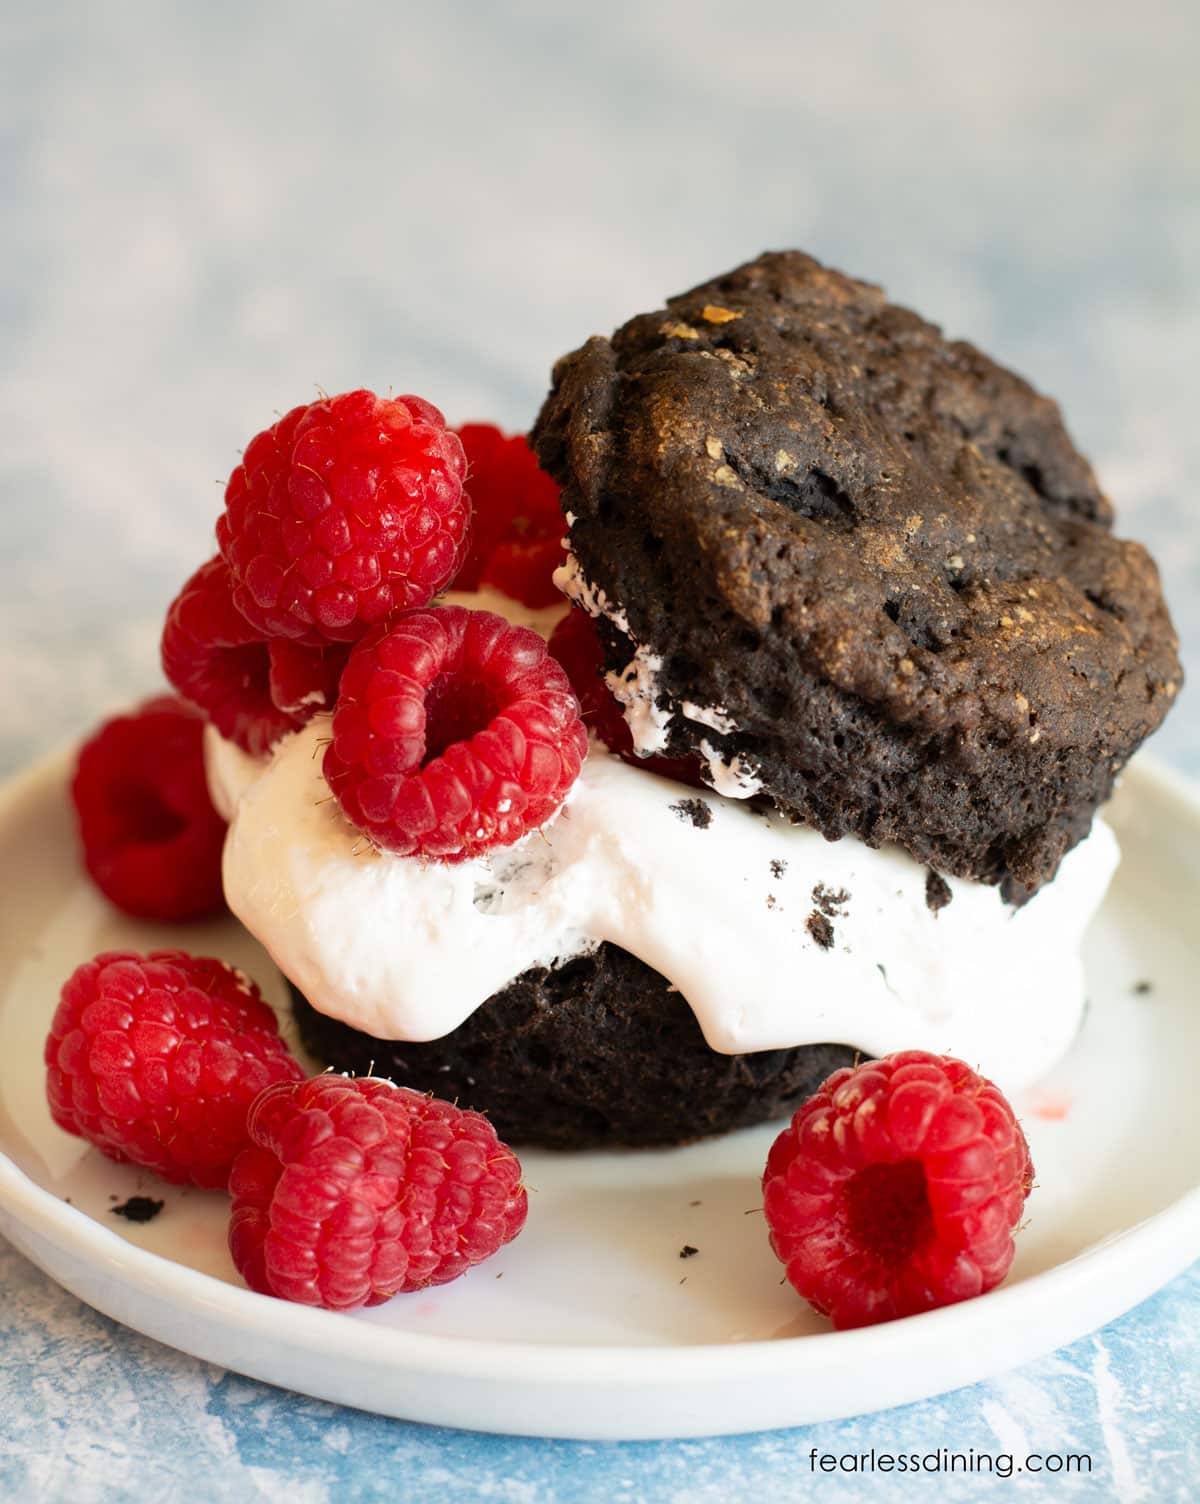
- Top them with whipped cream and fresh strawberries to make a chocolate strawberry shortcake.
- Top with marshmallow cream and fresh raspberries.
- If you make these on the savory side, top with a pat of salted butter.
Frequently Asked Questions:
If your biscuits didn’t rise, there are two possible reasons. You will want to ensure your baking powder isn’t expired. Another reason is if you twisted the biscuit cutter when cutting out the biscuits. This seals the edges and limits the rise.
Store these biscuits in the freezer. They will keep fresh for up to 2 days not frozen, but gluten-free tends to spoil quickly. They thaw in the microwave in just 35 seconds.
More Gluten-Free Biscuit Recipes:
- Gluten Free Bisquick Biscuits – This is my classic recipe using gluten-free Bisquick. You need to let the dough chill/sit for 45 minutes to eliminate the grittiness.
- Gluten Free Pumpkin Biscuits – Delicious all year long!
- Gluten Free Maple Oat Biscuits – Use gluten free oats!
- Gluten Free Cheddar Biscuits – Delicious cheese biscuits with or without herbs!
Love This Recipe?
If you made and enjoyed this recipe, I would be incredibly grateful if you could leave a comment below. Please include which flour blend you used. This will help others know this recipe is delicious. Thank you!
Easy Gluten Free Chocolate Biscuits (Dark Chocolate Flavor)
Ingredients
- 2 cups gluten free flour blend * See notes
- ¼ cup cocoa powder * See notes
- ¼ cup sugar * See notes
- Optional: 1 teaspoon espresso powder
- 2 tablespoons aluminum-free baking powder or 1 teaspoon baking soda * See notes!!
- ½ teaspoon salt
- 5 tablespoons unsalted butter *See notes
- 1 cup buttermilk, milk, or non-dairy milk
Equipment
Method
- Add the 2 cups gluten free flour blend, ¼ cup sugar, ¼ cup cocoa powder, ½ teaspoon salt, and 2 tablespoons aluminum-free baking powder or 1 teaspoon baking soda (If you use regular cocoa powder, you want to use baking powder. Optional: 1 teaspoon espresso powder. If you use black or Dutch-processed cocoa powder, use baking soda.) Use a whisk to blend them together.
- Remove the butter from the freezer and use a large cheese grater to grate the frozen 5 tablespoons unsalted butter into the dry ingredients. You can also use a pastry blender to cut the butter into the flour.
- Use a spoon to scoop flour and pour it over the frozen butter. This will prevent the butter shreds from sticking together, giving you evenly disbursed flaky layers.
- Pour 1 cup buttermilk, milk, or non-dairy milk into the dry ingredients.
- Mix the wet and dry ingredients into a nice dough. Depending on the flour blend you use, you may need to add more flour or a little bit more buttermilk. Every gluten free flour blend varies slightly, depending on the grain-to-starch ratio.
- *As a guide, if your dough is very firm, add more buttermilk, and if your dough is sticky, add more flour. Wrap the dough in plastic wrap and chill for one hour.
- Remove the dough from the fridge and unwrap it from the plastic wrap. Preheat the oven to 425º F.
- Dust a silicone mat or clean surface with a little gluten free flour. This is especially important if you use Cup4Cup, as the dough is a little stickier than other flour blends. Press the dough onto the mat into a round 1 1/2 to 2-inch thick circle.
- Use a 3" biscuit cutter to cut out biscuits. DO NOT twist the biscuit cutter, or you risk sealing the edges, which affects the rise.
- Place the biscuits on a parchment paper-lined baking sheet. You can also use a gluten free baking spray to prepare your pan.
- Bake the biscuits at 425º F for 22-25 minutes. The actual baking time will vary depending on how big and thick your biscuits are.
- Remove the biscuits from the oven and place them onto a wire cooling rack. Enjoy them warm or cold.
Nutrition
Notes
- I tested this recipe with Cup4Cup (the old blend with dairy), King Arthur Measure for Measure, and Bob’s 1:1. Other blends should work, but it is very important to know you may need to adjust the liquid levels depending on how starchy your blend is.
- If your blend doesn’t contain a binder, add 3/4 teaspoon of xanthan gum.
- Sugar – You can make these biscuits sweet or savory. For sweeter biscuits, use 1/4-1/3 cup sugar. For more savory chocolate biscuits, use 3 TBSP sugar.
- Cocoa powder choice is important. I used black cocoa powder. Black cocoa powder and Dutch process cocoa powder have very little acidity. Use aluminum-free baking powder with these. If you use regular cocoa powder, it is more acidic, and you need to use baking soda to get a rise.
- Butter – Freeze the butter. You will get much better flaky layers! Use plant-based, dairy-free butter for dairy-free.
- I used buttermilk, but regular milk and non-dairy milk work in this recipe.
- Store these biscuits in the freezer. They will keep fresh for up to 2 days not frozen, but gluten-free tends to spoil quickly. They thaw in the microwave in just 35 seconds.
Private Notes
Tried this recipe?
Let us know how it was!
I truly hope you enjoy this recipe. I have been testing and creating gluten-free recipes for over 15 years. Creating gluten-free recipes that do not taste gluten-free is my goal for every recipe. Sometimes I only have to test a new recipe a couple of times, and others it takes multiple times. I do this so you get reliable, delicious results every time!
