With simple ingredients and easy steps, these gluten free espresso brownies are perfect for any chocolate lover. It’s a straightforward way to bake a delicious treat with a delicious hint of coffee flavor. Give this easy recipe a try, and enjoy the irresistible blend of chocolate and espresso in every bite!
This post may contain affiliate links. Please read our Disclosure Policy.
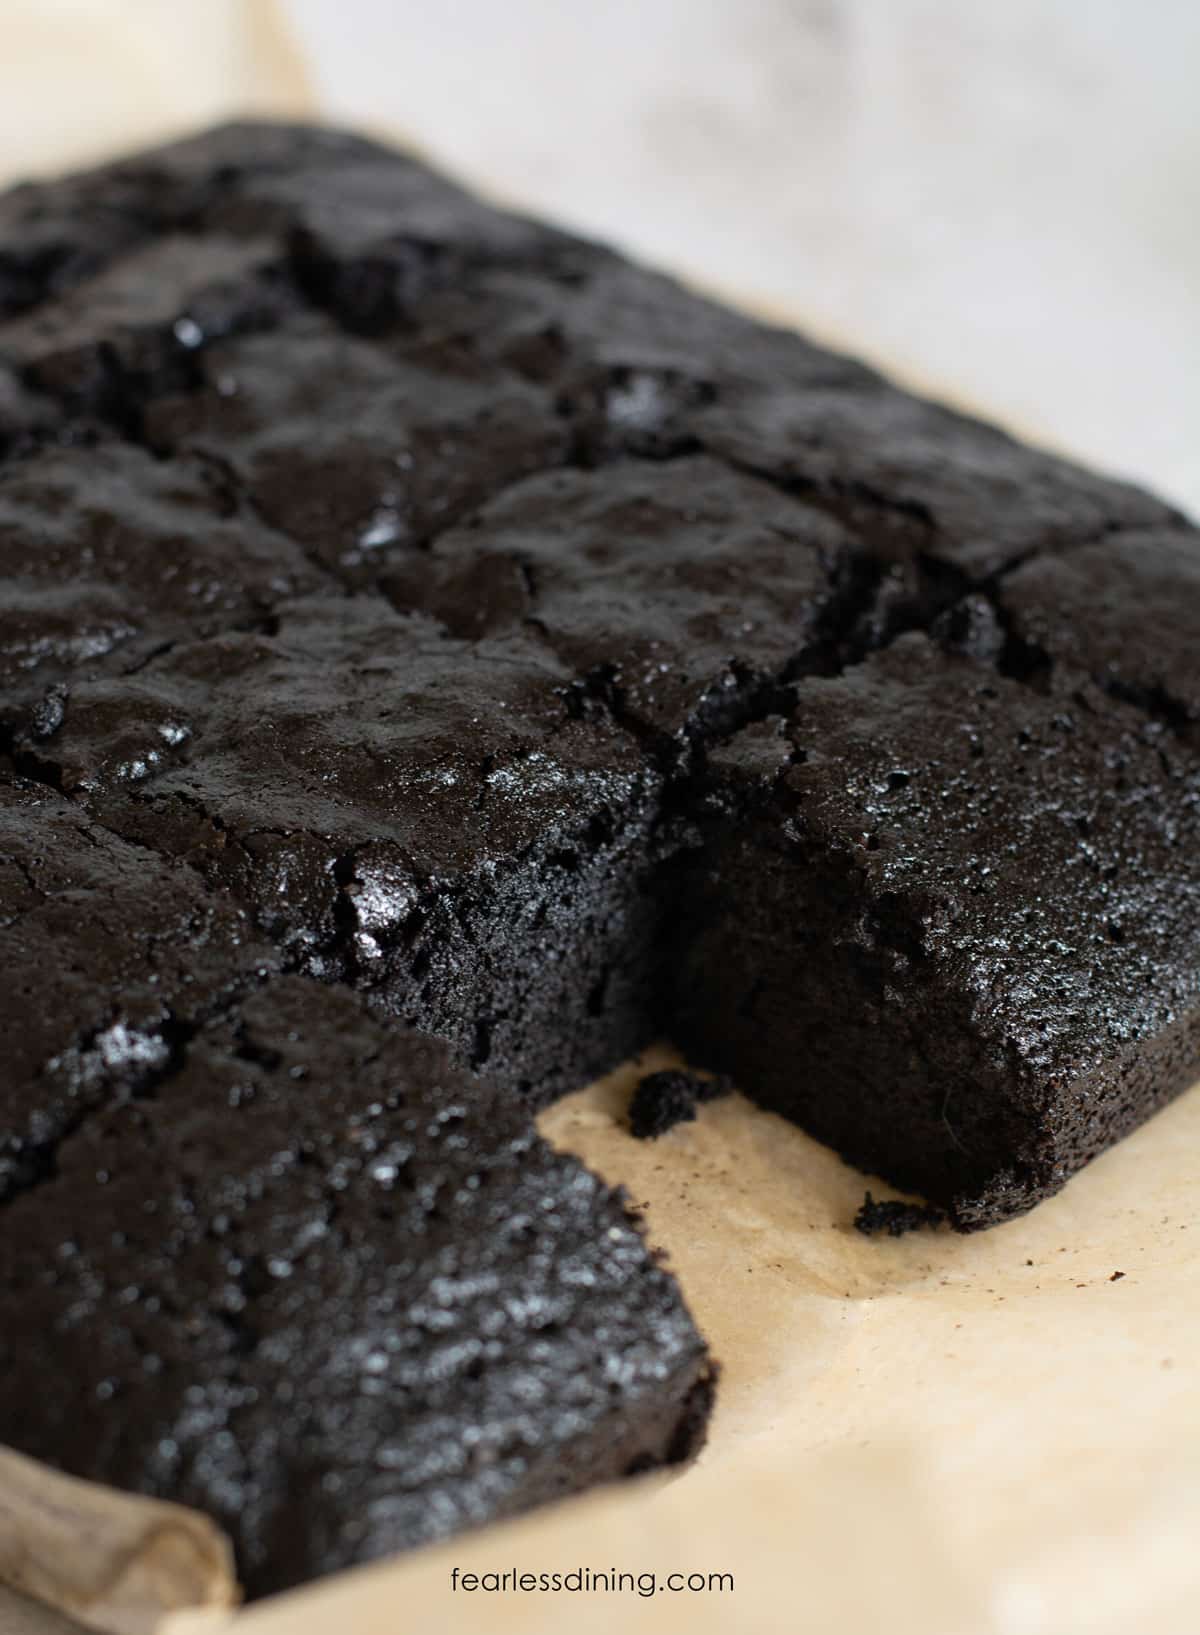
If you love fudgy brownies, this recipe will be a special treat! These homemade gluten-free espresso brownies are easy to make and even easier to enjoy! As a big-time brownie-eating family, I have created several incredible flavors of gluten-free brownies for you to try.
This recipe is straightforward and requires minimal ingredients. It is also dairy-free! They are the best brownies! (At least, we all think so!) They marry the perfect flavors of rich chocolate and espresso, so you get both flavors in every fudgy bite! They are perfect for chocolate cravings!
Use either black cocoa powder, as I did for a deeper chocolate flavor, or use regular cocoa powder! You can also use this brownie recipe to make Gluten-Free Ice Cream Sandwiches or this double layered Gluten-Free Brownie Cake!
Allergen Information:
This recipe is gluten-free, dairy-free, soy-free, and nut-free.
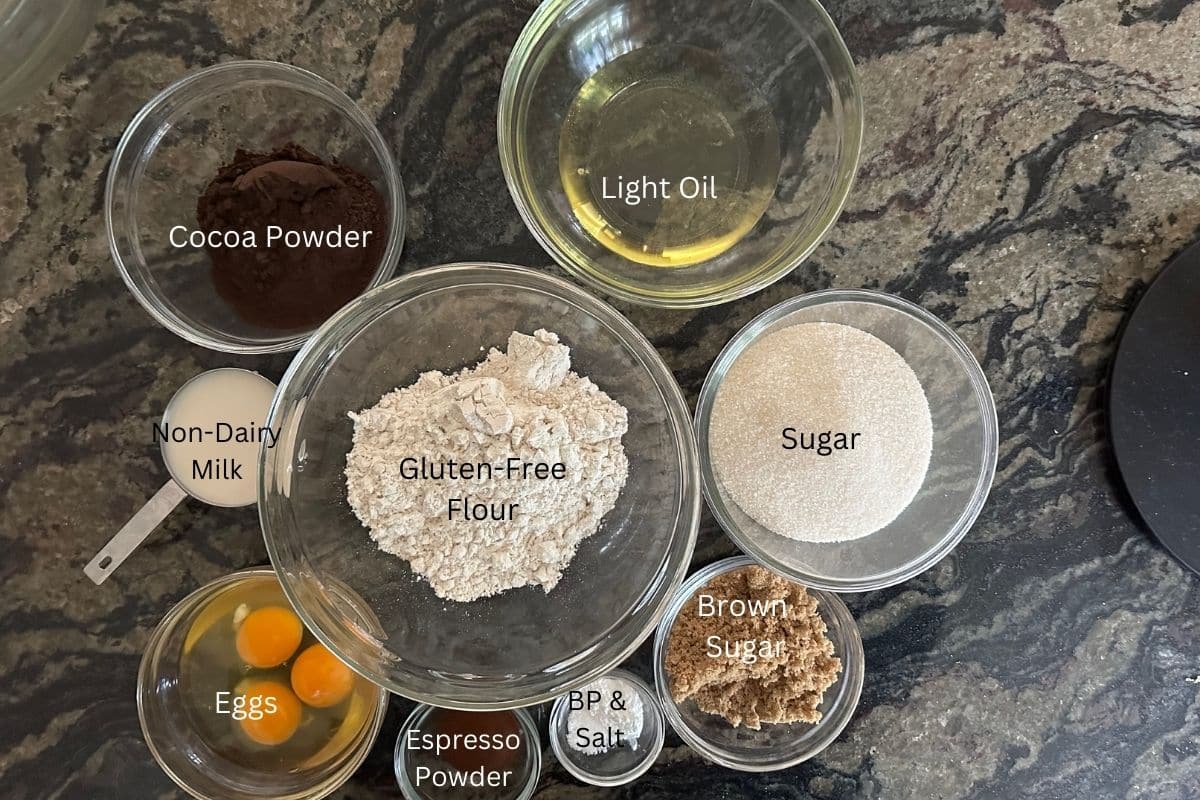
Ingredient Notes:
For the full list of ingredients and amounts, please go to the recipe card below.
- Gluten Free Flour Blend – I tested this recipe using King Arthur Measure for Measure GF Flour Blend. Other blends should work, but try to match the batter consistency that I have. This means you may need more liquid or flour, depending on how starchy your flour blend is.
- Xanthan Gum – If your flour blend doesn’t contain a binder, add 1/2 teaspoon of xanthan gum to your dry ingredients.
- Sugar – I use both white cane sugar and brown sugar in this brownie recipe.
- Cocoa Powder – To get the deep, dark fudge color and flavor, I used black cocoa powder. You can use regular cocoa powder if you prefer.
- Instant Espresso Powder – The brand I used, Anthony’s Espresso Powder, which is gluten-free. You can also use Starbucks Via packets.
- Baking Powder – Use aluminum-free baking powder.
- Light Oil or Coconut Oil – I used canola oil, but any mild cooking oil will work. I would avoid olive oil because that has a strong flavor.
- Non-Dairy Milk – I used Macadamia milk, but any plant-based milk or regular milk will work well.
- Chocolate Chips – Optional if you want chocolate chips in the brownies. I did not use them to make mine because they already have a deep chocolate flavor with black cocoa powder.
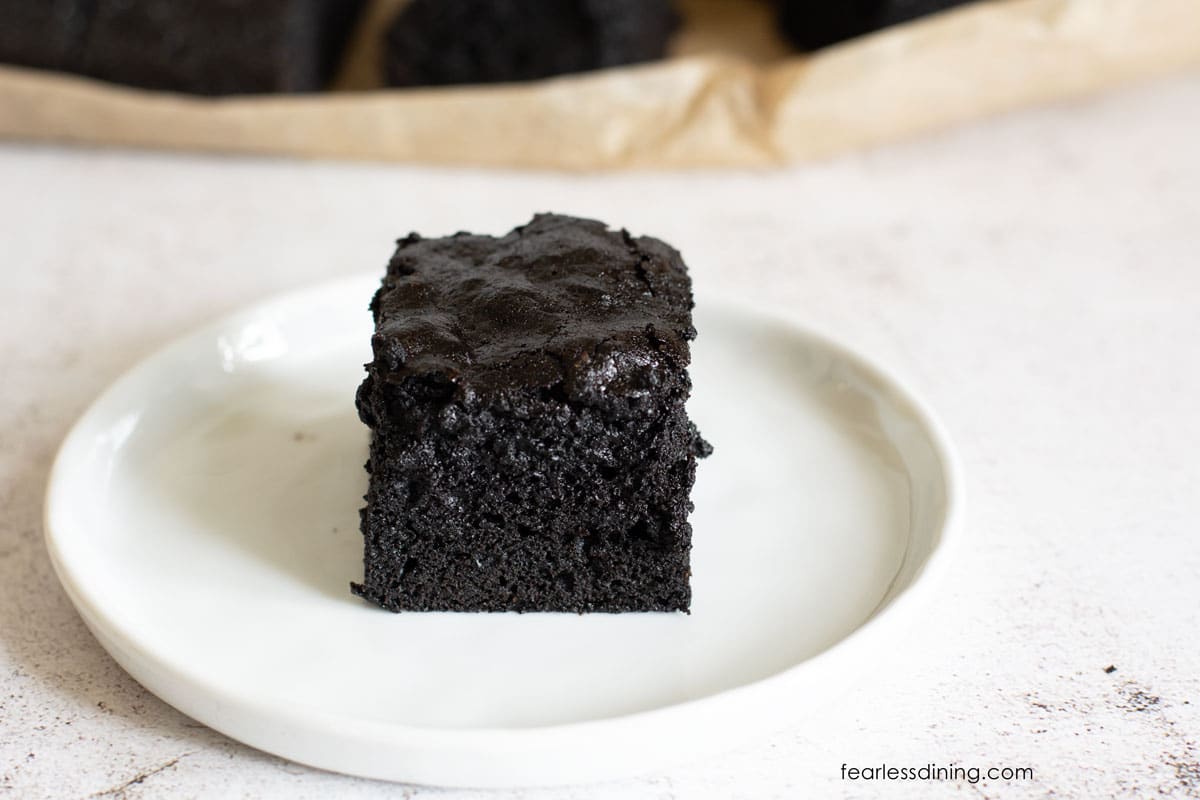
You can use this gluten-free espresso brownie recipe as a base to make these Gluten-Free Pumpkin Swirl Brownies, too!
Brownie Baking Tips
1. Line your baking pan with parchment paper. It makes these brownies super easy to remove from the pan.
2. Let the brownie batter sit for 15-20 minutes. This allows the rice flour to soften in the batter, resulting in no grittiness in the brownies.
I have many great gluten-free baking resources to help you be the best baker. You can also reach out to me any time you have questions, and I will try to help you.
Step-By-Step Photos and Directions:
Email This Recipe To Me!
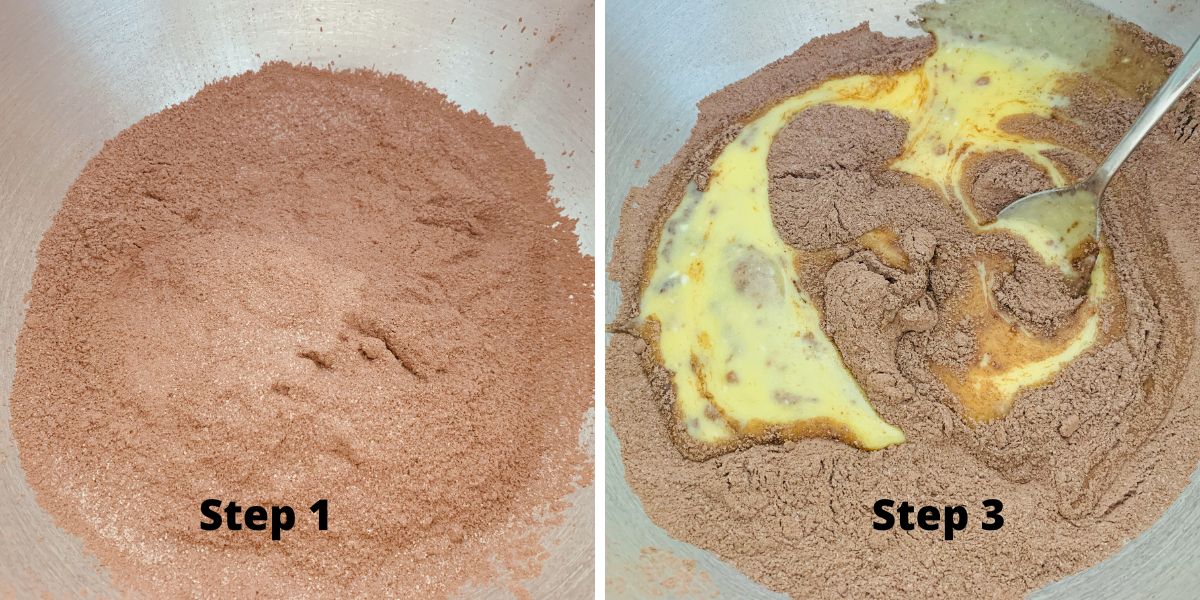
Step 1: Add the gluten free flour, cocoa powder, espresso powder, sugar, baking powder, and salt to a large
Step 2: In a small bowl, add the oil, milk, eggs, and vanilla extract. Use a whisk to blend them.
Step 3: Pour the wet ingredients into the dry ingredients. Mix with a wooden spoon. You will end up with a rich brownie batter. Don’t eat the raw brownie butter because it contains eggs!
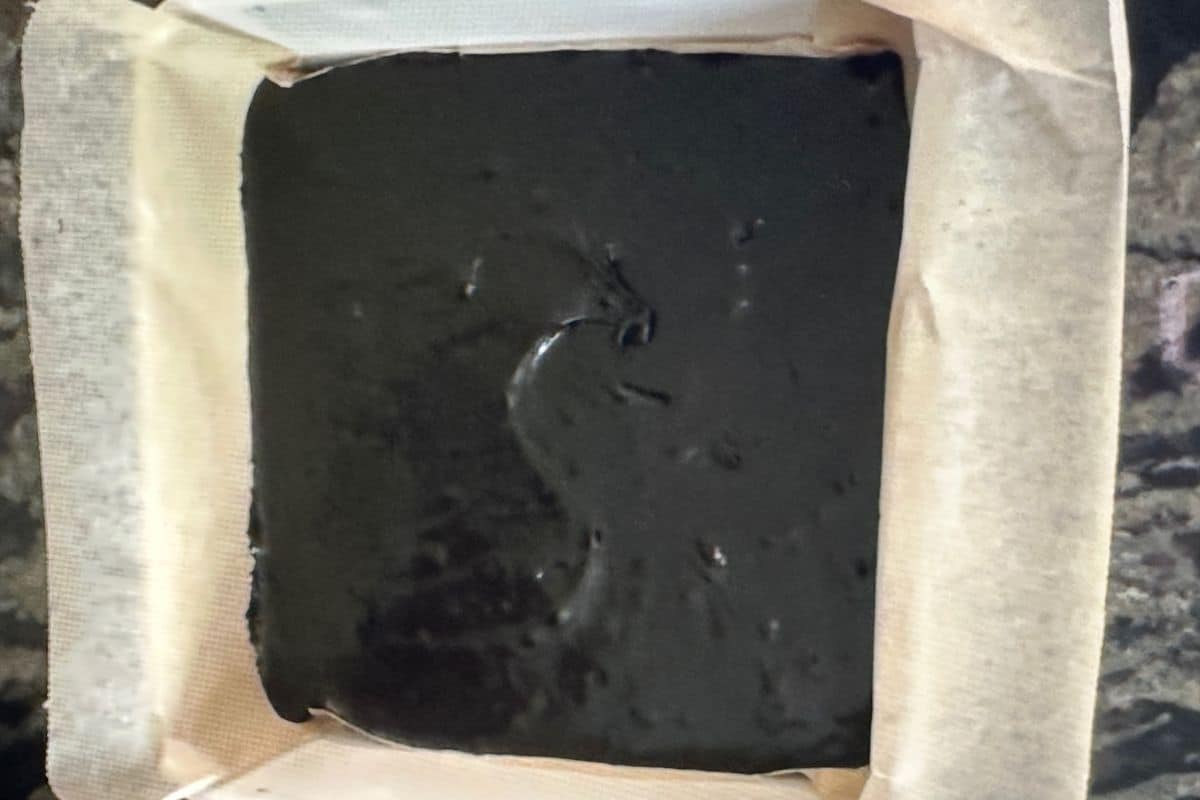
Step 4: Line an 8×8 baking dish with parchment paper or use a gluten free baking spray to prepare the pan. It is important to note that Pam Baking Spray is NOT gluten free.
Preheat the oven to 350º F. I like to preheat now so the batter can sit for 15 minutes while the oven warms. This allows time for the rice flour to soften, which eliminates any grit.
Step 5: Bake the brownies for 30-35 minutes. The baking time can vary slightly depending on the material of your baking dish (glass, metal, etc.).
🔑 Sandi says: You may notice the brownies rise up while baking, looking almost cake-like. This is normal. As they cool, they sink back down to a dense, fudgy brownie texture.
Step 6: Let the brownies cool on a wire rack before slicing. Using parchment paper, you can easily lift them out of the pan onto the rack.
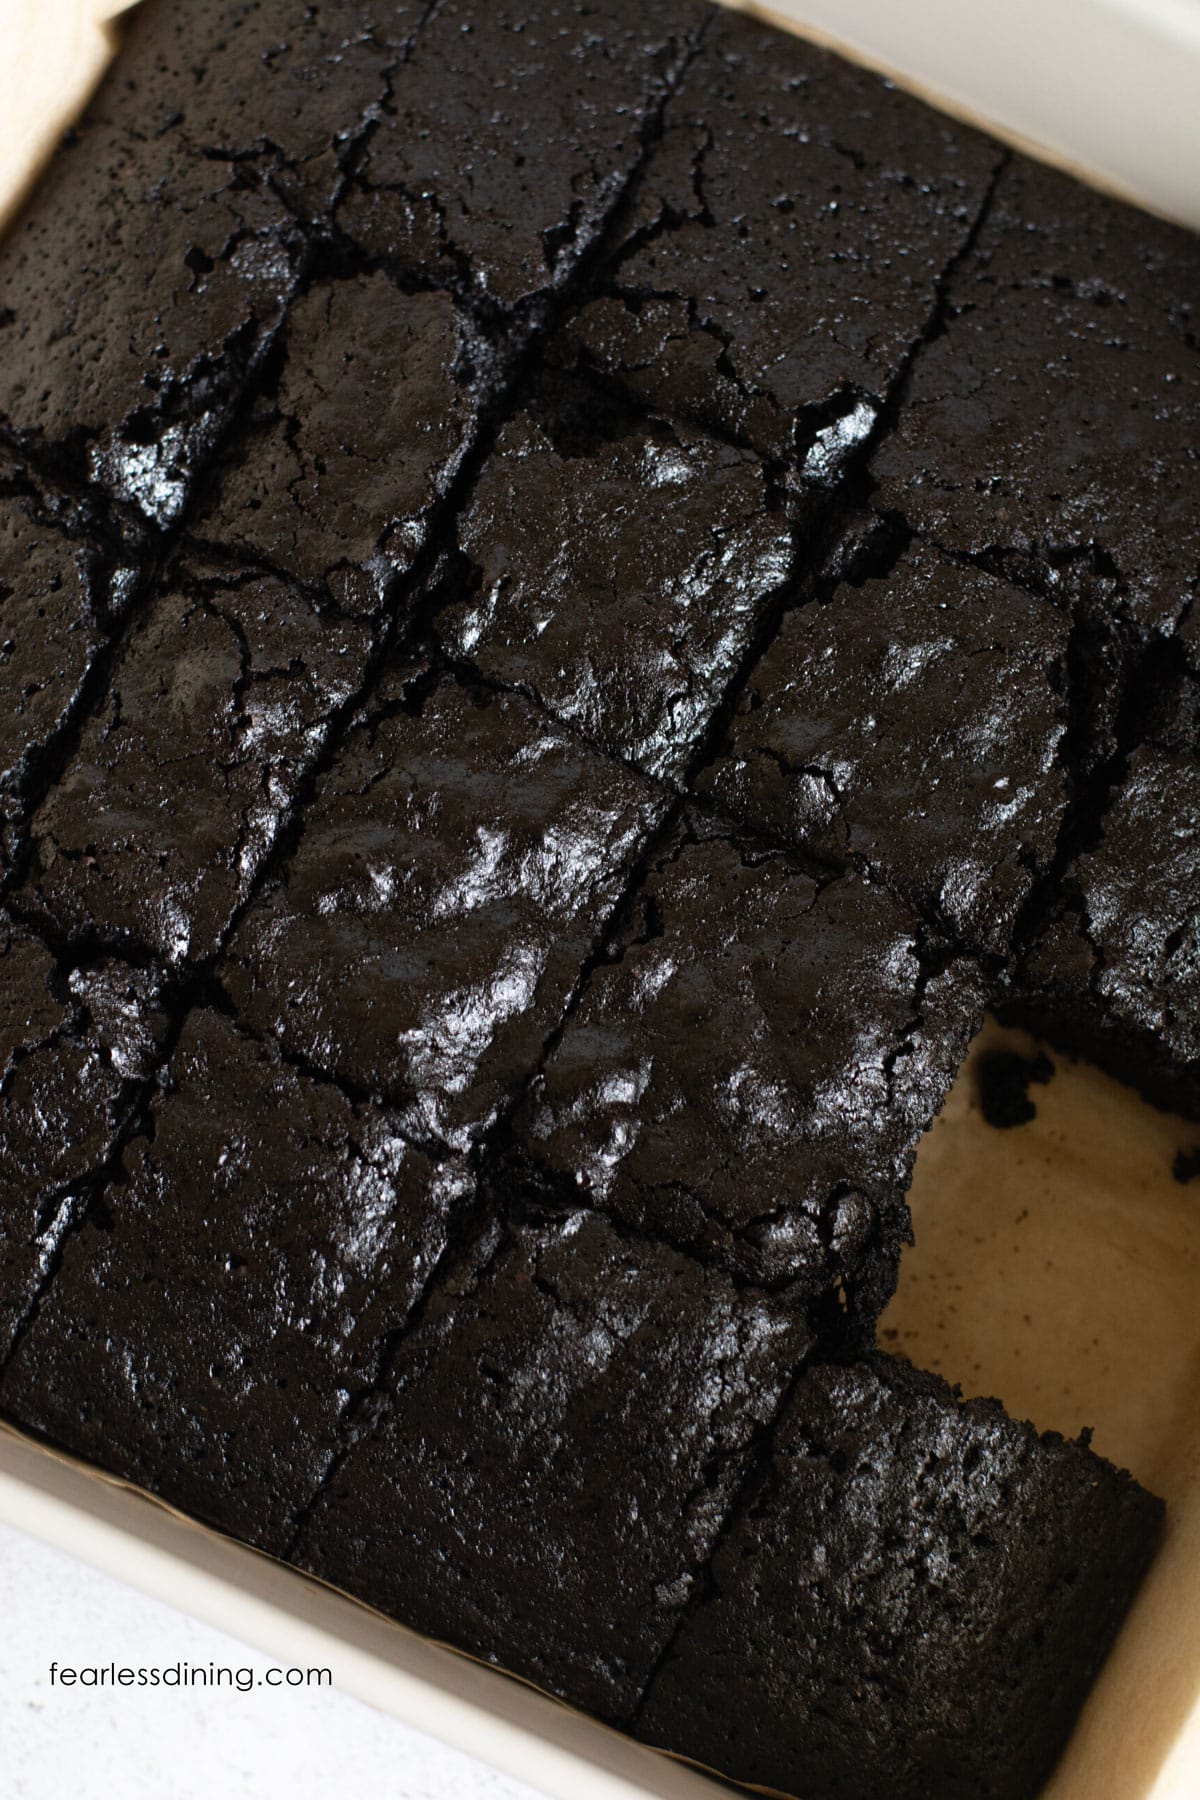
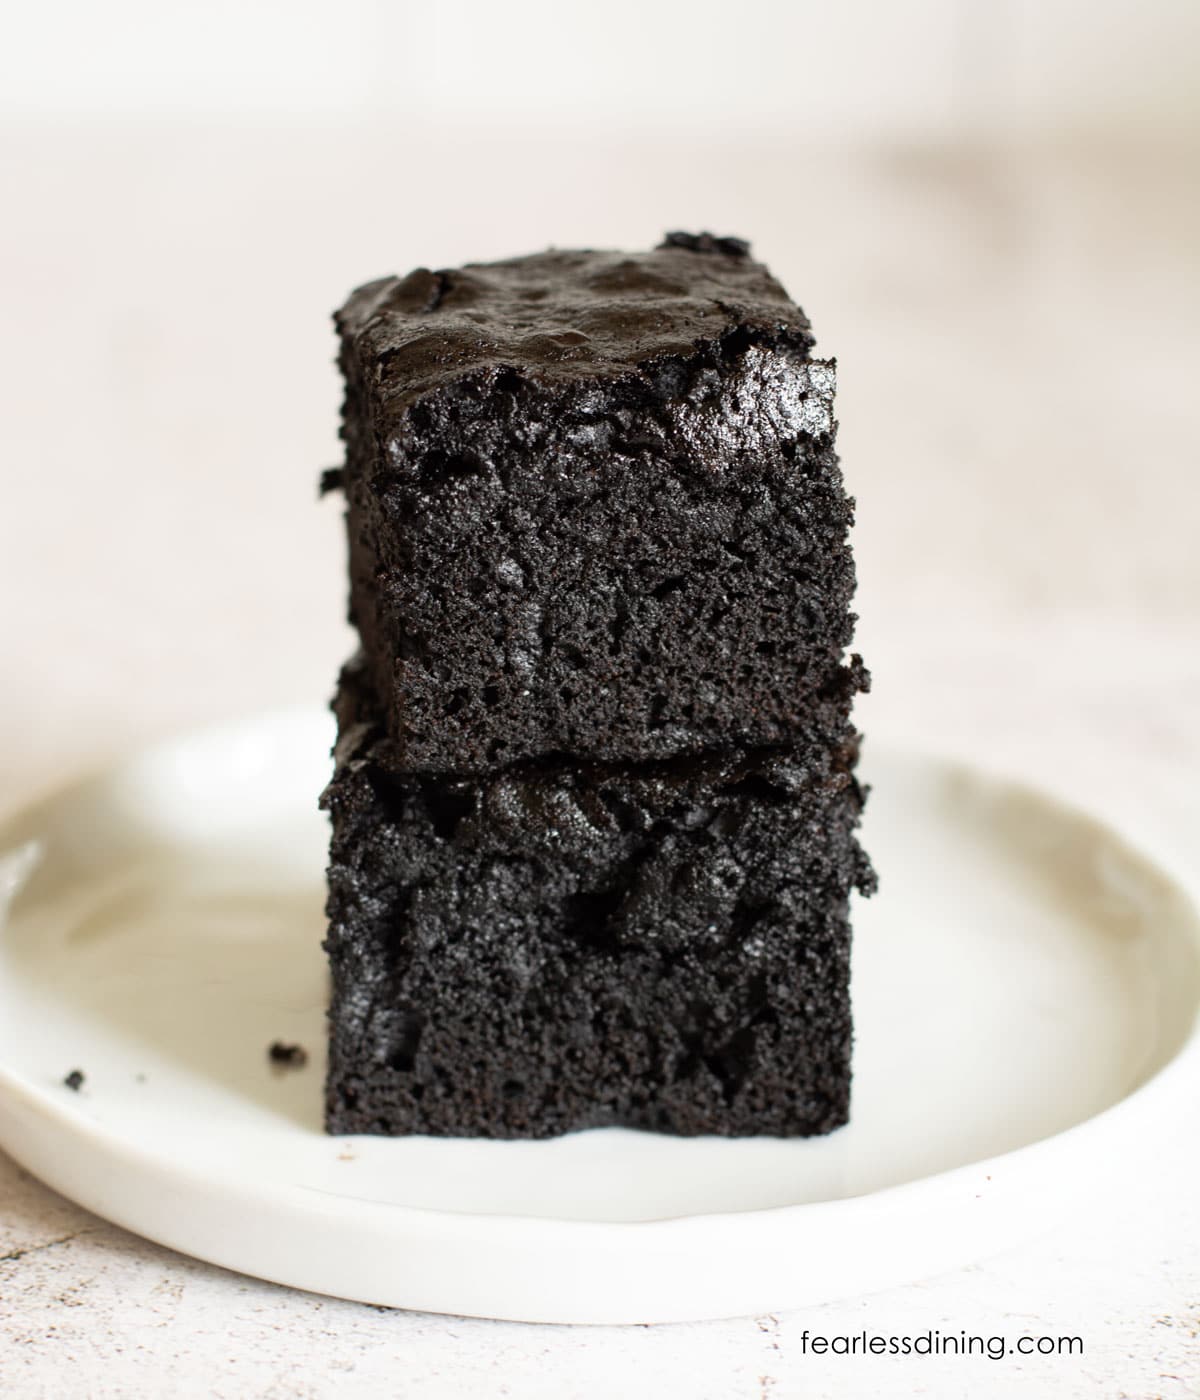
The edges of these coffee brownies are slightly crisp on the edges, and the inside is fudgy. They are seriously good with deep chocolate flavor. If you love baking with espresso powder, try these Gluten Free Chocolate Espresso Cookies.
Serving Suggestions:
- Serve this brownie warm with vanilla ice cream or whipped cream.
- Top with either this Bourbon Butterscotch Sauce or this incredible homemade hot fudge sauce.
Frequently Asked Questions:
The brownies are done baking when the top feels firm to the touch. Because of their fudginess, the toothpick method isn’t fully reliable in this recipe.
Slice the brownies and store them in an airtight container in the refrigerator. Note that gluten-free baked goods do not stay fresh as long as gluten-baked goods. If you don’t plan to eat them in a day or two, I recommend freezing them.
You can freeze these brownies whole or in slices. I put them into a freezer-safe container or freezer zip bag.
More Gluten Free Chocolate Desserts:
- Easy Gluten Free Chocolate Custard
- Decadent Gluten Free Chocolate Banana Bread
- Gluten Free Chocolate Layer Cake (awesome for a birthday!)
- Slow Cooker Chocolate Lava Cake
Love This Recipe?
If you made and enjoyed this recipe, I would be incredibly grateful if you could leave a comment below. Please include which flour blend you used. This will help others know this recipe is delicious. Thank you!

Quick and Easy Gluten Free Espresso Brownies
Ingredients
Equipment
Method
- Add the 1 cup gluten free flour blend, ½ cup cocoa powder, 2-3 teaspoons espresso powder, 1 cup sugar, ½ cup brown sugar, 1 teaspoon baking powder, and ½ teaspoon sea salt to a large mixing bowl. Use a whisk to blend the dry ingredients. If you use black cocoa powder, your mixture will be much darker.
- In a small bowl, add ½ cup light oil, ½ cup non-dairy milk, 3 large eggs, and 2 teaspoons pure vanilla extract. Use a whisk to blend them.
- Melt the 6 ounces chocolate chips in a microwave-safe bowl at 20 second intervals. Stir between each interval. This will prevent the chocolate from burning. You can use a double boiler if you prefer.
- Pour the wet ingredients into the dry ingredients. Mix with a wooden spoon. You will end up with a rich brownie batter. Don't eat the raw brownie butter because it contains eggs!
- Line an 8×8 baking dish with parchment paper or use a gluten free baking spray to prepare the pan. It is important to note that Pam Baking Spray is NOT gluten free.
- Preheat the oven to 350º F. I like to preheat now so the batter can sit for 15 minutes while the oven warms. This allows time for the rice flour to soften, which eliminates any grit.
- Bake the brownies for 30-35 minutes. Baking time can vary slightly depending on what your baking dish material is (glass, metal, etc.)
- You may notice the brownies rise up while baking, looking almost cake-like. This is normal. As they cool, they sink back down to a dense, fudgy brownie texture.
- Let the brownies cool on a wire rack before slicing. Using parchment paper, you can easily lift the brownies out of the pan onto the rack.
Nutrition
Notes
- I tested this recipe with King Arthur Measure for Measure. Other blends should work, but you may need to adjust the wet or dry ingredient ratio to get the perfect brownie texture.
- If your blend doesn’t contain a binder, add 1/2 teaspoon of xanthan gum.
- I used Macadamia milk. Any non-dairy or regular milk will work.
- I used canola oil. I recommend using a light oil with no flavor.
- Store the brownies sliced in an airtight container in the refrigerator. Note that gluten-free baked goods do not stay fresh as long as gluten-baked goods. If you don’t plan to eat them in a day or two, I recommend freezing the brownies.
- Serve this brownie warm with vanilla ice cream or whipped cream.
- Top with either this Bourbon Butterscotch Sauce or hot fudge sauce.
Nutritional Disclaimer
Nutritional information is an estimate provided to you as a courtesy. You should calculate the actual nutritional information with the products and brands you are using with your preferred nutritional calculator.
Tried this recipe?
Let us know how it was!
These are the BEST brownies out there. I made them three times last week for different events, each time with none left over. Each time rave reviews and heard time and time again ” I can’t believe these are gluten and dairy free, they are so moist and delicious!”
I have to agree. I have eaten a lot of them lately and I can’t get enough. Thank you so much!!
I made these delicious chocolate espresso brownies today. Followed the directions and baked according to the directions. They turned out exactly like the picture looked and tasted heavenly!! Love that all these recipes are easy to follow and turn out as pictured. If you haven’t made them yet, you don’t know what you are missing!
I am so glad you loved the brownies…they are so good I ate way too many!! Thank you!