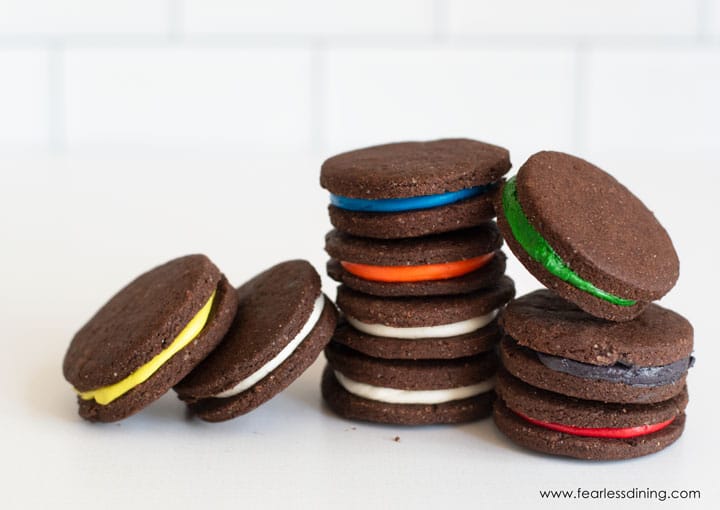
This homemade crisp gluten-free sandwich cookies recipe is so fun to make. Fill these crispy chocolate cookies with white frosting, or have some fun and make the rainbow! You can use any shape of cookie cutter, making this a great holiday cookie recipe!
This post may contain affiliate links. Please read our Disclosure Policy.
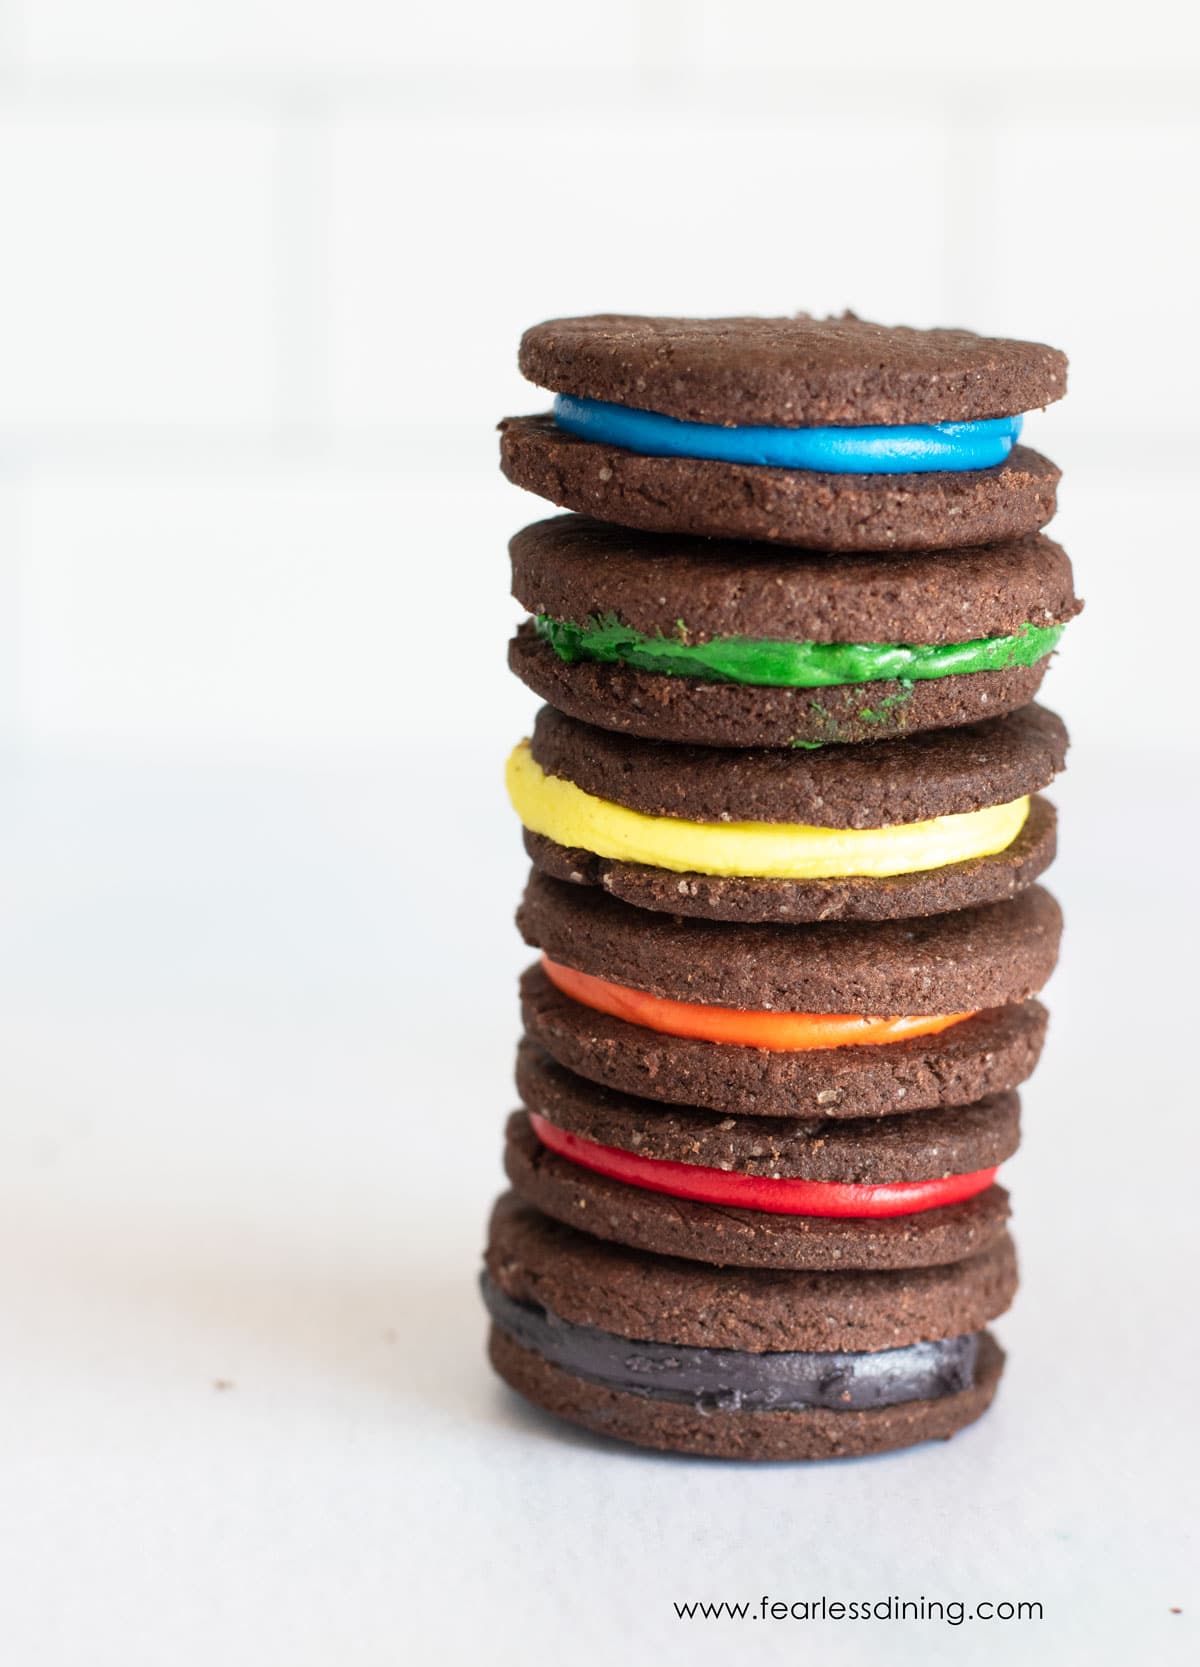
Gluten-free sandwich cookies have always been one of my favorite cookies. How is it possible I have never made a sandwich cookie? I have made lots of whoopie pies and things more cake-like, but never a real-filled cookie that resembles an Oreo.
My kids were pretty excited about this gluten-free cookie recipe, too. These cookies are crisp like an Oreo, and the thick vanilla filling is so good. These gluten-free chocolate wafers are the perfect vessel for my thicker rainbow-colored buttercream frosting. If you aren’t in a colorful mood, you can easily use white frosting like the original Oreos.
If you love to bake, check out all of my delicious gluten-free cookie recipes!
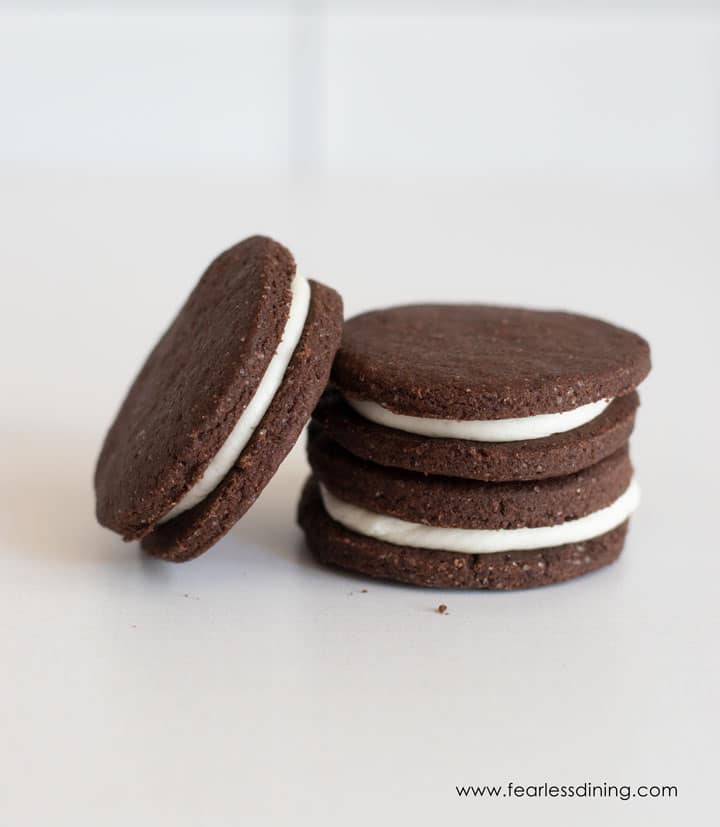
Allergen Information:
These chocolate cookies are gluten-free, soy-free, and nut-free. They can be made dairy-free by substituting non-dairy butter for the regular butter in the cookies and frosting.
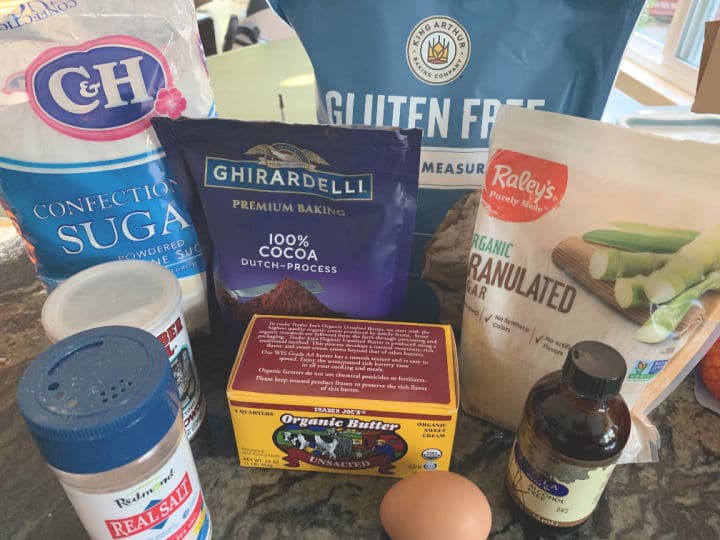
Ingredient Notes:
For the full list of ingredients and amounts, please go to the recipe card below.
- Gluten-Free Flour Blend – I tested this recipe using Bob’s Red Mill 1 to 1 Gluten Free Flour Blend and King Arthur’s Measure for Measure Gluten-Free Blend. That doesn’t mean others will not work; I just have not tested other flours.
- Cocoa Powder – I like to use Anthony’s Cocoa and Ghirardelli. Both are gluten-free.
- Baking Powder and Salt – Use aluminum-free baking powder.
- Eggs – Use size large
- Pure Vanilla Extract – do not use imitation vanilla.
- Butter – I recommend using unsalted butter.
- Powdered Sugar – This is for the frosting.
- Food Coloring – You can use natural or regular brands of food coloring, depending on personal preference.
Step-By-Step Photos and Directions:
🔑 Sandi says: You can also mix your cookie dough in a stand mixer if you prefer. If you use a stand mixer, add the wet ingredients first, then gradually add the dry ingredients.
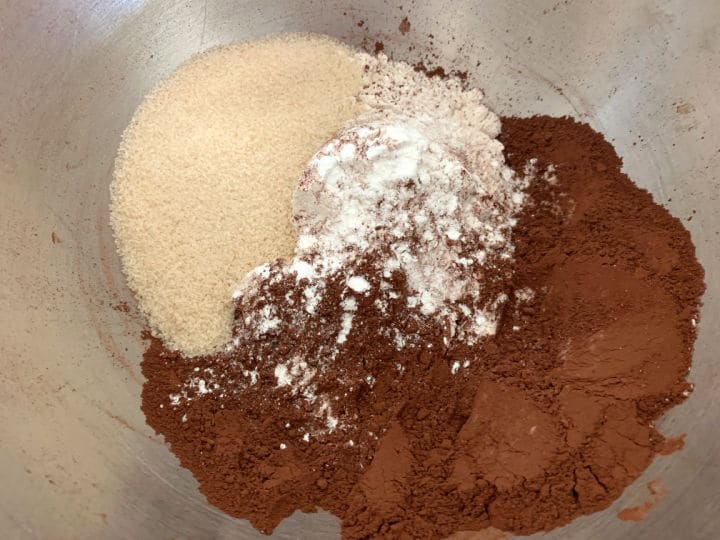
Step 1: Add your dry ingredients, including the flour, cocoa powder, sugar, baking powder, and salt, to a large
Step 2: In a smaller bowl, add your wet ingredients, including the partially melted butter, eggs, and vanilla, and mix well with a large spoon.
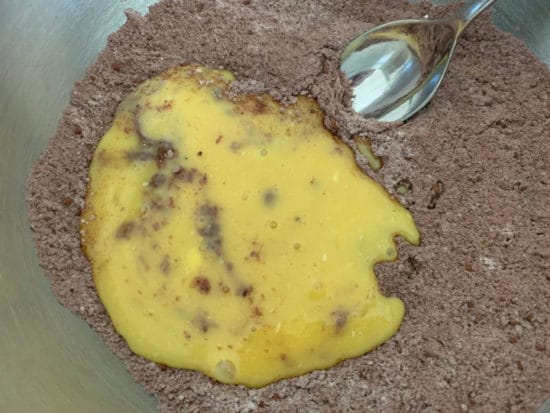
Step 3: Pour the wet ingredients into the dry ingredients and mix well. You should get a workable cookie dough consistency.
Note: every gluten-free flour blend has a different grain-to-starch ratio. This will affect the moisture levels of your cookie dough. If your cookie dough is really sticky, add more flour. You need more melted butter if your cookie dough is dry and crumbly. Read Why Gluten-Free Flour Blends Vary for more details on why this happens.
Dough Chilling Tip:
Wrap the dough in plastic wrap and chill the cookie dough for 30-45 minutes. This has two benefits. First, it allows the rice flour to soften so your cookies are not grainy, and second, it will be easier to work the dough.
Email This Recipe To Me!
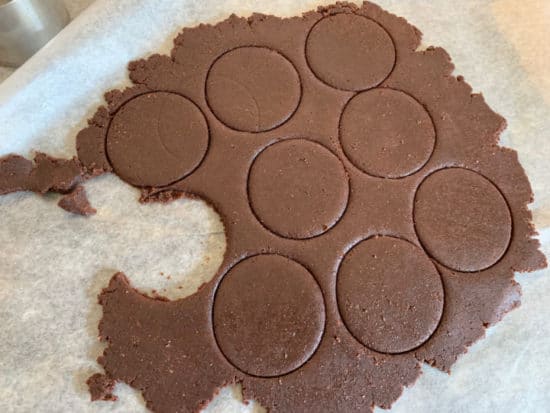
Step 4: If you chilled the cookie dough, preheat your oven now to 350º F. Lay out a piece of wax paper and put your chocolate cookie dough on top. Place another piece of wax paper on top of the dough and use a rolling pin to roll the cookie dough to 1/4-inch thickness.
Step 5: Grab your favorite cookie cutters. I used a small round cookie cutter to cut out the cookies.
Step 6: Bake the cookies on a parchment-lined
Step 7: Remove the cookies from the oven and place them on a cooling rack. Using parchment paper, you can easily slide the cookies onto the cooling rack. Allow cookies to cool completely before adding frosting to the middles.
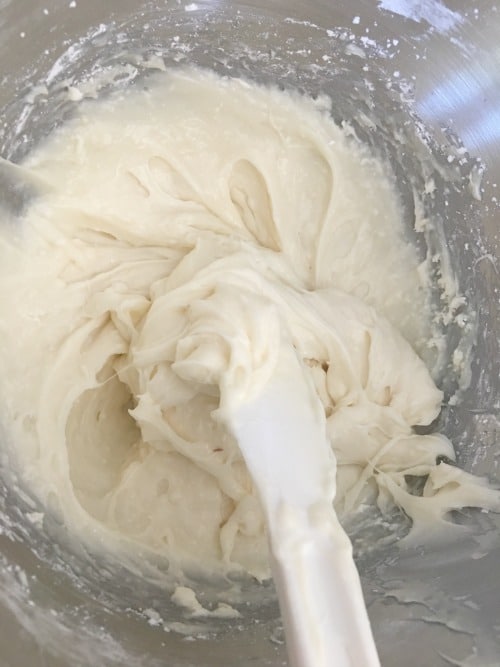
Step 8: Make your frosting in a standing mixer with butter, vanilla, powdered sugar, and a little water. The measurements are in the recipe card below. Again, if you are dairy-free, use a plant-based butter.
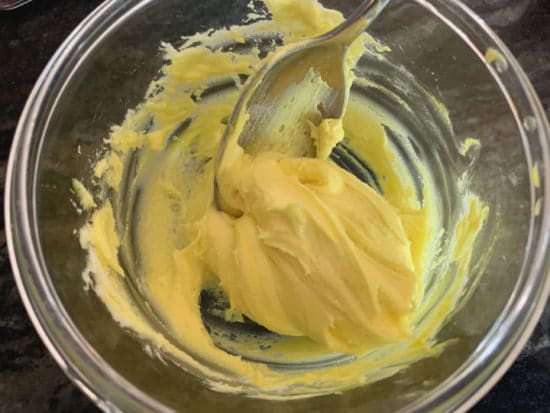

Step 7: To make the rainbow-colored frosting, divide your frosting into small bowls. Add a few drops of food coloring to each bowl. Mix and adjust the color to darker if you like. You can skip this if you are going to have vanilla centers.
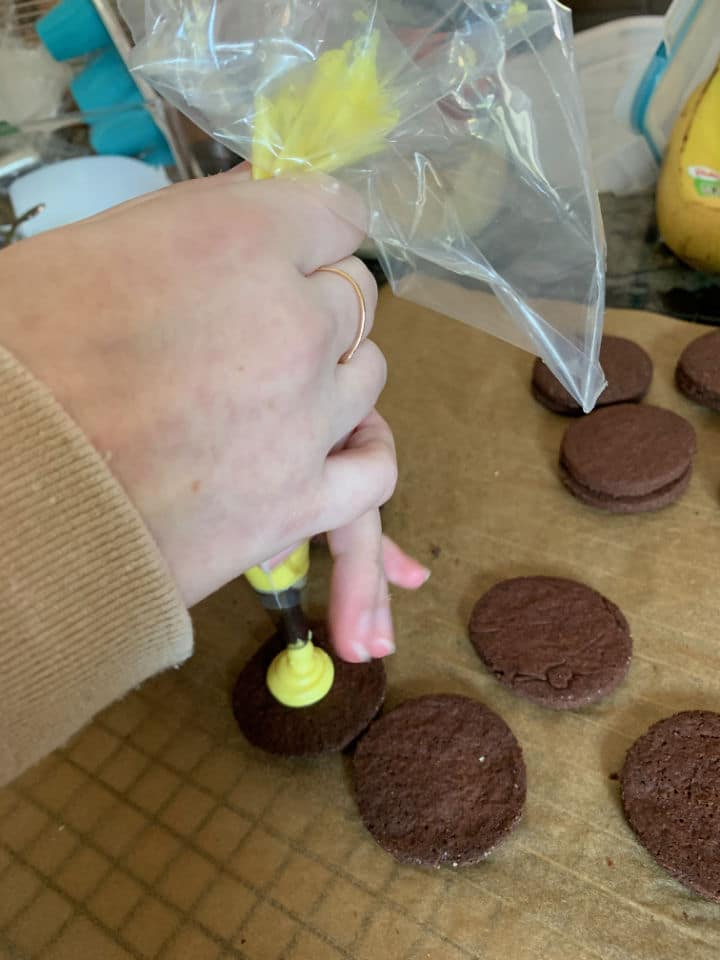
Step 8: Use a large spoon to fill a pastry bag with frosting and pipe it onto chocolate cookies, topping each cookie with another cookie to make a sandwich cookie. I used a regular round tip, but you can also use a star-shaped frosting tip.
More Gluten-Free Cookies Recipes:
- Gluten Free Chocolate Chip Cookies
- Easy Gluten Free Animal Cookies
- Giant Gluten Free M&M Cookies
- Gluten Free Butter Pecan Cookies
- Crisp Gluten Free Butter Cookies
Love This Recipe?
If you made and enjoyed this recipe, I would be incredibly grateful if you could leave a comment below. Please include which flour blend you used. This will help others know this recipe is delicious. Thank you!

Homemade Gluten Free Oreo Cookies
Ingredients
Method
- If you are mixing these by hand, add the dry ingredients, including the cocoa powder, sugar, baking powder, and salt to a large mixing bowl. Use a whisk to blend. In a smaller bowl, add the melted butter, eggs, and vanilla extract. Whisk to blend.
- If you are using a stand mixer, put on a paddle attachment and add all of the wet ingredients to the mixer. Mix on low speed and increase to medium speed.
- In a large mixing bowl, combine the dry ingredients, including the cocoa powder, flour, sugar, baking powder, and salt. Whisk to blend them. Add in the dry ingredients slowly to the mixer a little at a time.
- Remove the dough and wrap in plastic wrap. Refrigerate the cookie dough for 30-45 minutes.
- Preheat the oven to 350º F.
- Remove the cookie dough from the refrigerator and remove from the plastic wrap.
- Place the dough on a piece of wax paper. Cover with another piece of wax paper and use a rolling pin to roll the dough to 1/4 inch thickness with a rolling pin.
- Use your favorite cookie cutter to cut out shapes.
- Place a piece of parchment paper over a cookie sheet.
- Place each cookie shape on the baking sheet.
- Bake the cookie shapes for 8-10 minutes. The actual baking time can vary depending on how thick cookies are, and the size.
- Remove the cookies from the baking sheet and place on a cooling rack. Let the cookies cool completely to room temperature before adding the frosting middles.
- Add the powdered sugar, butter, and water to the standing mixer with a whisk attachment.
- Mix on low speed until the powdered sugar is incorporated.
- Divide the frosting into several small bowls (depending on how many colors you make).
- Add a few drops of food color to each bowl. Mix well.
- Take a pastry bag and a tip, and add one color of frosting to the bag. Pipe it onto a cookie then add another cookie on top to make the cookie sandwich. I used a round tip, but you can also use a star frosting tip shape if you prefer.
Nutrition
Notes
- I have tested this recipe with King Arthur Measure for Measure GF and Bob’s Red Mill 1 to 1 GF blend in this recipe. That doesn’t mean others will not work, I just have not tested other flours. Every single flour blend has a different grain-to-starch ratio. This will affect the moisture level of the dough. If your dough is sticky, add more flour, if your dough is dry and crumbly, add more melted butter.
- If your gluten free flour blend doesn’t contain Xanthan Gum or Guar Gum, please add 3/4 teaspoon.
- To make this recipe dairy-free, substitute the butter for vegan butter.
- These cookies will keep up to 4 days in an airtight container, or up to 4 months in the freezer. Freeze in a freezer-safe container or zipper bag.
Nutritional Disclaimer
Nutritional information is an estimate provided to you as a courtesy. You should calculate the actual nutritional information with the products and brands you are using with your preferred nutritional calculator.
Tried this recipe?
Let us know how it was!
