



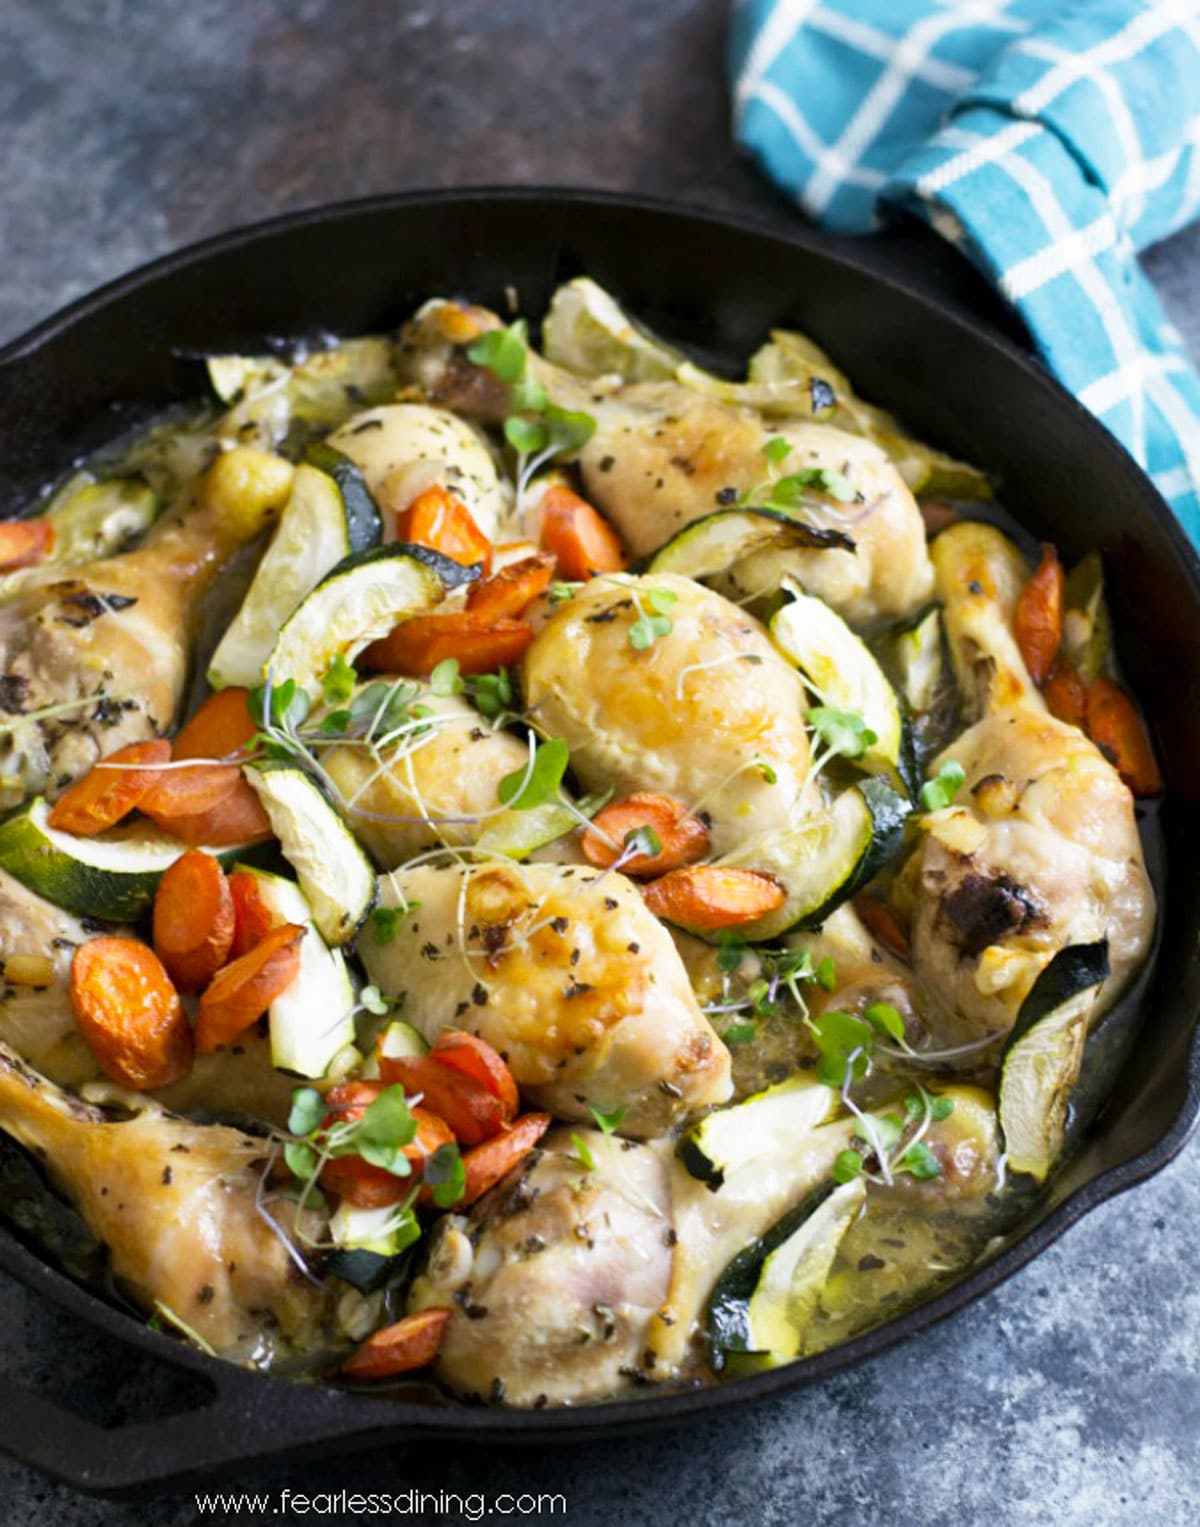
This hearty stovetop chicken legs recipe helps you make juicy, tender chicken in under 30 minutes. The skin sears golden and crisp in one pan, while garlic, herbs, and veggies simmer into a delicious broth. Whether you are new to cooking chicken legs on the stove or just need a fast dinner idea
This post may contain affiliate links. Please read our Disclosure Policy.
❤️ Sandi’s Recipe Summary
The Quick Bite: This easy stovetop chicken leg recipe uses simple ingredients and cooks in just one pan. It is a great budget recipe, and you can use any vegetables you have on hand. It is a kid-friendly dinner recipe that is perfect for busy weeknights.
“I loved the recipe, but instead of mushrooms and zucchini I added yellow squash and sweet potatoes. It tasted soooo good!!!”
Diana, Blog comment
It seems like every night is a busy one. Between school, sports, and homework, a healthy dinner is so important. This dinner came together when I was looking in the refrigerator, deciding what to make. This recipe uses any vegetables you have on hand, so you can customize the flavor in so many ways by varying the vegetables. Using root vegetables will slightly sweeten it, and using more savory vegetables like cauliflower will make it more savory.
If you love chicken as much as we do, you will want to check out ALL of my delicious Gluten-Free Chicken Recipes. If you use fresh herbs, here are some tips for cooking with fresh herbs.

Testing Notes From My Kitchen
You do not need fancy tools to make this dinner recipe, just a big skillet with a lid and some basic spices. If you are short on time, buy pre-sliced vegetables or prep the veggies ahead of time while the chicken sears. This is a meal even picky kids will eat, plus you can sneak in any vegetables that need using up.
I tested this recipe using a 12″ cast iron skillet and a stainless steel skillet. Both performed well, but the cast-iron skillet was much better for getting a good sear on both sides of the drumsticks. During testing, I tried both boneless thighs and bone-in drumsticks. The bone-in version remained juicier. The thighs cooked 10 minutes quicker as well.
How To Cook Chicken Drumsticks On The Stove:
Ingredient Notes:
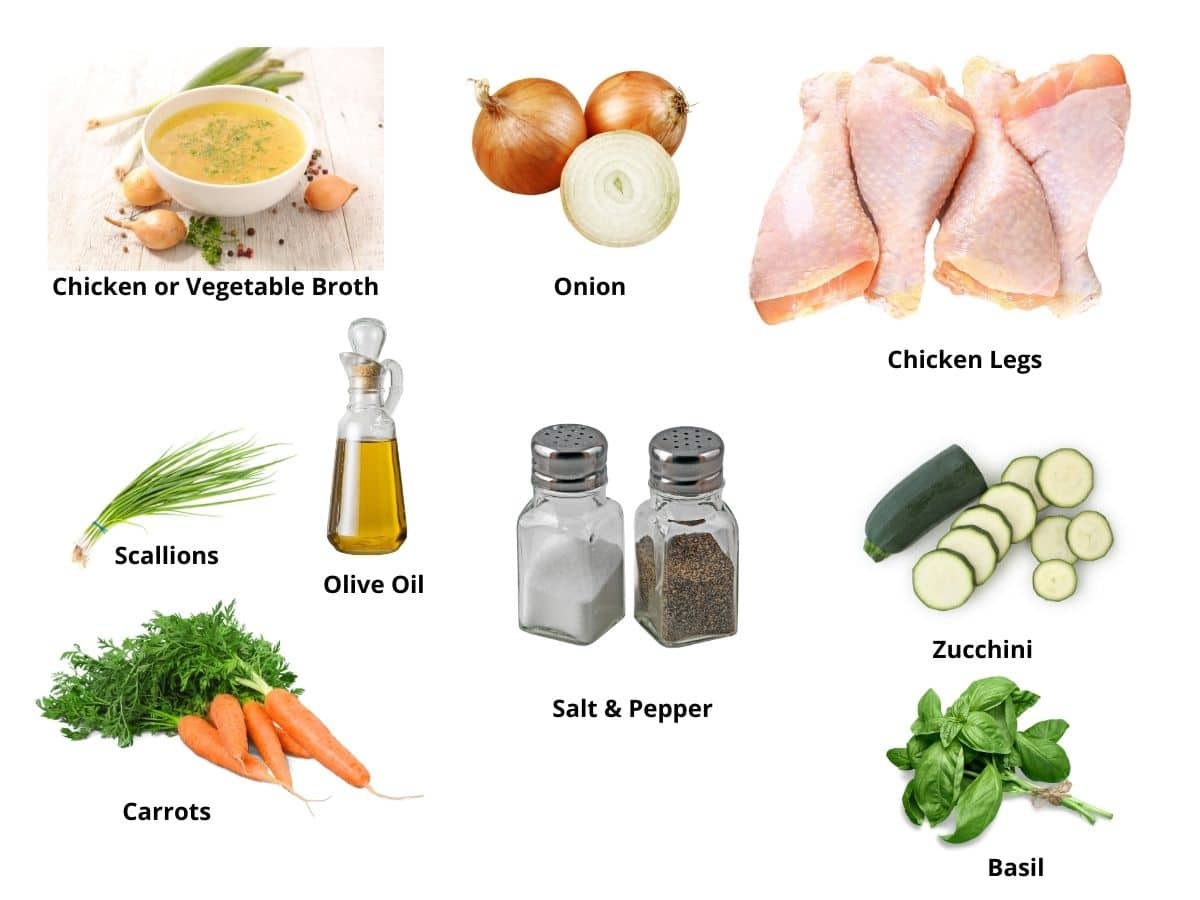
For the full list of ingredients and amounts, please go to the recipe card below.
- Chicken Legs – I used chicken legs, but this recipe will taste great with any chicken cut.
- Chicken Broth – I tested this recipe using low-sodium or regular chicken broth. If there isn’t enough salt, you can always add more salt to the pan as it cooks.
- Vegetables – Onions, carrots, zucchini, or switch things up with sweet potatoes and cauliflower.
- Garlic – I used minced fresh cloves, but jarred garlic also tastes good.
- Basil – Fresh basil is my favorite, but dried is okay too.
- Olive Oil – I use olive oil, but avocado and other types of oil also work well.
- Seasonings – Salt, pepper, Italian seasonings, etc.
Again, use the vegetables you have on hand. I consider this recipe a way to minimize food waste, as I utilize the oldest vegetables in my refrigerator.
Email This Recipe To Me!
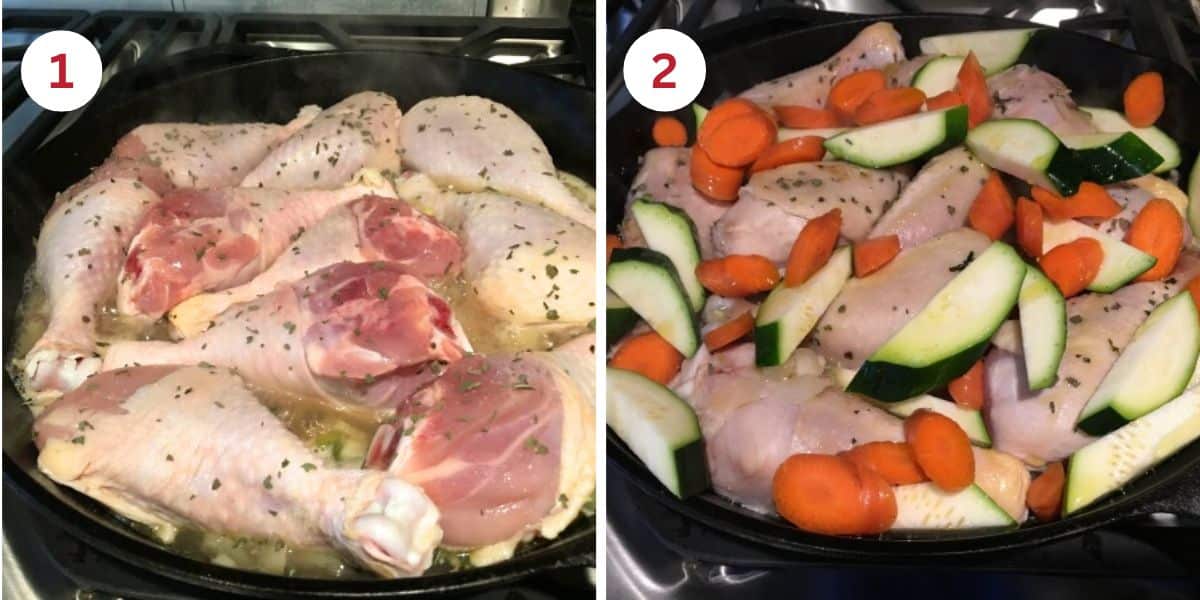
Step 1: Heat olive oil in a 12″ skillet over medium heat. Add chopped onion and minced garlic and cook for 2-3 minutes, just until fragrant and slightly softened.
Step 2: Season the chicken legs on all sides with salt, pepper, and Italian seasoning. Place them in the pan and sear for about 5 minutes per side. This locks in flavor and starts crisping the skin.
Step 3: Scatter in the chopped carrots, zucchini, and any other firm vegetables you’re using. Pour in the chicken broth. Bring to a gentle simmer.
Step 4: Lower the heat and cover the pan. Let everything simmer for another 10 to 15 minutes, flipping the chicken halfway through, cooking until the internal temperature reaches 165ºF. The veggies will be tender and infused with flavor.
TIP: Always check the internal temperature of the meat before eating it. Chicken should always be 165ºF close to the bone to ensure it is thoroughly cooked.
If you’re looking for another great chicken leg recipe, try this easy Slow-Cooker Curry Chicken Legs recipe.
Flavor Variations:
Changing up the seasonings gives you lots of options for weeknight meals. Here are some of our favorites:
- Ranch Seasoning – Hidden Valley Ranch Seasoning is gluten-free. We also like Penzeys Ranch Seasoning.
- Taco Seasoning – I mostly use the Siete brand, but occasionally we use McCormick Taco Seasoning.
Serve these stovetop chicken legs with:
- This Kale and Apple Salad pairs with this stovetop chicken legs recipe.
- You can make this Roasted Fingerling Potatoes recipe in the air fryer, on the stovetop, or in the oven.
- Everyone loves these creamy Mashed Potatoes with Cream Cheese, even my picky eater.
- Do not forget these Gluten-Free Cornmeal Biscuits or Gluten-Free Garlic Knots.
Frequently Asked Questions:
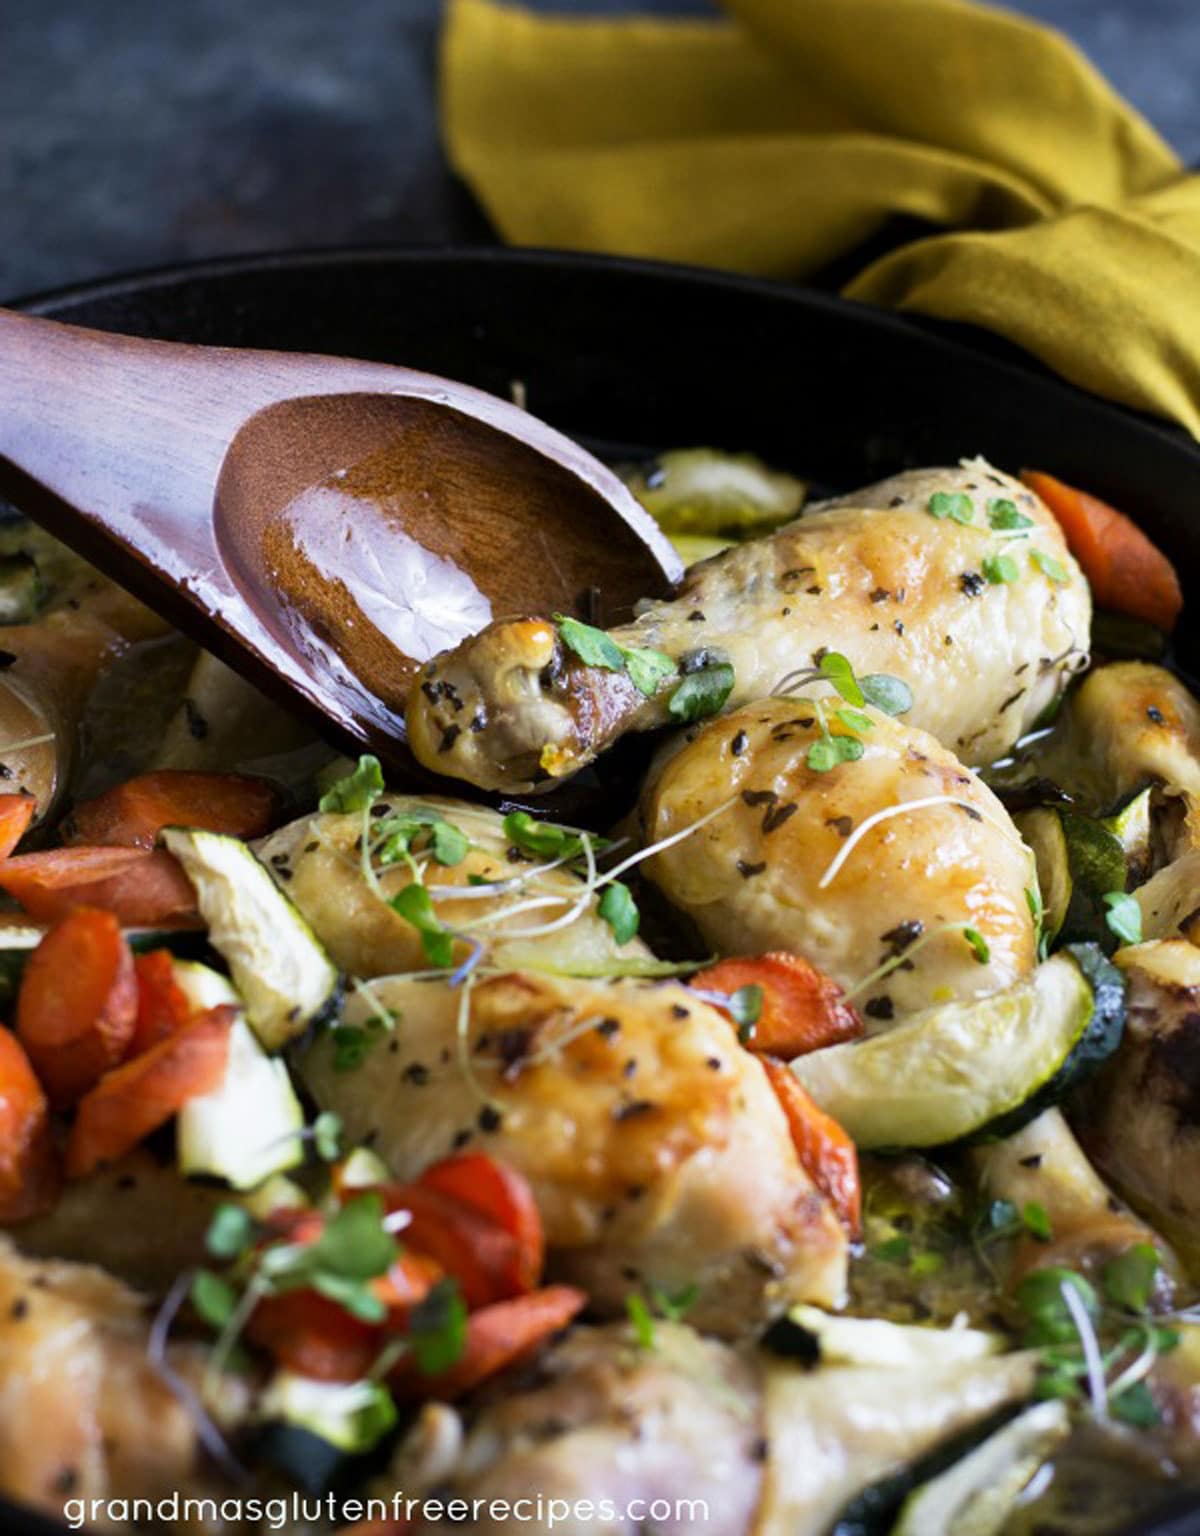
Use a cooking thermometer and insert it into the thickest part of the chicken leg. You want the chicken to be 165ºF. I love this digital cooking thermometer. It is handy in the kitchen and when we cook on our grill, too!
These chicken legs will keep fresh for up to 4 days in an airtight container in the refrigerator or for up to 4 months in the freezer.
More Gluten-Free Dinner Recipes:
- The whole family loves this Gluten-Free Fried Chicken recipe because it is crispy on the outside and tender on the inside!
- I love using fresh herbs when cooking; the flavor stands out in this Herb Roasted Chicken recipe.
Love This Recipe?
💬 Did you make this stovetop drumsticks recipe? I would love to hear how it turned out, and which pan you used! Your feedback helps others (and helps me keep improving these recipes for you). ⭐⭐⭐⭐⭐
Easy Stove Top Chicken Legs Recipe (One Pan Recipe)
Ingredients
- 6 chicken drumsticks * see note
- 2 tablespoons cooking oil
- ½ cup low sodium chicken broth
- 2 teaspoons Italian seasonings or basil
- 2 cloves fresh minced garlic
- 1 teaspoon salt
- ½ teaspoon ground black pepper
- ½ cup chopped carrots
- ½ cup chopped zucchini
- 1 diced onion
Equipment
Method
- In a large cast iron skillet, add cooking oil, garlic and onion over medium heat. Saute until the onions become clear, about 2 -3minutes
- Rub the chicken legs with seasonings and salt, and sear on medium-high heat for 3-4 minutes on each side. This locks in the juices. Cover the pan, turn the temperature to medium and cook for 10 minutes. Turn the chicken over again midway through cooking.
- Pour in chicken broth and add the chopped vegetables.
- Continue to cook in the pan, or move the pan to the oven and bake at 375ºF. (You can cook these either way!)
- The chicken legs are done when their internal temperature at the thickest point is 165ºF.
- Serve hot.
Nutrition
Notes
- You can use any chicken part. If you use boneless chicken, it will take less time to cook.
- This is a great recipe to avoid food waste. Use the vegetables you have on hand.
- For this recipe, you can use either dried herbs or fresh.
- Store the leftovers in the refrigerator in an airtight container for up to 3 days.
- Freeze in a freezer-safe container or zipper bag. It will last for 3 months or longer if you vacuum seal it.
Private Notes
Tried this recipe?
Let us know how it was!
This post was updated from an older March 2017 post with more recipe details.
I truly hope you enjoy this recipe. I have been testing and creating gluten-free recipes for over 15 years. Creating gluten-free recipes that do not taste gluten-free is my goal for every recipe. Sometimes I only have to test a new recipe a couple of times, and others it takes multiple times. I do this so you get reliable, delicious results every time!

H there – I was careful to make sure the chicken was done completely, and it worked and the chicken was tasty. However, if I followed the instructions the zucchini would have become limp and mushy. I would appreciate more exact times in the recipe. I’ll work on it and if I come up with something, I’ll let you know. Thanks.
Hi Sharon, Thank you so much. I am so glad you enjoyed the chicken, but sorry you ended up with soggy zucchini. How large and ripe were the zucchini? If they are large (wide), they can get mushy quicker. Maybe adding them in part way through cooking can help.
We made this tonight and it was so yummy! Very easy and fast.
Thank you so much, Gianna. I am so glad you loved this recipe. I appreciate your coming back to leave a review!
I loved the recipe but instead of mushrooms and zucchini I added yellow squash and sweet potatoes. It tasted soooo good!!!
Thank you!
I am so glad you loved this. I bet the sweet potatoes added really nice flavor!
I wish I had some guidance on how long to cook the dish. The cook time at the top says 2 minutes!
Hi Roseanne, Sorry for the confusion. I am not sure why it said 2 minutes and I did fix that. The post directions talked about 30 minutes total time. Thank you.