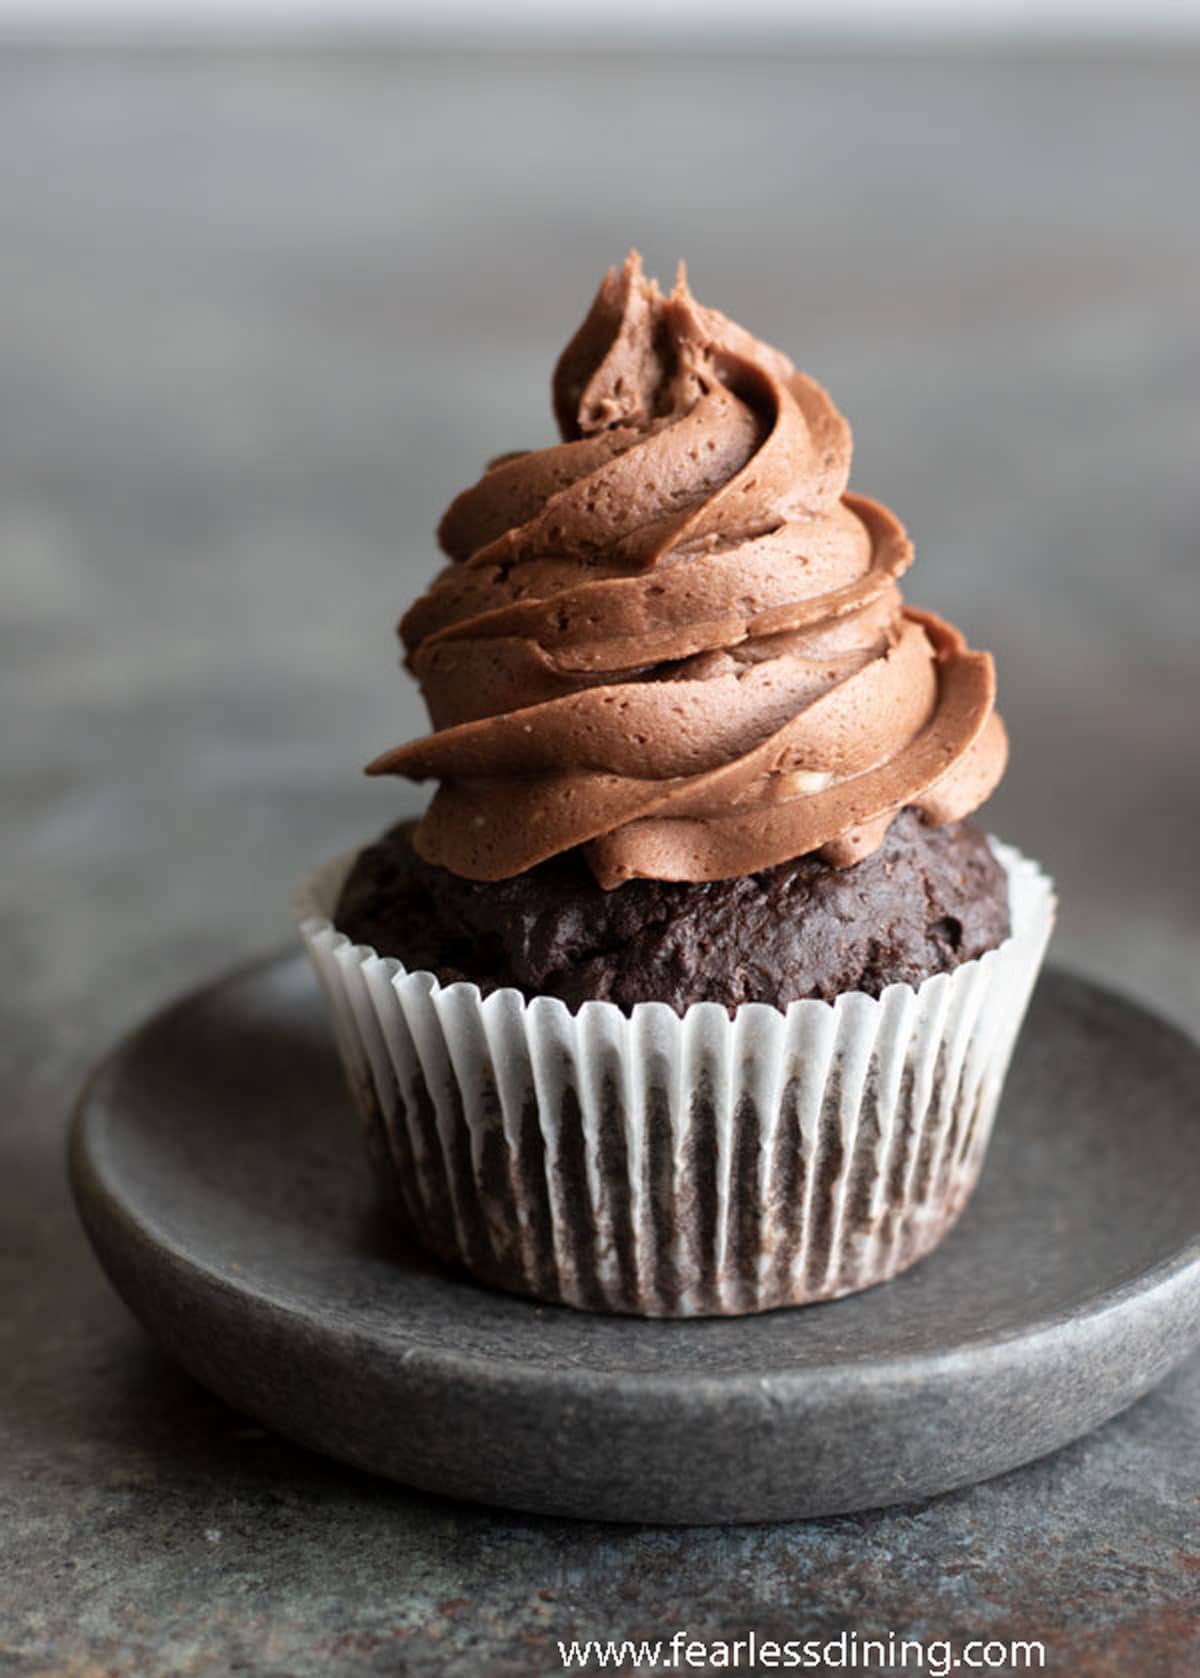
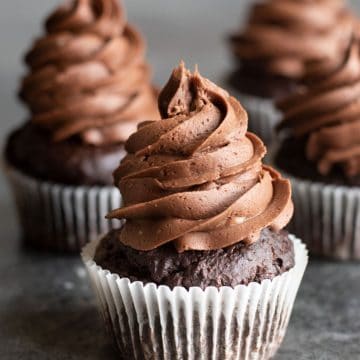
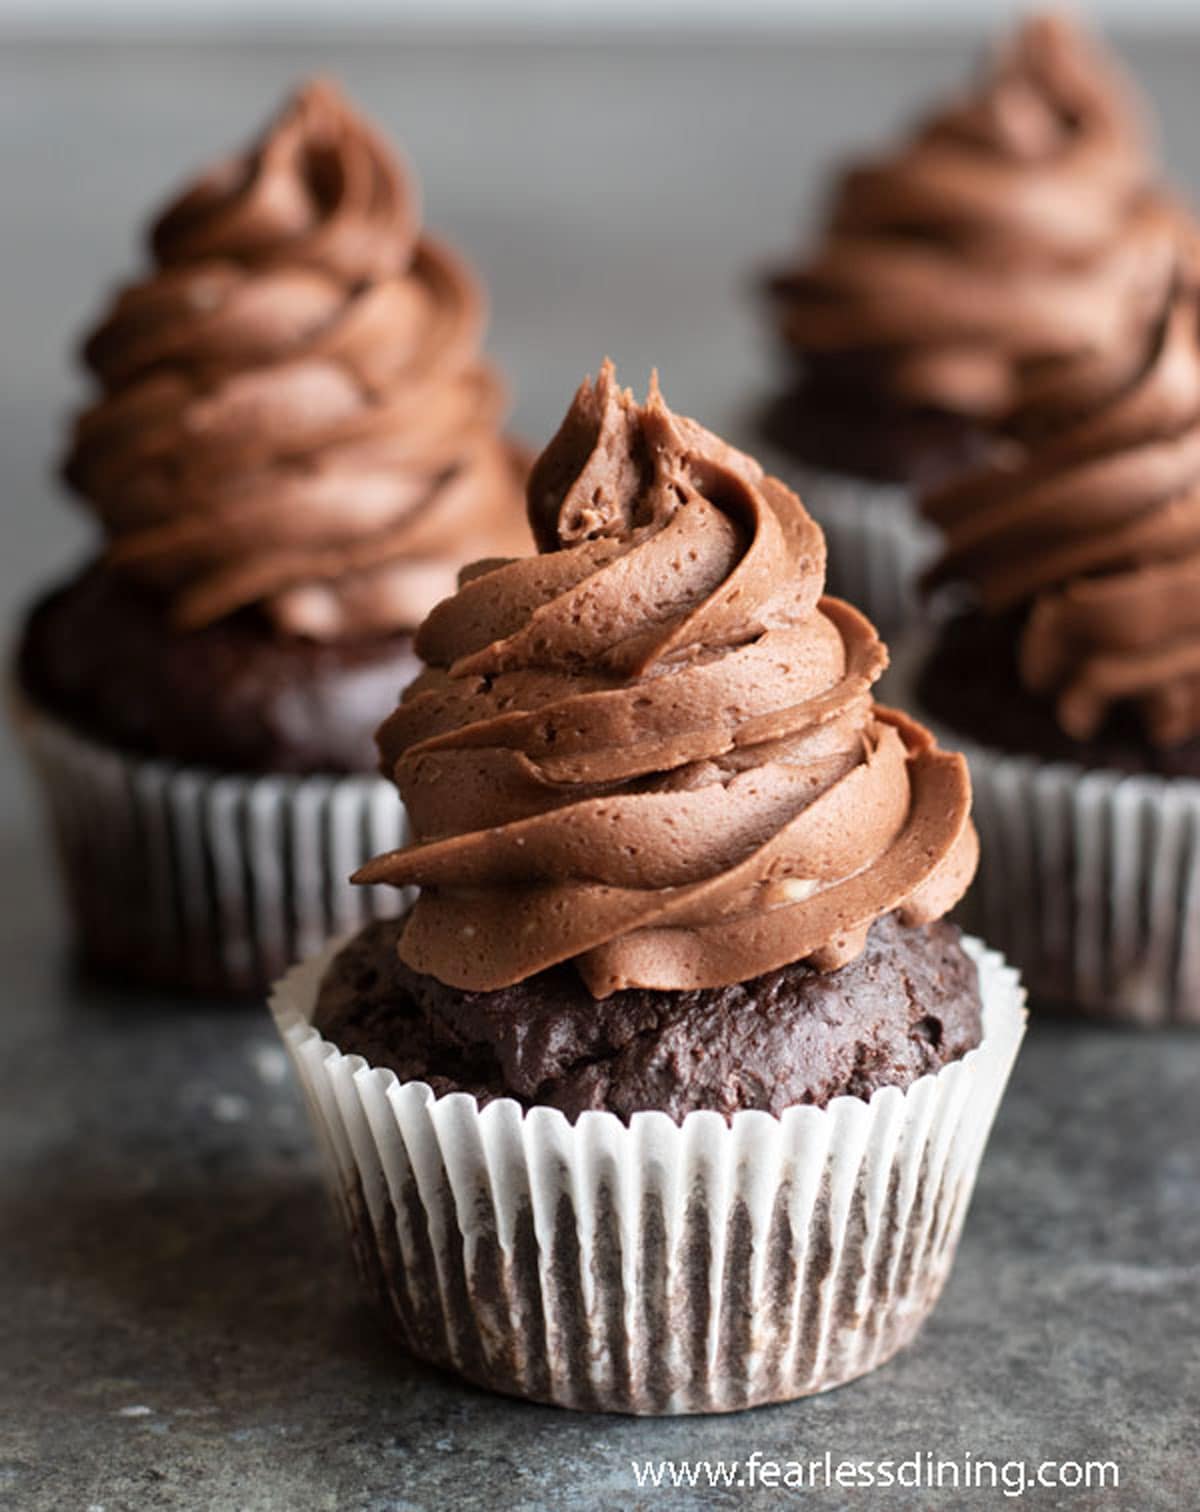
These gluten-free chocolate cupcakes are full of chocolate goodness! If you love chocolate, this easy cupcake recipe is the perfect gluten-free chocolate cupcake recipe. These cupcakes are moist, chocolaty, and just plain irresistible! I also include a dairy-free option for those who are dairy-free.
This is an easy beginner-level cupcake recipe that is fun to make. I have several variations so you can make it to follow your dietary restrictions. The texture of these cupcakes is fluffy and soft. For more great options, check out more of my gluten-free cupcake recipes!!
This post may contain affiliate links. Please read our Disclosure Policy.
Why my family loves these gluten-free chocolate cupcakes:
- They are perfect for any occasion. School parties, bridal showers, bake sales, birthday parties, or any time!
- These cupcakes have an incredible, rich chocolate flavor. They are made for every chocolate lover.
- My gluten free chocolate cupcakes are topped with a creamy chocolate buttercream frosting, making them a favorite recipe with my readers.
- I use simple ingredients that are easy to find at most local grocery stores.
These are the best I have ever had. I mixed in coconut sugar with reg sugar and everyone loved them. it also made 15. l love them. no body knew they were GF.”
kathleen w., blog comment
Allergen Information:
This homemade chocolate cupcake recipe is gluten-free, soy-free, nut-free, and oat-free. Make them dairy-free milk and yogurt.
Flour Blends Tested:
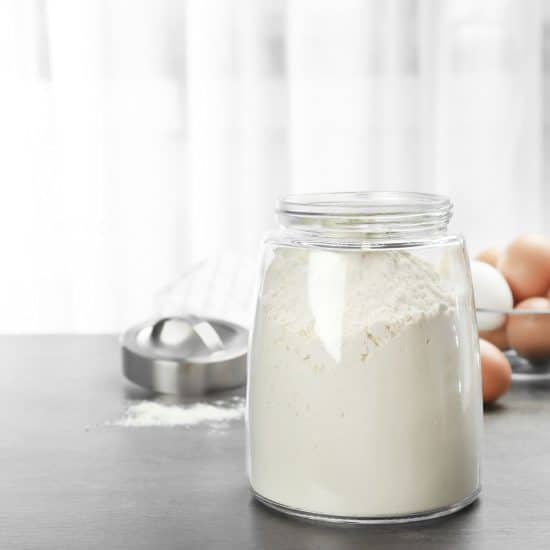
- King Arthur Measure for Measure—This blend works really well in my recipes. I don’t have to let the flour blend rest in the batter.
- Bob’s Red Mill 1:1 Blend—This blend also works well, but this flour blend does benefit from resting the batter for 15 minutes before baking. The rest allows the rice flour in this blend to soften, so you don’t have gritty baked goods.
Ingredient Notes:
For the full list of ingredients and amounts, please go to the recipe card below.
- Gluten-Free Flour Blend – I have tested this recipe with the two flour blends listed above. That doesn’t mean others will not work; I have not tested other flours. Do not use coconut flour, which will not work in this recipe.
- Cocoa Powder – Many ask me what cocoa powder is gluten free. Most cocoa powders are gluten-free, but always read the label. My favorite is Anthony’s Cocoa Powder.
- Xanthan Gum – If your gluten free flour blend doesn’t contain Xanthan Gum or Guar Gum, please add 1 teaspoon.
- Butter—Use unsalted butter for the frosting. If you want this cupcake recipe to be dairy-free, use non-dairy butter.
- Coconut Oil—I include some coconut oil, but you can also use other oils types. This adds a little sweetness. You can also use vegetable oil if you prefer. (You can also use unsalted butter.)
- Yogurt – This adds moistness to your cupcakes. I used regular full-fat plain yogurt, but you can also use vanilla flavored. You can use dairy-free yogurt as well.
- Eggs – Use large eggs at room temperature for best results.
- Milk – You can use regular milk or dairy-free milk. I often use almond milk. I do not recommend using coconut milk.
- Powdered Sugar – Powdered sugar should be gluten free, but always double-check the labels to be safe.
- Vanilla Extract – I recommend using pure vanilla extract, not imitation vanilla.
My Best Gluten-Free Cupcake Tips:
1. Don’t stir the batter too much. People often think they need to keep mixing it, which adds air to the batter, creating a less-than-stellar cupcake.
2. Use quality ingredients. I know that food can get expensive, but when it comes to baking, you should spend the extra money on quality ingredients.
3. Room-temperature ingredients—If the ingredients are too cold, they can affect how they bake.
4. Use a large cookie scoop to put the batter in the cupcake tin. Then, you will have gorgeous uniform cupcakes.
5. Don’t overbake or bake at too high of a temperature. Double-check your oven temperature and check the cupcakes often to ensure you don’t overbake. Otherwise, they will turn out dry and not as flavorful.
Step-By-Step Photos and Directions:
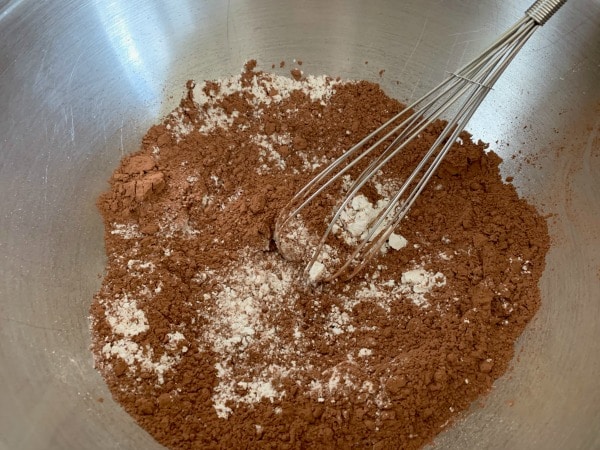
Step 1: Add your gluten free flour, cocoa powder, sugar, and the rest of the dry ingredients to a large
To measure your gluten free flour, use one of these two methods:
Spoon Method: You can also use a spoon to fill the measuring cup. Use a knife to level along the top to remove the extra flour. Leveling Method: Put the measuring scoop into the flour and fill. Do not pack the flour. Use a knife to scrape along the top to remove the extra flour.
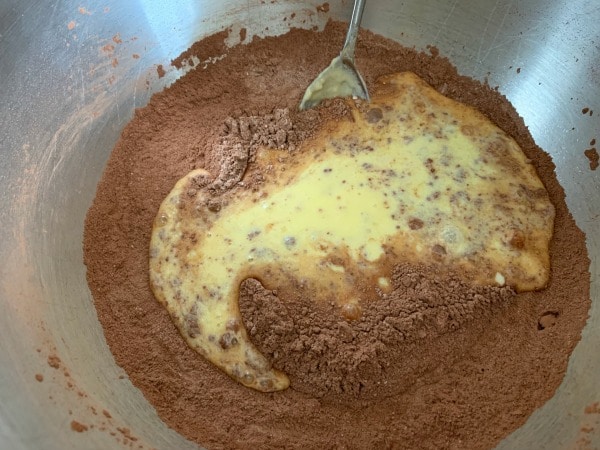
Step 2: In a separate smaller bowl, add the eggs, vanilla extract, yogurt, milk, and oil and whisk to mix them.
Pour the wet ingredients into the dry ingredients and mix them together gently until barely mixed. Overmixing can cause these cupcakes to be denser, so I do NOT recommend using a standing mixer to make this cupcake recipe.
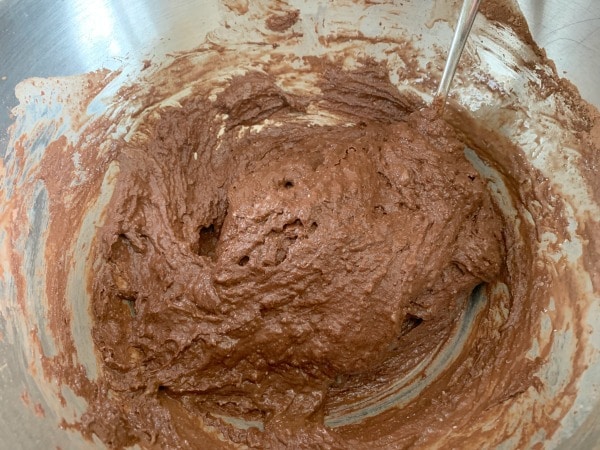
This photo shows the consistency of your chocolate cupcake batter. It should be smooth with no lumps.
📢 Sandi says: Every gluten-free flour blend has a different starch-to-grain ratio. The brand of gluten-free flour you use will affect the moisture of the batter. If your cake batter is too runny, add more flour, and if it is too thick, add more liquids.
Read Why Gluten-Free Flour Blends Vary to learn more about this.
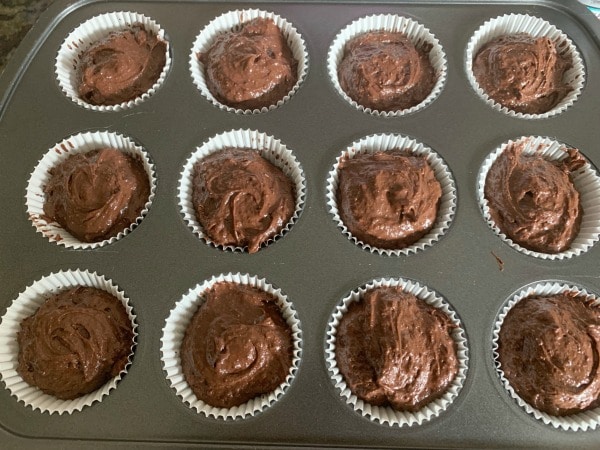
Step 3: Line your muffin pan with parchment paper-lined cupcake liners. Scoop your cupcake batter into the cupcake liners. I really like these parchment paper liners because the cupcakes don’t stick.
Step 4: Bake the cupcakes for 20-22 minutes at 350º F. You will know the cupcakes are done when you can insert a toothpick in the middle, and the toothpick comes up clean. (If there is batter on the toothpick, it will need to bake a little longer.)
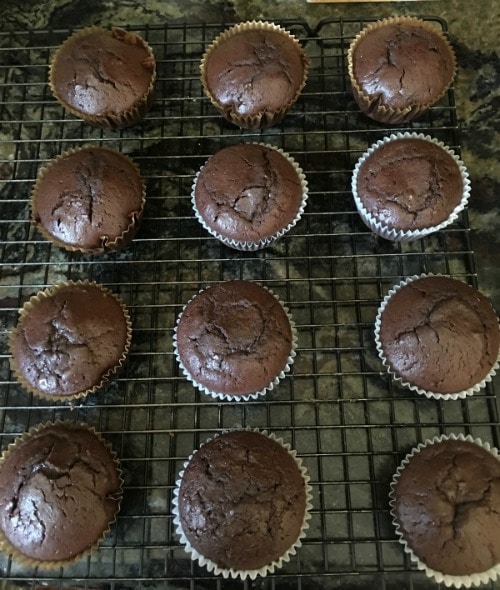
Step 5: Remove the cupcakes from the oven. Carefully lift each out of the cupcake tin onto a wire rack to cool.
Step 6: Mix the chocolate buttercream frosting while the cupcakes are cooling.
Add the softened butter and the rest of the ingredients to a stand mixer with a whisk attachment or use an electric mixer. Mix at low speed as the powdered sugar and cocoa powder are mixed in. Gradually increase to medium speed and mix for another 30 seconds.
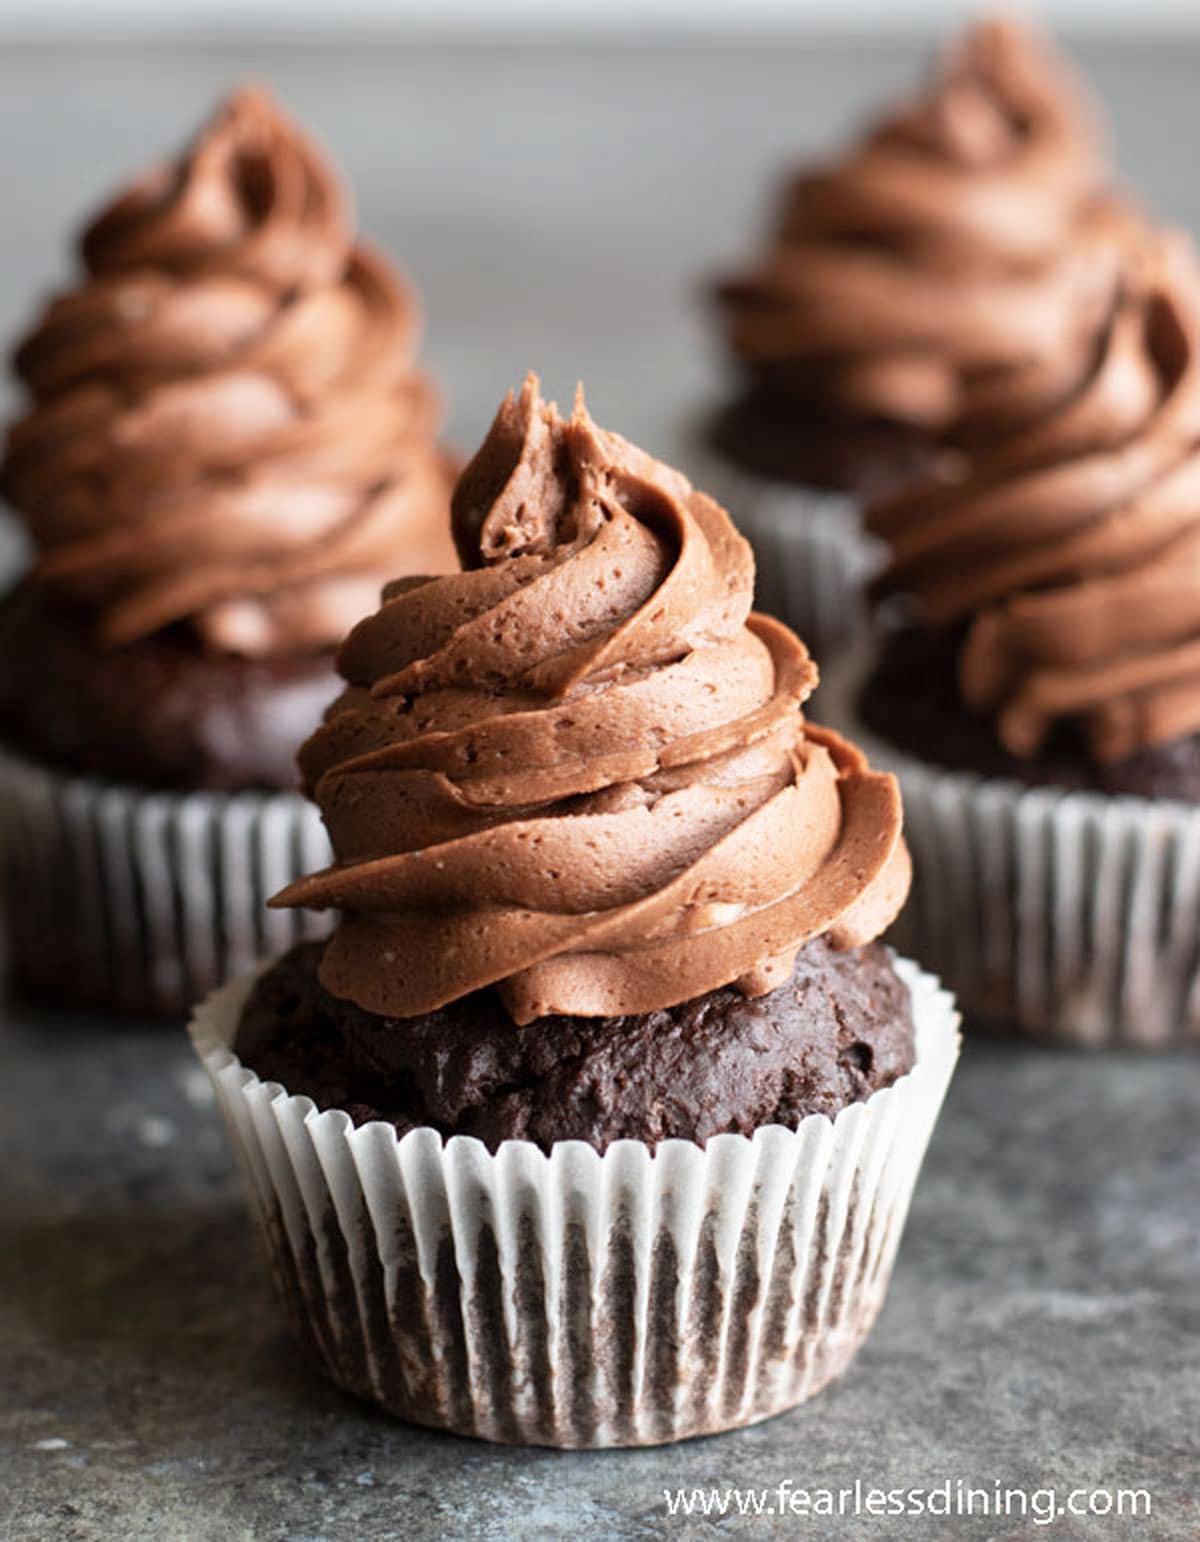
Step 7: Grab a piping bag and a frosting tip. Cut the tip off the piping bag and drop the tip inside. Fill the pastry bag 3/4 full with frosting and pipe some frosting onto each cupcake. Have fun and experiment to see what looks best to you!
👀 Sandi Says: If you are decorating with sprinkles, be sure to check my list of gluten free sprinkles.
Topping Ideas:
Take these delicious cupcakes to a whole new level with some of these fun flavor ideas:
- Raspberries – Add a fresh, ripe raspberry to the very top of the cupcake. It will look stunning!
- Chocolate shavings – You can sprinkle dark, milk, or white chocolate over the cupcake’s top. These cupcakes are very sweet, so don’t go crazy.
- Sprinkles – You can never go wrong with a few sprinkles.
- Strawberry – Adding a strawberry is perfect to give the cupcake a romantic look!
- Check out all of my frosting tips and tricks in my Gluten Free Frosting Guide.
You may also love this easy Gluten Free Crock Pot Lava Cake!
Frequently Asked Questions
To test for doneness, insert a toothpick into the center of a cupcake. If the toothpick comes out clean, it is done baking. If you see batter or crumbs, the cupcakes need to bake longer.
The secret to moist, fluffy cupcakes is not to overmix the batter. The batter gets air bubbles when mixing, and overmixing can burst all of these air bubbles.
If your cupcakes turned out dry, you used too much gluten free flour or a very starchy gluten free flour blend. To measure your gluten free flour, I recommend using either the spoon or leveling method I outline in Step 1 above.
There are a few options to store gluten free cupcakes. First, you can store them frosted or unfrosted in an airtight container on your counter. If, for some reason, you do not have an airtight container, you can wrap them with plastic wrap. Make sure to use several sheets of plastic wrap to ensure that air doesn’t get to the cupcakes.
Due to the dairy in the frosting, you should store the leftover frosting in the fridge. Additionally, if you have frosted all the cupcakes, store them in the refrigerator as well.
Yes, you can freeze cupcakes for 2-3 months. Make sure they have, and you store them in an airtight container. Do not frost them until you are ready to eat them. When you are prepared to use them, defrost on the counter and frost as needed.
Freezing them ahead of time makes your life even easier if you are planning a big birthday party, bridal shower, or community event. You can make large batches and freeze them the day you need to serve them.
More Gluten Free Cupcake Recipes:
Love This Recipe?
If you made and enjoyed this recipe, I would be incredibly grateful if you could leave a comment below. Please include which flour blend you used. This will help others know this recipe is delicious. Thank you!
Gluten Free Chocolate Cupcakes
Equipment
- Mixing bowls
- Whisk
- Muffin pan
Ingredients
- 1 ¼ cup gluten free flour blend * see note
- ¾ cup sugar
- ¾ cup unsweetened cocoa powder * see note
- 1 teaspoon baking powder aluminum free
- ⅛ teaspoon salt
- ½ cup milk * see note
- 1 teaspoon pure vanilla extract
- ½ cup yogurt
- 3 tablespoons coconut oil OR butter
- 3 large eggs
Frosting
- ½ cup unsalted butter room temperature
- 3 cups powdered sugar
- ½ cup cocoa powder
- 4 tablespoons milk (*I added more to get the thickness I wanted 1 TB at a time.
Instructions
- Preheat the oven to 350º F.
- Add your gluten free flour, cocoa powder, sugar, and the rest of the dry ingredients to a large mixing bowl. Whisk to blend them together.
- In a separate smaller bowl, add the eggs, vanilla extract, yogurt, milk, and oil and whisk to mix them. Pour the wet ingredients into the dry ingredients and mix them together gently until barely mixed. Overmixing can cause these cupcakes to be denser, so I do NOT recommend using a standing mixer to make this cupcake recipe.
- Note: Overmixing can cause these cupcakes to be denser so I do NOT recommend using a standing mixer to make this cupcake recipe.
- Line your muffin pan with parchment paper-lined cupcake liners. Scoop your cupcake batter into the cupcake liners. Fill each about 3/4 full of cupcake batter.
- Bake the cupcakes for 20-22 minutes at 350º F.
- Remove the cupcakes from the oven. Carefully lift the cupcakes out of the pan onto a wire rack to cool.
Frosting:
- While the cupcakes are cooling, you can mix up the chocolate buttercream frosting. Add the softened butter and the rest of the ingredients to a stand mixer with a whisk attachment or use an electric mixer. Mix on low speed as the powdered sugar and cocoa powder become mixed in. Gradually increase to medium speed and mix for another 30 seconds.
Notes
- I have tested this recipe with King Arthur Measure for Measure GF and Bob’s Red Mill 1 to 1 GF blend. That doesn’t mean others will not work, I just have not tested other flours.
- If your gluten free flour blend doesn’t contain Xanthan Gum or Guar Gum, please add 1 teaspoon.
- I used milk, but almond milk will also work well.
- To test for doneness, insert a toothpick into the center of a cupcake. If the toothpick comes out clean, it is done baking. If you see batter or crumbs, the cupcakes need to bake longer.
- These cupcakes will keep up to 4 days in an air-tight container, or up to 4 months in the freezer. Freeze unfrosted in a zipper bag.
- My favorite brands of gluten free cocoa powder are Anthony’s, and Ghirardelli.
SPECIAL NOTE
Please know that every gluten free flour blend has a different starch to grain ratio. If you use a blend I didn’t test, you may need to adjust your moisture levels in your baked goods.
Nutrition
Nutrition Disclaimer
Nutritional information is an estimate provided to you as a courtesy. You should calculate the actual nutritional information with the products and brands you are using with your preferred nutritional calculator.
This post was updated from an older post written on March 4, 2019, with new photos and better baking tips and directions.

These are the best I have ever had. I mixed in coconut sugar with reg sugar and everyone loved them. it also made 15. l love them. no body knew they were GF.
I am so glad you loved the recipe. I am so glad you came back to let me know. Thank you!