
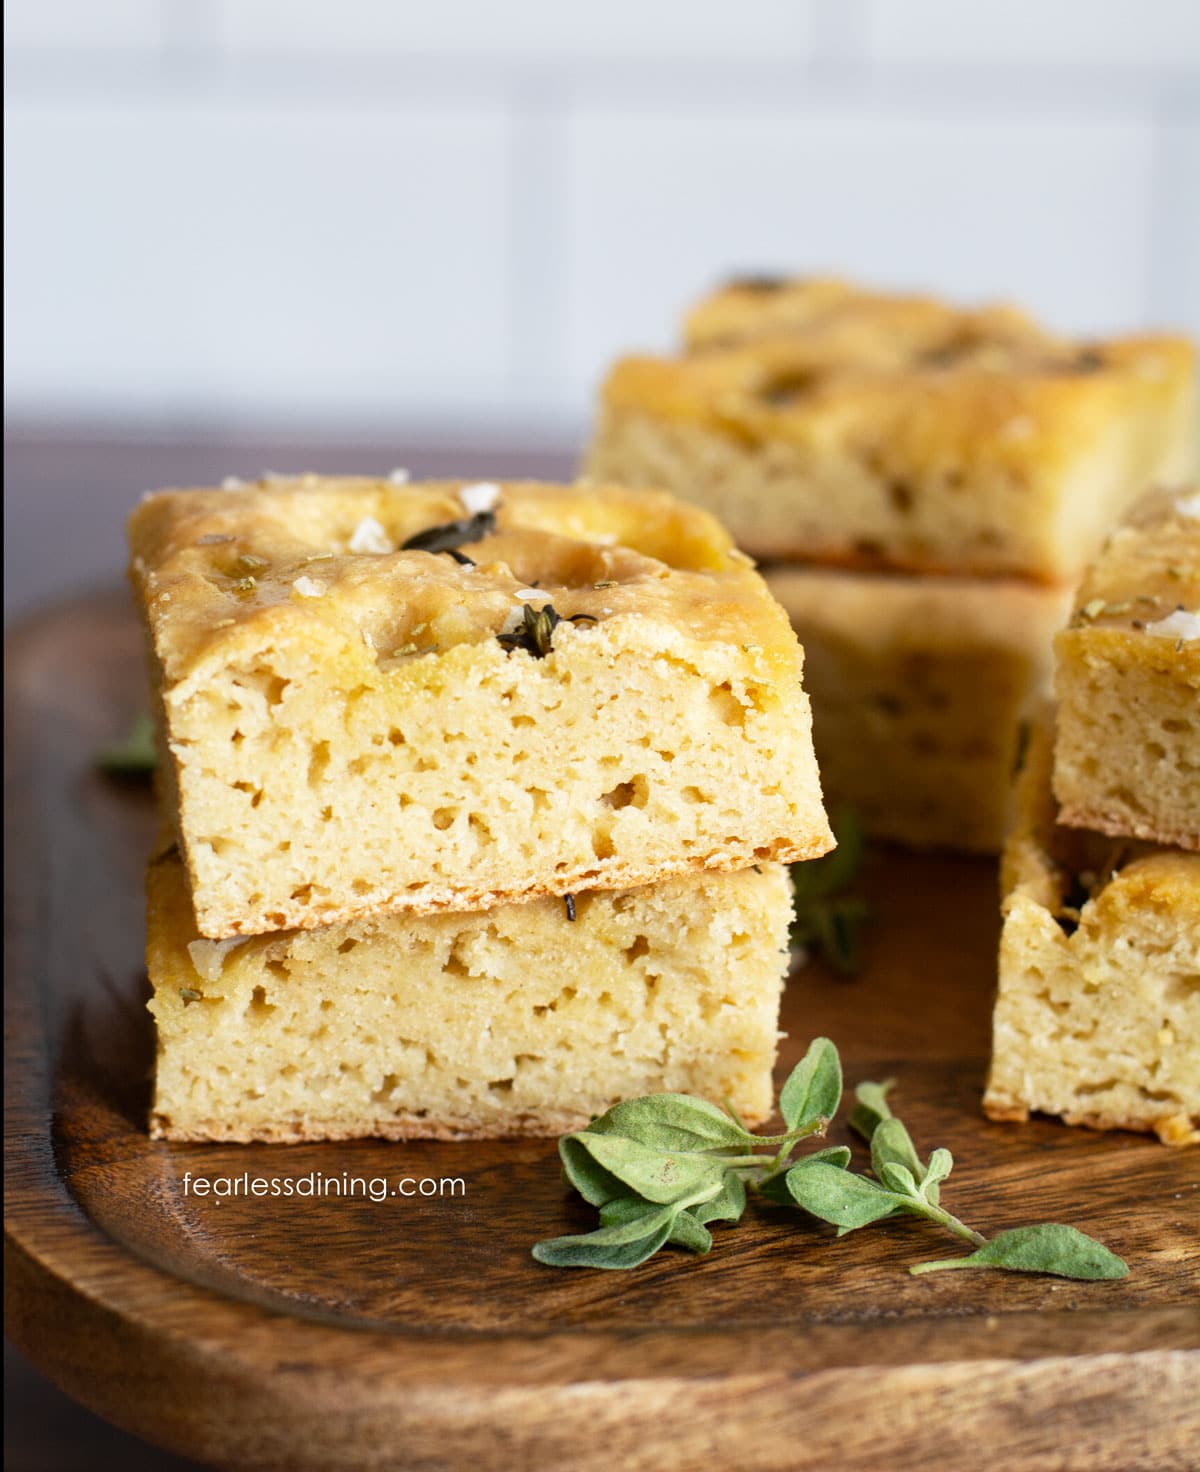
Don’t toss that gluten-free sourdough discard; turn it into this flavorful, airy focaccia bread instead! This easy gluten-free sourdough discard focaccia has a perfectly crisp crust, a soft, airy center, and a subtle tangy flavor from the discard. It’s absolutely delicious, topped with olive oil, flaky salt, and your favorite herbs!
This post may contain affiliate links. Please read our Disclosure Policy.
❤️ Sandi’s Recipe Summary
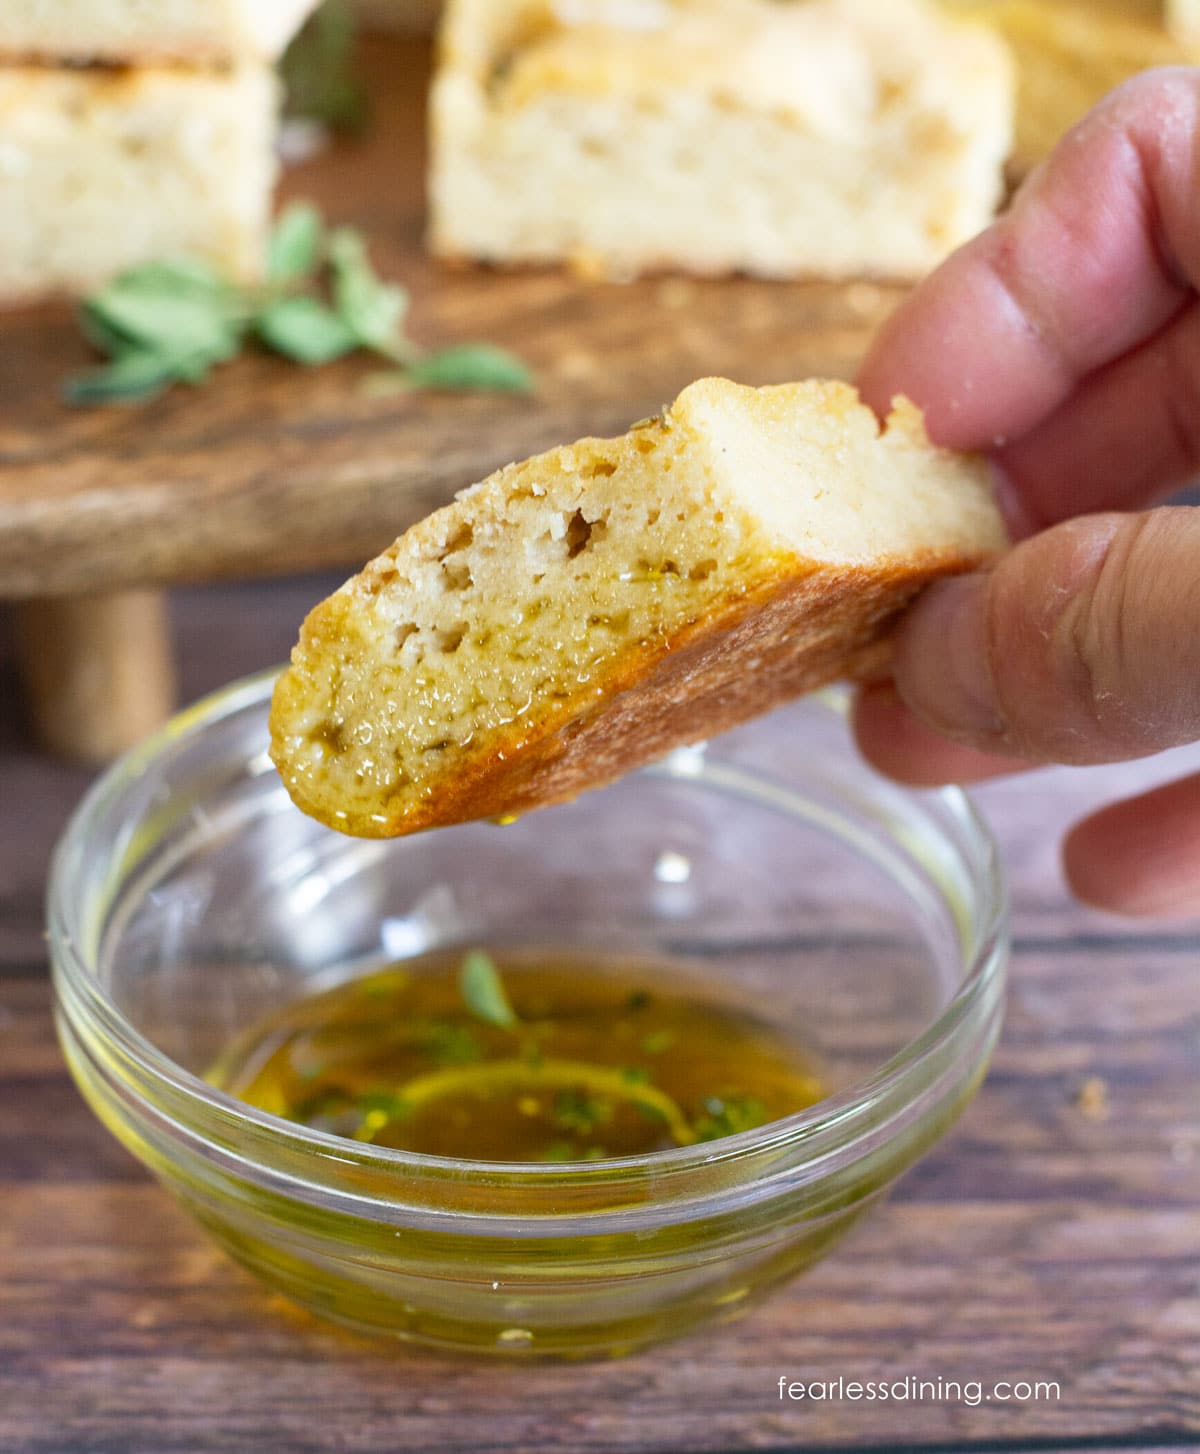
If you love focaccia, you are in for a special treat. This gluten free discard focaccia recipe is based on my popular Gluten-Free Focaccia recipe. It is my family’s go-to recipe anytime there is a dippable pasta sauce for dinner. This recipe is easy to make and has all of the same great features as my regular recipe, but with that “tang” of sourdough flavor.
If you love baking gluten-free bread, you will find lots of helpful tips and reliable recipes in my Gluten-Free Bread Guide. This recipe is just one of many ways I use gluten-free sourdough discard. See the full collection of my gluten-free discard recipes here.
If you love baking with sourdough, check out my delicious gluten-free sourdough recipes!! If you feel like something sweet, use some discard to make this Gluten-Free Lemon Blueberry Loaf!

Ingredient Notes:
For the full list of ingredients and amounts, please go to the recipe card below.
- Gluten Free Flour Blend – I used Namaste gluten-free flour blend to test this recipe. Other flour blends that work with yeast should also work. If you are unsure which flour blends work with yeast, read my Guide to Gluten-Free Flour Blends for more information.
- Binder – If your blend doesn’t contain a binder, add 3/4 teaspoon of xanthan gum. For more information on why binders are important in gluten free baking, see the Related Reading section below.
- Baking Soda – I add 1/2 teaspoon to help give a little boost to create an airy texture.
- Sourdough Discard – Use the discard before feeding your starter. If you want to learn how to make a sourdough starter, the instructions are in my Gluten-Free Sourdough Starter post.
- Yeast – For this recipe, I used rapid yeast. Always check to see that your yeast is not expired and that it is gluten free. Note: Red Star Platinum is not gluten-free!
- Eggs – Use size large eggs.
- Milk or Non-Dairy Milk – I used Oatly Simple to test this recipe. Any plant-based or regular milk should work well. Do not use canned coconut milk because it is too thick and messes with the texture of the focaccia. NOTE: The bread will be more golden if you use regular milk.
- Garlic – I used minced garlic to add some flavor to the dough. This is optional or you can sprinkle it on top while it bakes.
- Salt – I use salt in the bread and this flaked coarse salt on top of the focaccia for an extra flavor boost.

A Note From My Kitchen
As I mentioned above, this recipe was created from a gluten-free focaccia bread I created back in 2018. Readers loved this recipe and used it to serve with Italian bread and as a pizza crust. Now that I have an active sourdough starter, Winifred, I have a lot of discard to use up.
I tested this recipe with Namaste, which is available in grocery stores and online. I found it was very good in this recipe. Other blends will work, but you may need to adjust the moisture level. Every blend has a different starch to grain ratio. My starter is fed at a 1:1 ratio. If your dough seems dry, add more milk, and if your dough seems too wet, add more flour.
How to Make Gluten Free Sourdough Focaccia (Step-By-Step)
These are my step-by-step photos and directions from when I made and tested this recipe so I can show you every step of making this delicious recipe.

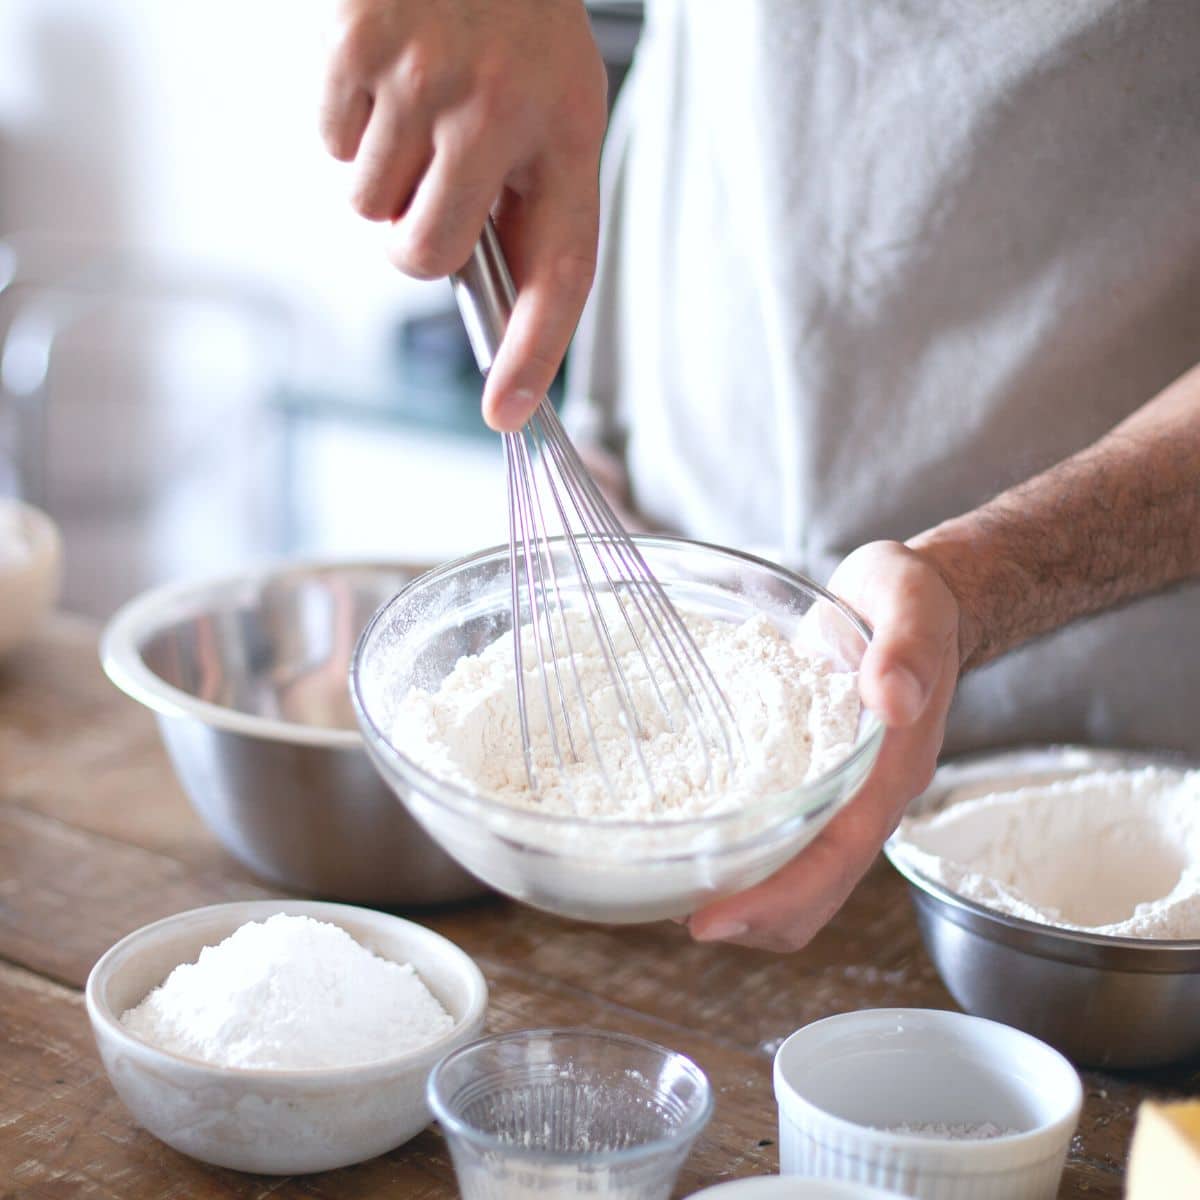
Step 1: Combine the gluten free flour, rapid yeast, baking soda, and yeast in a large mixing bowl. Use a whisk to blend the dry ingredients together. I find a whisk works the best to blend the flour mixture easily.
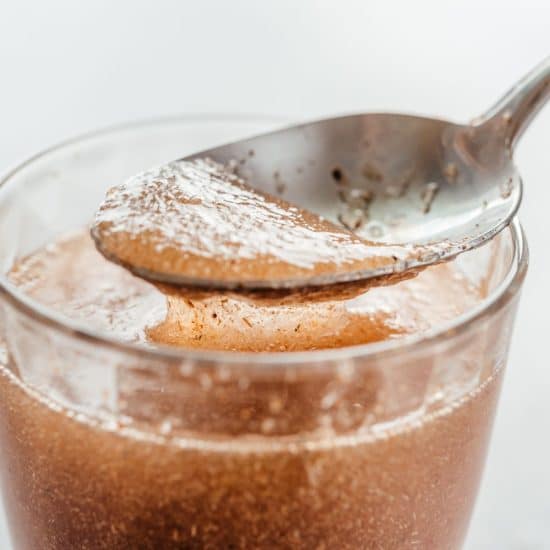
Step 2: Add the olive oil, eggs, sourdough discard, and honey to a smaller mixing bowl. Note: If your sourdough discard is thicker than mine, you may need to add a tablespoon of additional milk. Whisk.
👀 Sandi Says: You can also use a stand mixer to mix the ingredients. Place the wet ingredients in the stand mixer bowl. Mix them until blended, then add the dry ingredients a little at a time until the dough forms.
Email This Recipe To Me!
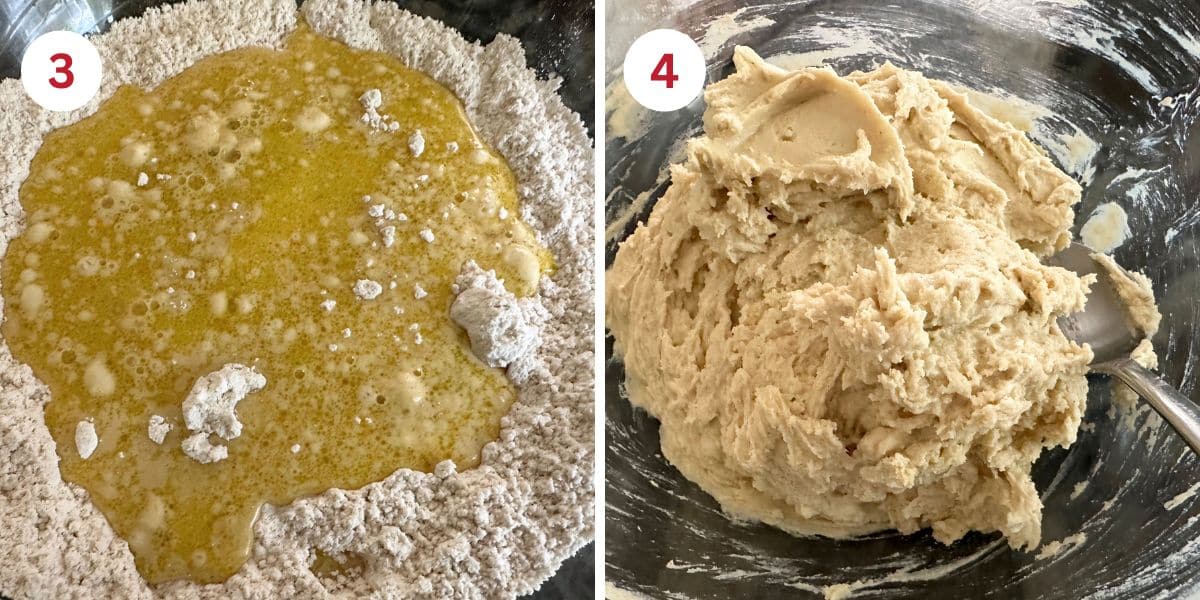
Step 3: Pour the wet ingredients into the dry ingredients. If you choose the option to add minced garlic to the dough, add it now.
Step 4: Mix the wet and dry ingredients with a spoon until it forms a soft dough. This dough will be a little softer than the typical gluten free bread dough you see in my recipes.
I like to rise my dough in a warm oven. Preheat the oven to 150-175º F, then turn off the oven. This gives the dough a nice warm spot, which is critical when the house is cold. Yeast rise very slowly in the cold.

Step 6: Line a 9×13 pan with parchment paper. Place the dough on the parchment paper. Coat your hands in olive oil and press the dough to cover the bottom of the pan. Use your fingers to press divots into the dough. These divots capture flavors and oil and give the focaccia its trademark appearance.
Sandi’s TIP: If you prefer thicker focaccia, use an 8×9 or 9×9 sized pan.
Cover the dough with plastic wrap and place it in the warm oven. You can keep the door cracked or close it. Let the dough rise for 40-50 minutes until it has nearly doubled in size.
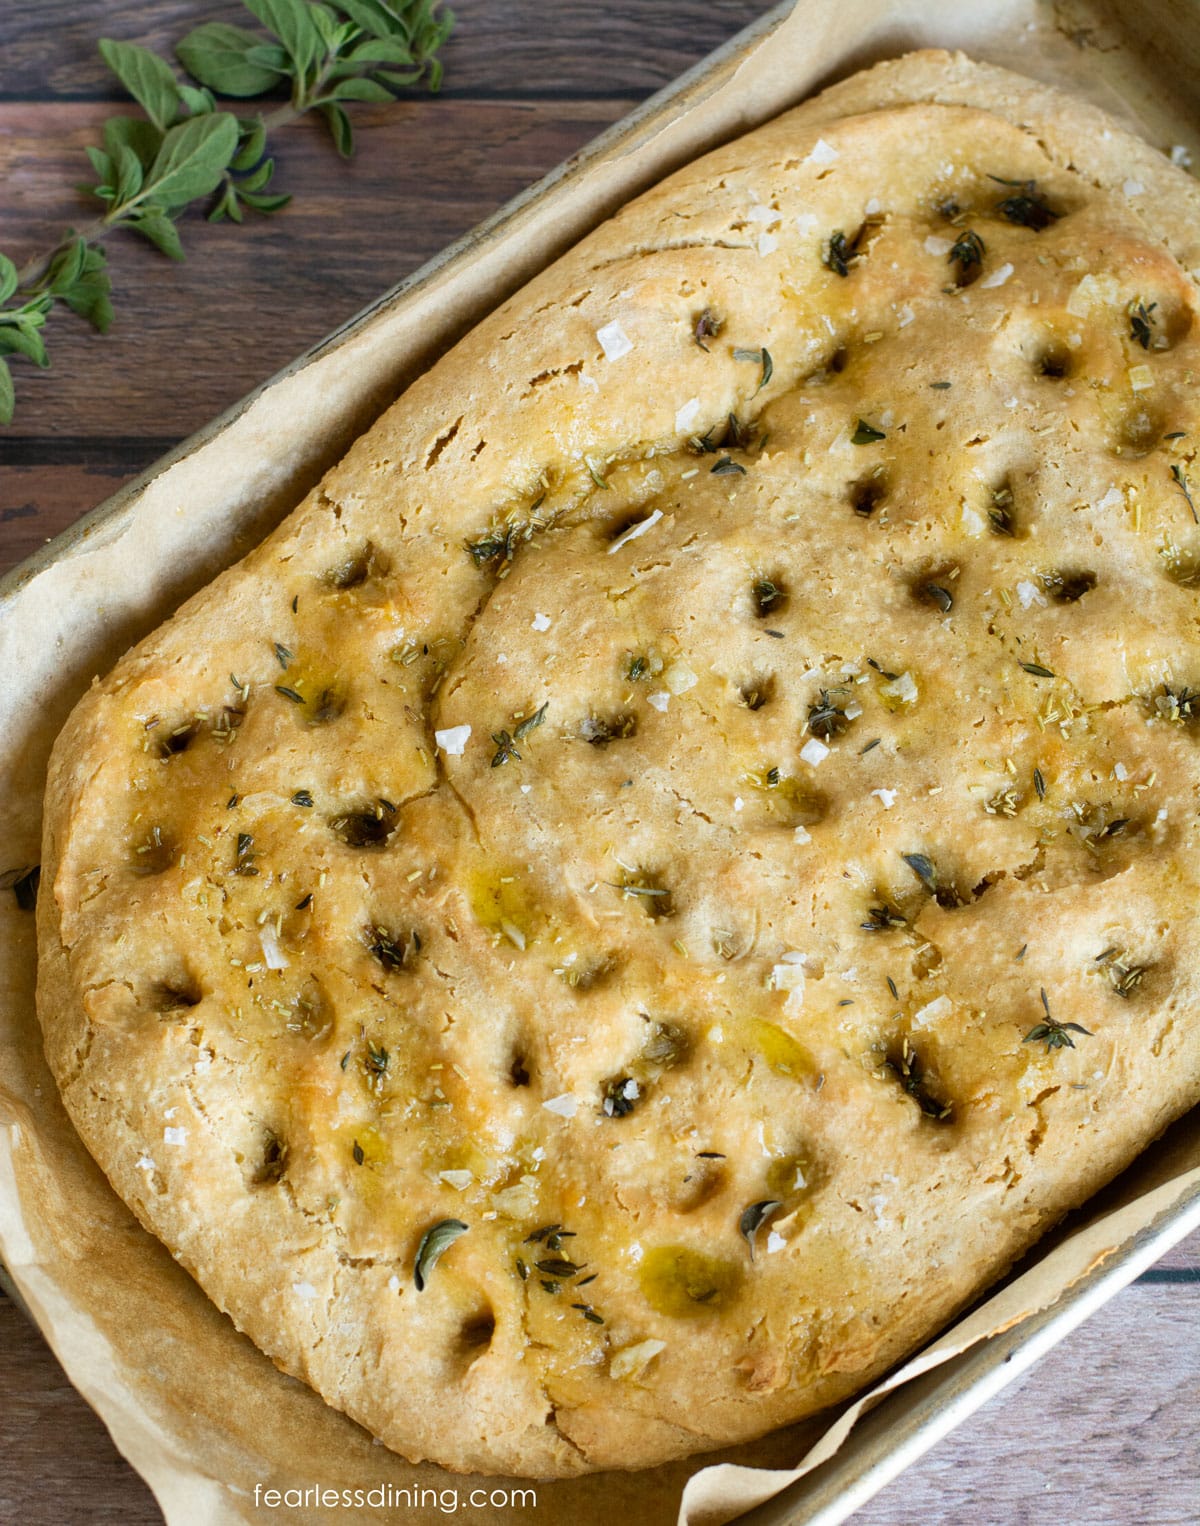
Step 7: Preheat the oven to 350º F. Remove the plastic wrap. Drizzle olive oil on top of the dough and scatter fresh or dried herbs, garlic (if it isn’t in the dough), and salt flakes over the top of the dough.
Step 8: Bake the dough for 40-45 minutes, depending on how thick the focaccia is. You will know it is finished baking when the top is a bit golden in color.
Tips For Success
1. Rise the dough in a warm environment. I warm in my oven, some warm it in their microwave by keeping the light on and the door closed. (Don’t turn on the microwave!) Other readers like to place the pan with the dough on a warming mat.
2. Have fun with the toppings! You can herbs, vegetables, cheeses, sun-dried tomatoes, kalamata olives, and more. The sky is the limit and you can even have fun making focaccia art!
Add more toppings if you like. Drizzle on more olive oil, sprinkle on some Parmesan cheese, or enjoy it as is!!
How to Store Gluten-Free Focaccia Bread:
Storing this bread can be a bit tricky. I recommend storing in an airtight container for a day or two max. The bread gets a little dry over time. You can put it into the microwave oven for 25 seconds to re-soften it.
I think freezing the focaccia in slices is a better solution to keep the bread fresher. You can thaw it on the counter or in your microwave oven.
Frequently Asked Questions:
If you have questions, I have answers!! If you have a question that you do not see here or not answered in the post, please drop me a comment, and I will respond to your question quickly!
The sourdough discard adds a slight sourdough flavor to this focaccia bread.
For this recipe, as with any gluten-free yeast recipe, the answer is maybe. Many 1:1 flour blends don’t work in yeast recipes. You have to check the back of the bag AND usually the brand website to make sure the flour works with yeast.
In this recipe, the discard is not enough for the rise. I also include rapid yeast and a little baking soda to help it fluff while rising and baking.
Gluten-free baking is like a science experiment. There are so many things you need to understand the different components of baking without gluten. My Gluten-Free Resources Section is here to help teach you the tools you need to know to become a confident gluten free baker.
More Gluten-Free Sourdough Discard Recipes:
- The Best Gluten-Free Sourdough Discard Biscuits
- Fan Favorite Gluten-Free Sourdough Muffins
- Crispy Gluten-Free Discard Crackers
Love This Recipe?
💬 Did you make this recipe? Drop a comment below, and let me know how it turned out! ⭐⭐⭐⭐⭐ Please include which flour blend you used. This will help others know this recipe is delicious. Thank you!
Easy Gluten-Free Sourdough Discard Focaccia
Ingredients
- 2 ¼ cups gluten free flour blend * see notes for brand and grams
- 2 teaspoons rapid yeast * see notes
- ⅓ cup gluten free sourdough discard
- ½ teaspoon baking soda
- 2 large eggs
- 1 tablespoon honey
- 3 tablespoons olive oil
- 2 minced cloves of garlic
- ¾ cup non-dairy milk or milk I used unflavored oat milk
- ¾ teaspoon salt
- 1 tablespoon olive oil
- fresh or dried herbs
Equipment
Method
- Combine the 2 1/4 cups gluten free flour blend , 2 teaspoons rapid yeast, 1/2 teaspoon baking soda, and 3/4 teaspoon salt in a large mixing bowl. Use a whisk to blend the dry ingredients together. I find a whisk works the best for blending the flour mixture easily.
- Add the 3 tablespoons olive oil, 2 large eggs, 1/3 cup gluten free sourdough discard, 3/4 cup non-dairy milk or milk, and 1 tablespoon honey to a smaller mixing bowl. Note: If your sourdough discard is thicker than mine, you may need to add a tablespoon of additional milk. Whisk.
- If you prefer to have the garlic flavor in the focaccia, add the 2 minced cloves of garlic to the wet ingredients.
- NOTE: You can also use a stand mixer to mix the ingredients. Place the wet ingredients in the stand mixer bowl. Mix them until blended, then add the dry ingredients a little at a time until the dough forms.
- Pour the wet ingredients into the dry ingredients. Mix the wet and dry ingredients with a spoon until it forms a soft dough. This dough will be a little softer than the typical gluten free bread dough you see in my recipes.
- Line a 9×13 pan with parchment paper. Place the dough on the parchment paper. Coat your hands in olive oil and press the dough to cover the bottom of the pan. Use your fingers to press divots into the dough. These divots capture flavors and oil and give the focaccia its trademark appearance.
- Sandi's TIP: If you prefer thicker focaccia, use an 8×8 or 9×9 sized pan.
- Preheat your oven to 175º F and then turn off the oven. This makes a great place for the dough to rise.
- Cover the dough with plastic wrap and place it in the warm oven. You can keep the door cracked or close it. Let the dough rise for 40 to 50 minutes until it has nearly doubled in size. Remove the bread from the oven.
- Preheat the oven to 350º F. Remove the plastic wrap. Drizzle olive oil on top of the dough and scatter fresh or dried herbs, garlic (if it isn't in the dough), and salt flakes over the top of the dough.
- Bake the dough for 40 to 45 minutes, depending on how thick the focaccia is. You will know it is finished baking when the top is a bit golden in color.
- Drizzle 1 tablespoon olive oil over the bread.
Nutrition
Notes
- I used Namaste gluten free flour blend to test this recipe. This flour blend weighed 318.59 grams. Every blend has a different measurement, so you may need to tweak your dough with more liquid or flour. Other flour blends that work with yeast should also work. If you are unsure which flour blends work with yeast, read my Guide to Gluten Free Flour Blends for more information.
- Have fun with the toppings! You can top the dough with herbs, vegetables, cheeses, sun-dried tomatoes, kalamata olives, and more. The sky is the limit, and you can even have fun making focaccia art!
- Storing this bread can be a bit tricky. I recommend storing it in an airtight container for a day or two, max. The bread gets a little dry over time. You can put it into the microwave oven for 25 seconds to re-soften it. I think freezing the focaccia in slices is a better solution to keep the bread fresher. You can thaw it on the counter or in your microwave oven.
Private Notes
Tried this recipe?
Let us know how it was!
Gluten-Free Related Reading
My Best Gluten-Free Baking Tips For Better Baking!
Why Binders Are Important In Gluten-Free Baking.

I truly hope you enjoy this recipe. I have been testing and creating gluten-free recipes for over 15 years. Creating gluten-free recipes that do not taste gluten-free is my goal for every recipe. Sometimes I only have to test a new recipe a couple of times, and others it takes multiple times. I do this so you get reliable, delicious results every time!
