
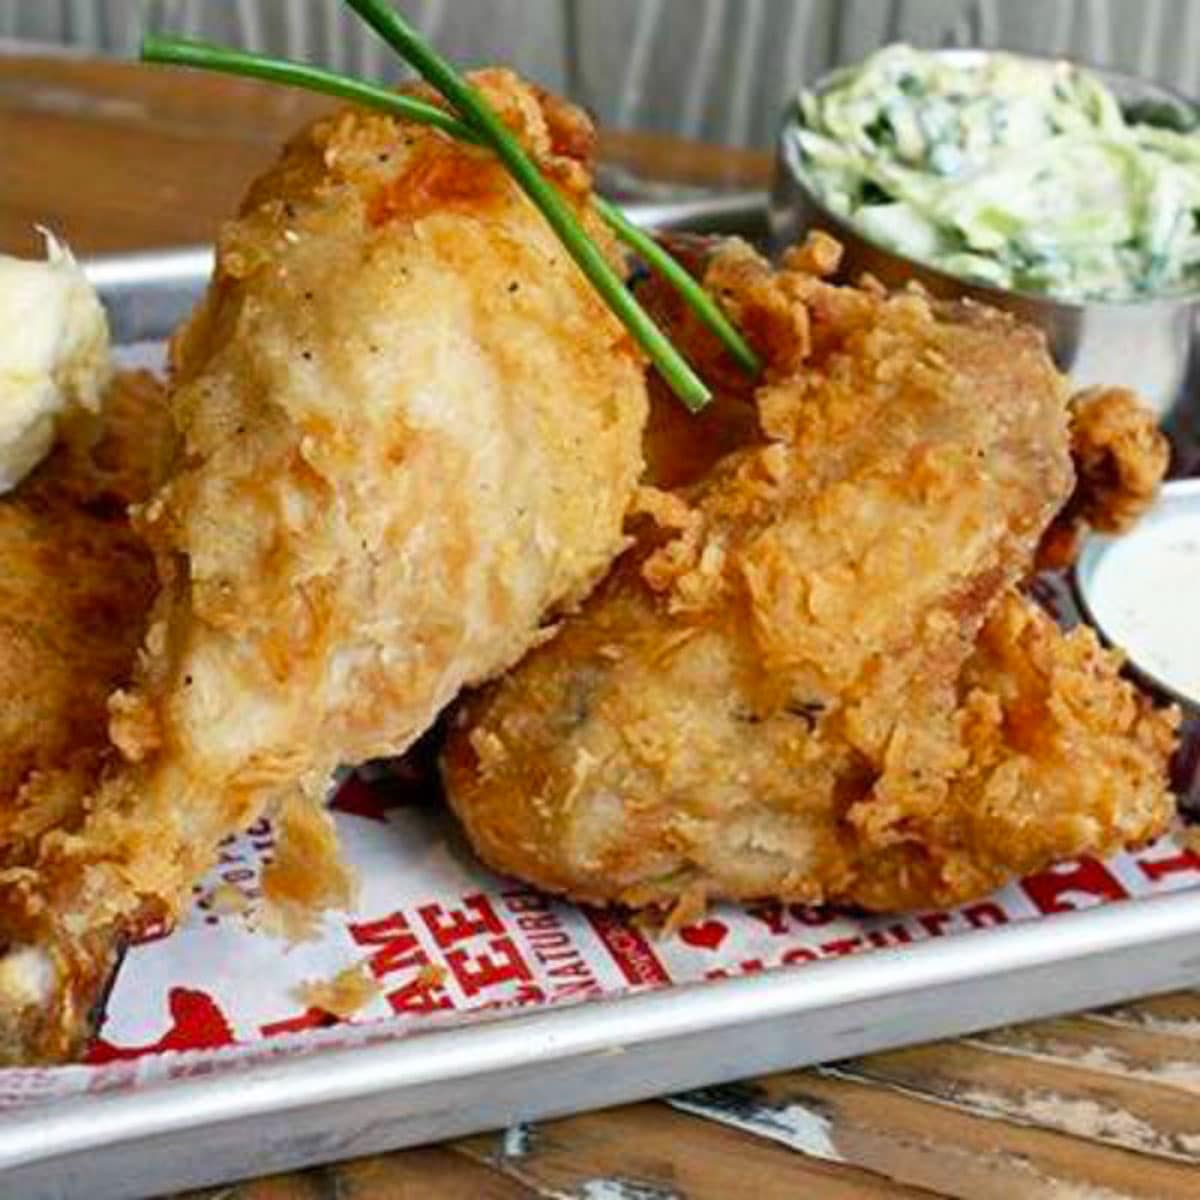
The first bite of this gluten free fried chicken, that shattering crispy crust giving way to the juicy, tender chicken, is the kind of thing I honestly did not think was possible after going gluten free. This is why I was so incredibly thankful that Ari, the owner of Proposition Chicken in San Francisco, shared his famous gluten free fried chicken recipe. If you want a tried and true gluten free fried chicken recipe, this is the one to make!
This post may contain affiliate links. Please read our Disclosure Policy.
❤️ Sandi’s Recipe Summary
The Quick Bite: This delicious gluten free fried chicken recipe is made with simple ingredients, without flour! It turns out with a flaky, crispy outside and tender, juicy chicken inside. Use any parts of chicken! I share every step to make this incredible restaurant-quality gluten-free fried chicken.
When the owner, Ari, of Proposition Chicken in San Francisco, told me he was going to share his exclusive gluten-free fried chicken recipe with us, I thought about how incredible this was. How often do you feel safe eating fried chicken at a restaurant? I can tell you I wouldn’t! There is a lot of risk from shared equipment, shared fryers, etc. At Proposition Chicken, you can leave these worries behind. They have dedicated gluten free fryers, and they take all of the precautions to prevent any cross contamination.
I walk you through every step to make this delicious chicken. One taste of this gluten-free chicken recipe, and you will never want to try a different recipe. If you are looking for more chicken recipes, I have a lot of incredible gluten-free chicken recipes on the blog.
The fried chicken came out amazing. It was the best fried chicken I have had in over 15 years. Came out super crispy (I only dipped once) and the chicken was moist and flavorful. Your directions were easy to follow and made all the difference to me.”
ellen s., blog comment

A Note From My Kitchen
When I tested this recipe, I used bone-in chicken thighs and legs. I left the skin on so the tapioca starch would stick nicely.
For me, the part of testing I dread most is frying in hot oil. Our outdoor Weber grill has a side burner attached. I used this to make my fried chicken. This prevents the hot oil from going all over my kitchen, and that smell permeates EVERYWHERE! Avoid all of this if you can, and cook this outside. If you have a deep fryer, you can use it outside if you have an external electrical outlet.
Safety Tip: It is important to use long metal tongs when making this fried chicken. Hot oil can splatter and burn your hands. Long metal tongs will help protect you. You can also wear silicone pot holders.
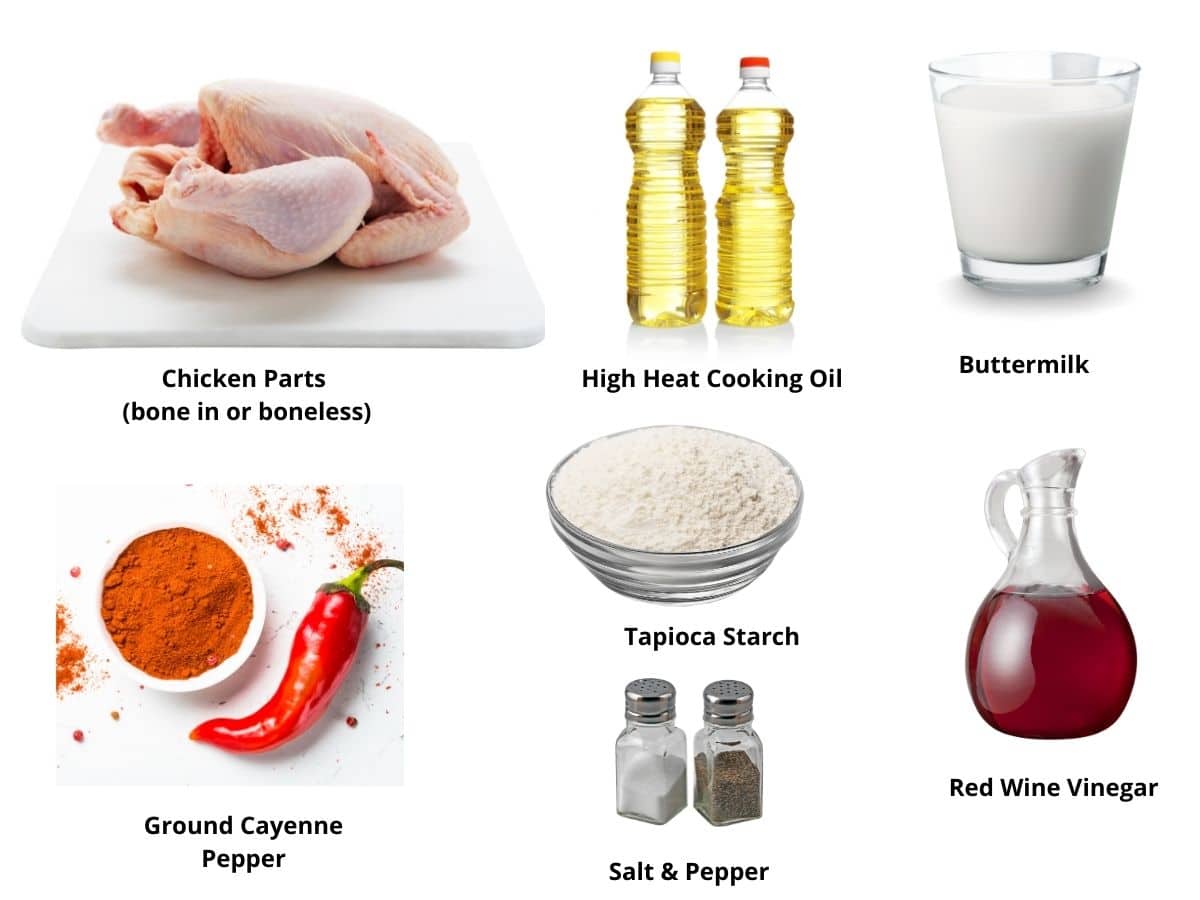
Ingredient Notes and Substitutions:
These are the ingredients needed for this gluten-free fried chicken recipe. I share a few substitution ideas in case you do not have a specific ingredient. For the full list of ingredients and amounts, please go to the recipe card below.
- Chicken – You can use bone-in or boneless chicken cut for this recipe. Cooking times will be shorter if you use boneless chicken.
- Tapioca Starch – Tapioca starch, also called tapioca flour, is grain-free and is the reason this recipe works. Unlike flour, it contains almost no protein or fat, so when it hits hot oil, it gelatinizes and sets into a rigid, almost glassy shell. That is where the crispy shatter comes from. Flour gives you crunch; tapioca gives you crackliness.
- Buttermilk – This adds flavor and juiciness. If you don’t have buttermilk, mix 1 cup of milk with one tablespoon of lemon juice.
- Red Wine Vinegar – Most vinegar is gluten free, but always read the labels!
- Cayenne Pepper and Salt – This adds a hint of spice; it is optional.
- Oil – One of the most important factors to consider when choosing an oil to use is the oil’s smoking point. The smoking point is the moment when the oil is no longer glossy and shimmery-looking, and it starts to smoke.
How to Make the Best Gluten-Free Fried Chicken (Step-By-Step)
Email This Recipe To Me!
Step 1: Add all the buttermilk, red wine vinegar, and cayenne pepper to a large
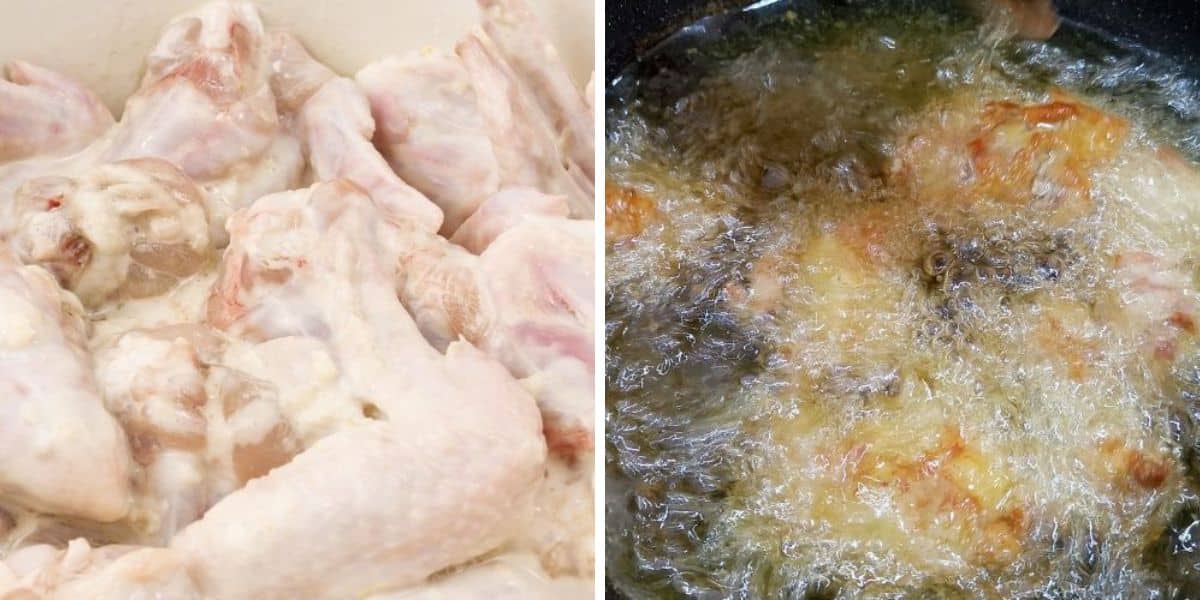
Add the raw chicken to the liquid ingredients and coat the chicken with the buttermilk mixture. Cover the bowl with plastic wrap.
Step 2: Soak the chicken in the buttermilk overnight or for 8-10 hours in the refrigerator. This makes the meat more tender and juicy when you fry it.
Remove the chicken and dip it into the tapioca starch seasoning blend. Toss the chicken to coat it.
Step 3: In a Dutch oven or large 12-inch cast-iron skillet, heat the oil to 350-375º F. Use a digital thermometer to measure the oil temperature. You do not want the oil too cold, where the chicken will not cook properly, and you don’t want the oil too hot, where the chicken can burn.
Gently drop the chicken into the hot oil. Be careful of the hot oil spattering out of the pan!
👀 Sandi Says: I recommend using canola or avocado oil because they are heat-resistant. Do NOT use olive oil or other low-smoke-point oils, or the flavor will turn rancid.
Step 4: Use long metal tongs to flip the chicken over so both sides cook evenly. Cooking time will vary by the cut of chicken you use and whether it is bone-in or boneless. Be sure the internal temperature of the meat is 165º F.
If you want delicious buttermilk-soaked baked fried chicken, try this Gluten Free Buttermilk Oven Fried Chicken recipe!
If you want to try one of my old Texan favorites, you need to try this easy Gluten-Free Chicken Fried Steak recipe! If you make Gluten-Free Chicken Nuggets with this recipe, you can use them for my Gluten Free Orange Chicken!
Frequently Asked Questions:
I have not tried this recipe in an air fryer yet, but one of my readers has tried it. She said the fried chicken took her around 25 minutes to cook in an air fryer.
You do not have to soak the chicken as long, but the flavor and juiciness of the chicken will be reduced. The buttermilk acts like a meat tenderizer for the chicken.
If you want more gluten free air fryer recipes, we love these Gluten Free Air Fried Chicken Tenders.
Sides To Serve With Fried Chicken:
- My Deli-Style Gluten Free Macaroni Salad is a winner at picnics.
- Try this potato salad-style side, Loaded Baked Potato Salad
- My kids love serving Cream Cheese Mashed Potatoes with this creamy Gluten Free Gravy with the fried chicken.
- Prefer a healthier side? Try this popular Kale and Apple Salad.
Love This Recipe?
If you made and enjoyed this recipe, I would be incredibly grateful if you could leave a comment below. This will help others know that this recipe is delicious. Thank you!
Crispy Gluten Free Fried Chicken Recipe
Ingredients
- 8-10 pieces bone-in chicken of your choice
- 1 cup buttermilk (*see note)
- ¼ teaspoon cayenne pepper
- ¼ tablespoon red wine vinegar
- dash of salt and pepper to taste
- 1 cup tapioca starch (*see note)
- hot oil for frying (*see note)
Equipment
- Strainer
Method
- Put 1 cup buttermilk, 1/4 teaspoon cayenne pepper, 1/4 tablespoon red wine vinegar, and dash of salt and pepper to taste (except chicken) into a bowl and whisk until the mixture is fluffy.
- Put 8-10 pieces bone-in chicken of your choice into a large dish and pour the marinade over the butchered chicken.
- Move chicken around to make sure all of the raw chicken is all covered in the marinade.
- Cover with plastic wrap and refrigerate overnight for 8-10 hours.
- Drain marinaded chicken in a large strainer.
- Place chicken in 1 cup tapioca starchand toss it around to cover the whole piece of chicken.
- Let the chicken rest 2-3 minutes on a baking pan.
- Gently heat oil in a pre-seasoned cast iron skillet or Dutch oven. If you have a deep fryer, that is great! I would use that instead. The oil should be 350-375 F degrees before adding the chicken pieces.
- Fry the chicken for 10 minutes on one side. Flip the chicken to cook the other side another 10 minutes. (Do this if you are not fully submerging your chicken in the hot oil. After you cook each side of the chicken, check the internal temperature of 165 F degrees. The total cook time would be around 20 minutes, but it depends on the cut of chicken you are using. If you are deep frying the chicken it will take less time for your chicken to cook.
- Season the chicken with salt and pepper.
Nutrition
Notes
- Many ask if you can use cornstarch instead of tapioca, this should be okay. I haven’t personally tested using cornstarch.
- If you do not have buttermilk, you can make your own by mixing 1 cup of milk with 1 tablespoon of lemon juice.
- If you like your chicken extra crispy, double-dip it! After doing one dip in the tapioca starch, put back into the buttermilk, then redip into the tapioca starch.
- Use an oil that is made to tolerate high heat. Canola, avocado, and coconut oil are all great high-heat oils for frying. (Note if you use coconut oil it will impart a flavor where canola and avocado oil are tasteless.)
- You want your hot oil temperature to reach between 350-375º F before adding the chicken.
- This fried chicken will keep up to 3 days in the refrigerator in an airtight container. To reheat, put onto a baking sheet, cover with foil (to prevent burning the crispy coating), and bake in the oven at 325 F degrees for 20 minutes. Check to see if it is heated all the way through.
Private Notes
Tried this recipe?
Let us know how it was!
I truly hope you enjoy this recipe. I have been testing and creating gluten-free recipes for over 15 years. Creating gluten-free recipes that do not taste gluten-free is my goal for every recipe. Sometimes I only have to test a new recipe a couple of times, and others it takes multiple times. I do this so you get reliable, delicious results every time!

Hello Sandi,
I haven’t made it yet, I usually use an air fryer to cook my chicken. Will an air fryer work for this recipe? It sounds delicious!
Sara
Hi Sara, I haven’t tested this fried chicken recipe in an air fryer. I double checked my spreadsheet of reader modifications, and it looks like nobody has written to me saying they tried it. If you try it, please do let me know how it turns out.
Fried chicken breast and thighs last night. Made a few mistakes with the mixing. Put the tapioca starch in with the buttermilk mix. Then after marinading 2 hr. followed the part about tossing in tapioca flour. Oh well….But it turned out fantastic. Hubby was so excited to finally find a recipe for fried chicken. This is a keeper and will be used many times. Thank you for all your hard work.
I am so glad the chicken turned out great! Thank you so much, Carol!
I made this with wings since its my first time frying chicken. I used cornstarch, didn’t have tapioca flour and followed the recipe otherwise. It was cripsy and moist, but I had to play around with cooking times, since I only did a sampling of wings. This is the first fried chicken I’ve had in over 3 years….it was so good. Will make with other chicken parts now…Love your recipes! Thank-you for sharing your wisdom.
Thank you so much, Bonnie. I really am glad you are enjoying my recipes.
I tried the fried chicken recipe and your easy fresh herb potato salad last night. The fried chicken came out amazing. It was the best fried chicken I have had in over 15 years. Came out super crispy (I only dipped once) and the chicken was moist and flavorful. Your directions were easy to follow and made all the difference to me. I am 83 years old and now I can have fried chicken again. Two others in my household (one a gluten-free skeptic and does not like anything GF) said the chicken was the best they have ever had.
The potato salad was excellent and easy to make. I will never make my regular potato salad again. This one is fabulous.
Thank you for the recipes.
You absolutely made my day, Ellen. My goal is to make food even non-gluten free people like. Thank you so much for coming back to let me know.
Quick question – will Otto Starch work also?
I haven’t tested using the tapioca flour. The recipe was shared with us from a chef, so I don’t know how to answer this question. If you try it, please come back and let us know how it worked.