

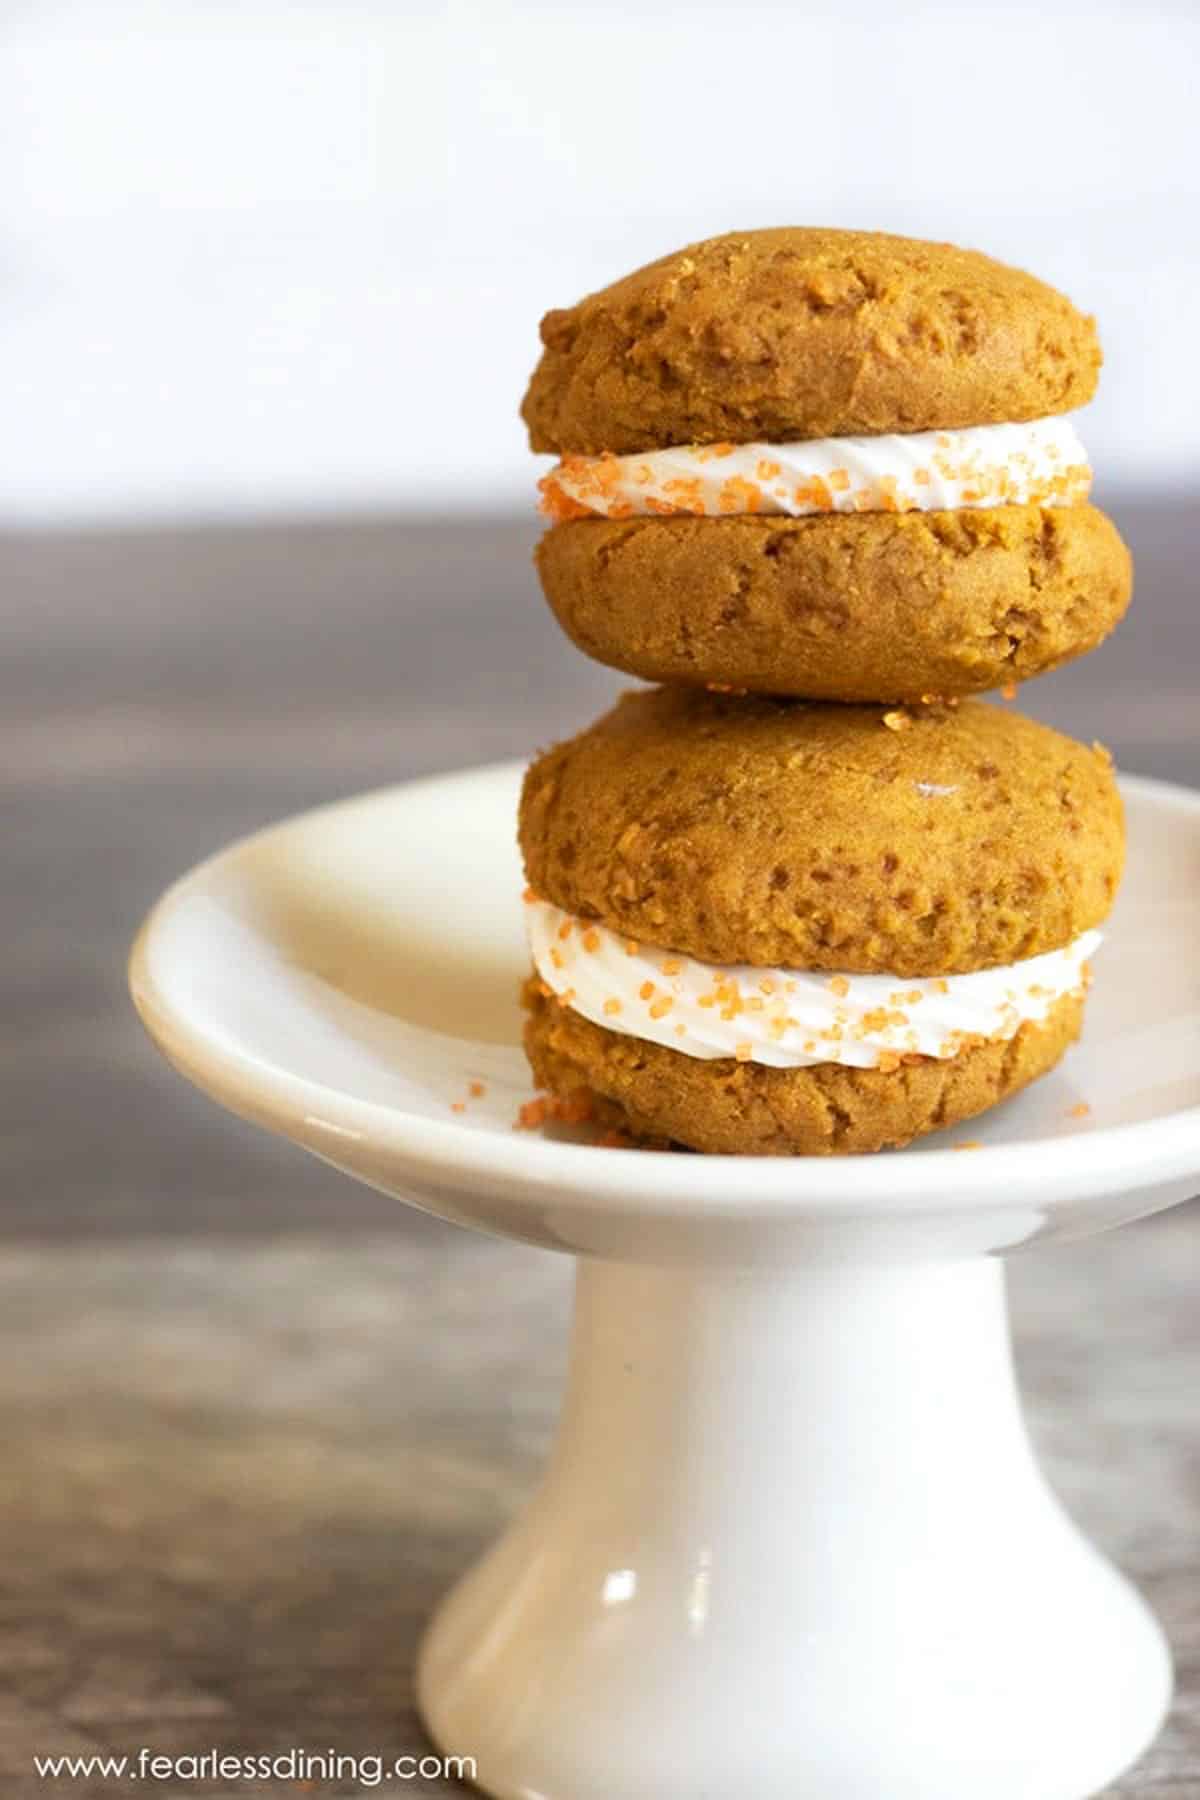
These big, fluffy Gluten-Free Pumpkin Whoopie Pies are one of my favorite fall treats. These soft pumpkin cookies can be filled with frosting or marshmallow fluff. These homemade whoopie pies are full of delicious fall flavors, including cinnamon and pumpkin spice. They are also dairy-free, with a nut-free option.
This post may contain affiliate links. Please read our Disclosure Policy.
❤️ Sandi’s Recipe Summary
The Quick Bite: These gluten free pumpkin whoopee pies come out soft and cake-like rather than dense, which is the texture problem I see most often in other gluten free versions. Almond flour keeps them softer and prevents drying out. I tested a nut-free version using extra flour, so both options work. Fill with vanilla buttercream, cream cheese frosting, or marshmallow fluff.
Sandi, These turned out great! I baked for 12 minutes at 360* to adjust for high altitude and added a few extra minutes for the batch baked on a double-layer aluminum pan to help them set up.?
lynn b., blog comment
I am still testing some new pumpkin recipes this week. This week we are making whoopie pies! And even better, these whoopie pies have better for you ingredients.
I tested this recipe with two different flour blends. King Arthur Measure for Measure and Bob’s Red Mill 1:1.I use almond flour to help keep these soft and use no refined sugars. Both blends worked well, and helped the whoopie pies stay cake like, but I found Bob’s blend benefitted from a 15 minute batter rest to help soften the rice flour. (In other words, in one test, I didn’t rest the batter and the Bob’s were slightly gritty because of this.)
I also worked to test a nut-free version for those who can’t have nuts. See below for that option. A couple of readers asked if they could use butter in place of the coconut oil, and yes, this also worked in testing.
Need more fall recipe ideas? Try these Gluten Free Apple Cider Whoopie Pies or these fun Gluten Free Halloween Whoopie Pies (dark chocolate) more yummy gluten free pumpkin recipes!
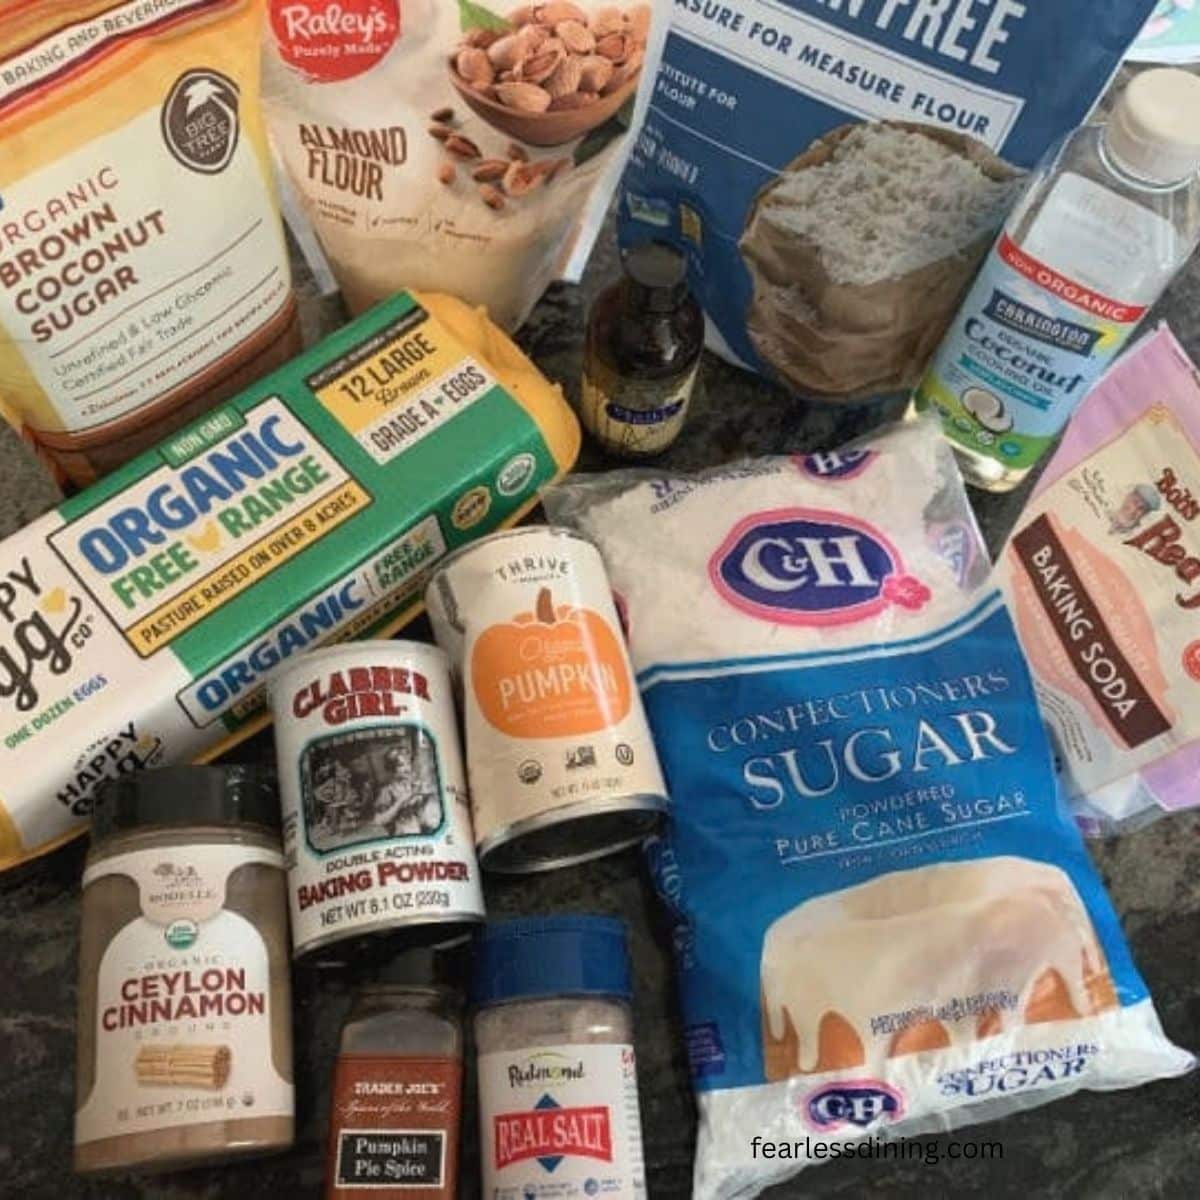
Ingredient Notes:
For the full list of ingredients and amounts, please go to the recipe card below.
- Gluten Free Flour Blend – I tested this recipe using Bob’s Red Mill 1 to 1 and King Arthur Measure for Measure. That doesn’t mean other flours won’t work; I just haven’t tested other flours, and I can not guarantee the recipe will work if you use different mixes. If you use a different blend, you may need to add more liquid or flour to adjust the batter’s moisture. Read Why Gluten-Free Flour Blends Vary to learn more about this.
- Binder – If your blend doesn’t have a binder, please add 3/4 teaspoon of xanthan gum. Binders are what hold your baked gluten free treats together. Read Why Binders Matter in Gluten Free Baking to learn more.
- Almond Flour – I prefer almond flour to almond meal because it is a finer grind. Anthony’s Almond Flour is one of my favorites, as is my local supermarket brand. Both are reasonably priced. See the FAQ below for a nut-free option.
- Baking Powder – I always recommend using aluminum-free baking powder to avoid a bitter aftertaste.
- Pumpkin Puree – Canned is best because it is silky and smooth. Do not use pumpkin pie filling or it will completely change the flavors.
- Coconut Sugar – You can substitute brown sugar if you prefer to use it.
- Coconut Oil – I like the flavor coconut oil adds to the pumpkin spice flavor, you can also use butter or another cooking oil.
If you are like me and you feel the need to hide veggies in other desserts, check out these Paleo Delicata Squash Brownies or this Kabocha Squash Mousse.
How to Make Gluten Free Pumpkin Whoopie Pies (Step-By-Step)
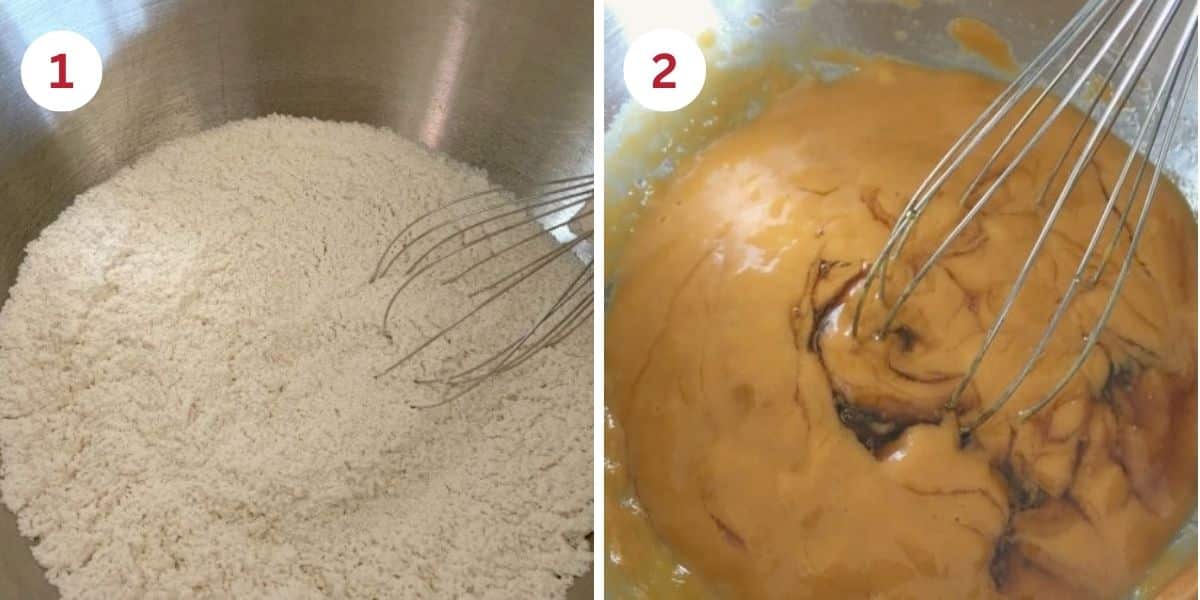
Step 1: Combine the dry ingredients in a large
Step 2: Add the wet ingredients to a medium bowl and whisk to combine.
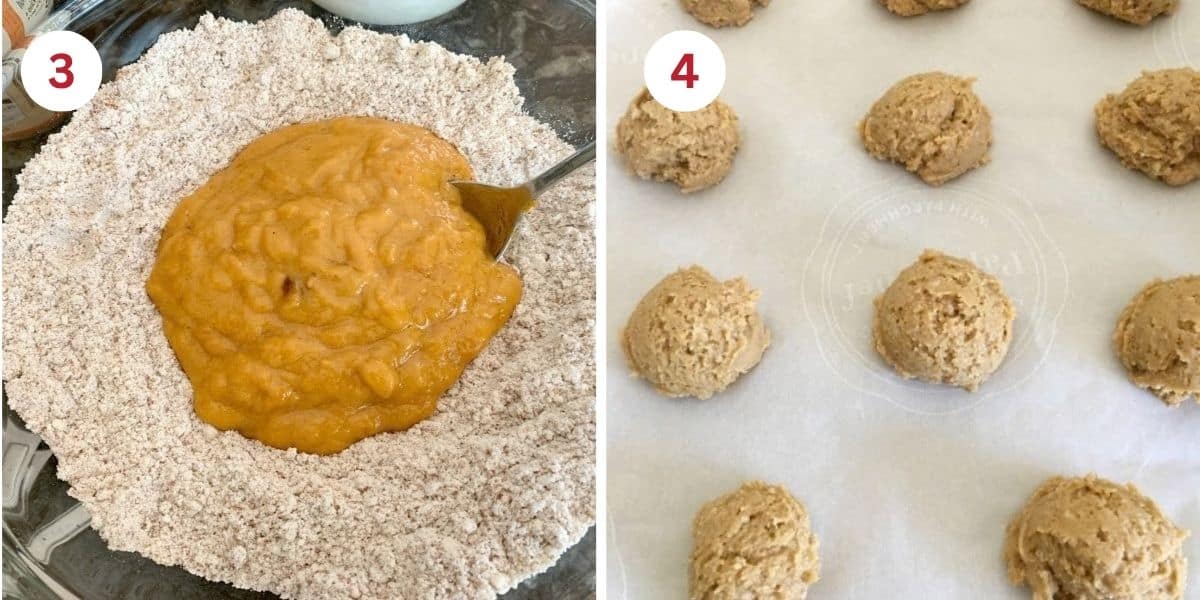
Step 3: Pour the wet ingredients into the dry ingredients. Mix them into a soft cookie batter.
Optional: Rest the batter for 15-20 minutes. This allows the rice flour to soften, which will eliminate any grittiness.
📢 Sandi says: Every gluten-free flour blend has a different starch-to-grain ratio. The brand of gluten-free flour you use affects the batter’s moisture. If your cake batter is too runny, add more flour, and if it is too thick, add more liquid.
Step 4: Use a cookie scoop to drop the batter onto a prepared baking sheet. I typically line my cookie sheet with parchment paper. Using a
Email This Recipe To Me!
Step 5: Use your hand or a glass to gently press the cookies down. This will keep them from getting too tall and help them fit in your mouth. Bake at 350º F for 9-10 minutes, until done.
Baking time will depend on the size of your cookies. Remove the cookies from the oven and let them cool on a cooling rack.
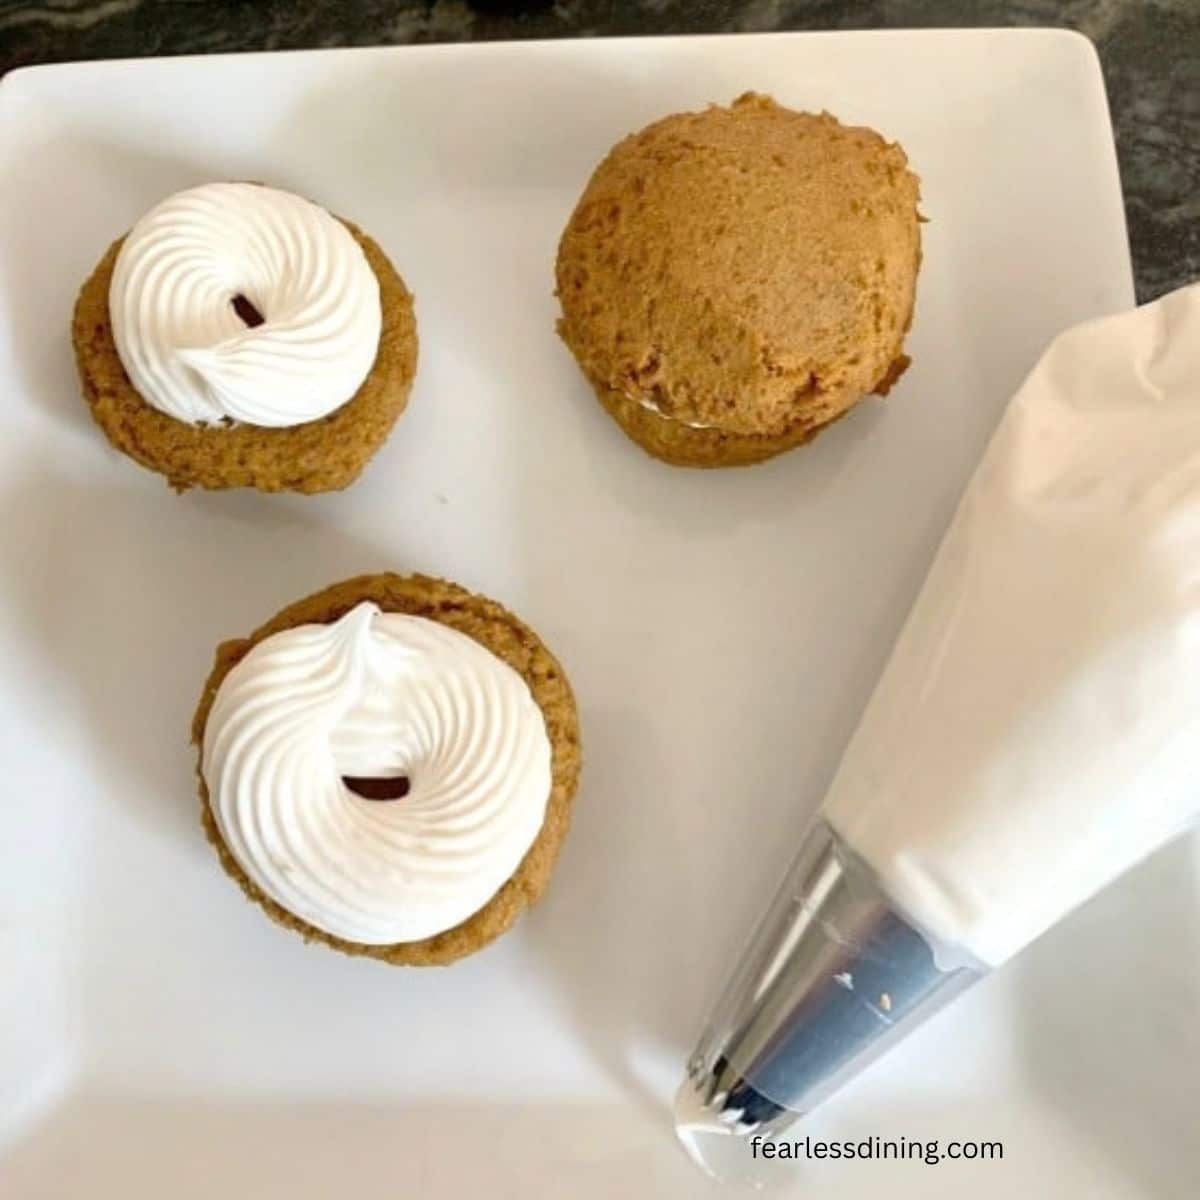
Step 6: Use a piping bag filled with vanilla frosting to pipe the frosting onto the whoopie pies. Add a top cookie, and enjoy!
If you love whoopie pies, you will also want to try my chocolate Gluten Free Whoopie Pies recipe.
Filling Ideas:
Here are a few delicious filling ideas for the whoopie pies.
- Whipped Cream
- Fill with this Cream Cheese Frosting from my popular vanilla cake recipe.
- Marshmallow Fluff
- Make this deliciously easy Vanilla Buttercream Frosting recipe.
Frequently Asked Questions:
Omit the almond flour and add 2/3 cup additional gluten free flour blend.
They’re done when they are soft but firm to the touch.
More Gluten Free Fall Cookie Recipes:
- Old-Fashioned Gluten Free Molasses Cookies
- Gluten Free Pumpkin Molasses Cookies
- Iced Gluten Free Pumpkin Cookies
- Easy Gluten Free Pumpkin Oatmeal Cookies
Love This Recipe?
If you made and enjoyed this recipe, I would be incredibly grateful if you could leave a comment below. Please include which flour blend you used. This will help others know this recipe is delicious. Thank you!
Gluten Free Pumpkin Whoopie Pies with Vanilla Buttercream
Ingredients
- 1 cup gluten free flour blend *see note
- 1 cup almond flour *see note for nut-free option
- 1 teaspoon ground cinnamon
- 1 teaspoon pure vanilla extract
- 2 teaspoons pumpkin pie spice
- ½ teaspoon baking soda
- 1 teaspoon baking powder aluminum-free
- ½ cup pumpkin puree
- 2 large eggs
- ¾ cup coconut sugar or brown sugar
- ½ cup coconut oil or butter
- 2 tablespoons maple syrup
- dash salt
Method
- Preheat the oven to 350º F. Set the oven rack in the middle of the oven.
- Prepare your cookie sheet by either lining it with parchment paper or spraying gluten free baking spray on it.
- In a large bowl, add 1 cup gluten free flour blend, 1 cup almond flour, 1 teaspoon ground cinnamon, 2 teaspoons pumpkin pie spice, 1/2 teaspoon baking soda, 1 teaspoon baking powder, dash salt, and 3/4 cup coconut sugar. Use a whisk to mix the dry ingredients thoroughly.
- In a small bowl, add 1/2 cup pumpkin puree, 2 large eggs, 1/2 cup coconut oil, 1 teaspoon pure vanilla extract, and 2 tablespoons maple syrup. Whisk for 20 seconds until fully combined.
- Pour the wet ingredients into the dry ingredients and mix into a soft batter.
- Use a medium-sized cookie scoop to drop dough onto the baking sheet.
- Use a clean hand or the bottom of a glass to flatten the whoopie pies slightly, so all of the cookies are the same size.
- Bake 10-14 minutes until done. The time will vary depending on the size of the whoopie pies. When they are finished baking, they will be firm to the touch on top.
- Remove the whoopie pies from the oven and set them onto a cooling rack.
- When the cookies are cool, add frosting to one cookie and put another cookie on top to make a sandwich.
Nutrition
Notes
- I tested this recipe with King Arthur Measure for Measure GF, Bob’s Red Mill 1 to 1 GF blend, and Authentic Foods Multi Blend. That doesn’t mean other flours won’t work; I just haven’t tested others.
- If your gluten free flour blend doesn’t contain a binder, such as Xanthan Gum or Guar Gum, please add 3/4 teaspoon.
- Note: You can substitute brown sugar for coconut sugar and/or swap butter or another oil instead of coconut oil.
- Fill with vanilla frosting or marshmallow fluff.
- These cookies will keep fresh for up to 4 days in an airtight container or for up to 4 months in the freezer. Yes, you can easily freeze these whoopie pies. I store them in a large Ziploc freezer bag.
Private Notes
Tried this recipe?
Let us know how it was!
This post was updated from the original 11/14 post with more details and tips.
I truly hope you enjoy this recipe. I have been testing and creating gluten-free recipes for over 15 years. Creating gluten-free recipes that do not taste gluten-free is my goal for every recipe. Sometimes I only have to test a new recipe a couple of times, and others it takes multiple times. I do this so you get reliable, delicious results every time!

These are delicious with or without the filling/frosting. My family (GF) said its the closest thing they have had to a muffin top in years. Is there a way to make them maybe blueberry or apple? Great texture and consistency. Never disappointed with a Fearless Dining recipe!!
This makes me so happy. I never thought about these whoopie pies having a muffin top, but it makes a lot of sense because of how soft they turn out.
and the frosting? could you offer us your recipe for the frosting, please?
It was in the post, and I added it to the recipe card. I hope you enjoy the recipe!
Turned out well! I created powdered sugar in the blender from maple sugar and made a frosting mix with vegan butter and palm oil shortening with a couple tablespoons of non-dairy milk. Turned out excellent! Thank you for sharing your recipe!
That maple filling sounds delicious! Thank you for the suggestion.
Sandi, These turned out great!
I baked for 12 minutes at 360* to adjust for high altitude and added a few extra minutes for the batch baked on a double-layer aluminum pan to help them set up.
Hi Lynn, Thank you so much for sharing how you adjusted this recipe for high altitude baking. I am sure this will help several readers!
Can I use Almond flour only?
Hi Lynn, almond flour by itself will not work in gluten free baking. You need to add starch and a binder so they hold together. I haven not tested my recipe with just almond flour.
I am allergic to Almond, can I just add more of the 1 to 1 gluten free flour in its place?
Hi Kristina, To make these nut-free, omit the almond flour and add 1/2 cup additional flour. You may need to adjust the flour ratio slightly depending on the gluten free blend you are using.