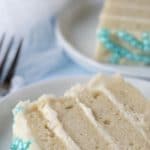
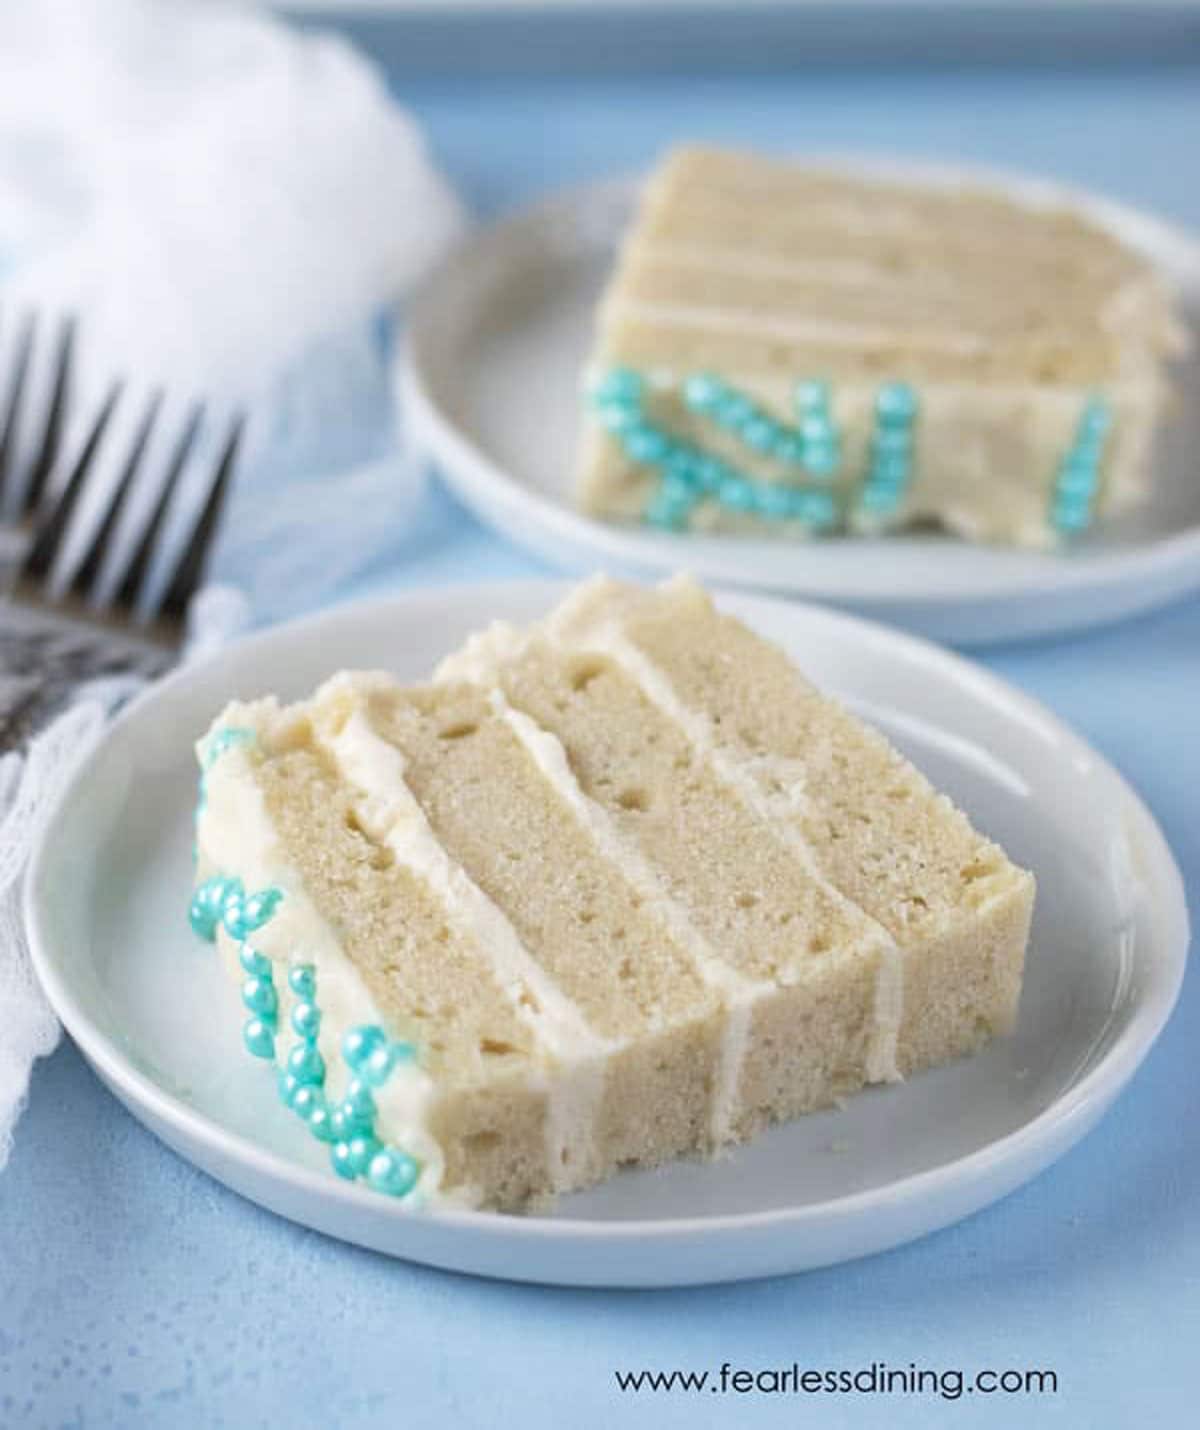
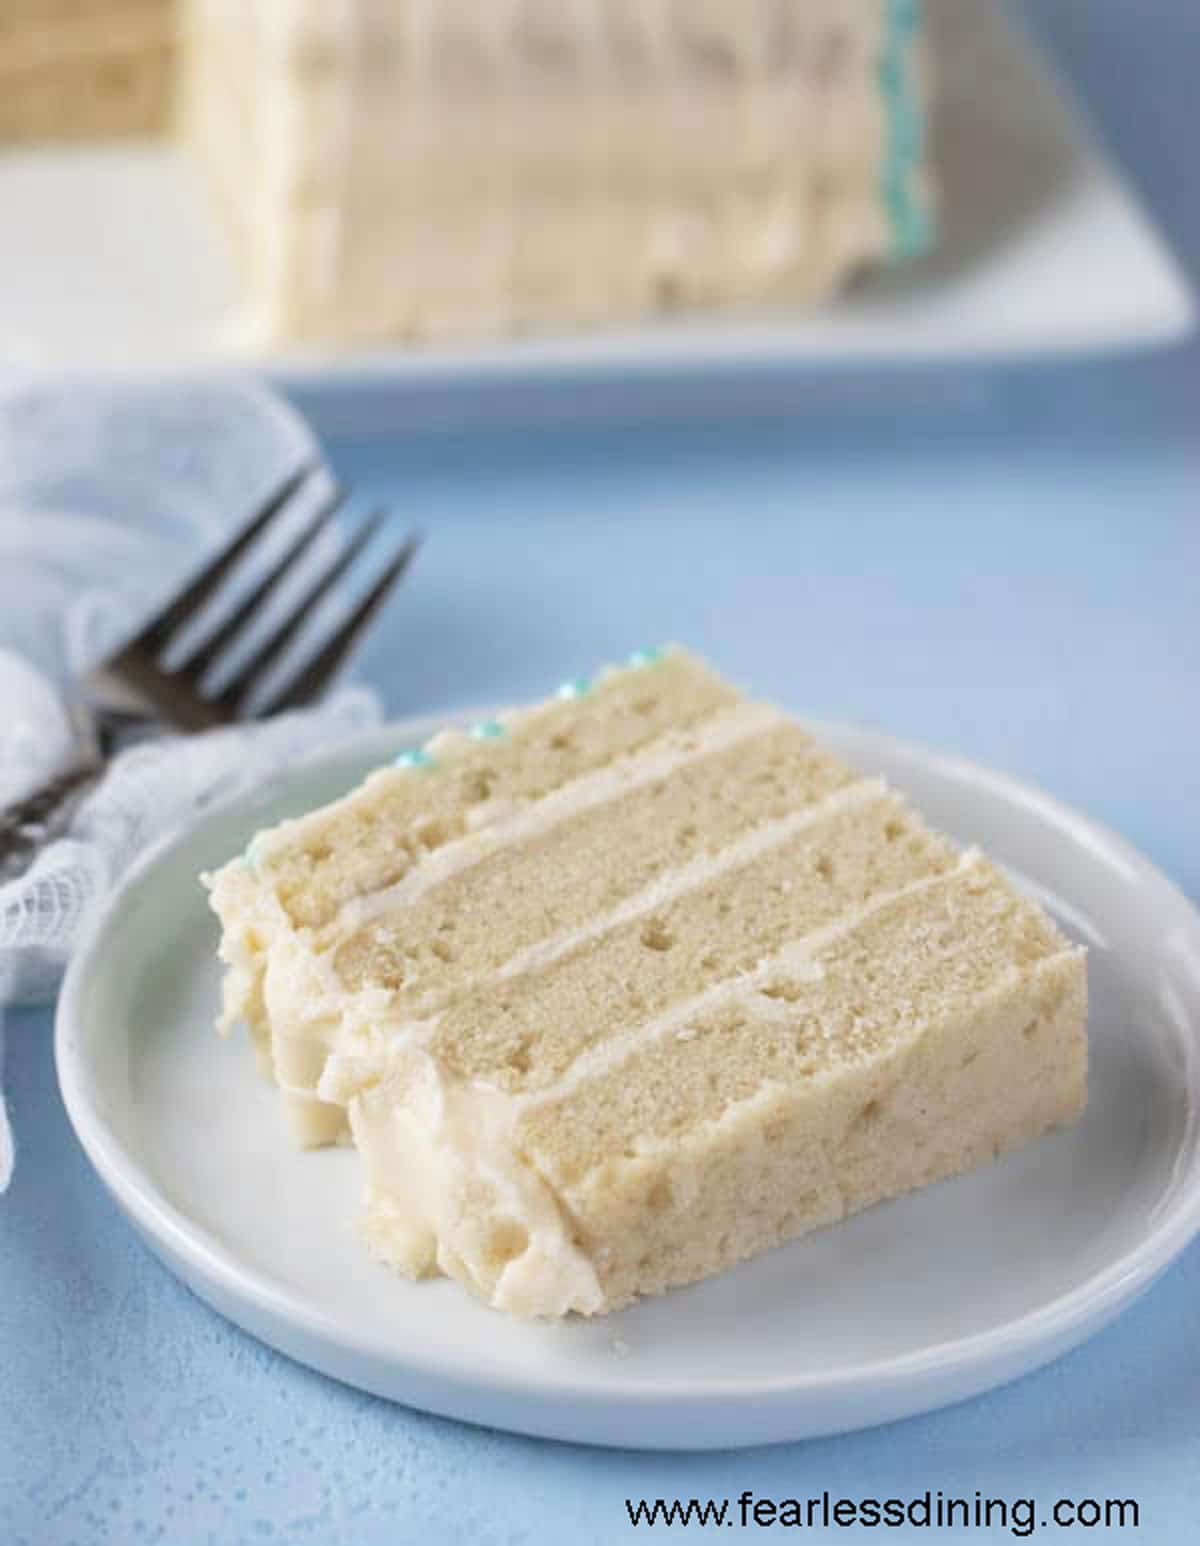
This gluten-free vanilla cake bakes up soft and fluffy with delicious classic vanilla flavor. Everyone will think this cake came from a fancy bakery. It slices cleanly, holds its shape well for layering, and works beautifully with buttercream and other frostings. The recipe is dairy-free, easy to make, and tried-and-true for your birthdays, weddings, or everyday celebrations.
This post may contain affiliate links. Please read our Disclosure Policy.
❤️ Sandi’s Recipe Summary
The Quick Bite: This homemade gluten free vanilla cake recipe is made for celebrating. It has a light, soft texture with lots of vanilla flavor. This is the gluten free cake recipe I have perfected over the last 15 years. Bakeries trust this cake recipe because it works. The cake is dairy-free, and there is an egg-free version.
“I’m a professional chef/baker and was looking for a great gf/vegan cake for our special clients with special needs. I researched plenty through the years, and I absolutely loved this recipe. I subbed Bob’s Mill egg replacement and used lactose-free half and half instead of milk, used half tsp salt, and extra vanilla. It’s simple to make and one of the best gf cakes I’ve had. I made sure not to overmix. Thanks for this recipe!!! I’m keeping it in my rotation.”
Laura, Blog comment
If you are looking for a foolproof gluten-free vanilla cake recipe that delivers incredible flavor and texture, this is it. It has been tested with multiple flour blends and dairy-free ingredients, and readers love how easily it comes together. This vanilla cake recipe is the one I kept coming back to while I tested different flours; it just works.
When I first started baking gluten-free in 2010, you couldn’t buy a gluten-free cake or even a mix in grocery stores. My kids attended parties, school events, sports events, and if I didn’t bake something, they didn’t get a treat.
I often make this cake, and it is truly the best. Sometimes I frost it, other times I add a nice dusting of powdered sugar. It is a versatile cake recipe that will be a big hit for your family celebrations.

Testing Notes From My Kitchen
Before blogging, when we first went gluten-free, I remember how discouraging it felt when I baked a cake, and it turned out gummy or dense. One of my goals when starting this blog was to make sure this didn’t happen to anyone else.
I have made this recipe probably 50 times over the years. When I first started testing this recipe, I used my go-to store-bought flour blend, King Arthur Measure for Measure. This is a great blend for cake, and it only took a couple of tries to get the moisture level of this cake just right. Later, I tested it using Bob’s Red Mill 1:1 blend. This blend is a little grittier to me. I would recommend letting the cake batter rest for 20 minutes if you use this blend. Lastly, I trialed Cup4Cup. I found I needed a little more flour, about 1 TBSP, when using this blend. The flavor of the cake using all of these blends was delicious.
This cake is dairy-free, and I did test this cake using dairy-free butter to make the frosting. Readers have used Bob’s Red Mill Egg Replacer to make this cake egg-free, which will benefit some of my readers. (I haven’t tested an egg-free version myself.)
I have a lot of easy gluten-free cake recipes on the blog. You are sure to find some new favorites. If you prefer a chocolate cake for your celebration, this is an incredible Gluten-Free Chocolate Cake that is moist and full of rich chocolate flavor. Use this cake recipe to make gluten-free cake pops for a fun spin.
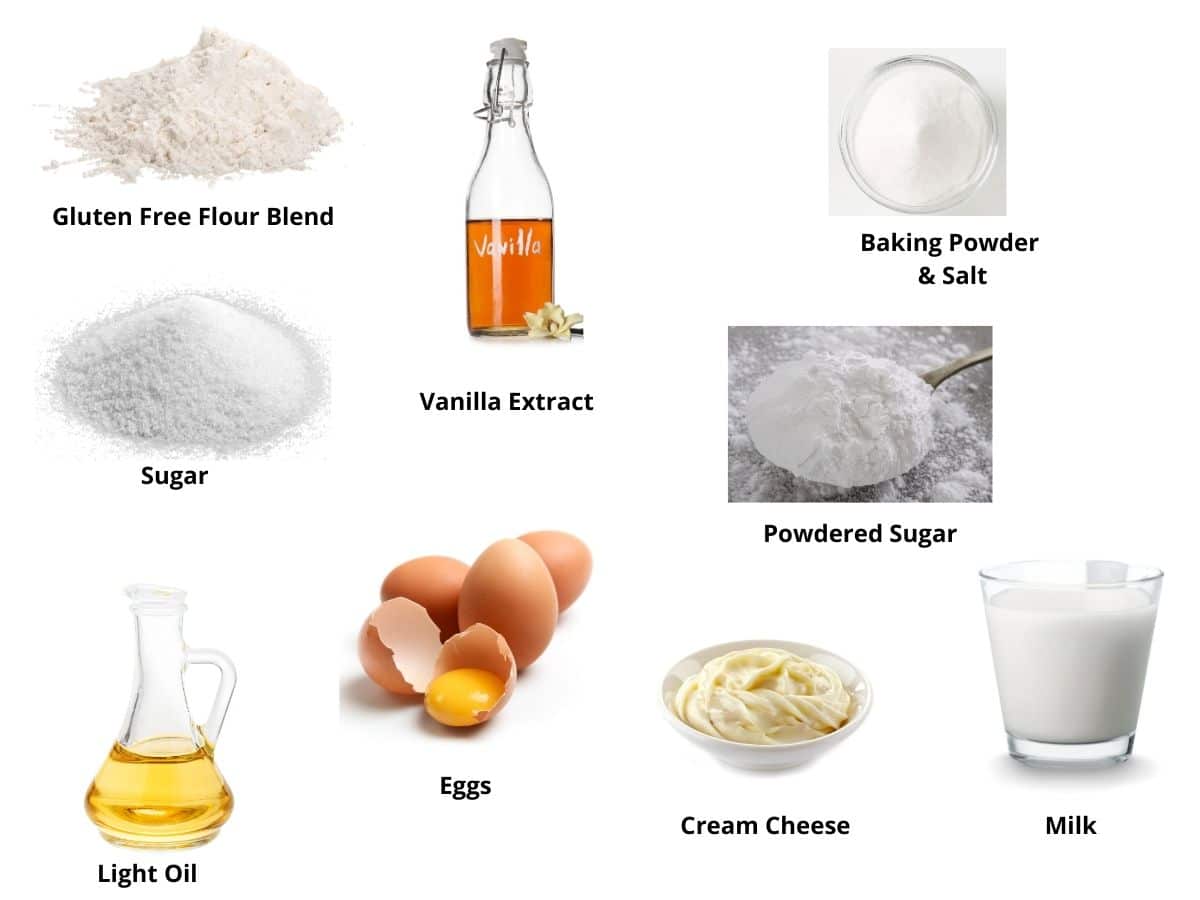
Ingredient Notes:
For the full list of ingredients and amounts, please go to the recipe card below.
- Gluten-Free Flour Blend – Tested with King Arthur Measure for Measure, Cup4Cup, and Bob’s Red Mill 1:1 GF blend. Both work well to create a soft, moist crumb. Readers have also successfully used President’s Choice GF Blend and Namaste. Always spoon and level flour, or check out my guide on measuring gluten-free flour correctly.
- Xanthan Gum – If your gluten free flour blend does not contain Xanthan Gum or Guar Gum, please add 3/4 teaspoon to ensure proper structure.
- Baking Powder – Use aluminum-free baking powder; it makes a difference in flavor.
- Light Oil – Avocado or canola oil works best. Avoid olive oil or other strong-flavored oils.
- Milk – I use almond milk as my non-dairy milk to keep my cake dairy-free, but any plant-based milk will work.
- Eggs – Use size large. For an egg-free version, Bobb’s Red Mill Egg Replacer has been successful (see reader feedback above).
- Vanilla Extract – Use pure vanilla extract for the best flavor.
- Cream Cheese – For dairy-free, Kite Hill cream cheese is a great option.
Reader Modifications:
Jennifer M. – Swapped vanilla for lemon juice + yellow food coloring for a lemon version.
Julie S. – Used butter instead of oil and added 3/4 tsp baking soda with sour milk.
Sophia – Turned it into a pink strawberry cake with strawberry Jello and almond extract.
How to Make a Gluten-Free Vanilla Cake (Step-By-Step)
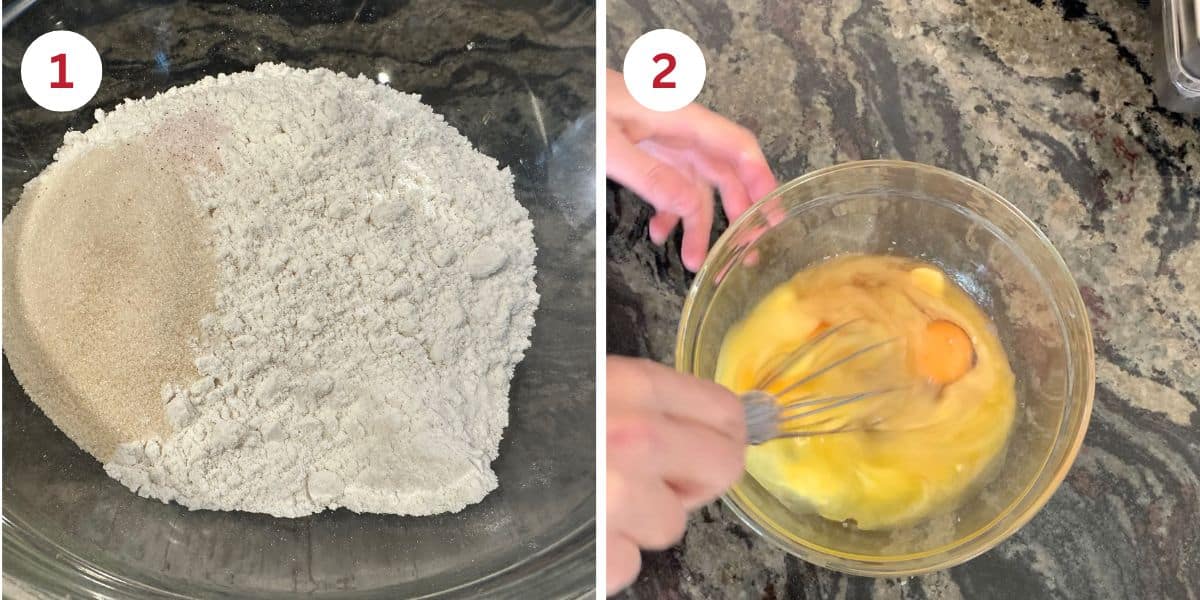
Step 1: In a large bowl, whisk together the dry ingredients. A wire whisk helps distribute everything evenly.
Email This Recipe To Me!
Step 2: In a smaller
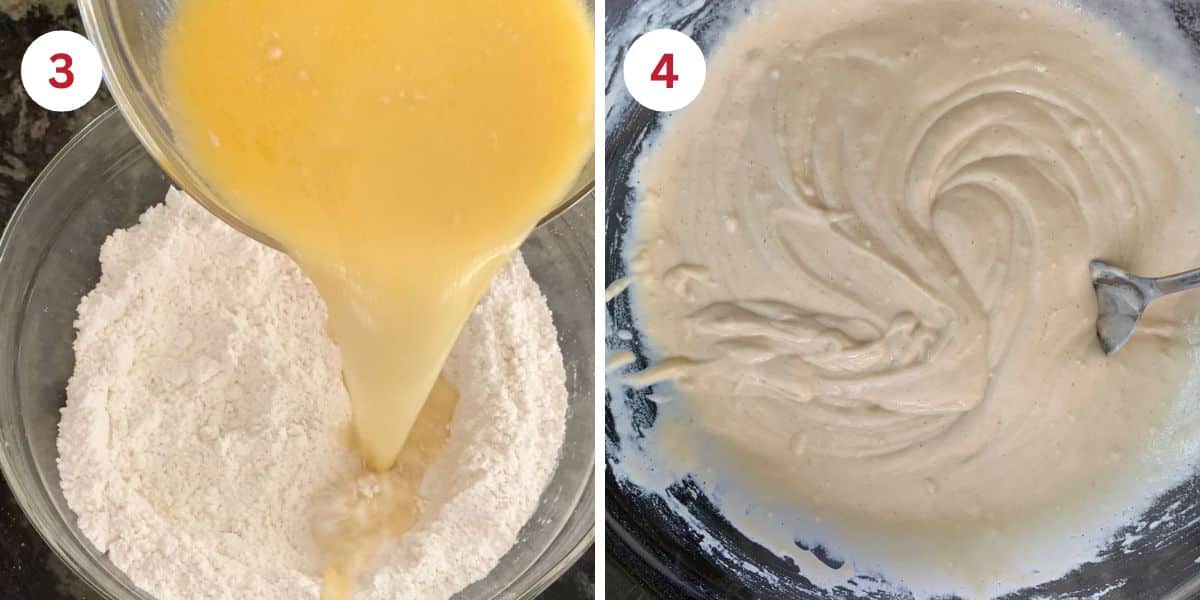
Step 3: Pour the wet ingredients into the dry ingredients and mix until the two are barely mixed. This is the secret to getting the fluffiest cake!
Step 4: The batter will be creamy. Scrape down the sides to make sure everything is incorporated.
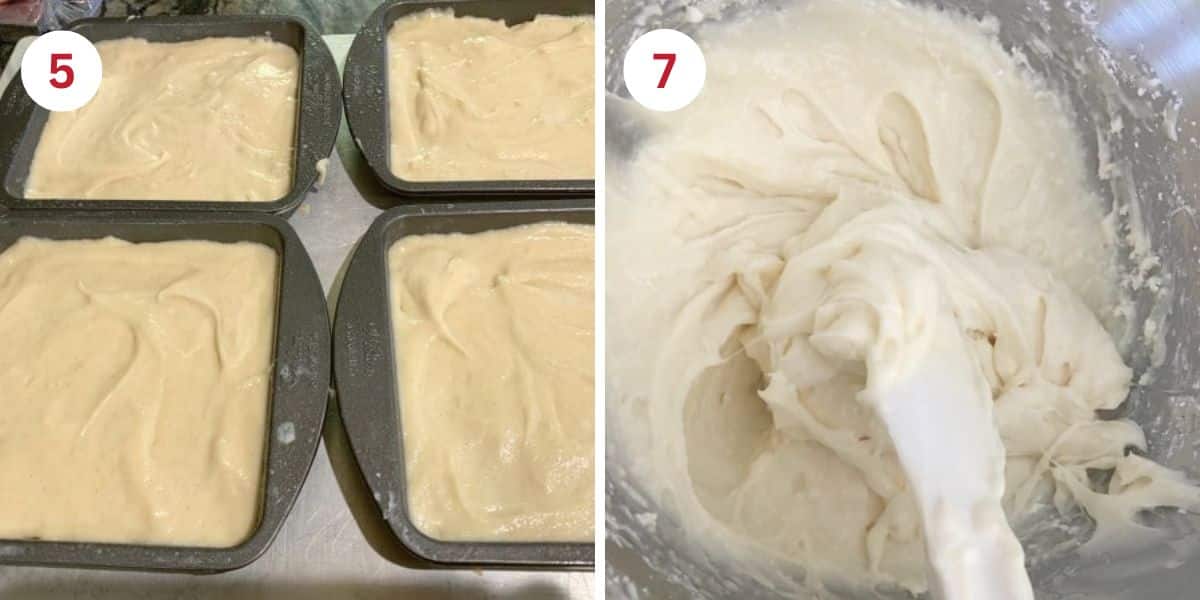
Step 5: Divide the batter into greased cake pans (I love using Wilton’s layer cake pans for even layers).
Step 6: Bake according to the pan size. Do not open the oven door early, or your cake may sink. When they are done baking, let the cakes cool in their pans for 3 to 4 minutes, then carefully transfer to a wire rack to cool completely.
Step 7: Make the frosting and mix well until thick and creamy.
🔑 Sandi says: If you want to know what brands of sprinkles are gluten-free and celiac-safe, check out my guide to gluten-free sprinkles. If you want to use a colored, flavored, or buttercream frosting with this cake recipe, my Gluten-Free Frosting recipe includes lots of different flavors and colors of frosting you can make.
Frequently Asked Questions:
Yes! Use Bob’s Red Mill egg replacer, dairy-free milk, and cream cheese.
The secret to keeping this gluten free cake moist is not to overmix the cake batter. Mix the batter until the ingredients are just barely mixed to keep it moist and fluffy.
Layer cake rounds with frosting in between. Use a spatula to smooth each layer as you build. Chill slightly before final decorating for best results.
It may be underbaked, or the oven door was opened too soon.
It was either overmixed or did not have enough moisture for your specific flour blend.
This gluten-free vanilla cake will stay in an airtight container for up to 4 days or 4 months in the freezer.
For more cake troubleshooting help and tips, see my Gluten-Free Cake Troubleshooting Guide. Also, having the right Tools for Making Cake makes making gluten-free cake easier.
Gluten-Free White Cake Instructions:
To make this gluten-free vanilla cake a white cake, you must make a few easy adaptations.
- Use egg whites only (save the yolks for another recipe).
- Whip egg whites to soft peaks, then fold in wet ingredients.
- You will need 1/2 cup more milk to make the cake a white cake.
- If you want this cake to be pure white, use this clear vanilla extract.
- Gently fold the wet ingredients into the dry ingredients. Be careful not to overmix the batter.
- Add to your cake pans and bake as directed.
Love This Recipe?
💬 Did you make this gluten-free vanilla cake recipe? Let me know how it turned out! ⭐⭐⭐⭐⭐ If you could please include which flour blend you used, this will help others know this recipe is delicious. Thank you!
Bakery Quality Gluten-Free Vanilla Cake with Cream Cheese Frosting
Ingredients
- 2 cups gluten free flour blend * see note
- 1 cup cane sugar
- 2 teaspoons baking powder aluminum-free
- ⅛ teaspoon salt
- 3 large eggs
- ¾ cup light oil (*I used avocado oil)
- ¾ cup non-dairy milk * see note
- 2 teaspoons pure vanilla extract
- 8 ounces cream cheese * see note
- ¼ cup unsalted butter softened
- 2 ¼ cups powdered sugar
- 1 teaspoon pure vanilla extract
Method
- Preheat the oven to 350º F.
- In a large mixing bowl, add 2 cups gluten free flour blend, 1 cup cane sugar, 2 teaspoons baking powder, and 1/8 teaspoon salt and use a whisk to blend.
- In a smaller bowl, add 3 large eggs, 3/4 cup light oil, 2 teaspoons pure vanilla extract, and 3/4 cup non-dairy milk. Use a wire whisk to mix.
- Pour the wet ingredients into the dry ingredients and mix well. Note photo above of the batter consistency.
- Spoon batter into greased cake pans, or cupcake pan.
- Bake for 20-25 minutes (for the small layer cake pans). You will want to bake longer for larger pans.
- To test for doneness, insert a toothpick into the center of the cake. If the toothpick comes out clean, it is done baking. If you see batter or crumbs, the cake needs to bake longer
- Remove the cake layers from the oven and allow to cool on a cooling rack. If you are making a layer cake, inspect each layer for bumps (if one area of the cake rose more.)
- Use a knife to level any bumps to make your cake layers flat. Do not ice the cake until it has fully cooled.
- Place the bottom layer of cake on a cake stand. Add frosting to the top of the layer. Place the next cake layer on top of the frosting, and frost that layer. Repeat until all layers are frosted.
- To make the gluten free cream cheese frosting, add softened 8 ounces cream cheese, room temperature 1/4 cup unsalted butter, 1 teaspoon pure vanilla extract, 2 1/4 cups powdered sugar, and a bit of water to a bowl and mix well until thick and creamy.
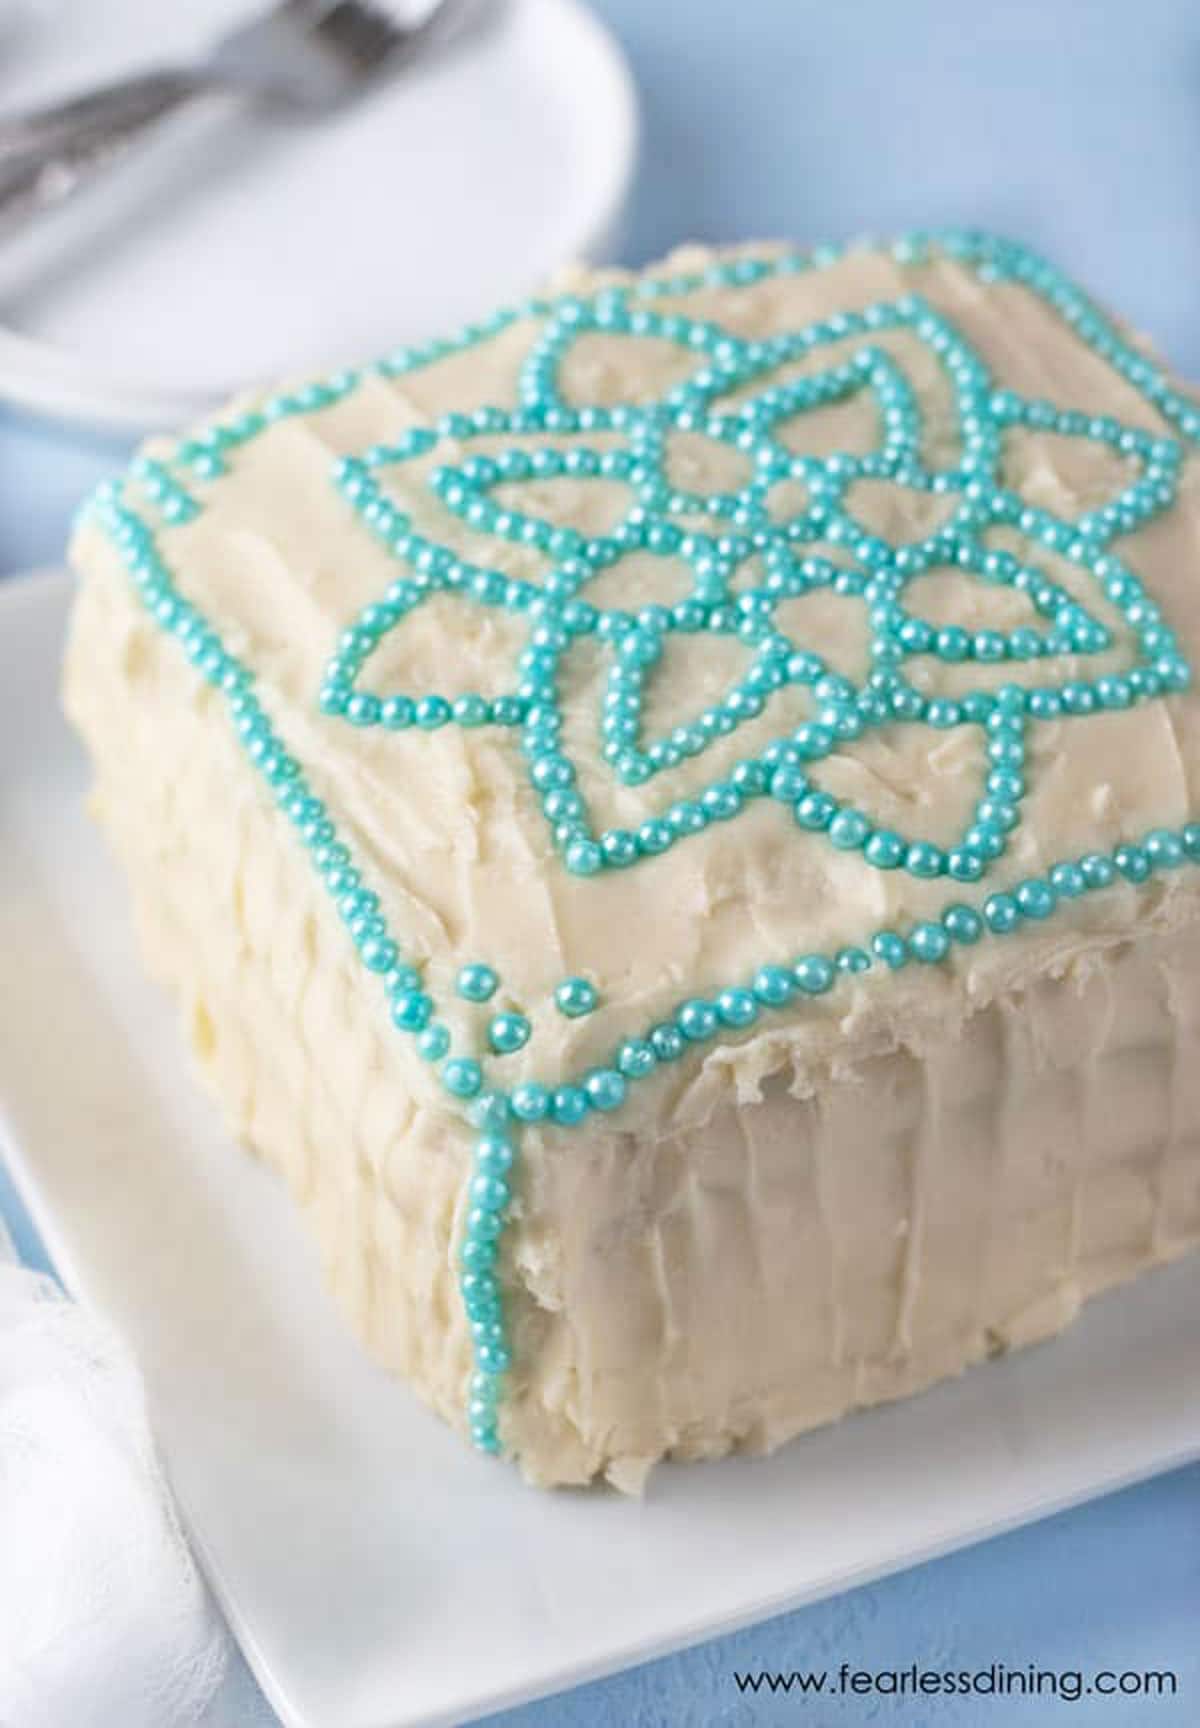
- Use a cake spatula to frost the top and sides of the cake. Decorate how you like.
Nutrition
Notes
- I have tested this recipe with King Arthur Measure for Measure GF, Bob’s Red Mill 1 to 1 GF blend, and Authentic Foods Multi Blend. Other blends will work, but you may need to tweak the moisture levels depending on the blend.
- If your gluten-free flour blend doesn’t contain Xanthan Gum, add 3/4 teaspoon.
- I used almond milk, but other dairy-free kinds of milk will work. I do not recommend canned coconut milk.
- The cake is naturally dairy-free. To make this fully dairy-free, you need to alter the frosting ingredients by substituting the butter for vegan butter and using vegan cream cheese.
- This cake will keep up to 4 days in an airtight container, or up to 4 months in the freezer.
- See my Gluten-Free Cake Troubleshooting Guide for more tips and any troubleshooting issues.
Private Notes
Tried this recipe?
Let us know how it was!
I truly hope you enjoy this recipe. I have been testing and creating gluten-free recipes for over 15 years. Creating gluten-free recipes that do not taste gluten-free is my goal for every recipe. Sometimes I only have to test a new recipe a couple of times, and others it takes multiple times. I do this so you get reliable, delicious results every time!

Going to bake this tomorrow, but I’ve gone through the recipe, clicked the Amazon link, see the pans in the picture but am still confused as to what size you’re using. In the recipe itself, it does not mention the size. You have a link to them which shows four 6×6 pans, and that also shows in your pictures; however, in your comments to others, you mention a 9×9 and how if a 9×13 is used, it may be a thinner cake. Help! 😉 I just want to do it the right way the first time. I want to make a normal thick size 9×13, so I can split in half to add filling.
Hi Michelle, I used the 4 mini layer pans by Wilton. The comments were from when readers wanted to make a larger cake. For a 9×13 cake, you will need to double the recipe. The batter would make an 8×8 sized cake, or a 9 inch round. I hope this helps.
What size cake does this make? I can’t find that information anywhere. Is it a 2 layer cake? A 3 layer cake? 9in, 8in, 6in?
Hi Lydia, I linked to the layer pans I used in the post. It will make that size layer cake or a 9 inch single layer cake.
Can I make this in a full sheet cake pan? Would I need to double the recipe? If so, how much time would you recommend on baking and would you recommend lowering the temperature?Thanks
Hi Beth, I haven’t personally made this into a sheet pan, but given a large sheet pan has shorter sides, you would want to double the recipe and reduce the baking time. I am sorry I can’t give specifics without testing it.
I made this cake, taste testing for a wedding cake. This recipe is so delicious, I couldn’t stay out of it and my family couldn’t either! It didn’t last long!
Hi Angie, I am thrilled you loved this cake, and are considering it for a wedding cake. Several bakeries use this recipe for cake and wedding cakes because, as you now know, it turns out incredible. Thank you.
I just made this cake for my mother’s 90th birthday party. It was an 8″ layer cake. It came out SO amazing, and everyone loved it (many went back for seconds!). I followed the recipe exactly, used Bob’s Red Mill, almond milk, canola oil, did not overmix, and let the batter sit for about 20 mins. in the bowl. But then I also let it sit again in the pans about 10 mins before putting in oven. No graininess at all! And it was not very dense like a lot of GF cakes usually come out (I don’t like dense/heavy cakes). Nobody knew it was gluten-free! I used buttercream icing on it. Delicious!!! Thank you so much for this recipe!
Made this Cake for my Birthday.
It turned out fabulous!.Got rave reviews from my non celiac( regular gluten eating family).
Soft,fluffy & moist..not dense at all.
The next day it still tasted fresh like the previous day.I followed all the directions except..I let the batter rest 15 minutes in the bowl to hydrate.I used King Arthur1:1 gf flour..Greased a 9×13 pan and baked @ 350° for 30 minutes.
next time I am going to reduce the temp to 335°. I used canola oil.Perfectly sweet .
I am excited to offer this to all my customers! Thank you Sandi for a wonderful recipe!!
Happy Birthday!! I am so glad you enjoyed my cake recipe on your special day!! Thank you for coming back to leave a review.