
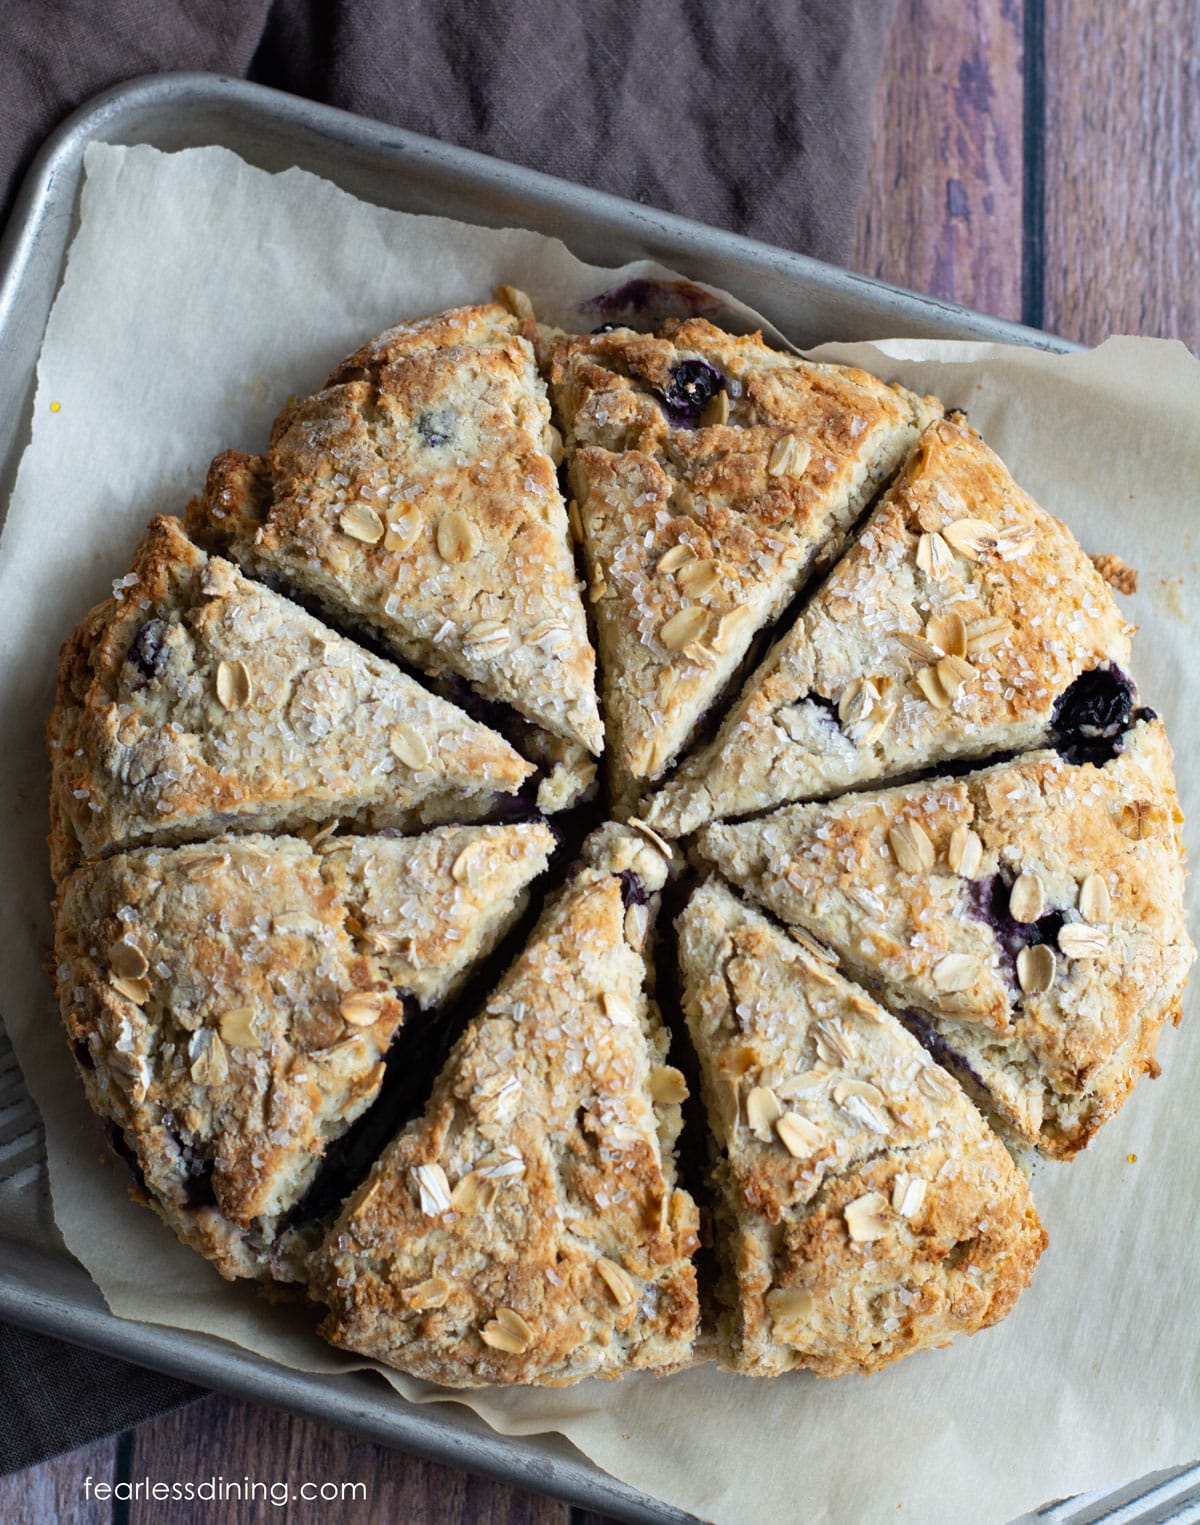
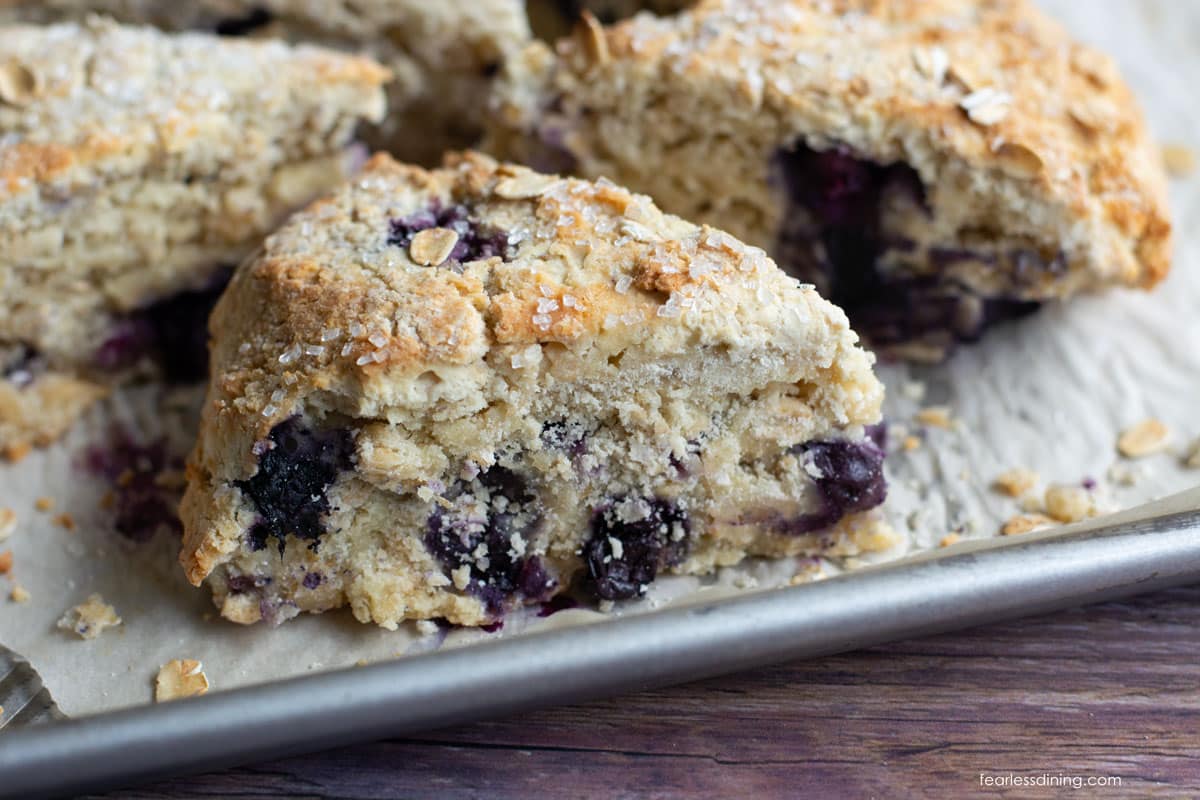
These gluten-free oat scones bake up big, golden, and flaky with a rustic oat flavor. They pair perfectly with morning coffee or tea. The gluten-free oats give them a nutty heartiness, while the inside stays tender and soft. Add blueberries, nuts, or your favorite fruit for a scone that feels both wholesome and indulgent.
This post may contain affiliate links. Please read our Disclosure Policy.
I am excited about my new scone recipe. They are the perfect addition to my collection of gluten-free scones recipes. As with all my scone recipes, they can serve as a base for your favorite mix-ins.
If you love these rustic gluten-free scones, you will also want to try my Gluten-Free Blueberry Scones. If you want an oat-free version, try these Gluten-Free Maple Walnut Scones.
As with any recipe with oats, it is critical to use gluten-free oats to avoid any risk of cross-contamination with wheat. This is critical if you have Celiac disease. Gluten Free Watchdog has several good articles about gluten-free oats. Please note that there are no gluten-free oats in Australia.
Ingredient Notes:
For the full list of ingredients and amounts, please go to the recipe card below.
- Gluten Free Oats – There are a few brands that make Gluten-Free Oats. I like Bob’s Red Mill (look for the big GF label) and Quaker GF Oats. Note that there is some discrepancy between Trader Joe’s gluten-free oats because some testing has shown that they contain more than 20 ppm of gluten. I have been avoiding Trader Joe’s oats until this is cleared up.
- Gluten-Free Flour Blend – I tested this recipe with King Arthur Measure For Measure and Pamela’s All Purpose Flour. Other brands should work, but I have not tested them.
- Baking Powder – I recommend aluminum-free.
- Eggs – Use size large.
- Butter – I recommend using unsalted butter.
- Fruit – Add any fruit you like. I used blueberries.
If you are new to making scones, check out my Gluten-Free Scones Guide for more tips and 20+ recipes.

A Note From My Kitchen
I had a lot of fun testing this recipe because oats bring such a different texture compared to my other gluten-free scones. I tried both rolled oats and quick oats. Both worked, but rolled oats gave the best texture once they were pulsed a little in the food processor. The quick oats made the scones a lot softer and less rustic.
For flour blends, I tested King Arthur Measure for Measure and Pamela’s All Purpose. Both worked well, though Pamela’s needed a touch more liquid to get the dough just right. As always, different blends absorb moisture differently, so be ready to add a little extra flour or liquid one tablespoon at a time.
How to Make Gluten-Free Oat Scones (Step-By-Step)
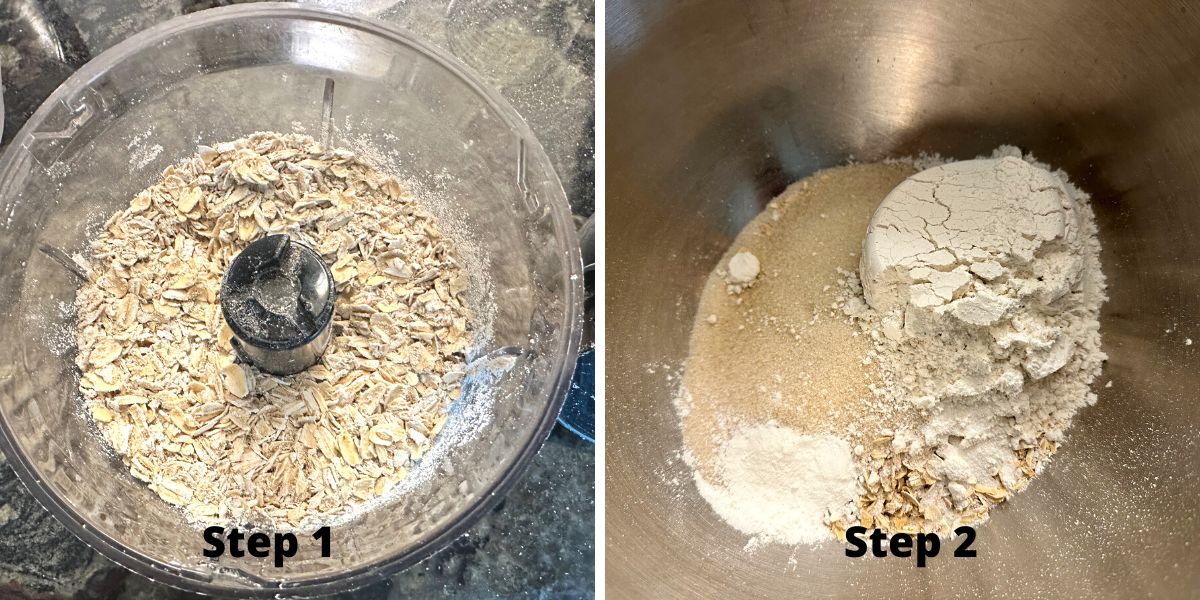
Step 1: Add your rolled oats to a food processor. Grind them until they are partially chopped. This helps the texture stay soft. Do not grind them too long, or you will end up with oat flour.
Step 2: Add the dry ingredients and oat mixture in a large bowl. Use a whisk to blend them all.
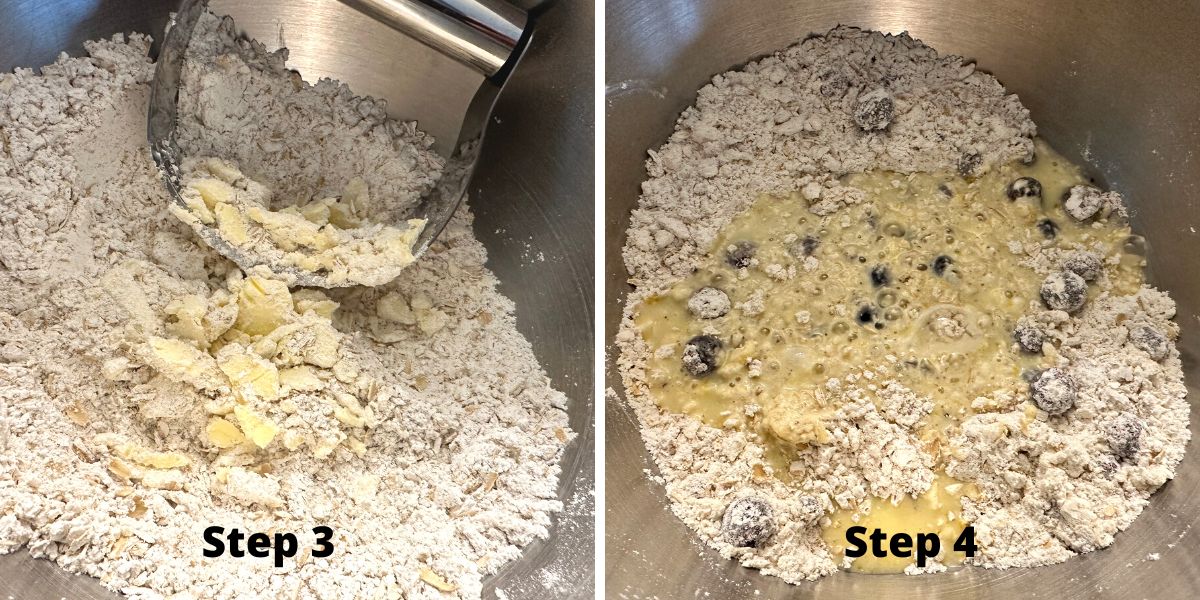
Step 3: Add the cold butter and use a pastry cutter to cut the butter into the flour mixture. You can use two knives, but I recommend the pastry cutter for the best results.
👀 Note: If you don’t have a pastry blender, freeze the butter and use a grater to grate the butter into the dry ingredients.
Step 4: Add the wet ingredients and mix the wet and dry ingredients into the scone dough. Do not overwork the dough or the butter will warm. Cold butter make steam pockets, which means flaky layers.
📢 Sandi says: Every gluten-free flour blend has a different starch-to-grain ratio. The brand of gluten-free flour you use will affect the moisture of the batter. If your cake batter is too runny, add more flour, and if it is too thick, add more liquid.
Read Why Gluten-Free Flour Blends Vary to learn more about this.
Email This Recipe To Me!
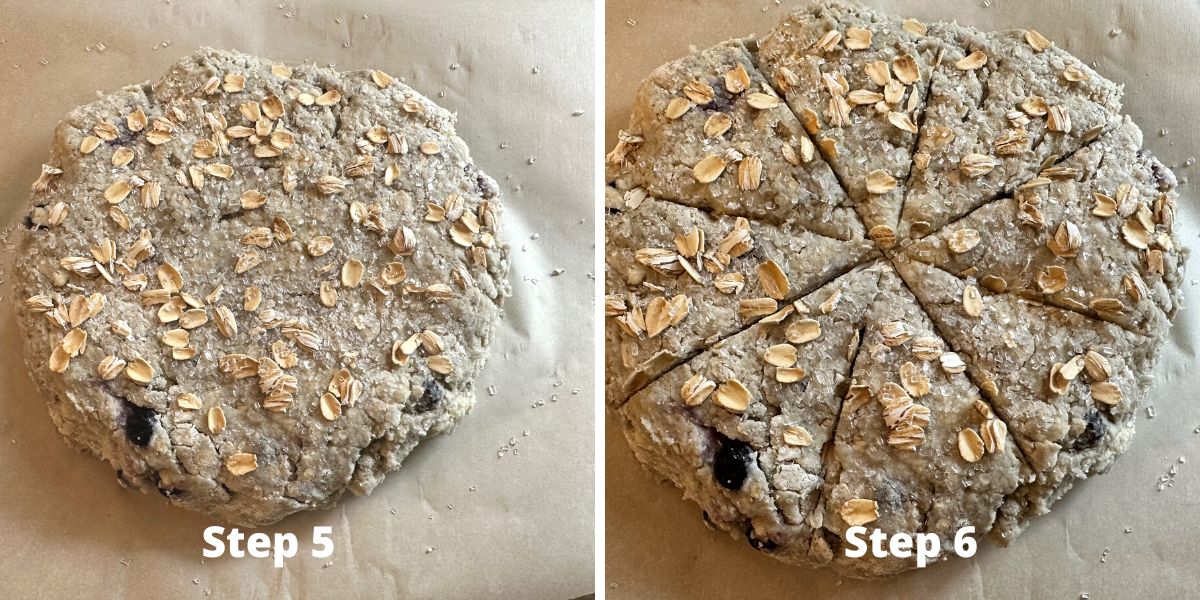
Step 5: Place the scone dough onto a parchment paper-lined
Step 6: Use a sharp knife to cut the scone dough. I recommend cutting no more than halfway through the dough.
Step 7: Bake the scones for 25-30 minutes at 350º F. The baking time will vary depending on how thick you make your scones.
If you love scones, make these Gluten-Free Strawberries and Cream Scones too.
Tips For Success
1. As I mentioned above. You must use certified gluten free oats.
2. Use gluten-free rolled oats or quick oats. Quick oats will work, but the texture will be a little different.
3. Check the expiration date of your baking powder to ensure you get the best rise.
Frequently Asked Questions:
You can use gluten free quick oats.
Yes, plant-based butter works very well in this scone recipe. I tested the Earth Balance brand.
I recommend storing scones in an airtight container in the refrigerator for up to 4 days. Gluten-free products tend to spoil quickly, so I always store them in my refrigerator.
These scones are easy to freeze. Place room-temperature scones into a freezer bag and squeeze out the extra air.
If you love scones, you must try these Gluten-Free Chocolate Scones and these Gluten-Free Buttermilk Scones!
More Gluten-Free Scone Recipes:
Love This Recipe?
If you made and enjoyed this recipe, I would be incredibly grateful if you could leave a comment below. Please include which flour blend you used. This will help others know this recipe is delicious. Thank you!
Rustic Gluten-Free Oat Scones (Add Any Fruit)
Ingredients
- 2 cups gluten free flour blend * see note
- 1 cup certified gluten free oats * see note
- ⅓ cup cane sugar if you like a sweeter scone, use 1/2 cup
- 2 teaspoons baking powder aluminum-free
- ¼ teaspoon salt
- ¼ cup unsalted butter cold
- 1 large egg
- 1 cup milk or non-dairy
- 1 cup blueberries Or another fruit
Method
- Preheat the oven to 350º F.
- If you are using rolled oats, I recommend putting them into a food processor to break them up a bit. If you are using quick oats, you can skip this step.
- In a large bowl, add all of the dry ingredients. Whisk to blend.
- Add the cold butter chunks and use a pastry blender to cut the cold butter into the dry ingredients. When you are done, you should see small crumbles in the dry ingredients.
- In a small bowl, add the wet ingredients and whisk them together.
- Pour the wet ingredients into the dry ingredients and add the fruit.
- Mix into dough.
- Place parchment paper on a baking sheet. Place the scone dough on the baking sheet and shape it into a circle.
- Press the dough down to your desired thickness. Note the thickness will affect the final baking time needed.
- Sprinkle some whole oats over the scone dough. Optional, also sprinkle coarse sugar over the top of the dough. Gently press the oats down a little.
- Use a sharp knife to score the scones into 8 pieces. Do not cut all the way through the dough.
- Bake for 25 minutes. If you made thick scones, you may need a little longer for baking time.
- Remove the scones from the oven and use a sharp knife to cut the scones all of the way through.
- Place the scones on a cooling rack to cool.
Nutrition
Notes
- I tested this recipe with King Arthur Measure for Measure. If you use Bob’s Red Mill 1:1, you may need to add up to 3 tablespoons of additional flour.
- If your flour blend doesn’t contain xanthan gum or guar gum, add one teaspoon to the dry ingredients.
- As mentioned above, you can add fruit, chocolate chips, raisins, nuts, etc.
- To use a scone pan, press the scone dough into each section of the pan. Depending on the size of the scones in your pan, it may affect the baking time.
- It is critical to use certified gluten free oats if you are gluten-free.
- Store in an airtight container in the refrigerator for up to 4 days. You can also freeze the scones when they have cooled.
Private Notes
Tried this recipe?
Let us know how it was!
I truly hope you enjoy this recipe. I have been testing and creating gluten-free recipes for over 15 years. Creating gluten-free recipes that do not taste gluten-free is my goal for every recipe. Sometimes I only have to test a new recipe a couple of times, and others it takes multiple times. I do this so you get reliable, delicious results every time!

Moist and tender scone. Easy and great flavor.
I am so glad you enjoyed the scones. Thank you so much.
Perfection! I added chopped dates, cardamom and a pinch of nutmeg. I was out of milk so used half and half and 1/3 c sugar because I like less sweet. I did have to bake a bit longer to the golden brown state ( 5 mins) most likely due to the density by adding half and half. I made a simple glaze with confectioners sugar, cardamom and maple. This will be a recipe on repeat for sure!
I wish I could add a photo!
I am so glad you loved the scones. It is good to know half and half and less sugar worked well. Another option is to water down the half and half slightly so they are not as dense from the thickness of half and half. You can always email a photo. I love seeing what readers bake. admin@ fearlessdining.com
Any suggestions on substitute for butter?
Hi Nancy, Use very cold plant based butter. I tested this recipe with Earth Balance. I would also chill the dough before shaping it and doing the cut lines. Plant based butter seems to warm more quickly, so keeping the dough cold will help with the flaky layers.
I notice the GF flour you link in your recipe is Namaste brand and not one of the flours you mention having tested in the Notes section. Have you tested this recipe with the linked flour in the recipe?
Hi Rebecca, I realized the universal setting for King Arthur (what I test most recipes with) was accidentally changed when I added a new recipe tested with Namaste. It is fixed now. I did test Namaste and it was very close to perfect. I had to add a little more liquid using that blend.
I am so grateful this recipe doesn’t have any confusing or inconsistent instructions. I have never made scones in my life and thought I would definitely mess up gluten-free scones. But I made them on Hobbit Day and they turned out perfectly, even though I thought the dough was too sticky. Even my mom loved them and she doesn’t typically eat gluten-free. Yay! Thank you!
You made my day. I am so glad you found my recipe “precious” on Hobbit day.
I am so shocked at the amount of recipes you have and the most informative information I have come across since gluten free began a year ago in our home so I genuinely cannot thank you enough for all of this wonderful information and recipes and I cannot wait to get started on trying them out so Lots of Love & Light to you and yours 🤗💗🕯️💞
Wow, Frances, you made my day. Thank you. Baking is a stress release and passion of mine and I am so glad I am able to share recipes that you enjoy. I appreciate your kind words.
I made them this morning using Cup 4 Cup. Came out perfect, tender and delicious. I did bake them closer to 30 minutes.
I am so glad you loved the recipe, Fran. Thank you very much!
What would you recommend as an egg replacement for this recipe?
Hi Janice, I haven’t tested this recipe with an egg replacer. I do have one reader who wrote an egg replacer worked in my scone recipe, another who used Bob’s egg replacer in my pumpkin scones recipes. I would definitely try it.
I appreciate how you design recipes for Gluten Free dupes that are easy to follow and are not complicated!!
I am so glad you are enjoying my recipes. Thank you!!
Is the amount of butter correct, 1/4 cup? That is so much less than every recipe that I have seen or used.
Hi. For this recipe, the amount of butter is correct. My other scones recipes do use more butter than this one.