

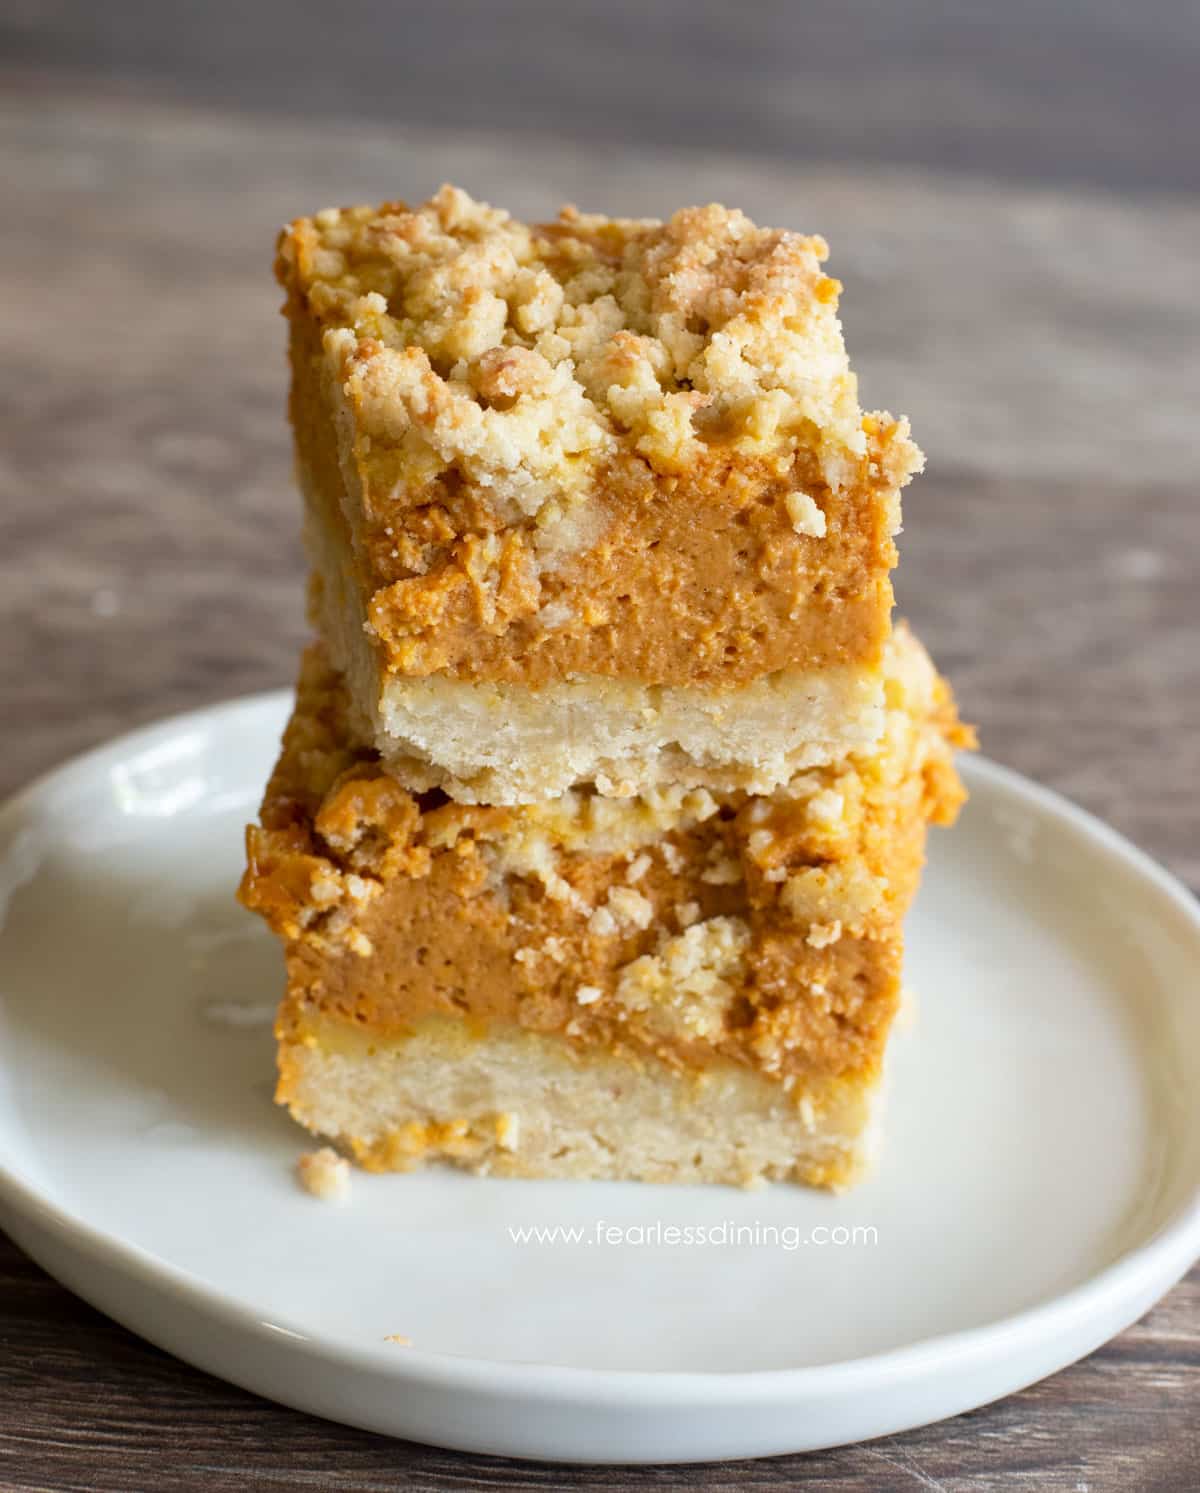
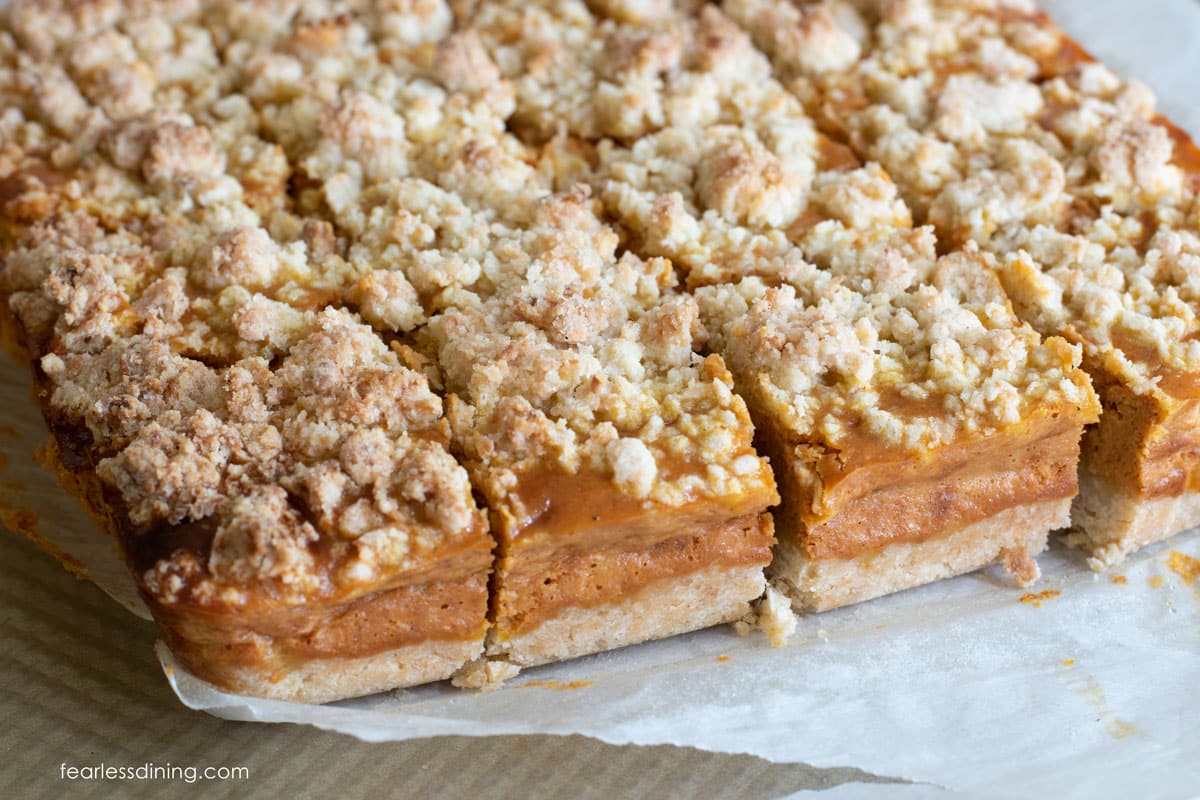
These gluten free pumpkin pie bars are filled with a sweet, thick pumpkin pie filling and have a shortbread crust, and a sweet crumble topping! The crust holds up and doesn’t get soggy like many pumpkin pie bar recipes. They make a great fall dessert in a fraction of the time it takes to make a pumpkin pie. Make them in about 45 minutes!
This post may contain affiliate links. Please read our Disclosure Policy.
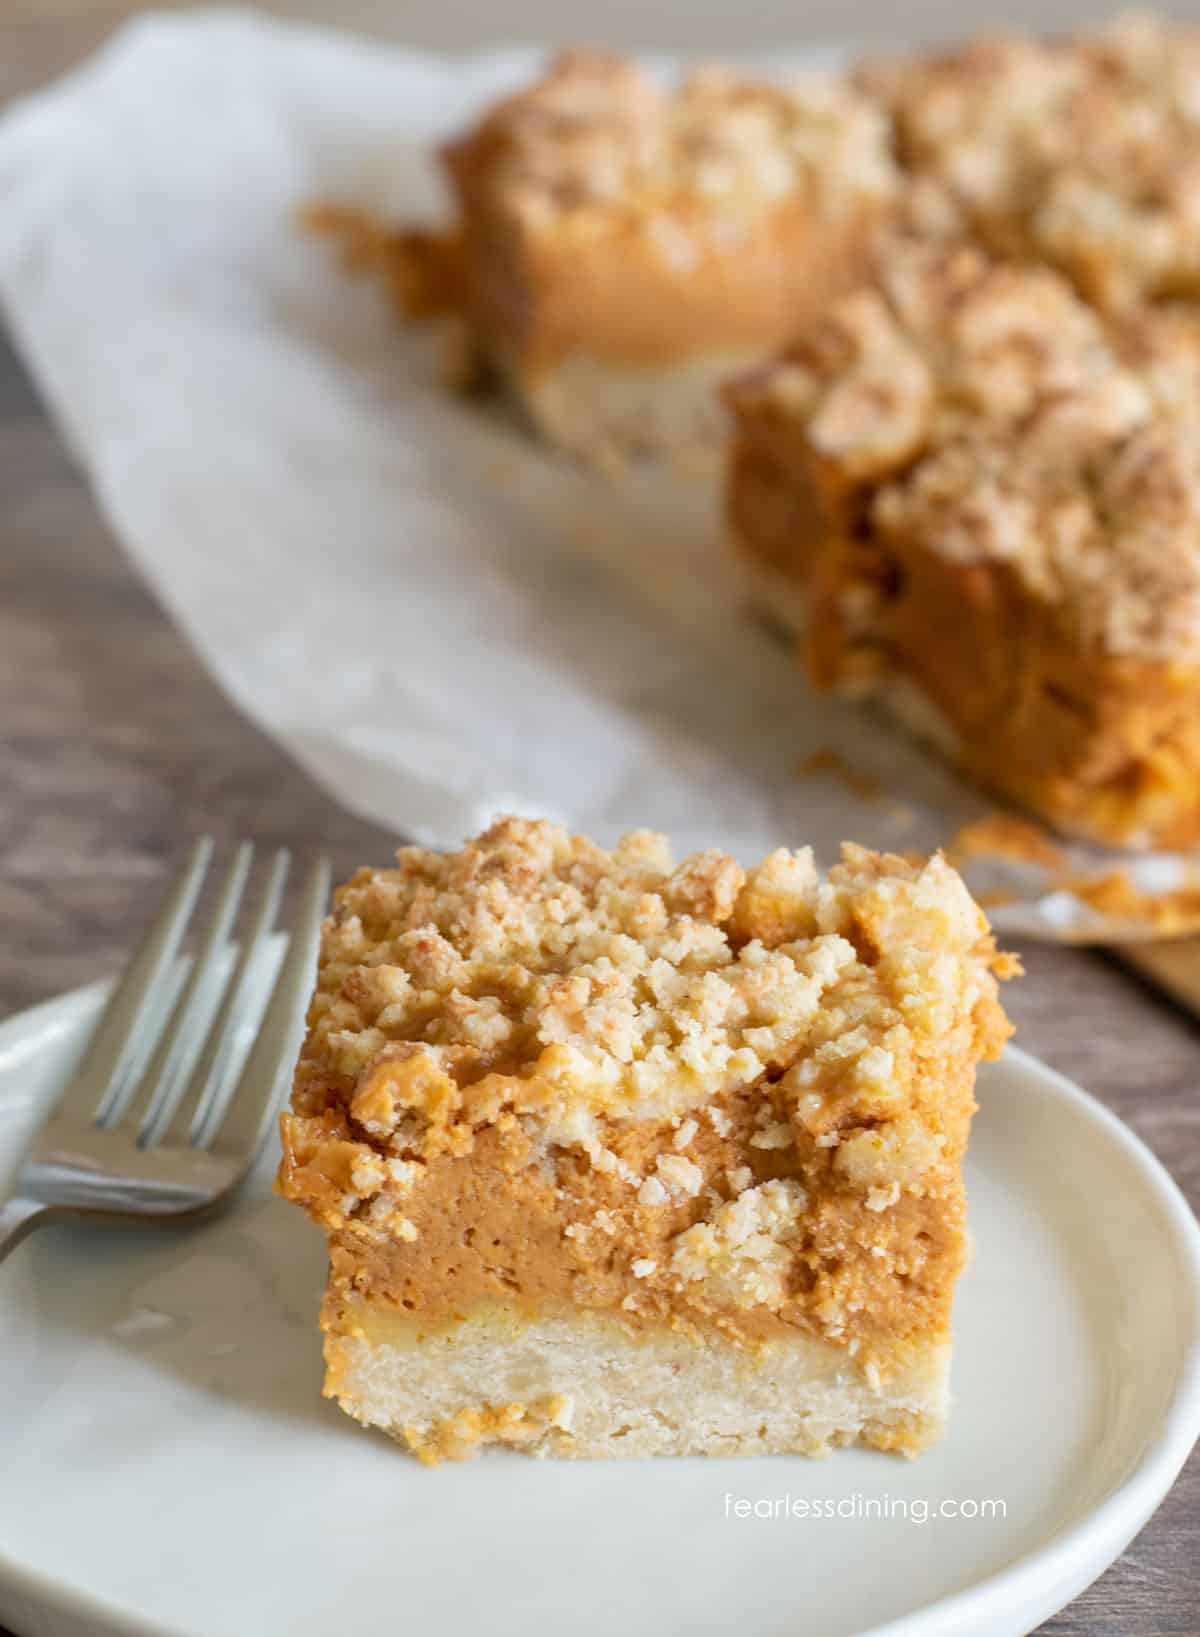
❤️ Sandi’s Recipe Summary
The Quick Bite: This simple gluten free pumpkin pie bar recipe lets you have all of that classic pumpkin pie flavor in an easy-to-eat bar. The crumb topping is light and sweet, and the shortbread crust holds up to the moisture of the pumpkin filling. Serve this fall dessert at any fall or holiday get-together.
“This recipe is so fabulous, I think I will probably never make pumpkin pie again. I would call it a dessert, but will cut it into bar shapes for a gathering tomorrow. I did not have coconut in the house so did not add that in.”
Susan V., Blog comment
I am in love with this creamy gluten free pumpkin pie bar recipe. It is the dessert I make when I want pumpkin pie flavor without the effort of rolling out a crust the morning of Thanksgiving. The shortbread crust holds the pumpkin pie filling without getting soggy. These gluten free pumpkin pie bars are made with condensed milk and not evaporated milk, and I found that the thicker condensed milk helps the filling stay thick and set more easily.
This pumpkin pie bar recipe is a very forgiving recipe. You can use most gluten free flour blends, I tested both King Arthur Measure for Measure and Bob’s Red Mill 1:1. Use freshly roasted or canned pumpkin, or even make it dairy-free. I tested it in so many different ways to give you options. I tested two flour blends listed below, and both performed about the same.
I am a self-proclaimed pumpkin fanatic. If you are a fall baker, check out all of my gluten free pumpkin recipes. The pumpkin filling from this recipe can be used to make this Gluten Free Pumpkin Pie.
Ingredient Notes:
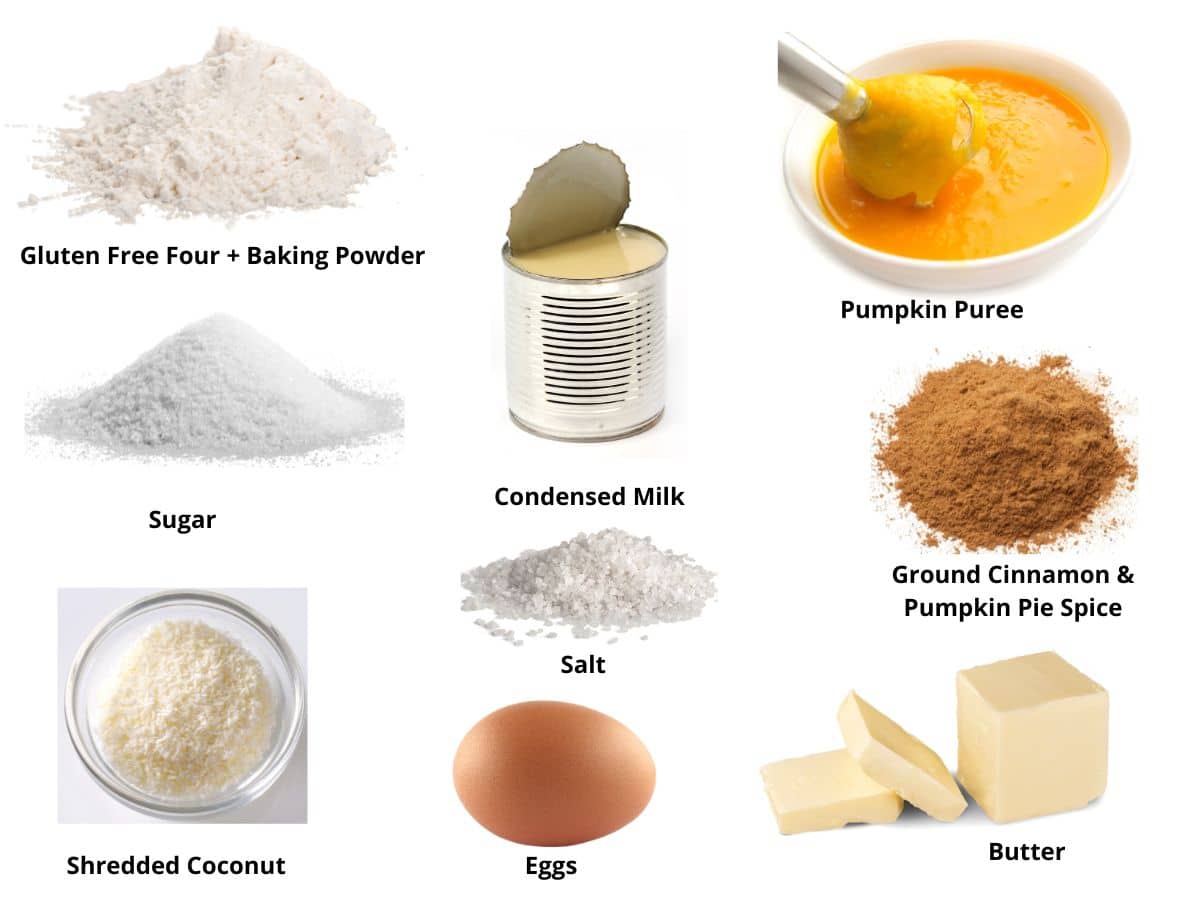
For the full list of ingredients and amounts, please go to the recipe card below.
- Gluten Free Flour Blend – Most blends should work in this recipe. I tested these gf pumpkin bars with King Arthur Measure for Measure and Bob’s Red Mill 1:1. The brand of gluten-free flour you use will affect the dough’s moisture. If your dough is too wet or runny, add more flour; if it is too thick, add more liquid. Read Why Gluten-Free Flour Blends Vary to learn more about this.
- Binder – If your blend doesn’t contain xanthan gum or guar gum, add 3/4 teaspoon.
- Shredded Coconut – Use unsweetened coconut. Sweetened will make these bars too sweet.
- Pumpkin Puree – Use fresh or canned pumpkin puree and not pumpkin pie filling.
- Sweetened Condensed Milk – These pumpkin bars filling is made with condensed milk instead of sugar. You can use either regular condensed milk or dairy-free coconut milk condensed milk if you are dairy-free.
- Butter – Use unsalted butter. If you are dairy-free, I tested this recipe using Earth Balance. Other plant-based butter brands should also work well. One reader used Country Crock and said it was good.
- Pumpkin Pie Spice – You can easily find premixed pumpkin pie spice for sale. If not, use 1/2 teaspoon ground cinnamon, 1/4 teaspoon ginger, 1/4 teaspoon nutmeg, and 1/4 teaspoon allspice.
I make a lot of holiday bar recipes. See these delicious Gluten Free Pumpkin Snack Cake Bars, which are a cross between a cookie and a snack cake!
How to Make Gluten Free Pumpkin Pie Bars (Step-By-Step)
Before you start, preheat your oven to 350º F and make sure the oven rack is in the middle position.
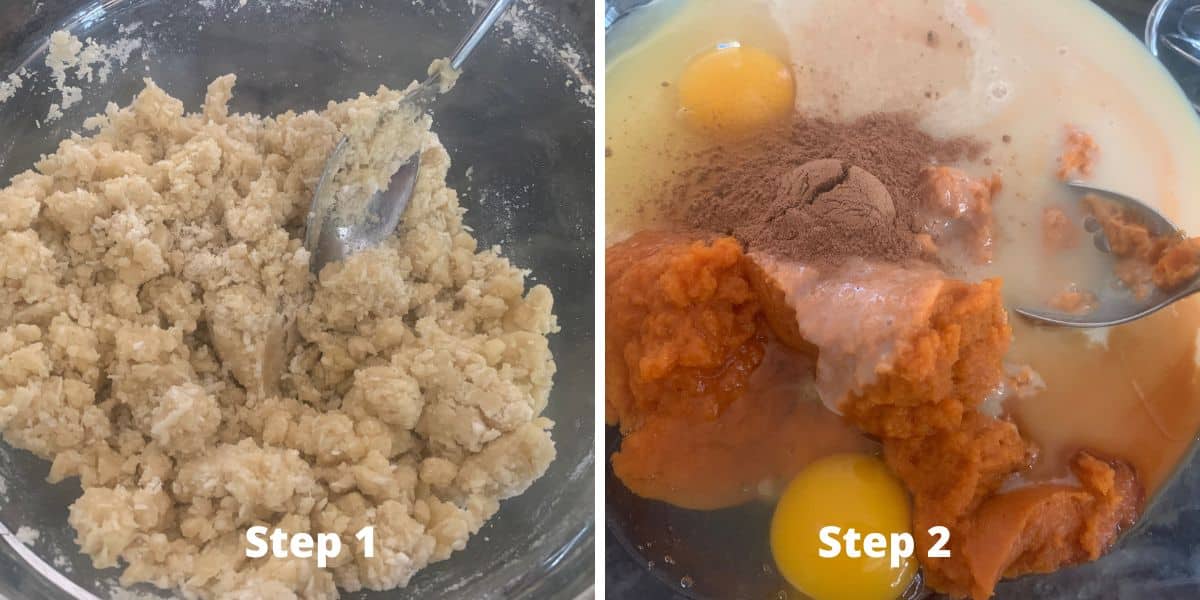
Step 1: In a large
👀 Sandi Says: The mixture will look very crumbly. Do not add more butter. The fat-heavy, low-liquid crust acts as a barrier to prevent getting soggy from the pumpkin filling.
Step 2: Add the pumpkin puree, condensed milk, pumpkin pie spice, and egg to a medium bowl. Whisk to blend the wet ingredients.
Email This Recipe To Me!
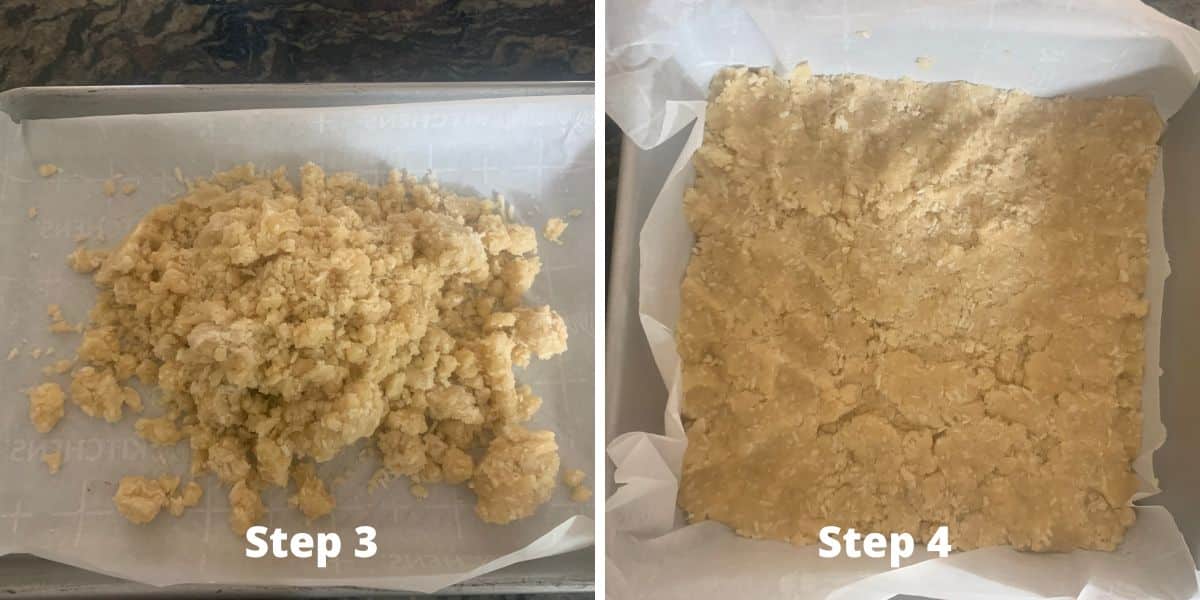
Step 3: Line an 8×8 baking dish with parchment paper or use this gluten free baking spray. (Do not use PAM Baking Spray; it is not gluten free!) Pour half of the crust mixture into the pan.
Step 4: Press the crust mixture flat with your fingers or the bottom of a glass. Be sure it covers the whole bottom of the pan.
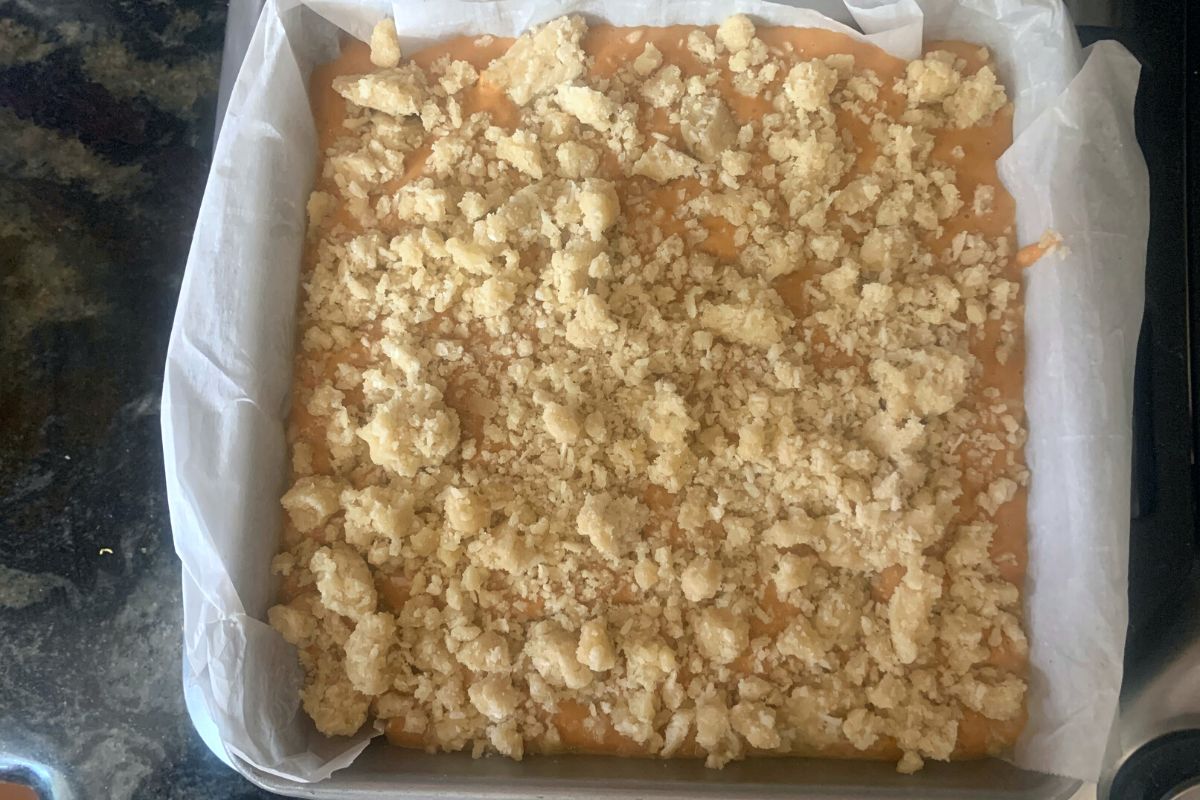
Step 5: Pour the gluten free pumpkin mixture over the crust. Use your hand to squeeze bunches of the remaining crust mixture and break the big chunks over the pumpkin filling. It will turn into a beautiful crumble.
Step 6: Bake the gluten free pumpkin pie bars at 350º F for 40 minutes. Baking time will vary depending on the pan size and material. Glass pans take longer to fully bake these bars.
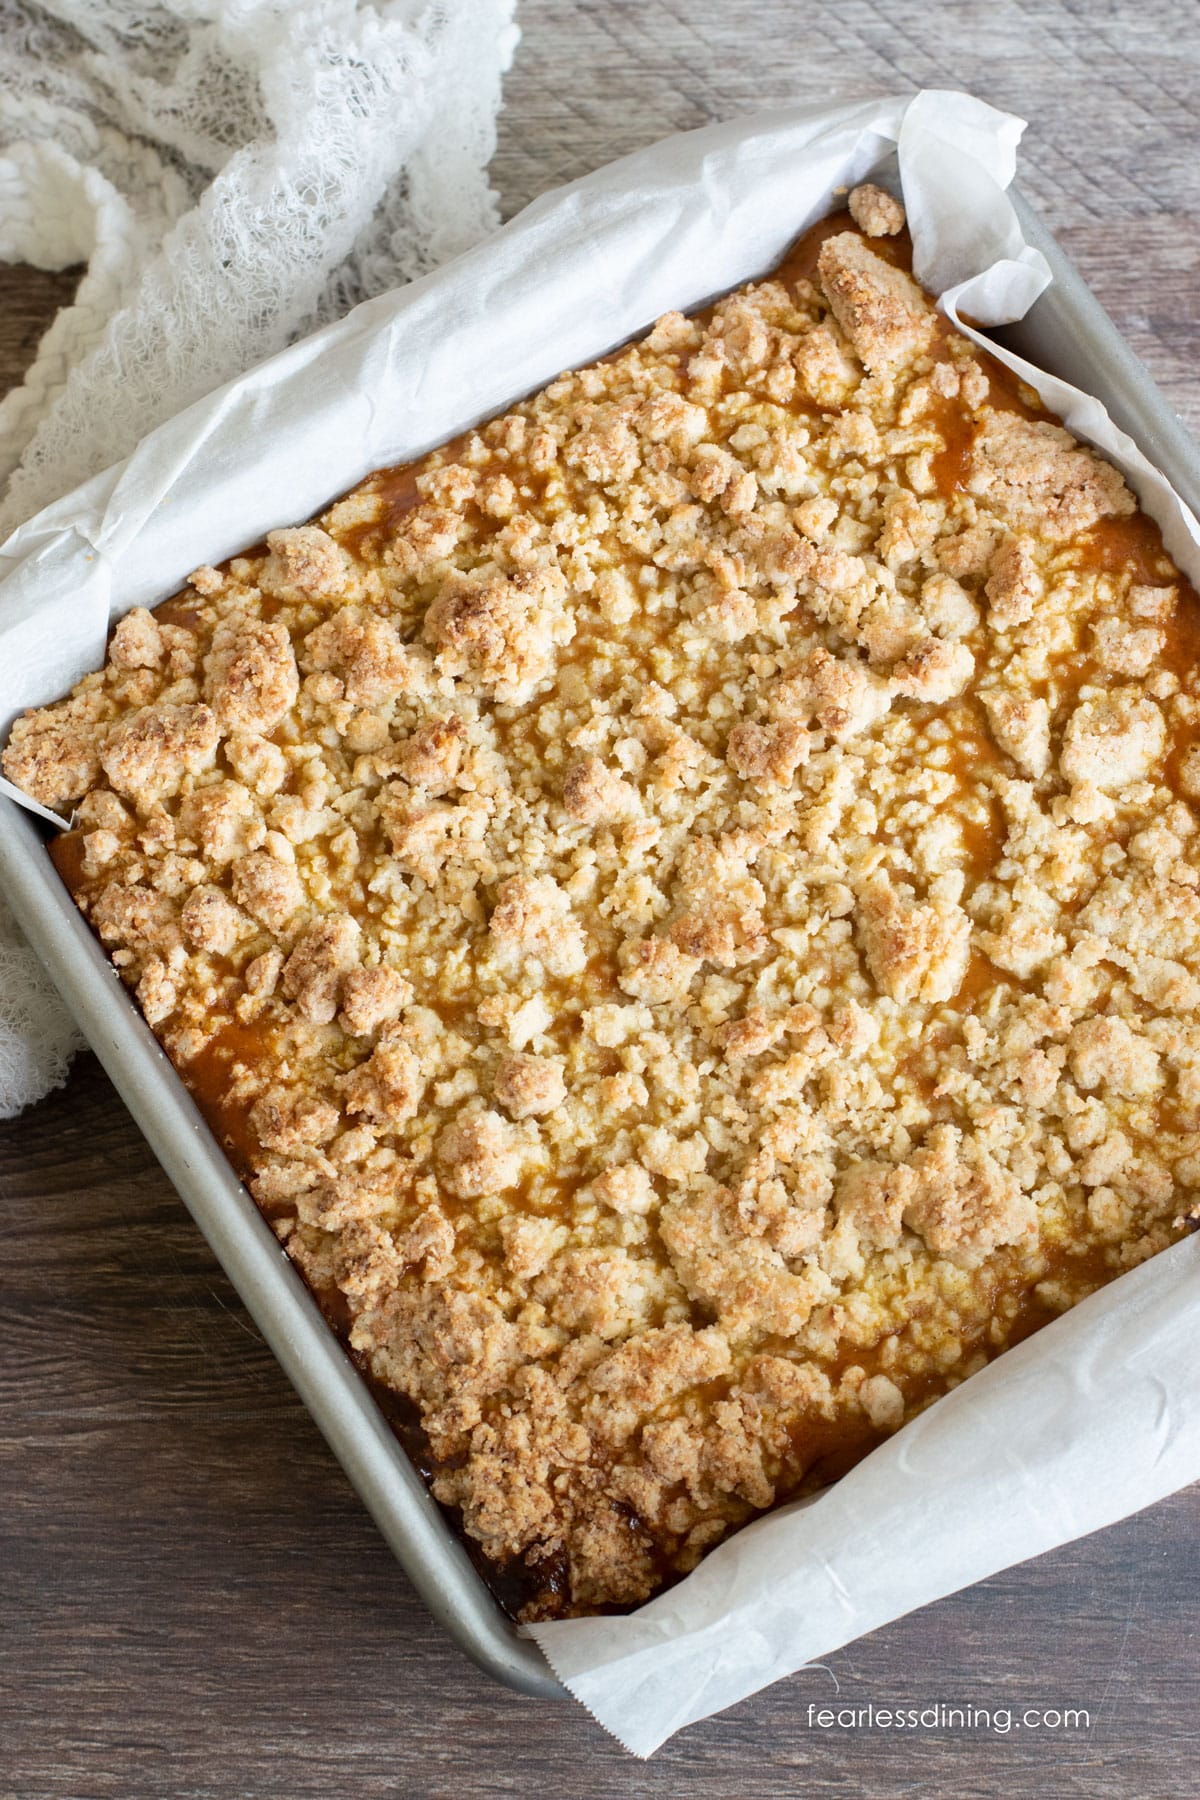
Remove the bars from the oven, place them on a cooling rack, and allow them to cool to room temperature on the stove. Then, move the bars to the refrigerator and cool for at least one hour before cutting.
Make It A Pie!
This recipe also makes a great pie. There are two ways you can do this:
- Use a pie pan to make this recipe as is.
- Use the filling only in a ready-made or homemade gluten free pie crust. You can also use the filling in my Gluten-Free Coconut Almond Pie Crust recipe.
Frequently Asked Questions:
Yes, you should store the gluten free pumpkin pie bars in the refrigerator. Store them in an airtight container.
To make these bars coconut-free, make the crust from this Gluten Free Raspberry Bars recipe and use this pumpkin filling.
You can make these pumpkin bars dairy-free by using dairy-free butter and dairy-free coconut condensed milk.
No, evaporated milk will not work in this recipe. This recipe needs condensed milk, which is thicker than evaporated milk. Condensed milk is also sweeter, which is why this recipe doesn’t need a separate sugar addition to the filling. The middle pumpkin layer will not set using evaporated milk.
More Gluten Free Pumpkin Recipes:
- Gluten Free Iced Pumpkin Cookies
- Easy Gluten Free Pumpkin Whoopie Pies
- Gluten Free Pumpkin Snickerdoodle Cookies
- Gluten Free Pumpkin Cheesecake
Love This Recipe?
If you made and enjoyed this recipe, I would be incredibly grateful if you could leave a comment below. Please include which flour blend you used. This will help others know this recipe is delicious. Thank you!
Gluten Free Pumpkin Pie Bars With Thick Crumb Topping
Ingredients
- 2 cups gluten free flour blend * see note
- ¾ cup cane sugar
- ¼ teaspoon baking powder aluminum-free
- ¼ teaspoon salt
- ½ cup unsweetened shredded coconut *see notes for coconut free option.
- 11 tablespoons unsalted butter, melted *see notes for dairy-free option.
- 15 ounces pumpkin puree don't use pumpkin pie filling!
- 14 ounces sweetened condensed milk regular or coconut dairy-free
- 2 large eggs
- 1 teaspoon pure vanilla extract
- 1 ½ teaspoon pumpkin pie spice
- 1 teaspoon ground cinnamon
- dash of salt
Equipment
Method
- Preheat the oven to 350º F and set the oven rack to the middle position.
- In a large bow, add 2 cups gluten free flour blend, ¾ cup cane sugar, ¼ teaspoon baking powder, ¼ teaspoon salt, and ½ cup unsweetened shredded coconut. Add the 11 tablespoons unsalted butter, melted. Mix until you have a crumbly mixture.
- In a medium-sized mixing bowl, add 15 ounces pumpkin puree, 14 ounces sweetened condensed milk, 2 large eggs, 1 teaspoon pure vanilla extract, 1 ½ teaspoon pumpkin pie spice, 1 teaspoon ground cinnamon, and dash of salt. Whisk to blend them together for about 30 seconds.
- Line an 8×8 pan, or 9×9 for thinner bars, with parchment paper, to make the bars easier to lift out. If you don't have parchment paper, use gluten free baking spray or grease the pan.
- Add half of the crust mixture to the pan and use your hands or the bottom of a glass to press the crust mixture down. Make sure the crust is spread evenly so that no spots are thicker than others. If there are thin areas, it can make the crust soggy in that thin spot.
- Pour the pumpkin mixture over the crust and use a spoon to spread it out to ensure it is evenly distributed across the bottom of the pan.
- Take the remaining crust mixture and use your hands to squeeze some into larger clumps. and scatter the crumbs over the top of the pumpkin mixture.
- Bake the bars for 30 minutes, until the top becomes set and the crumb topping is slightly golden. Cool to room temperature, then cover with plastic wrap and put into the refrigerator to get cold. Slice the gluten free pumpkin pie bars when they are cold.
Nutrition
Notes
- You can use any gluten free flour blend to make this recipe. I personally tested King Arthur Measure for Measure and Bob’s Red Mill 1:1. Do not use Bob’s Red Mill All Purpose Flour. It has bean flour and will leave a bitter aftertaste. Add 3/4 teaspoon if your blend doesn’t contain xanthan or guar gum.
- If you can’t eat coconut, make the crust/crumb topping recipe from my coconut-free gluten free raspberry bars recipe and use this pumpkin filling.
- If you are dairy-free, use dairy-free butter and coconut-based condensed milk. (A few brands make this.)
- Store these bars in an airtight container in the refrigerator. They will keep fresh for up to 4 days. You can also freeze them.
Private Notes
Tried this recipe?
Let us know how it was!
I truly hope you enjoy this recipe. I have been testing and creating gluten-free recipes for over 15 years. Creating gluten-free recipes that do not taste gluten-free is my goal for every recipe. Sometimes I only have to test a new recipe a couple of times, and others it takes multiple times. I do this so you get reliable, delicious results every time!

Can you taste the coconut from the coconut flakes?
Hi Kristi, I find the flavor very subtle. If you prefer to use no coconut, use the crust from this recipe with the pumpkin filling: https://www.fearlessdining.com/easy-gluten-free-cranberry-shortbread-bars/
On step one there is no mention of adding an egg to make the crust, but in the recipe an egg is included in the recipe. Was that an error or can the crust be made without an egg?
Hi Diana, there is no egg in the crust, just the pumpkin mixture. If you look in the post at my step by step photos you can see this. I hope it helps!
Just read that last comment. I did add the egg to the crust mixture because it days say that in the recipe for the crust. I’m baking them now so we will find out.
Do you use maple syrup, honey, or monk fruit in this recipe and how much?
Hi Che, I haven’t tested any of those in my recipe. If you do try one, please come back and let me know how it worked.
This was absolutely delicious and so easy to make. Now I will actually be able to have a decent Thanksgiving dessert!
Hi Barb, I am so glad you enjoyed it. Serving these at Thanksgiving is a great idea. Thank you so much!
I made these for my family using the non-coconut option and everyone LOVED them. I’ll be making them again for Thanksgiving!
I am so glad everyone loved them, Selina. Thank you so much for coming back to leave a review!!!
Is it sweetened shredded coconut or unsweetened shredded coconut ?
Hi Denise, I use unsweetened coconut.
Great recipe! The only problem I ran into was the baking time of 25 minutes when I printed the recipe. It takes at least 45 minutes in my oven
Interesting. Thank you for letting me know. What size pan did you use?
Do you just use the parchment on the bottom of pan or sides as well?
Hi! I line the whole pan. It makes it so much easier to remove from the pan.
In the filling portion, is it evaporated milk or sweetened condensed milk?
Hi Joanne, Sweetened condensed milk. Thank you.
This recipe looks amazing, it’s in the oven now and it seems like it’s taking a very long time for the center to set up. Should it be jiggly when it’s finished?
Hi Dottie, I would bake it for a total of 35 minutes and then remove it, cool it, and then refrigerate them.
soooo much butter?? Is there anything you can substitute?
Hi Lisa, I have not tested any other ingredient but I have used a similar recipe and you can use coconut oil if you prefer to substitute that.
Can you use canned coconut milk vs condensed for dairy free?
Hi Debe, the canned coconut milk is not thick like condensed milk and your bars filling won’t set properly.