

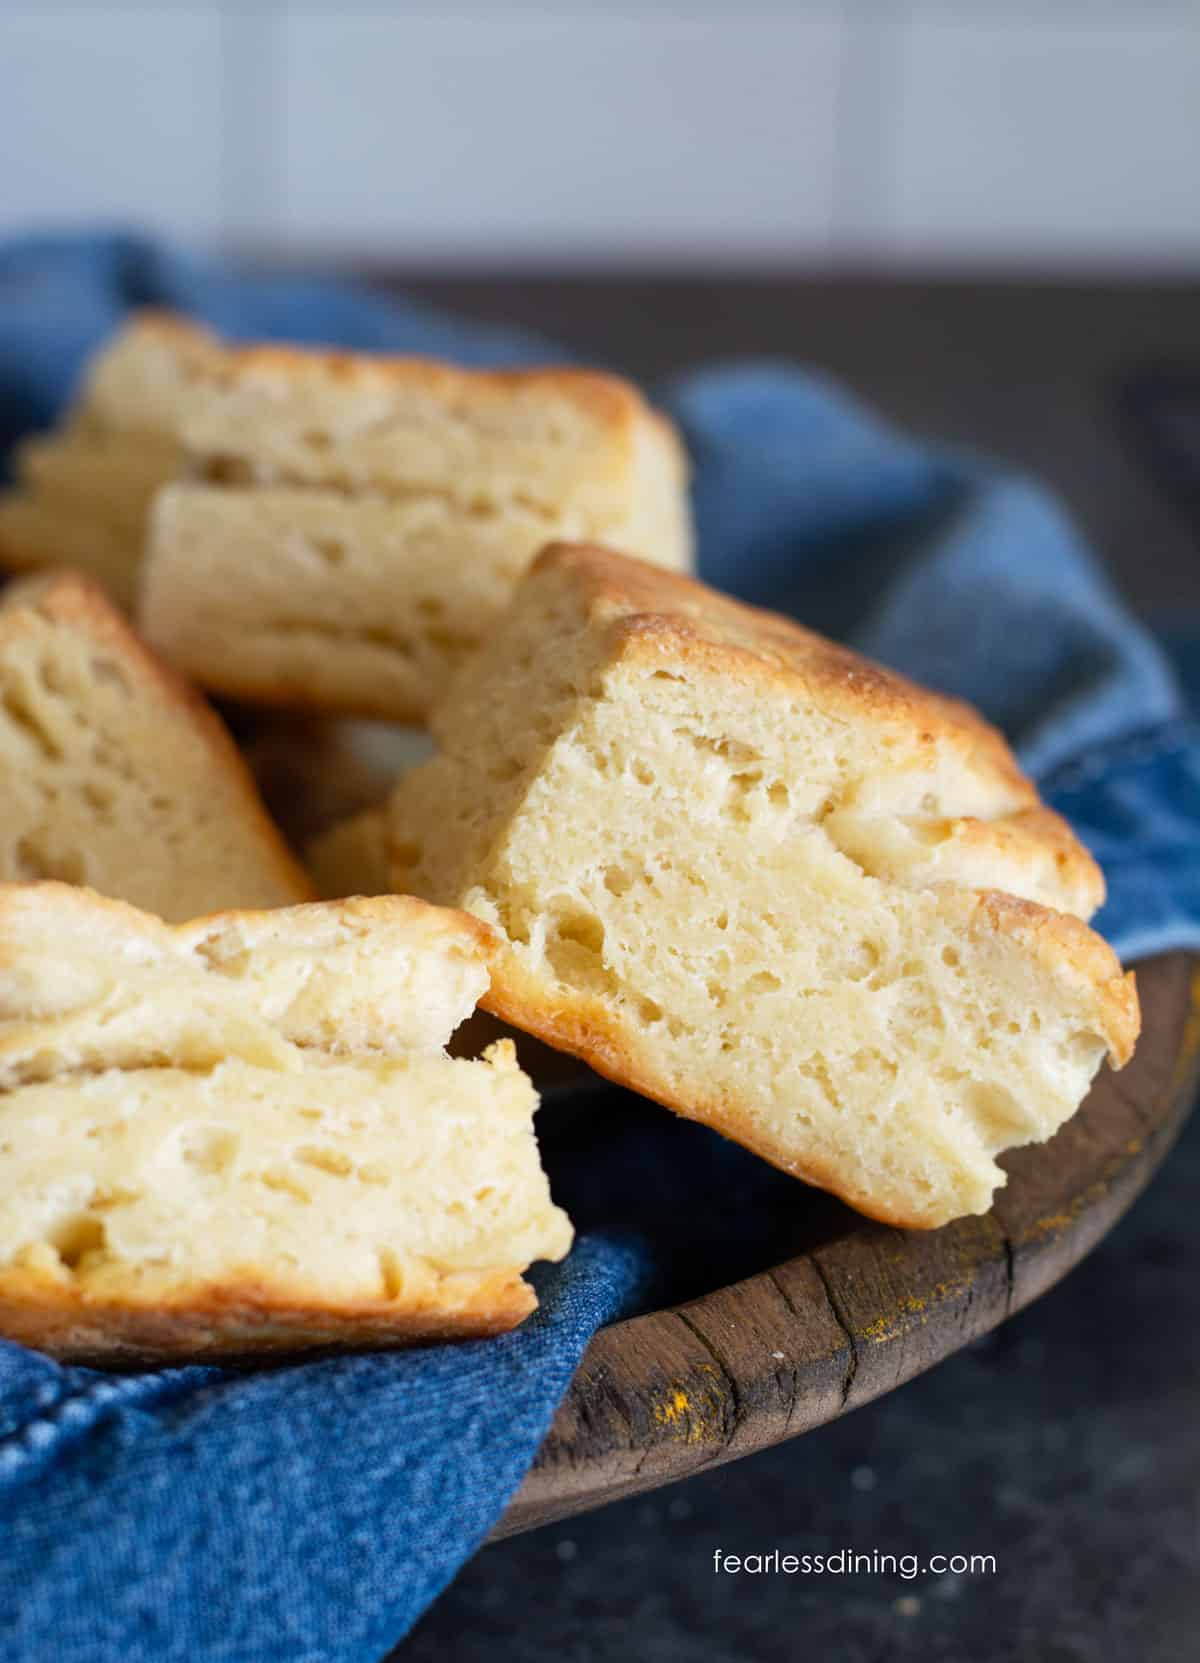
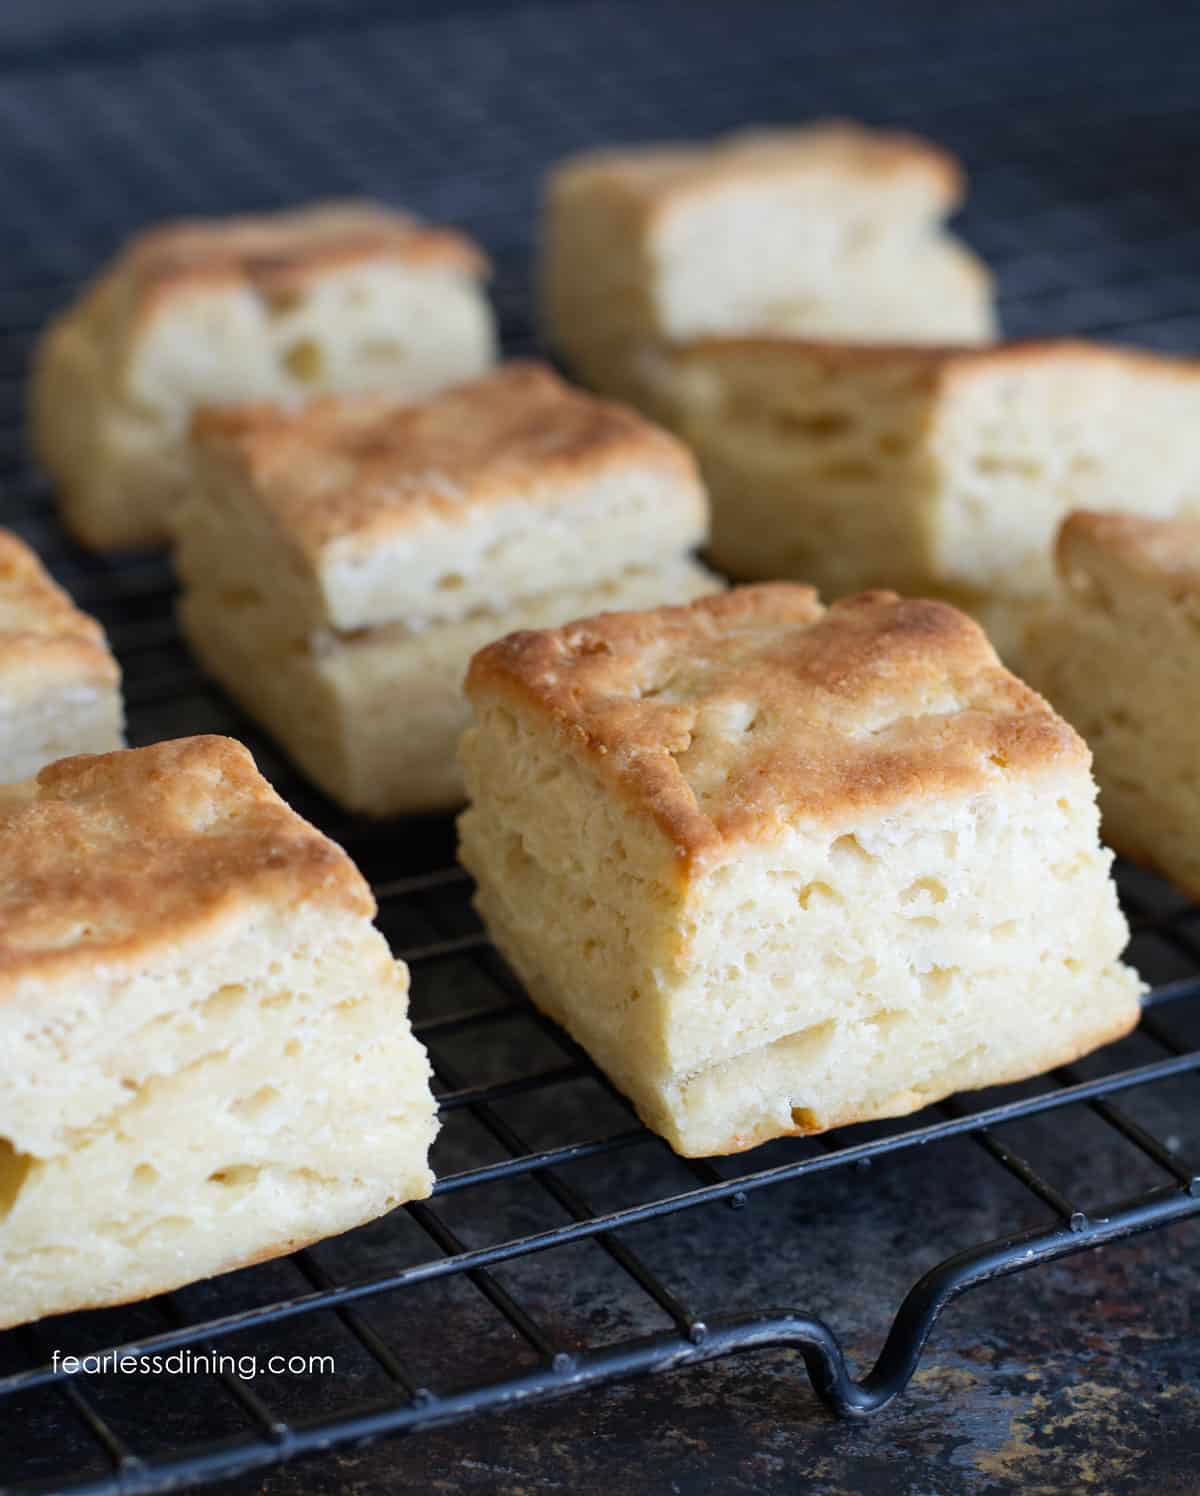
These big gluten-free sourdough discard biscuits have a slightly crisp outside and soft, flaky insides. The buttery layers melt in your mouth! All you need are a few simple ingredients and some gluten free sourdough discard to make this homemade biscuit recipe. If you have not used sourdough discard to make biscuits yet, you need to try this easy recipe!
This post may contain affiliate links. Please read our Disclosure Policy.
❤️ Sandi’s Recipe Summary
The Quick Bite: These homemade gluten free sourdough discard biscuits rise tall and have lots of flaky layers. They have a buttery flavor with a sourdough tang. I have tested several gluten free flour blends, so you know what works.
Absolutely fantastic recipe, thank you xxx!I made a batch yesterday to go with gravy for dinner as I had a craving for it and my son came home from university and he loves it also.”
damira, blog comment
If you love my famous Gluten-Free Biscuit recipe, wait until you try it using your gluten-free sourdough discard! OMG, the rise in these biscuits is incredible. There are so many flaky layers of buttery goodness!!
👀 Sandi Says: If you have wanted to learn how to make a sourdough starter, I have an easy tutorial that shows you how to make a gluten-free sourdough starter.
If you have more discard to use up, try my Gluten-Free Sourdough Discard Muffins or Gluten-Free Discard Focaccia Bread. Looking for more gluten-free sourdough discard ideas? I pulled together my best discard recipes and tips in this gluten-free sourdough discard roundup.
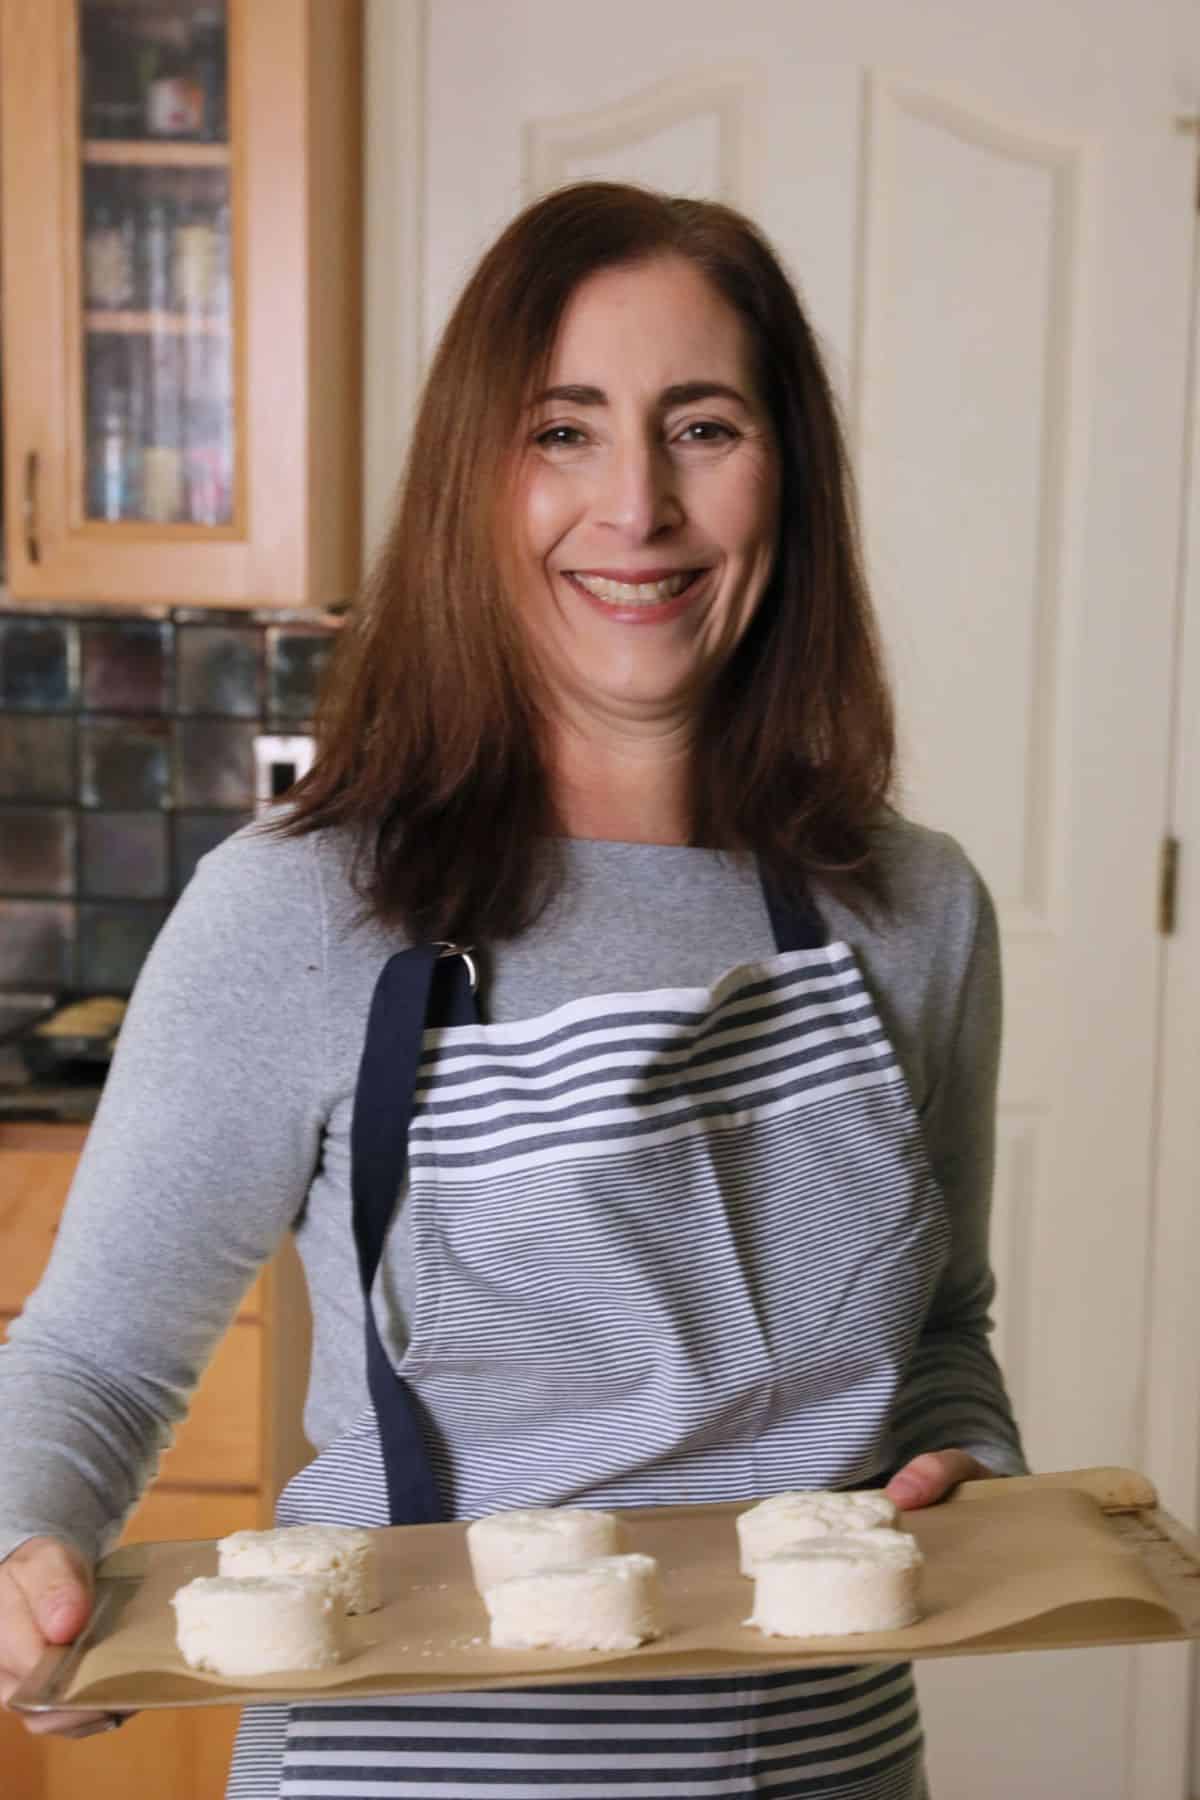
Testing Notes From My Kitchen
I didn’t have to test this recipe more than twice. This recipe is fully based on my popular Gluten-Free Biscuit Recipe, and I tested 12 different gluten free flour blends to make sure they all work perfectly for you. The only testing this recipe needed was to get the sourdough starter and moisture ratios accurate so the biscuits still got great rise.
I feed my sourdough starter at a 1:1 flour to water ratio.If you feed your gluten-free sourdough discard at a different ratio than me, you will need to add a little more flour or purified water to compensate for different moisture. Make moisture adjustments 1 TBSP at a time so you can monitor the dough hydration. If you make a few adjustments and you notice the butter bits are softening, wrap the dough in plastic wrap and rechill it in the refrigerator.
Ingredient Notes:
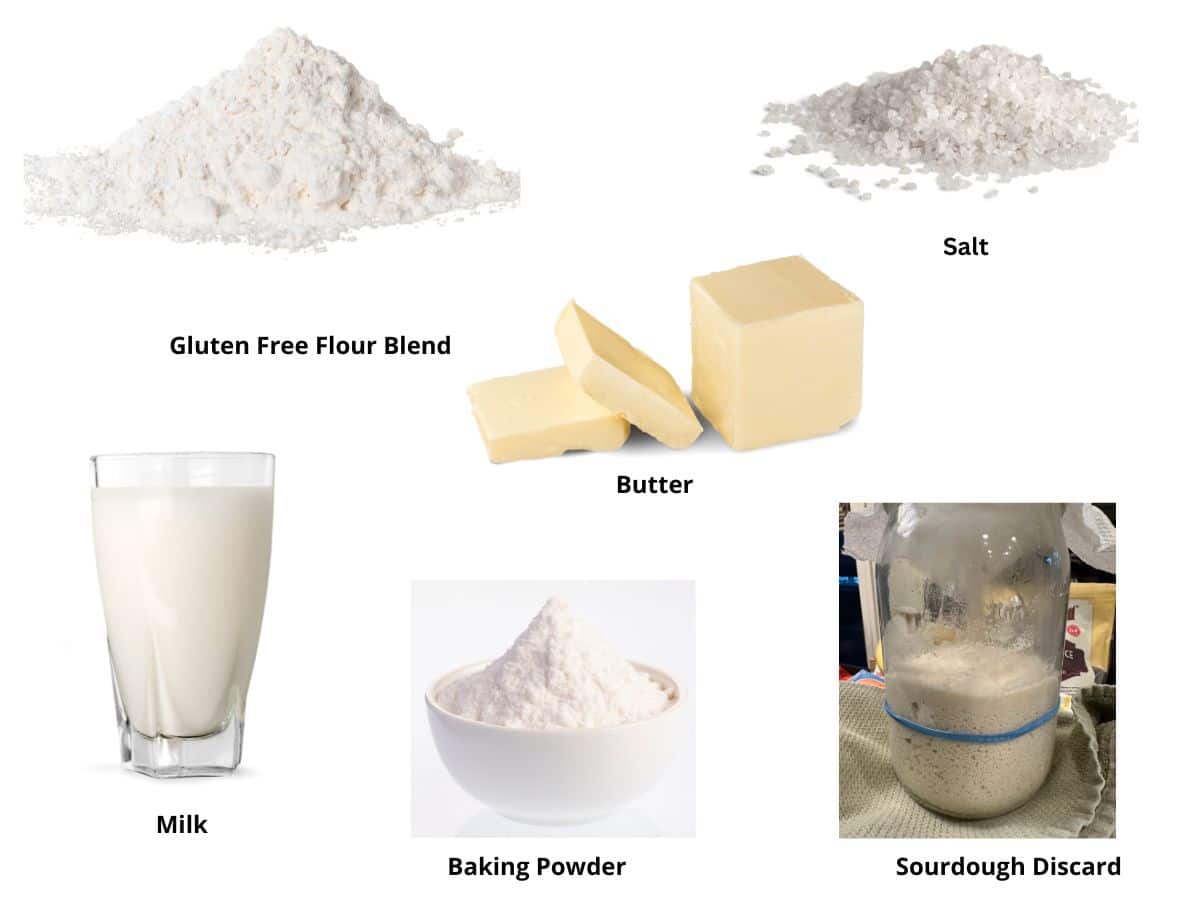
For the full list of ingredients and amounts, please go to the recipe card below.
- Gluten Free Flour Blend – I tested this recipe with the old and new Cup4Cup formulations, but any of the 12 flour blends I tested in my gluten free biscuit recipe will work. Depending on the starch-to-grain ratio of the blend you use, you may need to tweak the moisture level.
- Baking Powder and Salt – Use aluminum-free baking powder.
- Sourdough Discard – I keep my sourdough discard at a 1:1 flour-to-water ratio. It is stored in the fridge. If your discard has hooch (clear liquid) on top of the starter, drain it into the kitchen sink before using it. Do not stir it into the discard.
- Butter – I used unsalted butter. If you use salted butter, don’t add extra salt.
- Milk or Non-Dairy Milk – I used oat milk when testing this recipe. I brushed the tops of the biscuits with a little buttermilk made from Anthony’s Buttermilk Powder to get them to brown on top.
Biscuits are one of my favorite things to make, next to cinnamon rolls. I have many fun gluten-free biscuit recipes for you to try…including lots of fun flavors!
How to Make Gluten-Free Sourdough Biscuits (Step-By-Step)
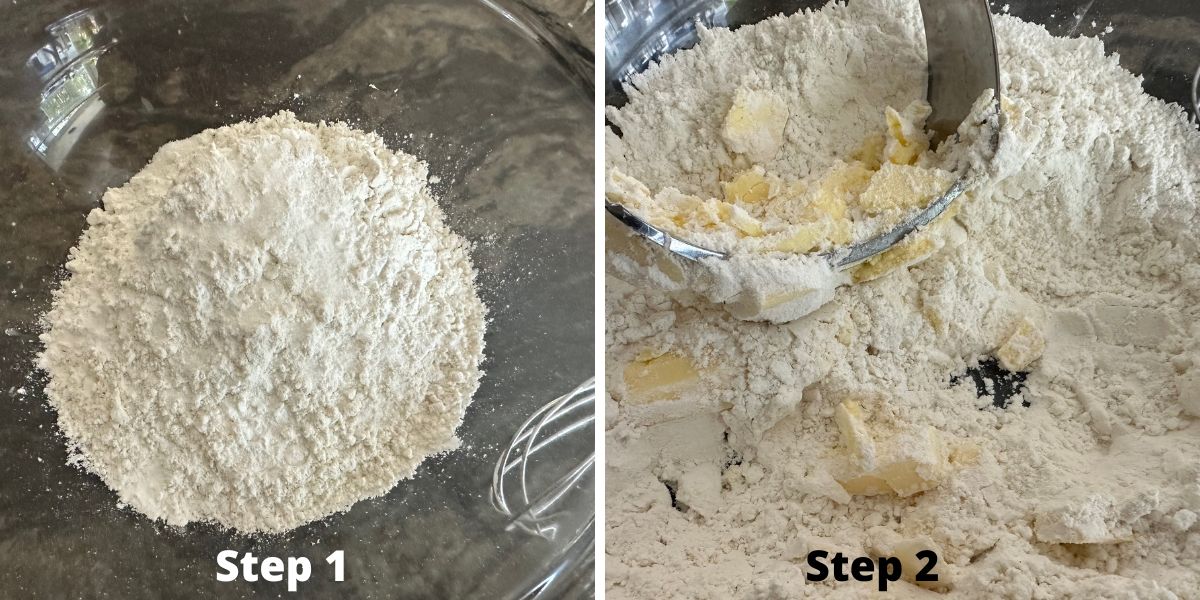
Step 1: Add the flour, baking powder, and salt to a large
Step 2: Cut the butter into the dry ingredients in one of two ways. You can use a pastry blender as I show above, or you can freeze the butter and use a cheese grater to grate the butter into the dry ingredients.
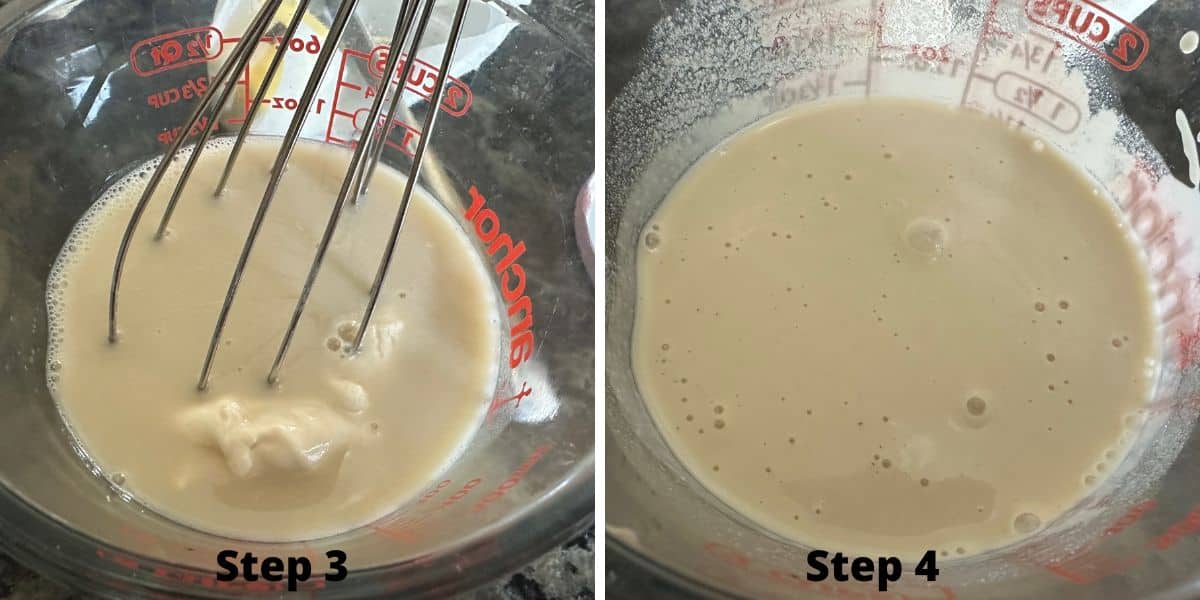
Step 3: Add the discard to your milk (I am using oat milk in my test). My discard became a little firm when stored in the refrigerator. It softened easily when I whisked it into the milk.
Step 4: My sourdough starter and discard are strong. It must be the gluten-free sourdough strain I got from Cultures For Health because I have never had a starter discard this active! If you have ever wanted to start a sourdough starter, this is the stuff to get. Check out all of those bubbles!
Email This Recipe To Me!
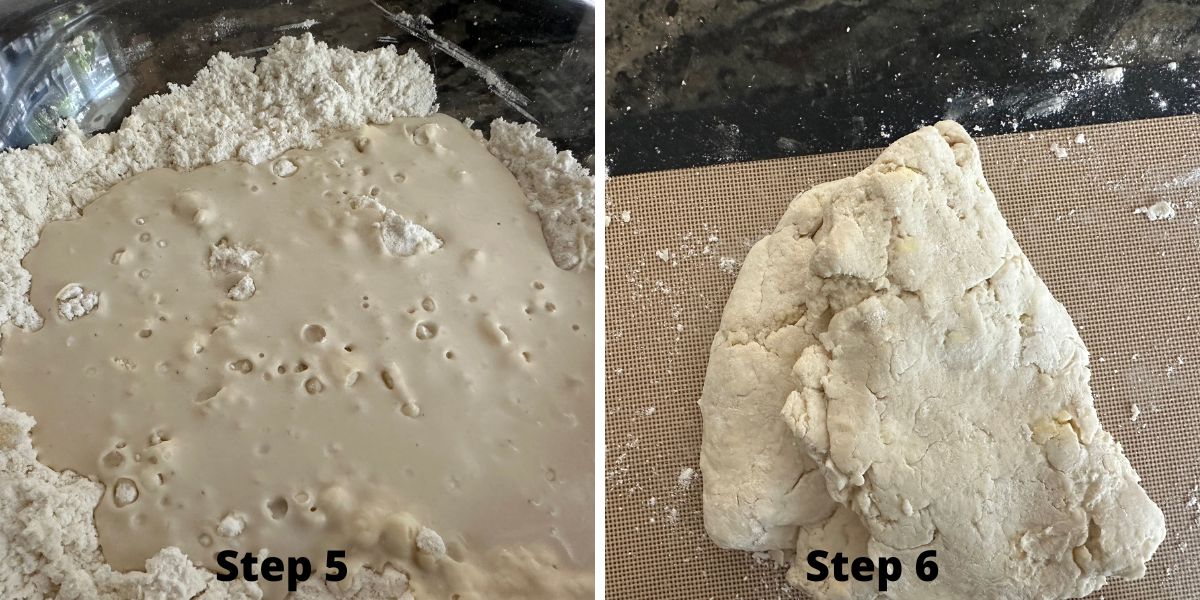
Step 5: Pour the wet ingredients into the dry ingredients. I did not expect this many bubbles from my discard! I am so excited to see how high these gluten-free sourdough biscuits rise!!
Step 6: Mix the ingredients into a nice, workable dough. The dough shouldn’t be too sticky or dry. Again, note that this can vary widely depending on the gluten-free flour blend you use. Every blend is different. Read Why Gluten-Free Flour Blends Vary for more information on why this is.
Optional: Wrap the dough in plastic wrap and refrigerate the dough for 30 to 45 minutes.
Remove the dough and preheat the oven to 425ºF. I also check to ensure the oven rack is positioned in the middle of the oven.
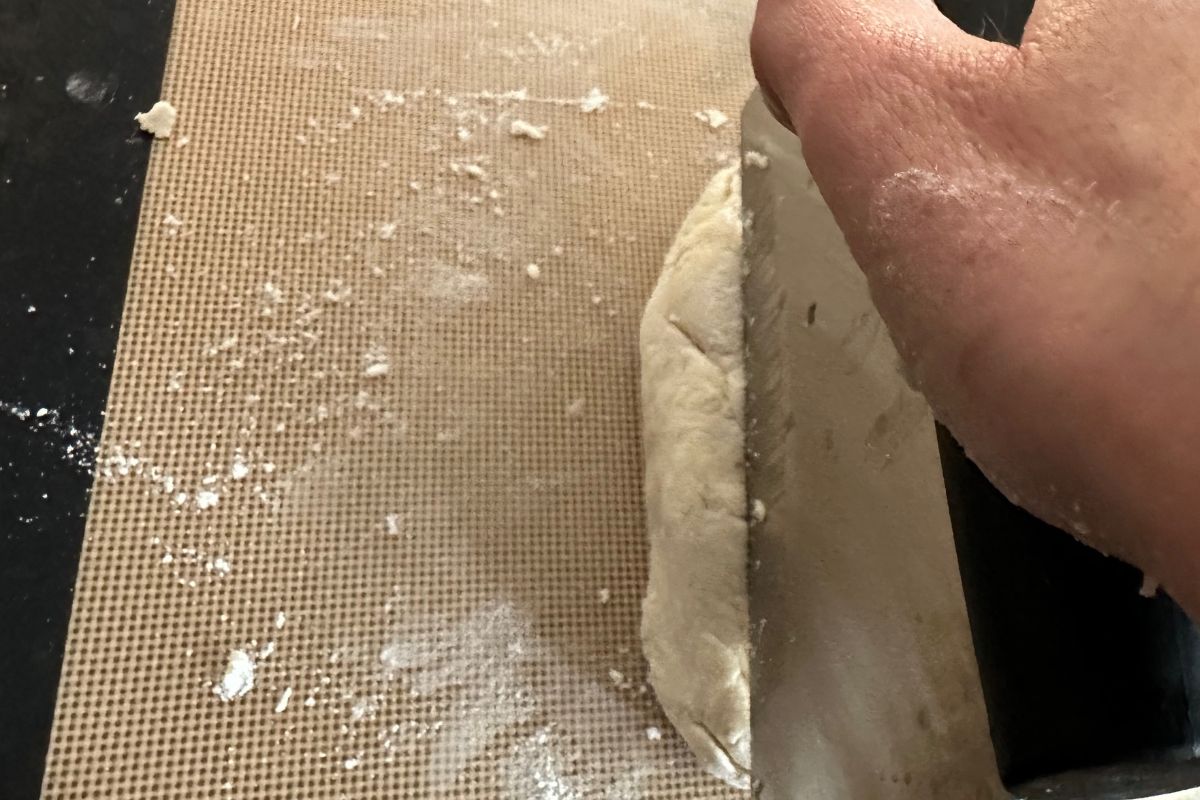
Step 7: You can shape these biscuits one of two ways: in a circle with a biscuit cutter or cut them into squares (easiest!) For this recipe, I am going for easy! Dust a silicone mat with a little flour and place the dough on the mat. You can read more about how to cut biscuits with a biscuit cutter in this Gluten-Free Cheddar Biscuits recipe.
Flatten your dough with your hands or a rolling pin. Fold it over itself and flatten it again three times. This helps give the layers a structure that rises during baking. Try to do this quickly so the butter doesn’t melt. Use a dough scraper to cut the dough into biscuit squares. You can make them any size you like.
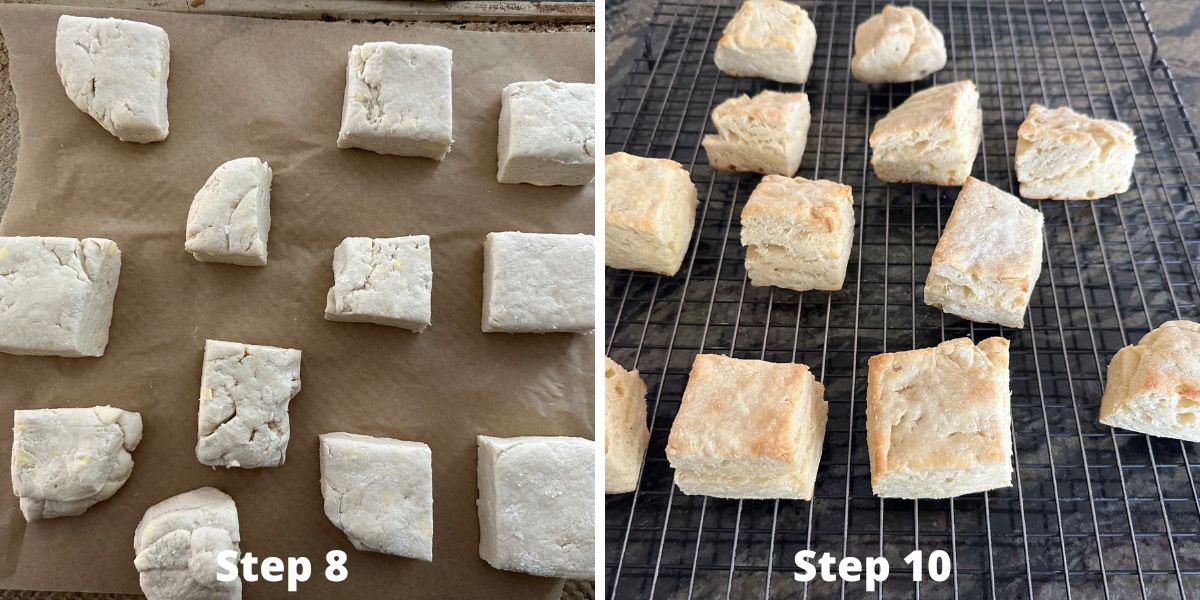
Step 8: Place the dough squares onto a parchment paper-lined baking sheet. If you do not have parchment paper, you can use a gluten-free baking spray to grease your pan.
Step 9: Brush the tops of each biscuit with milk. (Note: If you use plant-based milk, it will not brown much. I used buttermilk on top of the biscuits.) This will help the tops brown to golden perfection!
Step 10: Bake the biscuits for 22-25 minutes. The actual baking time can vary depending on the size and thickness of your biscuit dough. You will know the biscuits are done baking when they have risen and the tops are golden brown.
Step 11: Remove the biscuits from the oven to a wire cooling rack. Enjoy!
Serve these biscuits with these Gluten Free Smothered Pork Chops or this Ground Pork Chili. You can also make great breakfast sandwiches with these biscuits if you make them a little larger!
If you have more discard to use up, try this Gluten-Free Sourdough Pie Crust recipe.
Tips For Success
1. Use cold or frozen butter. It will make much better flaky layers!
2. Chill the dough for 30 to 45 minutes if you have the time. It will help the layers rise high.
3. If you use a biscuit cutter, do not twist it when you cut out the biscuits. Twisting seals the edges, making it more difficult for the biscuit to rise.
4. I have a lot of helpful gluten-free baking tips that can help you become a better baker on my gluten-free resources page.
Frequently Asked Questions:
That is a great question. It is hard to tell. My biscuits tend to rise pretty high because I include 2 TBSP of aluminum-free baking powder. I think sourdough is better known for giving biscuits a slightly sour flavor than for making them rise.
Sourdough discard can sit in the fridge for up to 10 days. If your sourdough is younger, it may not stay fresh as long as a more established starter.
More Gluten Free Biscuit Recipes:
If you love biscuits, I have so many incredible gluten-free biscuit recipes for you to try. Here are some of my personal favorites:
- Gluten-Free Brown Sugar Cinnamon Biscuits
- Easy Gluten-Free Cornmeal Biscuits
- Gluten-Free Pumpkin Biscuits
- Homemade Gluten-Free Chocolate Buttermilk Biscuits
- Grain-Free Paleo Biscuits
Love This Recipe?
If you made and enjoyed this recipe, I would be incredibly grateful if you could leave a comment below. Please include which flour blend you used. This helps others know this recipe is delicious. Thank you!
Flaky Gluten-Free Sourdough Biscuits
Ingredients
- 2 cups gluten-free flour blend * See notes
- 2 tablespoons baking powder Use aluminum-free
- 1 teaspoon sea salt
- 1 cup gluten-free sourdough discard
- 7 tablespoons unsalted butter *See notes
- ½ cup milk or non-dairy milk Depending on the flour blend used, you may need 1-2 TBSP additional milk.
Method
- Add 2 cups gluten-free flour blend, 2 tablespoons baking powder, and 1 teaspoon sea salt to a large mixing bowl. Use a whisk to blend the dry ingredients.
- You can cut the 7 tablespoons unsalted butter into the dry ingredients one of two ways. You can use a pastry cutter as I show above, or you can freeze the butter and use a cheese grater to grate the butter into the dry ingredients.
- Add 1 cup gluten-free sourdough discard to your 1/2 cup milk or non-dairy milk am using oat milk in my test.) My discard became a little firm when stored in the refrigerator. It softened easily when I whisked it into the milk.
- Pour the wet ingredients into the dry ingredients. Mix the ingredients into a nice, workable dough. The dough shouldn't be too sticky or dry.
- Optional: Wrap the dough in plastic wrap and refrigerate the dough for 30-45 minutes.
- Remove the dough and preheat the oven to 425º F. I also check to ensure the oven rack is positioned in the middle of the oven.
- You can shape these biscuits one of two ways, in a circle with a biscuit cutter or cut them as squares (easiest!) For this recipe, I am going for easy! Dust a silicone mat with a little flour and place the dough on the mat.
- Flatten your dough with your hands or a rolling pin, fold it over itself, and flatten it again three times. This helps give structure for layers to rise during baking. Try to do this quickly so the butter doesn't melt. Take a dough scraper and use it to cut the dough into biscuit squares. You can make them any size you like.
- Place the dough squares onto a parchment paper-lined baking sheet. If you do not have parchment paper, you can use a gluten-free baking spray to grease your pan.
- Brush the tops of each biscuit with milk. This helps the tops get nice and browned.
- Bake the biscuits for 22-25 minutes. The actual baking time can vary depending on the size and thickness of your biscuit dough. You will know the biscuits are done baking when they are risen up and the tops are golden brown.
- Removed the baked biscuits to a cooling rack.
Nutrition
Notes
- I tested this recipe with Cup4Cup (the old formulation with dairy), but any of the 12 flour blends I tested in my Gluten-Free Biscuits Recipe will work well.
- If you use another blend, it is very normal that you may need more liquid. Every flour blend has a different starch-to-grain ratio. You can learn more about this in Why Gluten-Free Flour Blends Vary So Much.
- I used oat milk (Oatly 4 Ingredient), but regular milk or any plant-based milk will work. If you are dairy-free, use a plant-based butter as well. I tested Earth Balance.
- Use salted or unsalted cold butter. If you use salted, omit the additional salt.
- Store your sourdough biscuits in an airtight container. I always recommend freezing them if you don’t plan to eat them all in a couple of days. Gluten-free baked goods tend to spoil quickly. Freeze them in a freezer-safe zipper bag. They thaw perfectly in 35 seconds in the microwave oven.
Private Notes
Tried this recipe?
Let us know how it was!
I truly hope you enjoy this recipe. I have been testing and creating gluten-free recipes for over 15 years. Creating gluten-free recipes that do not taste gluten-free is my goal for every recipe. Sometimes I only have to test a new recipe a couple of times, and others it takes multiple times. I do this so you get reliable, delicious results every time!

Delicious! Made them for Father’s Day. Thank you for posting.
I am so glad everyone loved these biscuits for Father’s Day. Thank you so much, Nancy!
Very nice biscuits! I’m thinking with the next batch I will try incorporating some feta cheese or some type of cheese for extra flavour.
That sounds really good. I love the idea of feta flavor. Thank you so much.
Hurrah!I I used this recipe to make pizza and tuna/ pesto stuffed pinwheels and they turned out beautifully. 😍 😋 Thank you!
Wow!! Did you take a photo? I would love to see what you made. (If you did, please send to my email admin @fearlessdining.com) Thank you.
Delicious! I made these with KA Measure for Measure GF flour and buttermilk. My dough was slightly sticky so I used a bowl scraper to help with the folding over to create layers. I cut into 9 square biscuits with a sharp knife and brushed buttermilk on top before baking. The biscuits came out golden with lovely layers and tasted amazing. Thank you for this recipe!
Hi Carla, I am so glad you loved the recipe. Thank you so much for letting me know your steps!