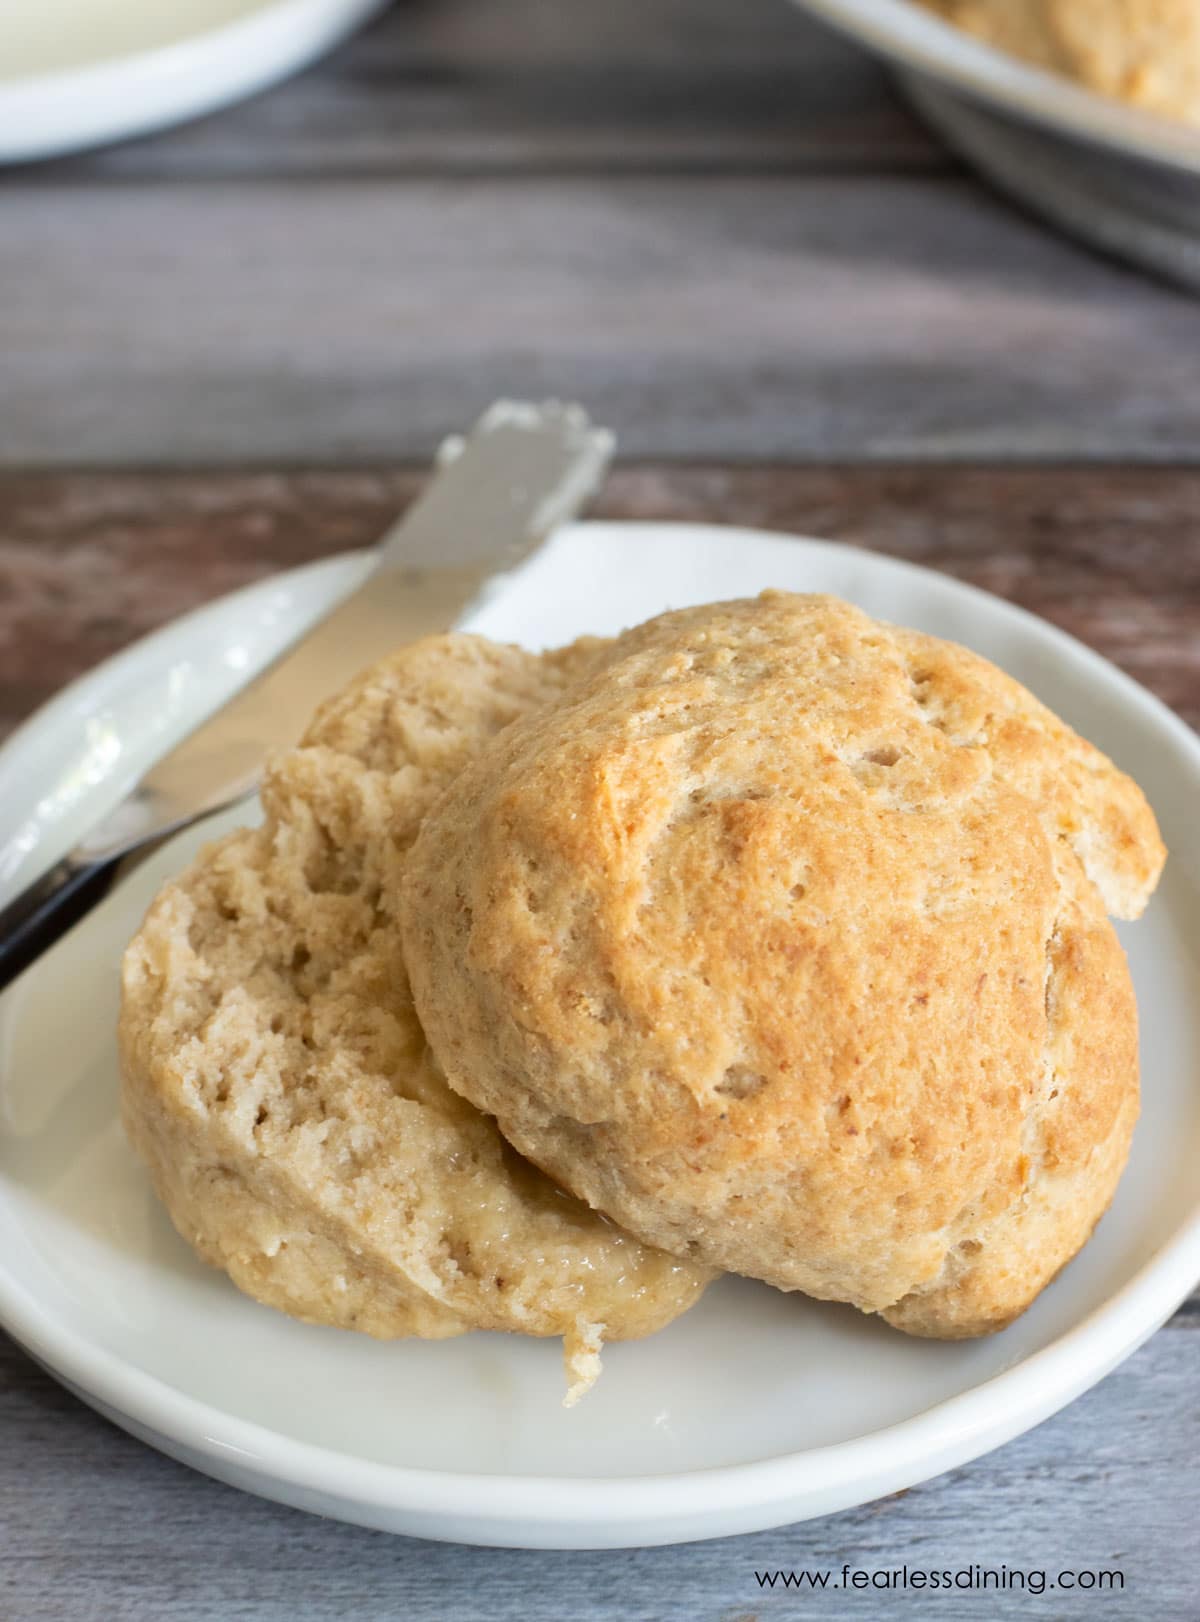
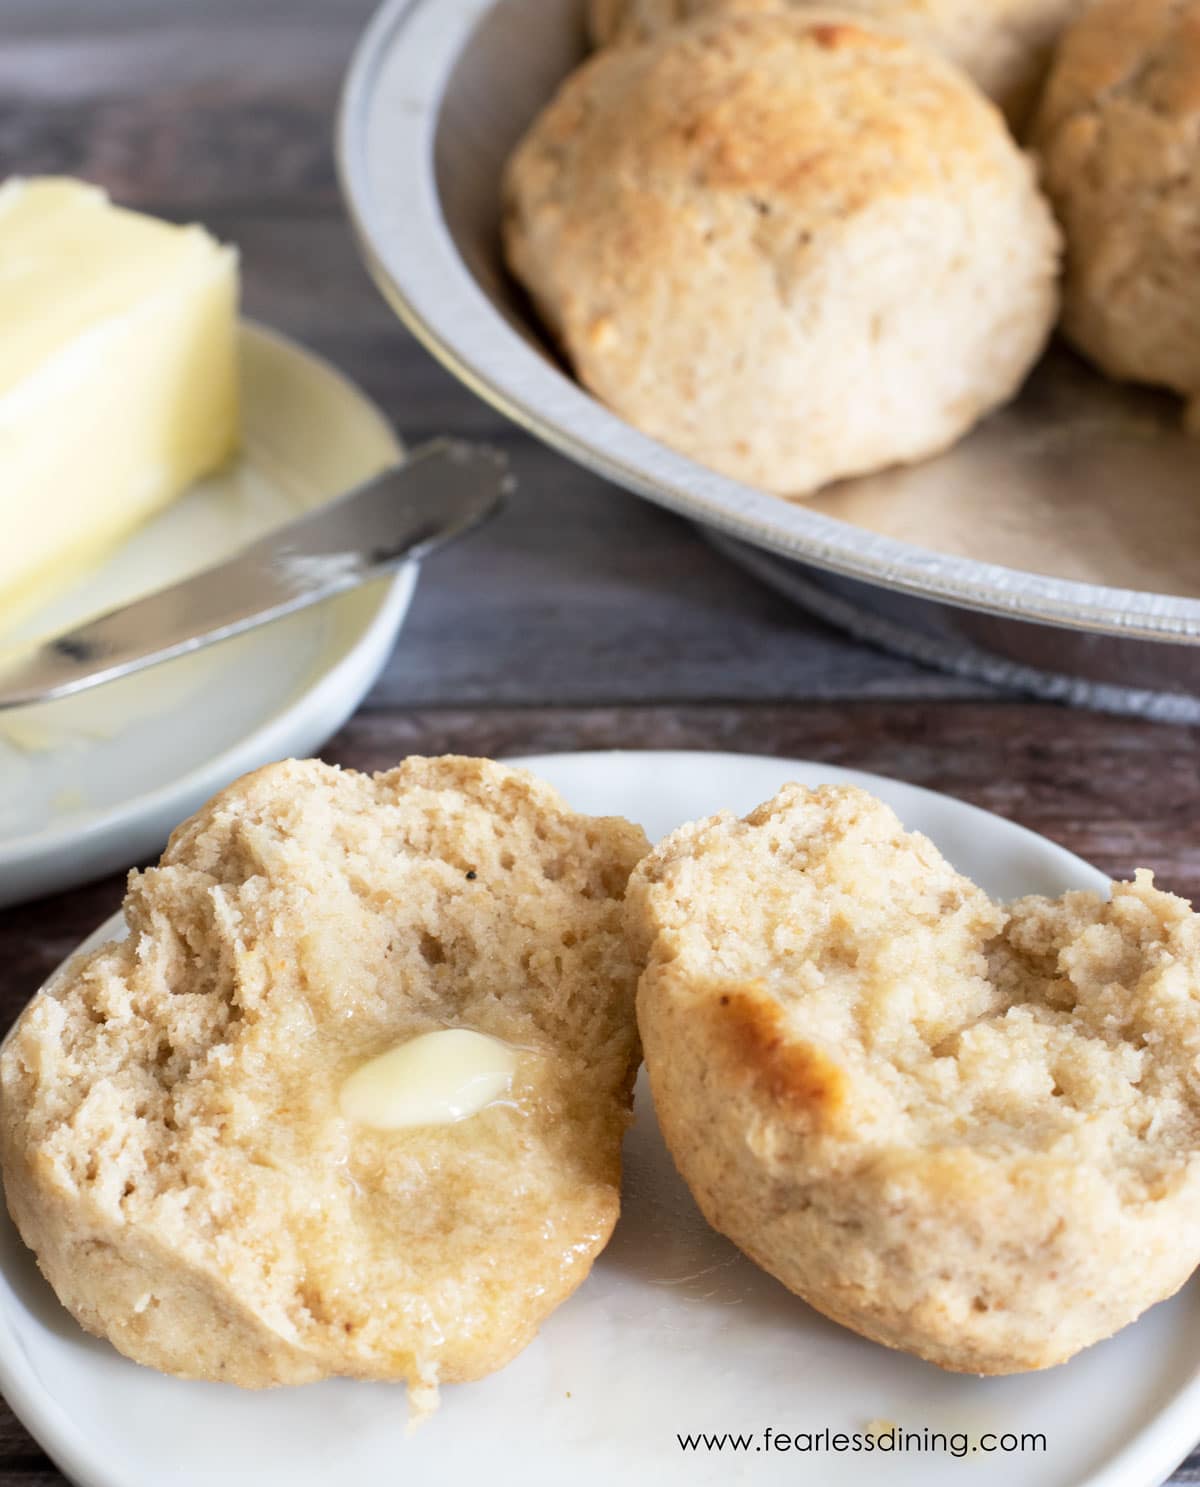
It only takes one bite of these soft, gluten-free whole-grain rolls to fall in love with their light, fluffy texture. They are smooth, pillowy, and perfectly tender; they are the kind of roll that melts in your mouth and pairs beautifully with any meal. Serve them warm with butter, or use the dough to make soft gluten-free slider buns for sandwiches or party appetizers.
This post may contain affiliate links. Please read our Disclosure Policy.
❤️ Sandi’s Summary
Made these last night with regular Cup4Cup for a quick dinner roll recipe.
audra c., blog comment
They were really good and simple. Thank you for the recipe.”
If you love soft rolls, this is the recipe for you. I used simple ingredients to make these the best gluten free yeast rolls. These gluten-free pull-apart rolls are perfect for dipping into gluten-free pasta sauce and make incredible gluten free slider buns.
No matter what you do with these gluten-free whole-grain rolls, you will love how easy they are to make. Keep reading for all of my tips and tricks for making them! Check out my easy gluten-free bread recipes if you love baking!
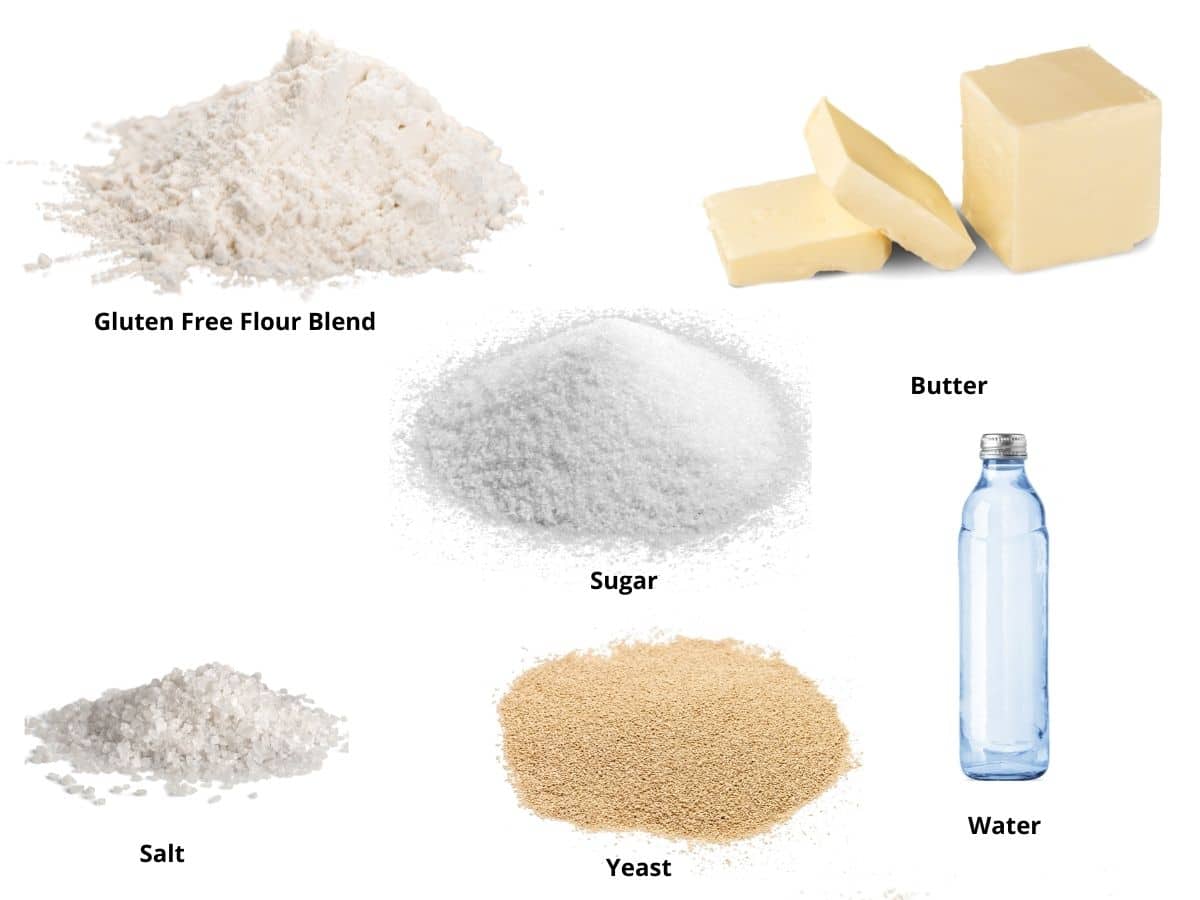
Ingredient Notes:
For the full list of ingredients and amounts, please go to the recipe card below.
- Gluten Free Flour Blend – I made this recipe with Cup4Cup Wholesome Blend, which uses whole grains. It mimics whole wheat flavor and texture. This recipe also works well with regular Cup4Cup. Note that Bob’s Red Mill 1 to 1 and King Arthur Measure For Measure both state that these varieties do not work well in yeast recipes. Every blend varies. Read Why Gluten-Free Flour Blends Vary to learn more
- Binder – If your flour blend does not contain a binder like xanthan or guar gum, please add 3/4 teaspoon. Learn more about Why Binders are Necessary in Gluten-Free Baking.
- Yeast – Double-check that the brand you use is gluten free. Red Star Platinum is NOT gluten free!
- Butter – Use unsalted butter.
- Water – You can use all water as I did, or use a 3/4-cup water and a 3/4-cup milk blend. I recommend using filtered water in yeast recipes.
- Garlic, herbs, flavors – You can get very creative with this recipe!
This gluten-free flour blend would also make great gluten-free bagels, too!
How to Make Gluten-Free Whole Grain Rolls (Step-By-Step)
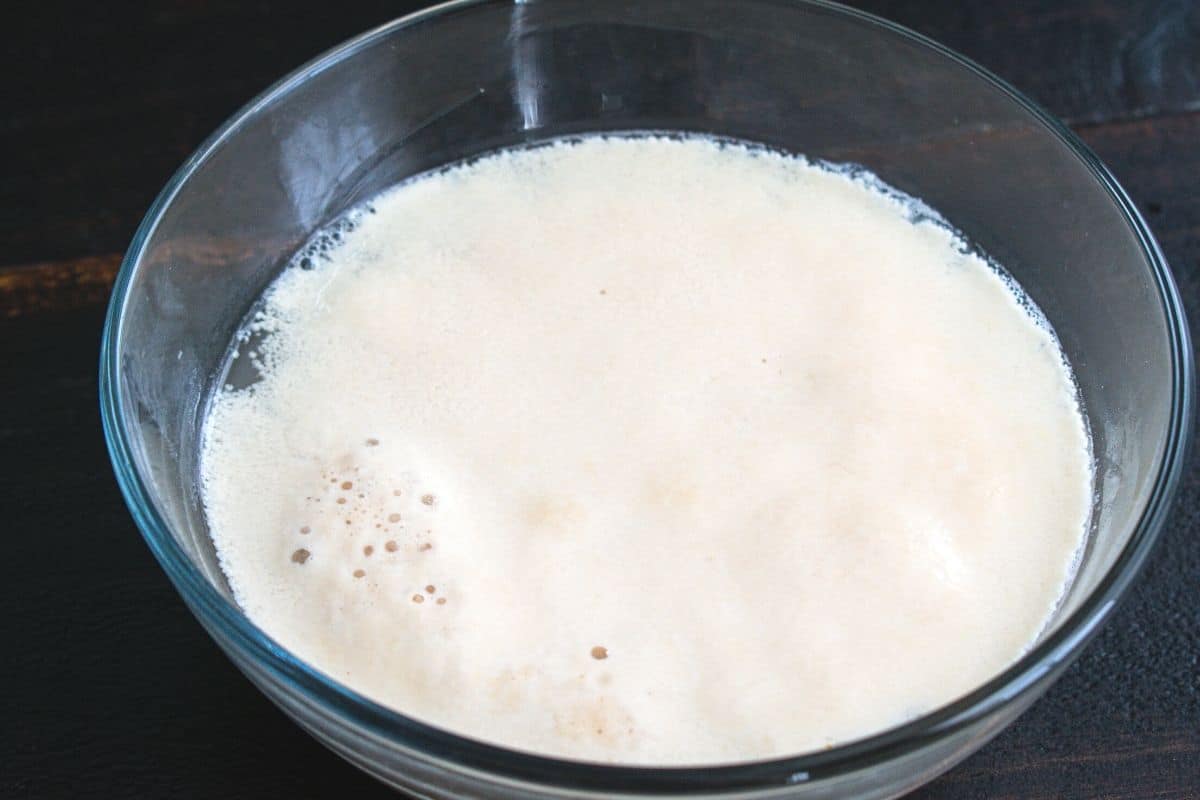
Step 1: In a small bowl, add the warm water, sugar, and yeast packet. Be sure your water is no hotter than 110º F. Give it a quick stir, then let it sit for 5-10 minutes until the yeast is frothy with bubbles.
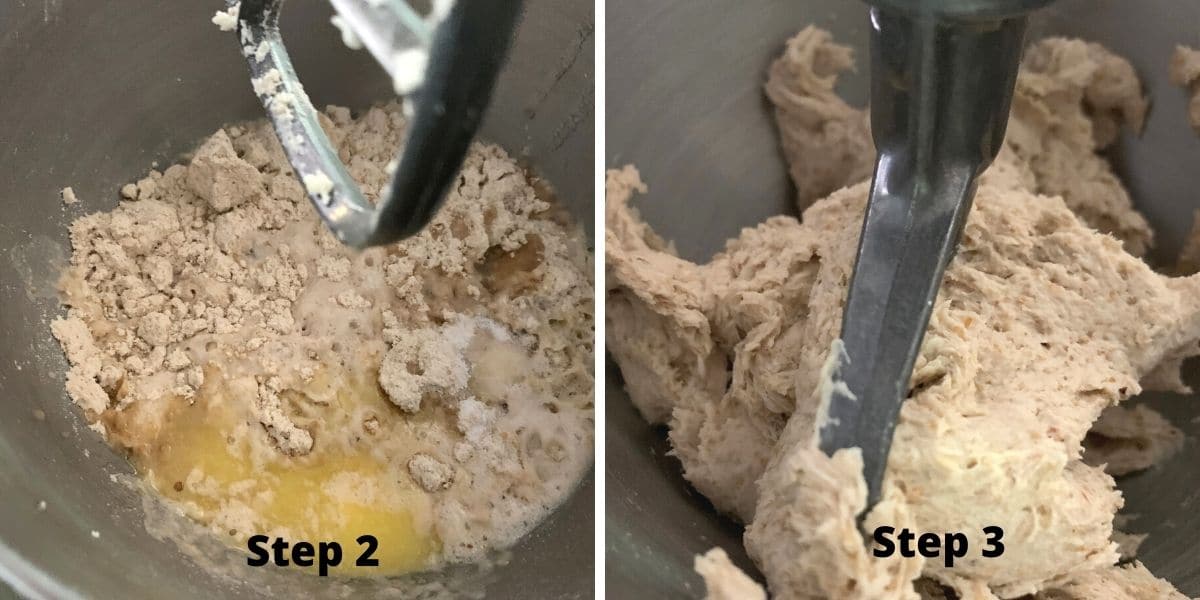
Step 2: Combine the gluten free flour, salt, yeast mixture, and melted butter in the bowl of a standing mixer. Use either the dough hook or paddle attachment for best results. If you use a different flour blend, you may need to adjust the amount of flour.
Step 3: Turn the mixer to low speed and blend until the dough is fully combined. Increase the speed to medium and let it run for an additional 30 seconds.
📢 Sandi says: Every gluten-free flour blend has a different starch-to-grain ratio. The gluten-free flour brand you use will affect the batter’s moisture. If your cake batter is too runny, add more flour, and if it is too thick, add more liquid.
Email This Recipe To Me!
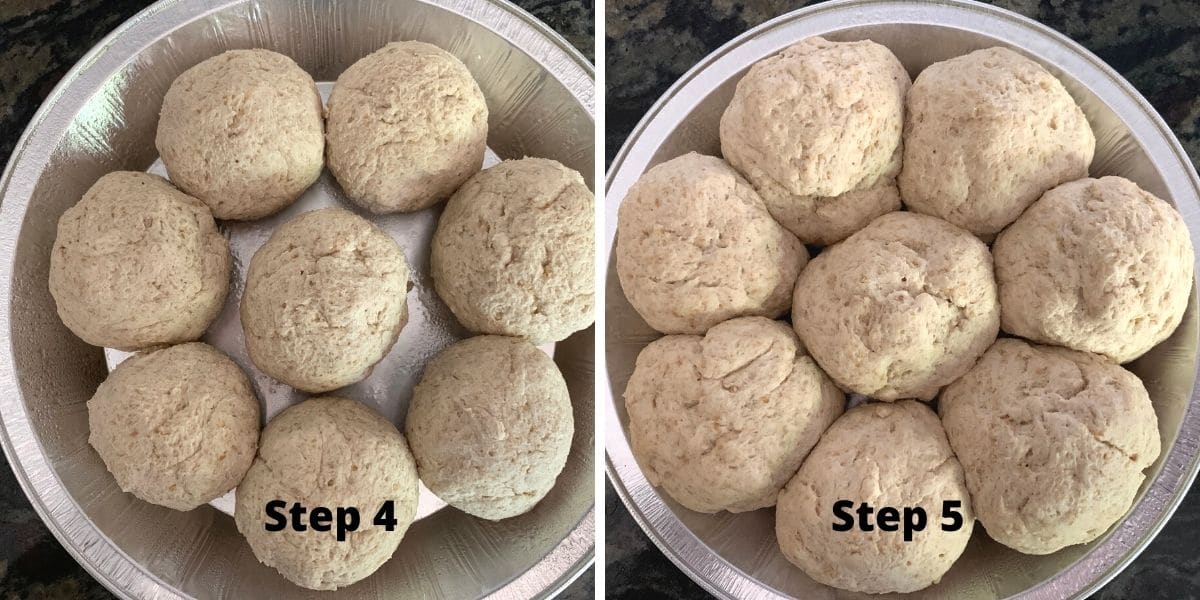
Step 4: Break the dough into 8 pieces and roll each into a ball. You only get one good rise with gluten-free baking, so you need to shape the dough into balls before it!
Add the dough balls to a greased pie pan or 10-inch cast iron skillet.
👀 Yeast Rising Tip: Turn your oven on and heat it to 175º F. Turn the oven off, keeping the door closed. Place the baking tray with the rolls into the oven. I always rise my dough in a warm oven with the door cracked open. Let the gluten free slider buns rise until they double in size, about 45 minutes.
Step 5: Cover the pan loosely with plastic wrap and place it in a warm spot to rise. They should rise around 45 minutes, doubling in size.
Step 6: Remove the plastic wrap. When the yeast rolls are finished rising, brush the tops of the rolls with melted butter.
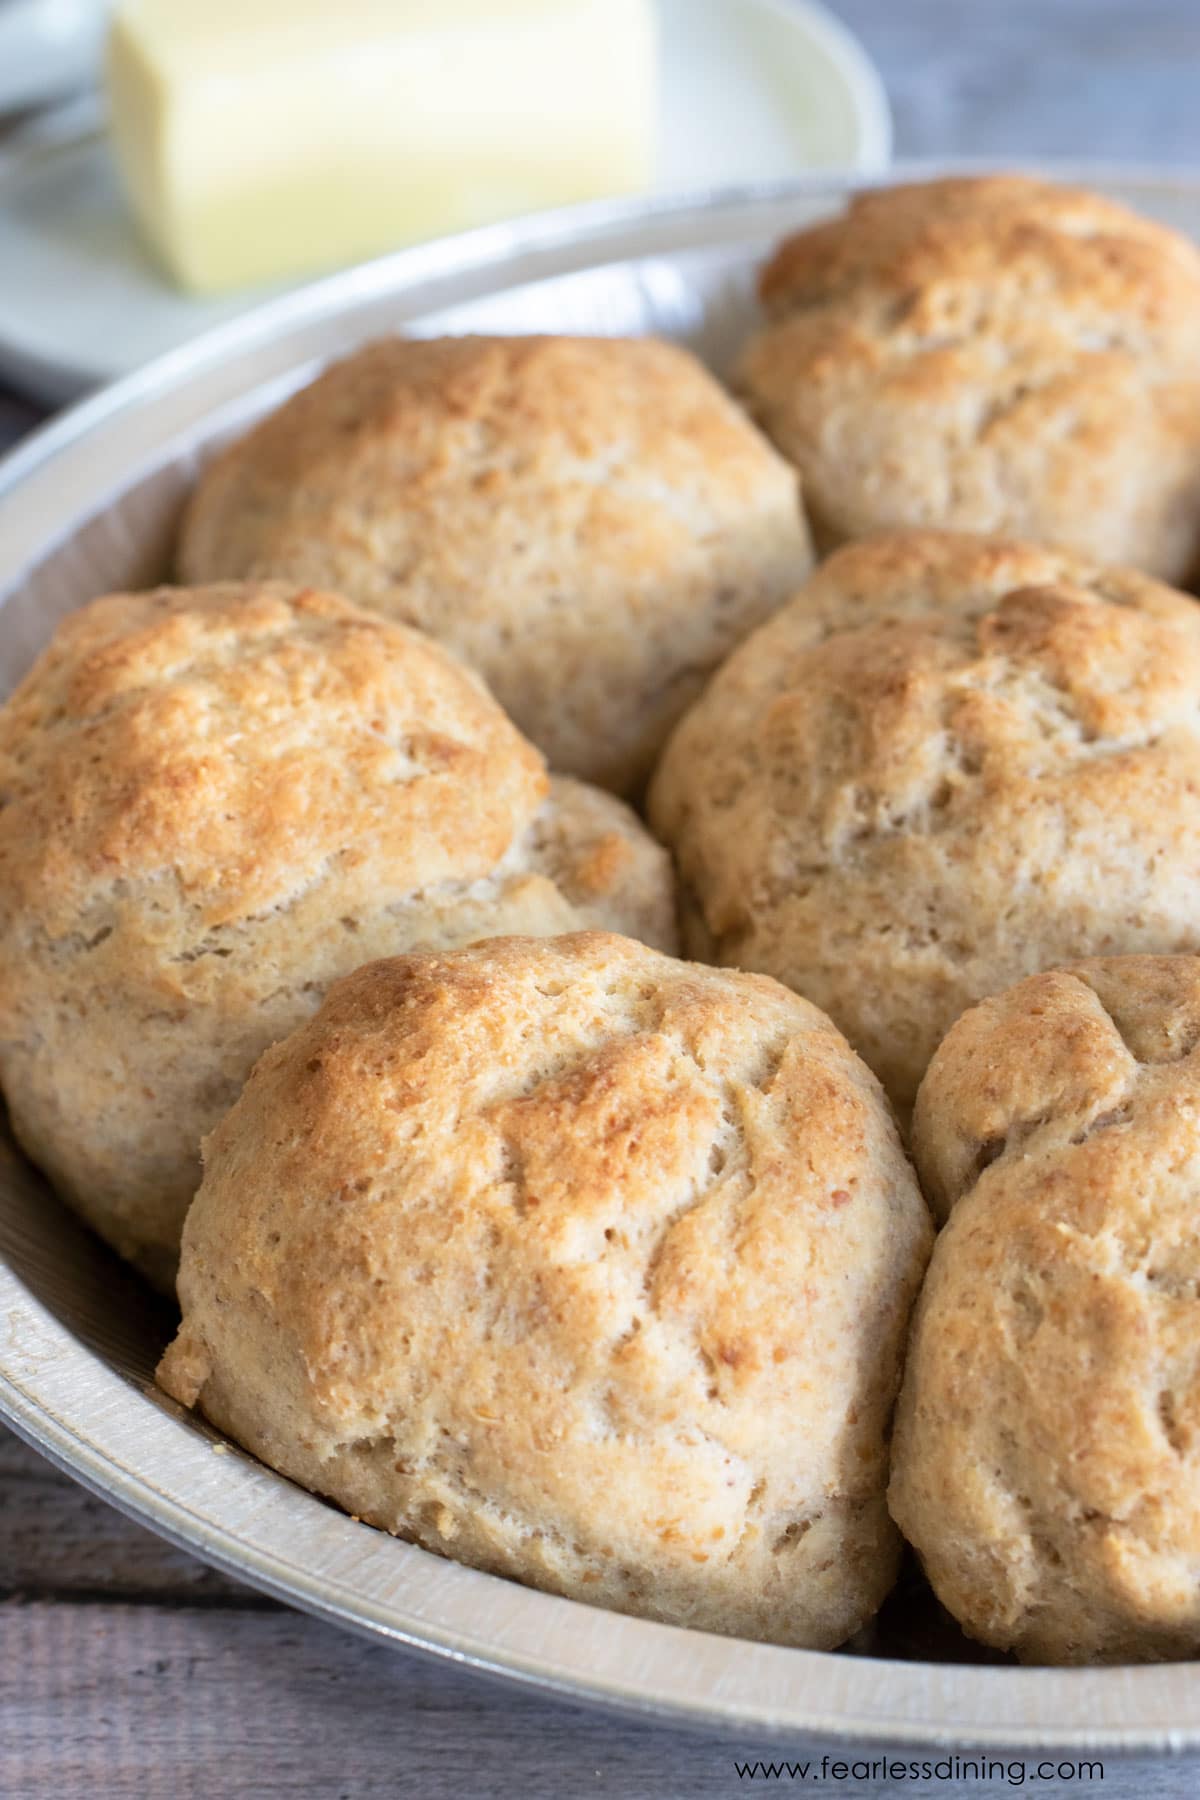
Step 7: Preheat the oven to 375º F. Bake the rolls for 20 to 25 minutes, depending on their size. Depending on the flour blend used, they should get golden on top. You can also brush the tops of the rolls with an egg wash or milk to brown better.
Enjoy these fluffy rolls hot with melted butter.
Make Them Sliders With These Filling Ideas:
There is nothing like eating sliders when making party food or watching a game. These yeast rolls make the perfect fluffy gluten free slider buns. You can fill them with anything, but here are a few of my favorites:
Frequently Asked Questions:
You can make these rolls dairy-free by using dairy-free butter.
These rolls will keep fresh for up to 4 days in the refrigerator. Gluten free baked goods spoil quickly, so I do not store them on the counter.
These gluten free yeast rolls are easy to freeze. Allow them to cool completely, then pop them into a freezer bag. Squeeze out the extra air and put the bag into the freezer. They will keep fresh for up to 3 months.
Store these fluffy rolls the right way! Learn How to Store Gluten-Free Bread so you can keep it fresh.
More Gluten-Free Bread Recipes:
Our family loves freshly-baked bread. If you want to bake more, here are some of our favorite bread recipes:
- Gluten-Free Crescent Rolls
- The Best Braidable Gluten-Free Challah
- My Favorite Gluten-Free Bread Machine Bread
- Gluten-Free Breadsticks
Love This Recipe?
If you made and enjoyed this recipe, I would be incredibly grateful if you could leave a comment below. Please include which flour blend you used. This will help others know this recipe is delicious. Thank you!
The Best Gluten Free Yeast Rolls
Ingredients
- 2 ½ cups gluten free flour blend * see note
- 2 ¼ teaspoons active dry yeast * see note
- 1 tablespoon cane sugar
- 1 ½ cups water Purified
- 4 tablespoons unsalted butter
- ⅛ teaspoon sea salt
Equipment
Method
- In a small bowl, heat 1/2 cup of purified water to 110º F. Do not use hotter temperatures, or it can kill your yeast.
- Add the 2 ¼ teaspoons active dry yeast and 1 tablespoon cane sugar. Stir and let it sit for 5-10 minutes until the yeast is bubbling and frothy.
- In the large mixing bowl of a standing mixer, pour in the yeast mixture and melt 4 tablespoons unsalted butter. Add the remaining 3/4 cup of water, the 2 ½ cups gluten free flour blend, and ⅛ teaspoon sea salt.
- Put either a dough hook or paddle attachment onto the stand mixer.
- Mix the ingredients at medium speed until a dough forms. Mix for an additional 30-45 seconds.
- It is important to shape the dough before the first rise.
- Grease a pie pan, cast-iron skillet, or 8×8 baking pan.
- Break the dough into 8 pieces. Roll each into a ball and place it into the pan.
- Cover loosely with plastic wrap and place in a warm area to rise. Let the rolls rise for 45 minutes. They should double in size.
- Preheat the oven to 375º F. Brush the tops with the remaining 2 tablespoons of melted butter.
- Bake for 20-25 minutes until done. The actual baking time will vary depending on the size of your rolls.
Nutrition
Notes
- For this recipe, I used Cup4Cup Wholesome gluten-free flour blend. It has the taste and texture of whole wheat. This gluten free flour blend uses rice bran and flaxseeds to mimic wheat. You can also use Cup4Cup regular if you prefer white dinner rolls. I have not tested any other flour blend, but I would also recommend Better Batter and Authentic Foods Steve’s GF Bread blend for this recipe.
- Xanthan Gum – If your flour blend does not contain a binder, please add 3/4 teaspoon.
- This bread will keep fresh for up to 3 days in the refrigerator or 3 months in the freezer. Store in a freezer bag if you are freezing the rolls.
Private Notes
Tried this recipe?
Let us know how it was!
I truly hope you enjoy this recipe. I have been testing and creating gluten-free recipes for over 15 years. Creating gluten-free recipes that do not taste gluten-free is my goal for every recipe. Sometimes I only have to test a new recipe a couple of times, and others it takes multiple times. I do this so you get reliable, delicious results every time!

This recipe is great and produced such fluffy rolls! This is the first time I’ve made yeasted bread with gluten free flour since being gluten free for the past 2.5 years. I’ve missed bread making and this was so satisfying!! Thank you so much for this recipe!
I used Cup4Cup multipurpose flour.
The only downside for me is the finished roll need more salt, so I will try increasing the amount next time so the roll stand better alone.
Hi Catia, I am so happy to hear you loved these rolls. Thank you so much for coming back to let me know.
Made these last night with regular Cup 4 Cup for a quick dinner roll recipe. They were really good and simple. Thank you for the recipe.
I am so glad you loved these yeast rolls, Audra, thank you!
Hi Sandi! I’ve been drolling over your cinnamon buns, pastry and breads!! Unfortunately I can’t have yeast!! What a drag. So there’s my challenge to you! I’m in awe of your baking, and can’t wait to make the cherry cake this weekend. Thank you for all the magic you make!!
Hi Mariane, It sounds like I need to figure out a good yeast-free version. I will keep you posted! Would a cinnamon roll-style cake work?