


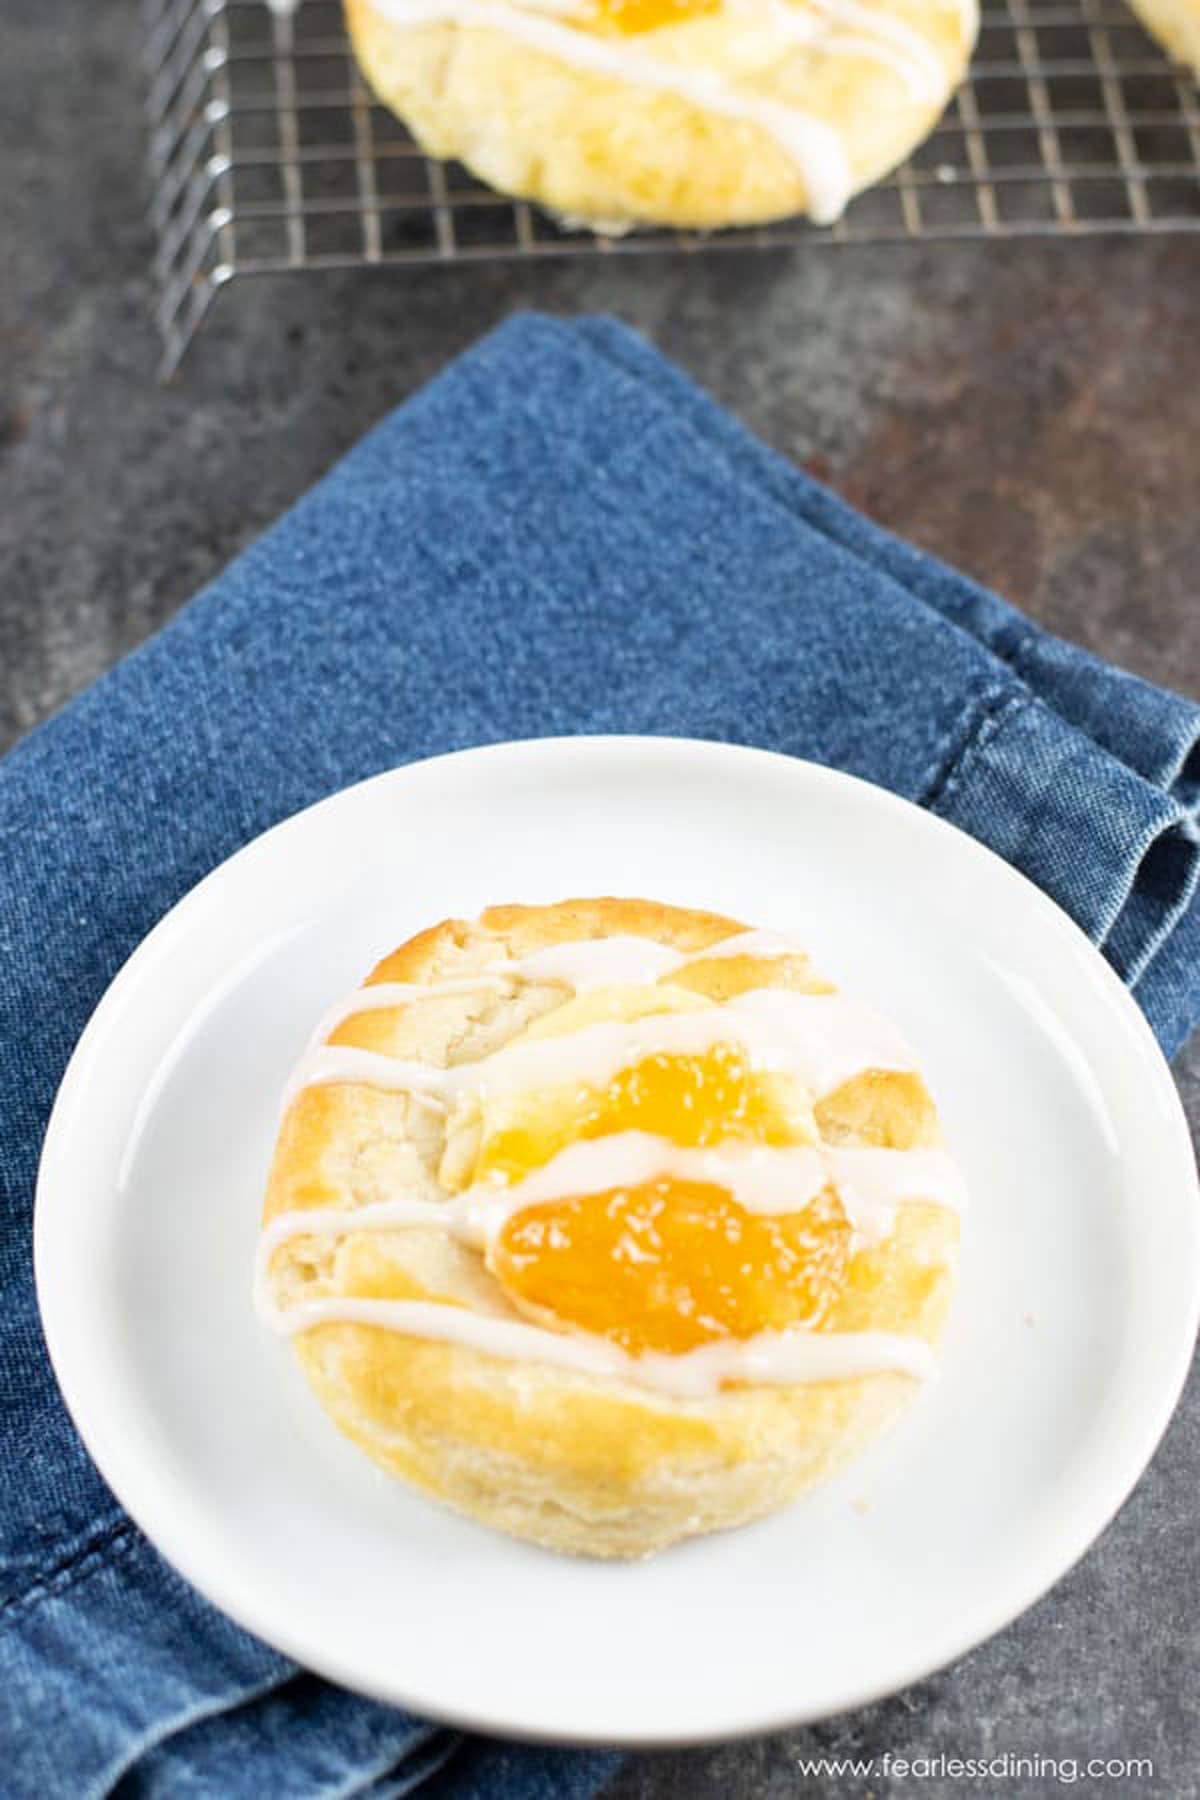
If you have missed flaky, bakery-style pastries since going gluten free, my gluten-free cheese Danish recipe is for you. There are two delicious ways to make them. Use my yeasted gluten-free dough or my new gluten-free rough puff pastry dough; both create the buttery, crisp layers you usually find only in a bakery. Whether you want a classic texture or crave true flaky layers.
This post may contain affiliate links. Please read our Disclosure Policy.
❤️ Sandi’s Recipe Summary
The Quick Bite: This recipe teaches you how to make bakery-quality gluten free Cheese Danish. You can make the dough the classic way or using my gluten free rough puff dough. Both will give you big, flaky layers.
“I used Bob’s Red Mill gf flour. I also did not refrigerate after each butter addition to the dough; I was too impatient. Easy dough to work with and such a yummy Danish! My daughter, who has celiac disease, loved them! As did everyone else in the family who does not need to eat gluten free. Thanks for the recipe!”
Carol E., Blog comment
These gluten free cheese Danishes are my new favorite brunch treat! Pastries are not just for special occasions! Once you learn how to make gluten free pastry dough, you will have fun making your own pastries.
During a family trip to Europe, we found a little gluten-free bakery that had incredible gluten free pastries. They were buttery and flaky, and I think we went to that little bakery every day. When we got home, my daughter and I decided to try to create a recipe that was close to what we had eaten on vacation. It took a lot of tries, and many ended up in the compost bin.
Over time, we finally found how important the flour blend was for pastry. The blend needed to be starch-heavy so the butter pockets could lift the dough more easily. For a long time, Cup4Cup was the blend we tested with. In 2025, I created my gluten free pastry flour, and it has been my go-to blend ever since.
This base gluten-free pastry dough is based on my most popular Gluten-Free Flaky Pastries recipe. If you love pastries, you will also want to try my Czech Gluten-Free Kolache recipe! If you have a few tart apples, this Gluten-Free Apple Turnover recipe is amazing.
Two Dough Options:
You can make these Danish pastries using either of these gluten free doughs:
Option 1: Yeast Dough (my original recipe)
I created the original recipe for these cheese Danish back in January 2019. It uses a modified rough puff recipe where the cold butter chunks are rolled into the dough. That cold butter makes steam pockets, giving lift and flaky layers. The yeast gives extra lift and puffiness.
Option 2: Rough Puff Dough (new!)
Use my new gluten-free rough puff pastry dough to make the pastries. This rough puff is made the traditional rough puff way, without yeast, mixing the cold butter chunks into the flour, and then lots of rolling and folding to create thin butter streaks in the dough.
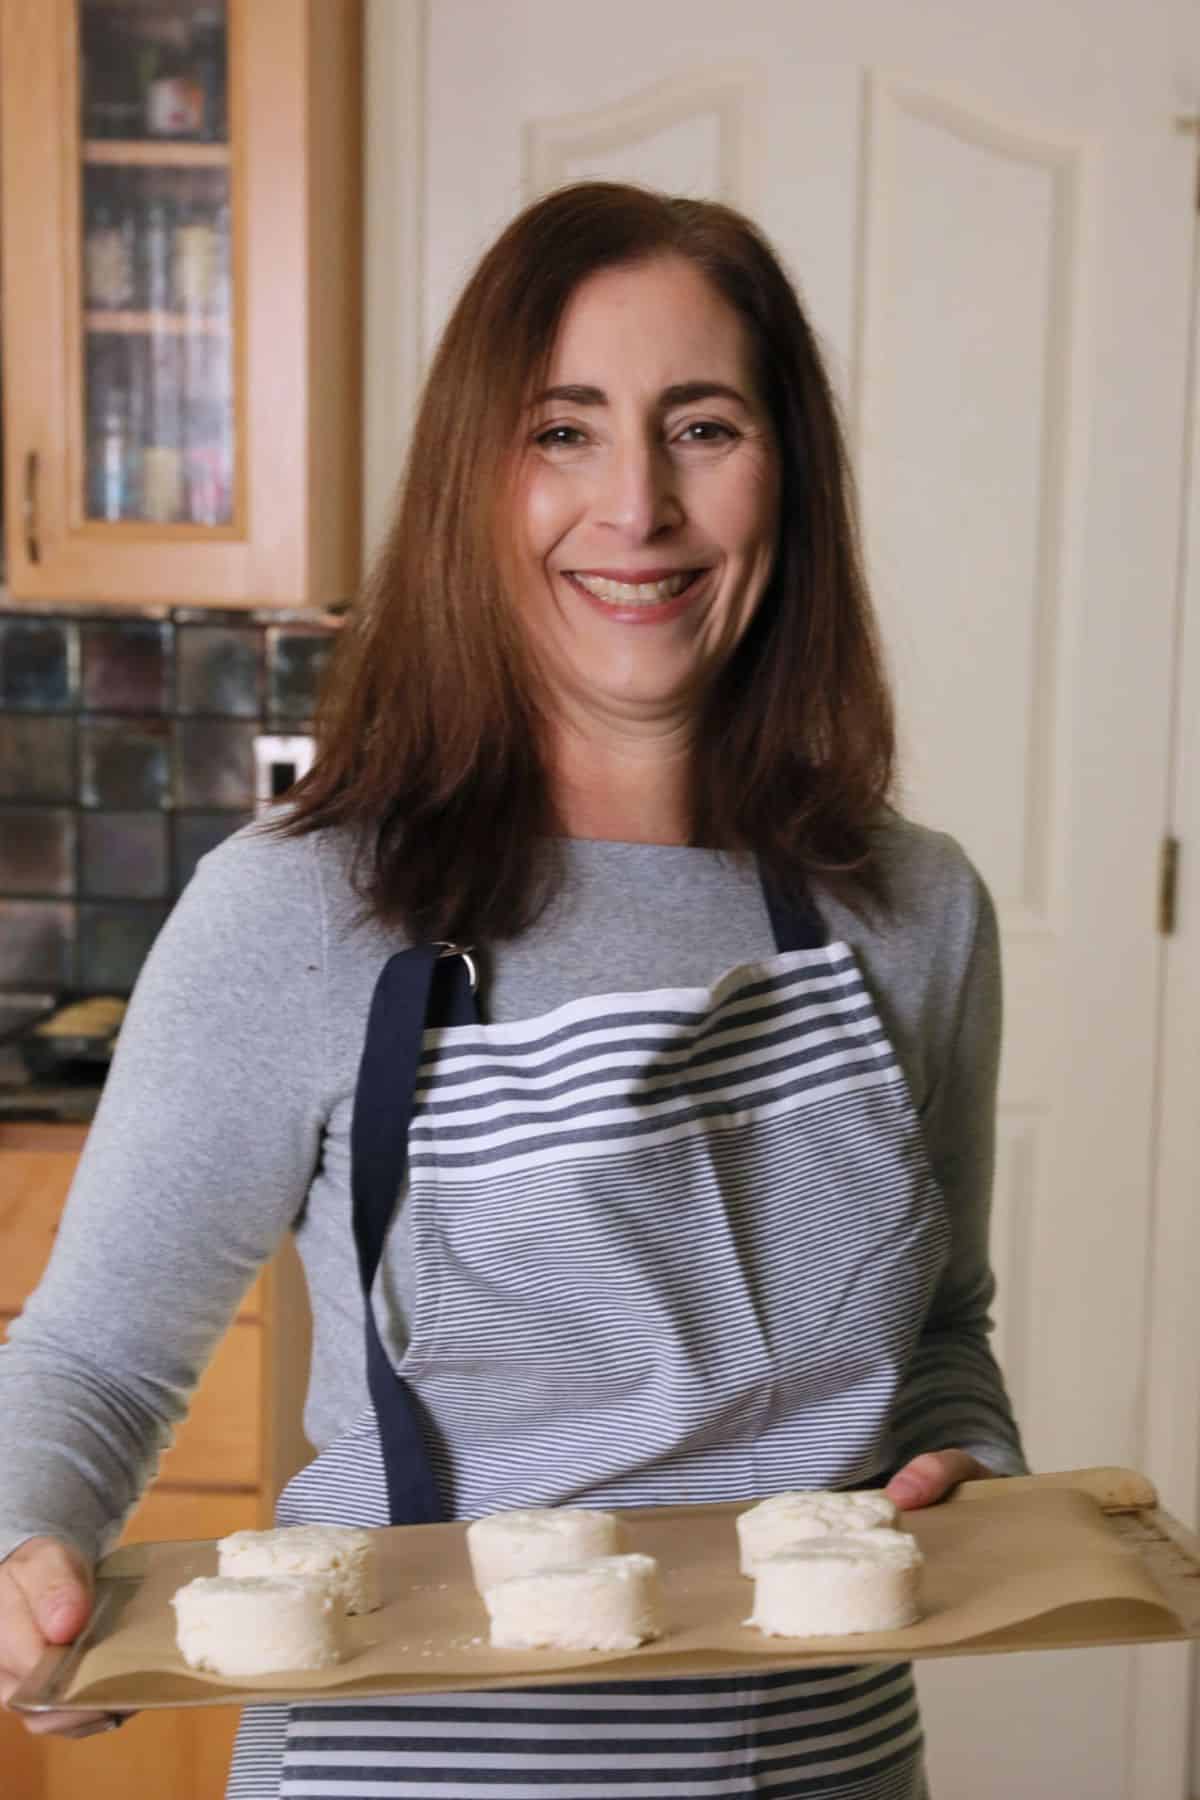
Testing Notes From My Kitchen
Gluten-free pastry can be tricky, so I include a lot of step-by-step photos to show you how to make these gluten free pastries. I have tested this dough multiple times, with three different gluten free flour blends to ensure it is as simple and workable as possible. My gluten free pastry flour is the clear winner in this recipe, but Cup4Cup is a close second. No adjustments to the moisture are necessary between these two blends. If you use my DIY all-purpose blend, you will need to add 1 TBSP more milk.
I shape my Danish as rounds, but you can shape them any way you like. One year we even used a large heart-shaped cookie cutter to make them for Valentine’s Day.
Ingredient Notes:
For the full list of ingredients and amounts, please go to the recipe card below.
- Gluten-Free Flour Blend – I tested this recipe with my brand new => Gluten-Free Pastry Flour Blend, DIY Gluten Free Flour Blend, and Cup4Cup. Other blends work, but make sure the blend you use works with yeast. Read What Gluten Free Flour Blends Work in What Recipes to learn more.
- Binder – If your gluten free flour blend does not contain xanthan gum or guar gum, please add 1/2 teaspoon. This helps to hold the pastries together. Read Why Binders Matter in Gluten Free Baking to learn more.
- Yeast – I used active dry yeast. Always double-check that the brand you use is gluten free. Red Star Platinum is NOT gluten-free!
- Butter – Use unsalted European-style high-butterfat butter. Here are some common brands found in grocery stores: Plugra Premium European Butter, Kerrygold Irish Butter, Strauss Family Creamery European-Style Butter, Nancy’s Organic Butter (European-style), and Danish Creamery European Butter.
- Eggs – Use large eggs.
- Cream Cheese – I used full-fat because it is a creamy cheese, but low-fat also works well. Be sure to read the label to ensure your cream cheese is gluten free.
- Jam or Pie Filling – Use any brand.
How to Make Gluten Free Cheese Danish (Step-By-Step)
The step-by-step photos below walk through the yeasted dough method. If you are using the rough puff pastry dough, follow the assembly and baking steps once your dough is laminated and ready to roll out.

Step 1: Bloom the yeast by adding the active dry yeast, sugar, and warm milk to a bowl. Allow the yeast to proof until it is frothy, for about 5-10 minutes. Add the yeast mixture and the other wet ingredients to a mixing bowl and whisk until well blended.
Step 2: Add the dry ingredients to a large mixing bowl and use a whisk to blend them together.

Email This Recipe To Me!
Step 3: Pour the wet ingredients into the dry ingredients. Mix well into a soft dough. Dust a silicone mat with flour and place the dough on it. Roll it to 1/2 inch thickness.
👀 Sandi Says: You can use a standing mixer with a dough hook or paddle attachment to make the dough. Do not use a stand mixer when using my rough puff method.
Step 4: Since gluten-free dough only has one good rise, you must quickly shape your dough and incorporate the butter layers. Let the butter partially freeze in the freezer. Cut the butter into chunks and place it on half of the dough.

Step 5: Roll out the dough on a flour-dusted silicone mat with a rolling pin. Dust the dough with extra flour as well so that it won’t stick to the rolling pin. Roll the dough quickly before it starts to rise. Roll the dough and fold it over itself in what is called an envelope fold.
Step 6: Roll the dough in one direction into a rectangle. Fold the dough over itself. You will see the butter chunks start to flatten and elongate. That visible butter is a good sign. These are what make the flaky layers!
Step 7: Fold the dough into an envelope, then fold it again. You will repeat this process several 3-5 more times until the dough shows thin streaks of butter throughout the dough. If the dough is too sticky, add more flour, wrap it in plastic wrap, and chill for 20-30 minutes.

Step 8: Roll the dough flat for the last time. Grab a round biscuit cutter or round cookie cutter. Cut out the pastry circles. Do NOT twist the biscuit or cookie cutter. This can seal the edges and prevent the steam from making flaky layers.
Step 9: Lay the round dough circles on a parchment paper-lined baking sheet. Use your fingers or the back of a teaspoon to press down the middle, making a shallow indentation.
Cover loosely with plastic wrap and let the Danish rise for 45 minutes, or until they have nearly doubled in size. Getting gluten free dough to rise can be tricky. I like to preheat my oven to 150°F, then turn it off and place the dough inside to rise. Leave the oven door cracked open.
Step 10: Remove the plastic wrap from the pastries. In a small bowl, whisk together the cheese filling ingredients. Fill each pastry circle with the cream cheese filling and top with jam. TIP: In the fall, try this recipe with apple pie filling!
Preheat the oven to 425ºF. Place the Danish in the freezer while the oven preheats.
Step 11: In a small bowl, break an egg and whisk it with 1 TBSP of milk. Brush the egg wash over each pastry.
Step 12: Bake for 15 to 20 minutes until done. The baking time varies depending on how large and thick your pastry is. You will know they are finished baking when the pastry is golden brown.
Want to try my flaky version next? My new gluten-free rough puff dough bakes up with true laminated layers, and there is no yeast required! If you are a breakfast fanatic like us, you will want to check out ALL of my yummy gluten-free breakfast recipes.
Fun flavor variations to try!
There are various filling options when making a Danish. Here are some of my favorites:
- Add chocolate or Nutella
- Top with this jammy Strawberry Compote.
- Add nuts and marshmallows or sprinkle with coarse sugar
- Sprinkle with the cinnamon and sugar mixture
- Add any flavor of jam or fruit filling you like
- Use cookie cutters to make fun shapes
- You can make a large cheese Danish in the form of a rectangle.

Frequently Asked Questions:
Yes! You can fold, twist, and shape this pastry dough any way you like!
You will know the pastry is done when it is slightly golden.
These pastries will keep fresh for up to 4 days in the refrigerator. With all of the butter, they will get hard. To soften them back up, microwave for 25 to 30 seconds.
More ways to use gluten-free rough puff:
Once you master the rough puff dough, you can use it in so many ways! Here are a few reader favorites and ideas to try next:
- Gluten-Free Pot Pies – Use the filling from my Gluten-Free Chicken Pot Pie recipe.
- Easy Gluten-Free Pastries – Flaky and delicious.
- Gluten-Free Turnovers – Use pie filling, jam, or even savory fillings!
Love This Recipe?
💬 Did you make this gluten-free cheese Danish recipe? Drop a comment below, and let me know how it turned out! ⭐⭐⭐⭐⭐ Please include which flour blend you used. This will help others know this recipe is delicious. Thank you!
Gluten-Free Cheese Danish (Using Rough Puff Pastry or Yeasted Dough)
Ingredients
- 1 teaspoon cane sugar
- 2 teaspoons active dry yeast
- ½ cup warm milk (*feel free to use non-dairy milk)
- 2 cups gluten free flour blend * see note
- ¼ cup tapioca starch
- ⅛ teaspoon salt
- 10 tablespoons unsalted butter
- ⅓ cup cane sugar
- 3 large eggs Note: one egg is for the egg wash and two for the dough.
- 1 teaspoon pure vanilla extract
- 1 teaspoon lemon juice
- 1 tablespoon milk for egg wash
- 1 ½ tablespoons lemon juice
- 1 cup powdered sugar
- 8 ounces cream cheese room temperature
- 1 egg yolk
- 1 tablespoon cane sugar
- extra flour for when the dough gets sticky
Equipment
Method
- To make the Danish dough with yeast, activate the yeast by adding 2 teaspoons active dry yeast, 1 teaspoon cane sugar, and 1/2 cup warm milk to a bowl. Allow the yeast to be proof until it is frothy for about 5-10 minutes. Add the yeast mixture and the other wet ingredients to a mixing bowl and whisk to blend.
- In a large bowl, add 2 cups gluten free flour blend, 1/4 cup tapioca starch, 1/8 teaspoon salt, 1/3 cup cane sugar, and whisk to blend.
- In a medium-sized bowl, add 2 large eggs, 1 teaspoon pure vanilla extract, 4 tablespoons of melted butter, and 1 teaspoon lemon juice. Pour in the frothy yeast mixture and whisk to blend.
- Pour the wet ingredients, including 4 tablespoons of shredded frozen butter, into the dry ingredients and mix into a nice, soft dough.
- You only get one good rise when working with gluten-free dough, so you must quickly shape your dough and work the butter layers in. Let the butter partially freeze in the freezer. Cut the butter into chunks and place it on half of the dough.
- Roll out the dough on a flour-dusted silicone mat with a rolling pin. Dust the dough with extra flour as well so that it won't stick to the rolling pin. Roll the dough quickly before it starts to rise. Roll the dough and fold it over itself in what is called an envelope fold.
- Roll the dough in one direction into a rectangle. Fold the dough over itself. You will see the butter chunks start to get flat and long. That visible butter is a good sign. These are what make the flaky layers!
- Repeat this process until you use all of the butter. Again, you will want to refrigerate the dough a bit between each butter layer. Cold butter works a lot better in making flaky layers.
- Fold the dough in the envelope, and fold again. You will repeat this process several times until the dough is laminated. If the texture of the dough is sticky, add more flour.
- Roll the dough flat for the last time. Grab a round biscuit cutter or round cookie cutter. Cut out the pastry circles. Do NOT twist the biscuit or cookie cutter. This can seal the edges and prevent the steam from making flaky layers. Lay out the round dough circles on a parchment paper-lined baking sheet.
- Use your fingers or the back of a teaspoon to press down the middle, making a shallow indentation. Cover loosely with plastic wrap and let the Danish rise for 45 minutes or until they come close to doubling in size. Getting gluten free dough to rise can be tricky. I like to preheat my oven to 175º F, turn off the oven, and place the dough in the oven to rise. Leave the oven door cracked open.
- Remove the plastic wrap from the pastries. In a small bowl, whisk together the cheese filling ingredients. Fill each pastry circle with the cream cheese filling and top with jam. TIP: In the fall, try this recipe with apple pie filling!
- Preheat the oven to 425º F. Place the Danish in the freezer while the oven preheats.
- Make the cream cheese layer by adding room temperature 8 ounces cream cheese, 1 egg yolk, 1 tablespoon cane sugar, and 1 1/2 tablespoons lemon juice to a stand mixer with a whisk attachment and whip until the mixture is creamy.
- Break an egg and whisk it with 1 TBSP of milk in a small bowl. Brush the egg wash over each pastry.
- Bake for 15-20 minutes until done. The baking time varies greatly depending on how large and thick your pastry is. You will know they are finished baking when the pastry is golden brown.
- Make the icing with 1 cup powdered sugar and 1 teaspoon lemon juice to a bowl. Feel free to add more lemon juice to get the right consistency. Drizzle onto each Danish.
- Make your Danish super flaky using my brand new Gluten-Free Pastry Flour Blend, which uses the perfect types of flour and starches to get the best flaky layers.
- Follow the directions to make and laminate the gluten-free rough puff dough in my Gluten-Free Rough Puff Dough recipe.
Nutrition
Notes
- I have tested this recipe with Cup4Cup and my DIY All Purpose Flour Blend. My brand new Gluten-Free Pastry Flour Blend uses the perfect types of flour and starches to get the best flaky layers. To learn more read my article about flour blends.
- If your gluten free flour blend does not contain xanthan gum or guar gum, please add 1/2 teaspoon.
- I used milk, but dairy-free kinds of milk will work. I do not recommend canned coconut milk.
- Use any jam flavor you like!
- These pastries will keep fresh for up to 4 days in an airtight container or for up to 4 months in the freezer.
Private Notes
Tried this recipe?
Let us know how it was!
This post was updated from an older January 2019 post with more detailed instructions.
I truly hope you enjoy this recipe. I have been testing and creating gluten-free recipes for over 15 years. Creating gluten-free recipes that do not taste gluten-free is my goal for every recipe. Sometimes I only have to test a new recipe a couple of times, and others it takes multiple times. I do this so you get reliable, delicious results every time!

I’m excited to try this out!! Can I sub the tapioca starch for potato starch?
Hi Sharon, I haven’t tested that, but it should be okay to substitute. Just keep an eye on the moisture level and add more flour if needed.
Question – when exactly do you let the dough rise? In the narrative at the top of the article, it sounds like you let it rise AFTER folding in the butter and cutting it.
However – in the actual recipe at the bottom, you have the rise happening right after the wet ingredients are mixed into the dry. Which is it? Thanks!
Hi Barb, I went in and clarified the rising. Thank you for bringing it to my attention. You want to shape the dough into the rounds and then rise.
Is yeast necessary? I can substitute – which I do for anything else that calls for yeast. {yeast is fungus & I do not purposely put fungus in my body}
Thank you,
I have never tested my recipe without yeast. I believe you need it to get the puffy rise.
Can I only use King Arthur Flour instead of tapioca starch?
Hi Savannah, it should be fine to use just the King Arthur Measure for Measure flour blend.