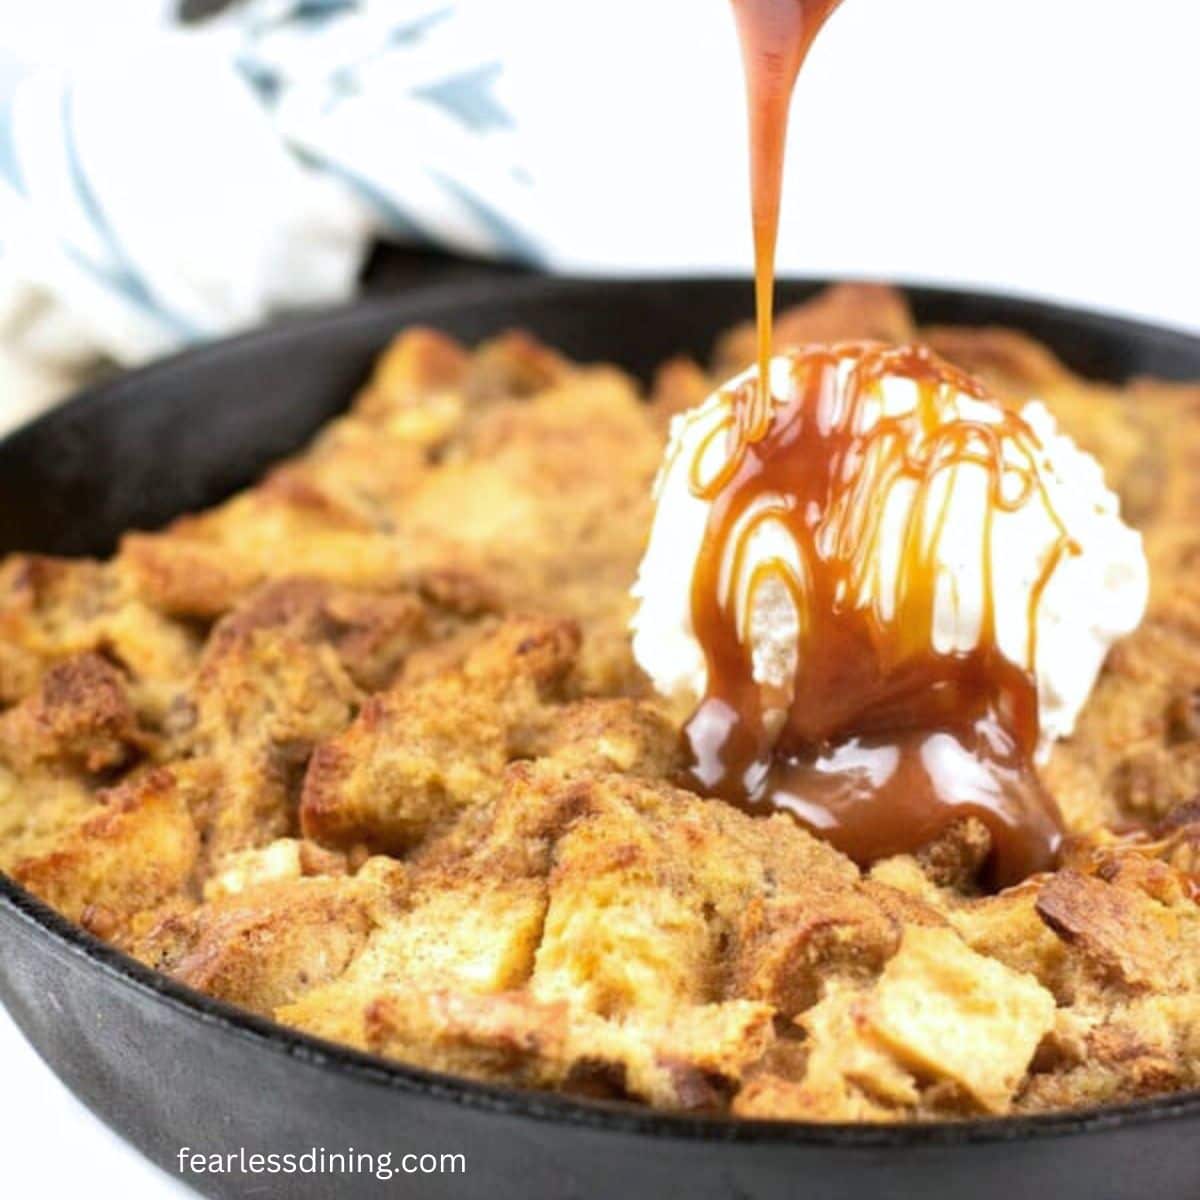
This gluten-free banana bread pudding is rich, warm, and full of caramelized banana flavors. It makes an incredibly decadent dessert. Made with ripe bananas, maple syrup, and soft cubes of gluten-free bread, it tastes just like banana foster bread pudding and is surprisingly easy to make.
This post may contain affiliate links. Please read our Disclosure Policy.
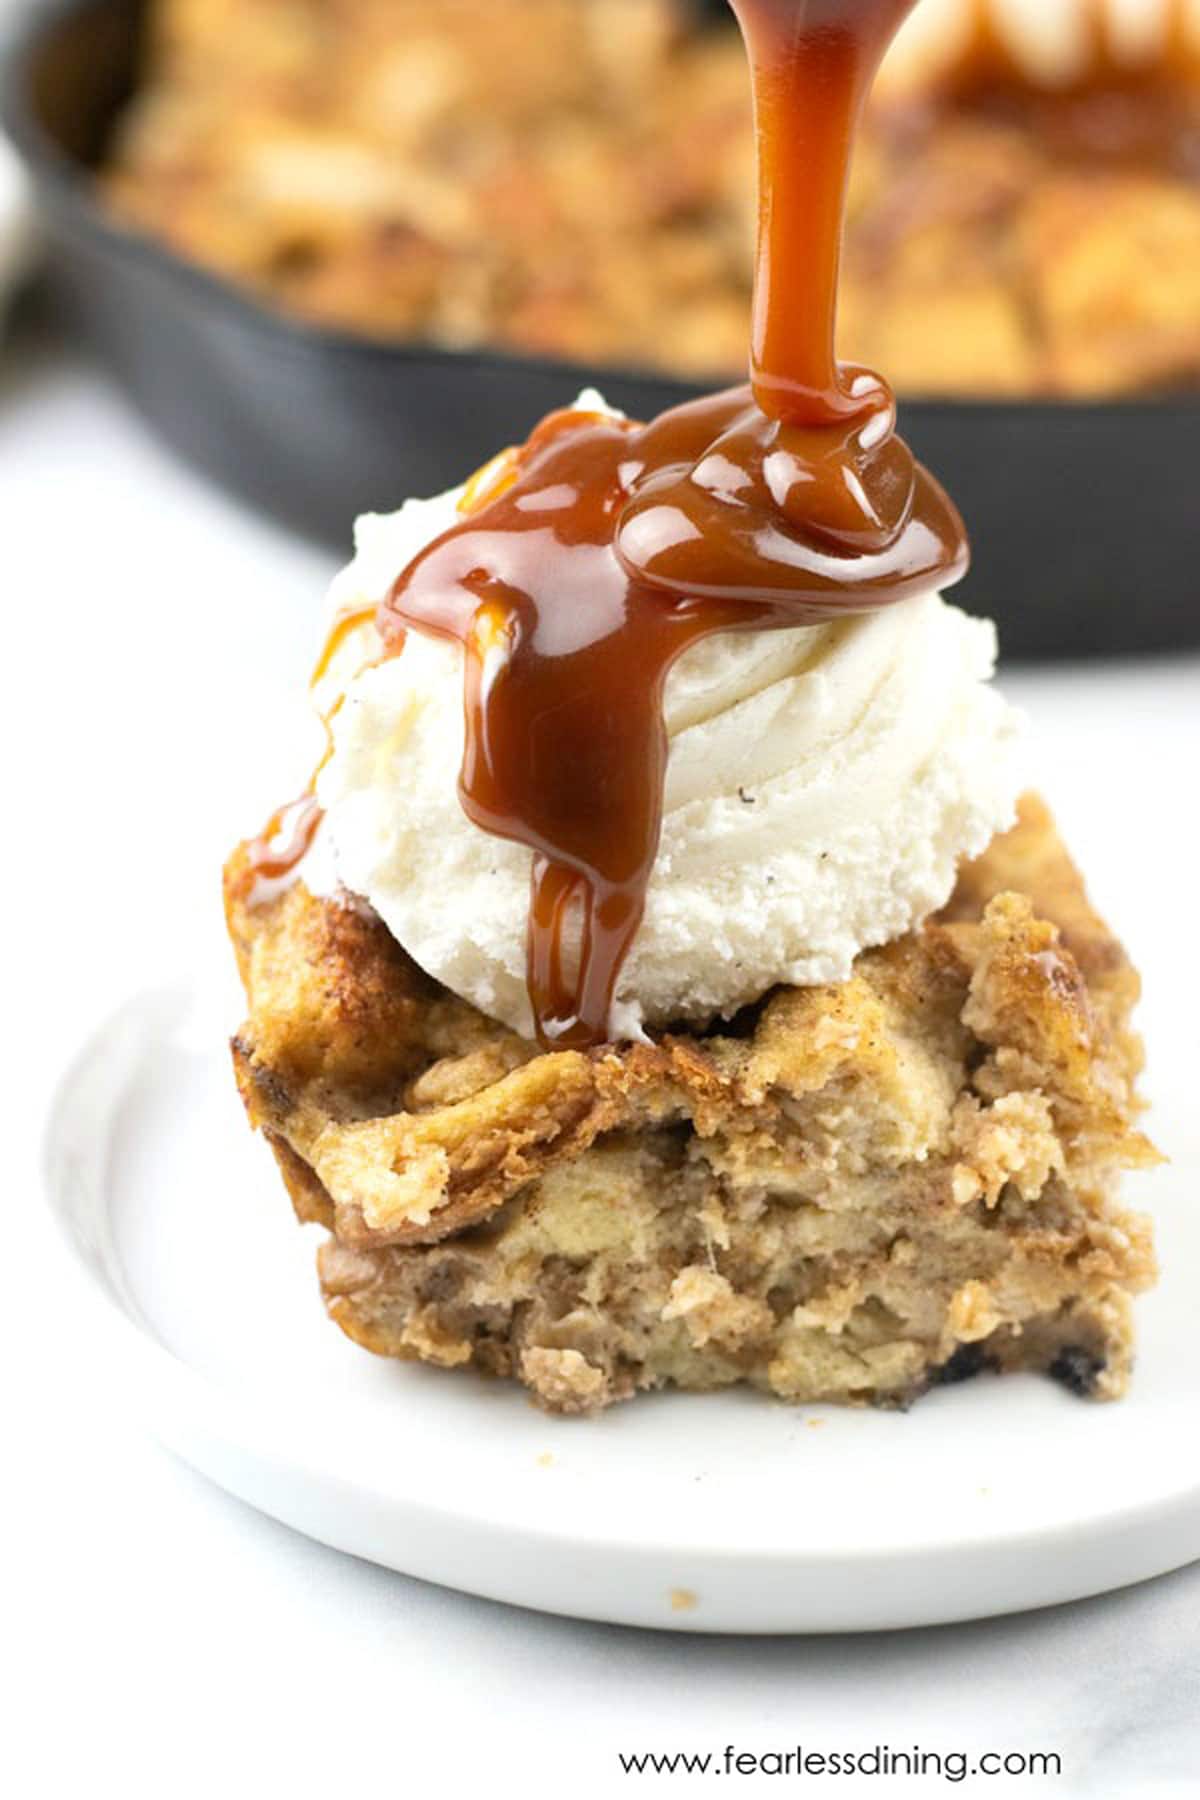
If Mr. Fearless Dining or my kids even catch a whiff of me making this banana bread pudding recipe, they get overly excited! I can understand why, because it is truly delicious! My kids call this Bananas Foster Bread Pudding because the flavors are so close.
First, let me begin by warning you that this is one of the best ways to use stale gluten-free bread! It’s warm and sweet, and the marriage of cinnamon, bananas, and maple syrup is out of this world! This dairy-free banana bread pudding recipe is loosely based on my Gluten Free Old-Fashioned Bread Pudding recipe.
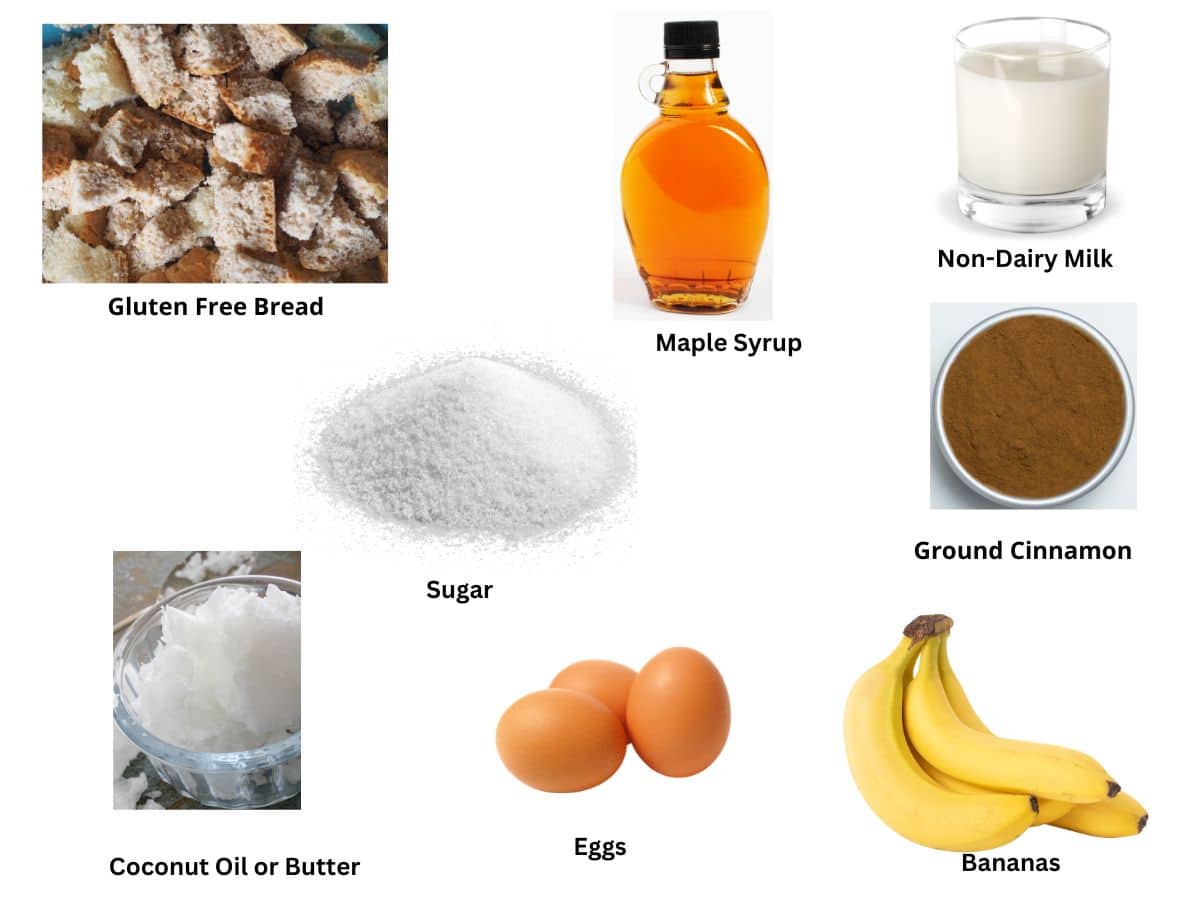
Ingredient Notes:
For the full list of ingredients and amounts, please go to the recipe card below.
- Gluten Free Bread – Any gluten free bread will work, but I would avoid ones with strong flavors.
- Ground Cinnamon – Adds delicious warm spice flavors.
- Bananas – Use ripe bananas. See below for tips to ripen bananas quickly if your bananas are not quite ripe.
- Eggs – Use large eggs. Eggs help set the custard-like texture of the pudding.
- Maple Syrup – Use pure maple syrup. Naturally sweetens without refined sugar and pairs perfectly with bananas.
- Light Oil – I used coconut oil, but you can also use unsalted butter or vegan butter.
- Non-Dairy Milk – I used almond milk, but any non-dairy plant milk or regular milk will work. Milk keeps it creamy without dairy; works well with almond, oat, or coconut milk.
How to Make Gluten-Free Banana Bread Pudding (Step-By-Step)
The first step is to gather either gluten-free ends you saved up or take a loaf of gluten-free bread. You can also use a regular loaf of gluten-free bread.
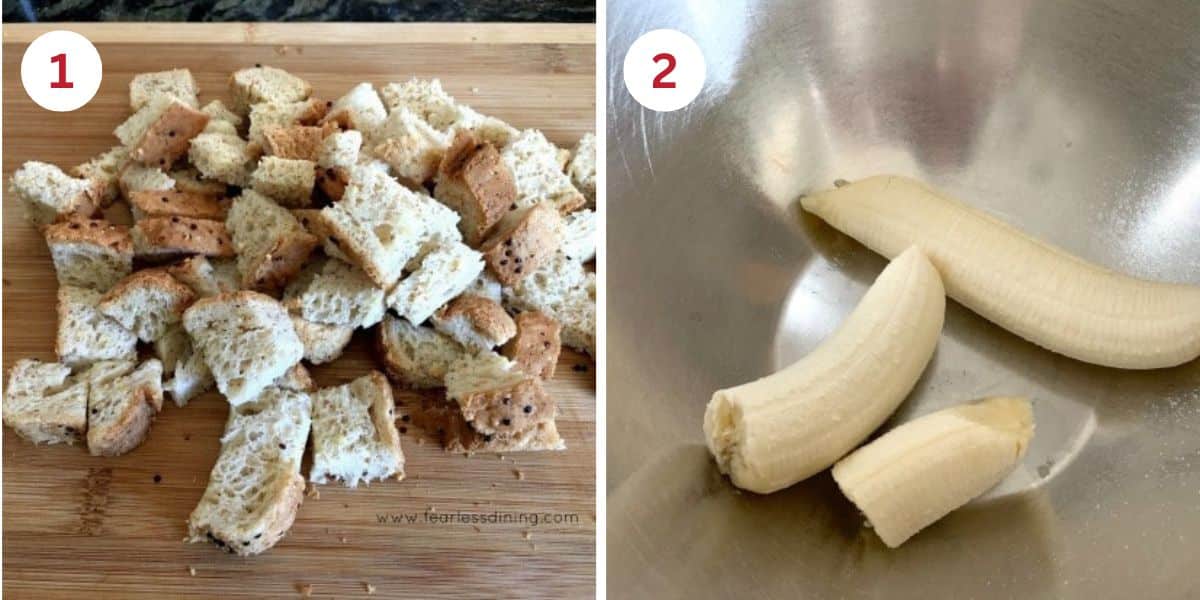
Step 1: Slice the gluten-free bread into cubes. Place the bread cubes in a large
Step 2: My kids love this part. Add your ripe bananas to another large bowl. Use a fork or mini food processor to smash them up! Another great method to mash bananas is to use a pastry blender to chop up the banana.
Email This Recipe To Me!
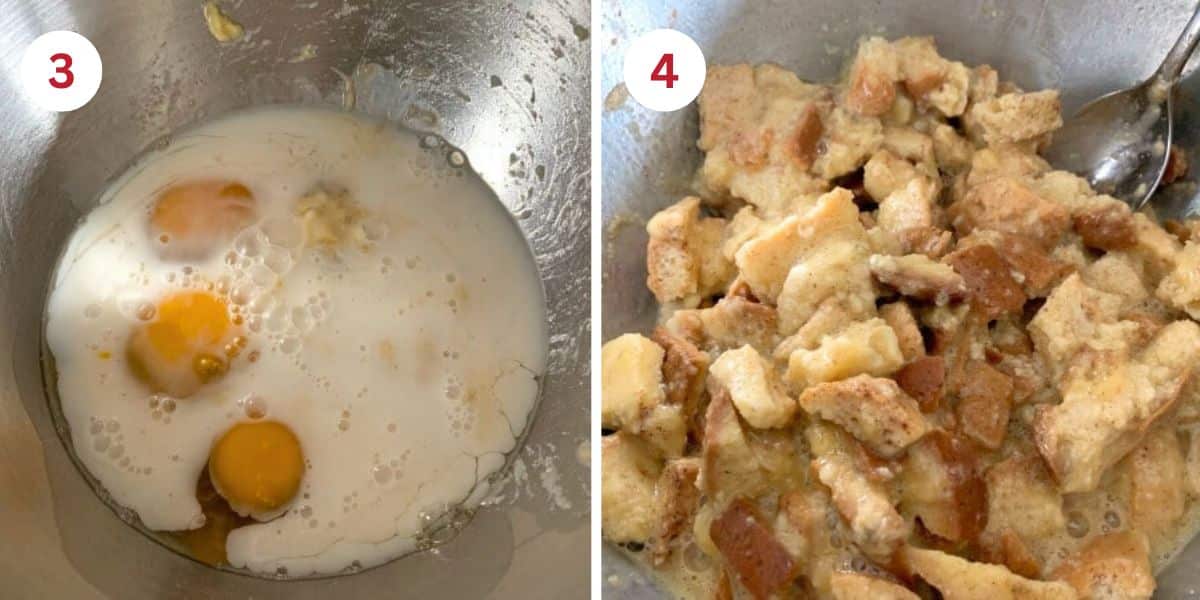
Step 3: Combine your wet ingredients in the bowl of smashed bananas. Whisk to blend.
Step 4: Add the bread cubes and mix well. Allow this to sit for 10-15 minutes so the bread cubes absorb all of the liquid. If you are making this gluten-free dessert ahead, this mixture can sit overnight in the refrigerator.
Step 5: Put the bread cube mixture into a 10 inch cast-iron skillet or greased 8×8 baking dish.
Step 6: Bake at 350º F for 25 minutes. The actual baking time will vary depending on the size and type of pan/skillet you use to bake this in.
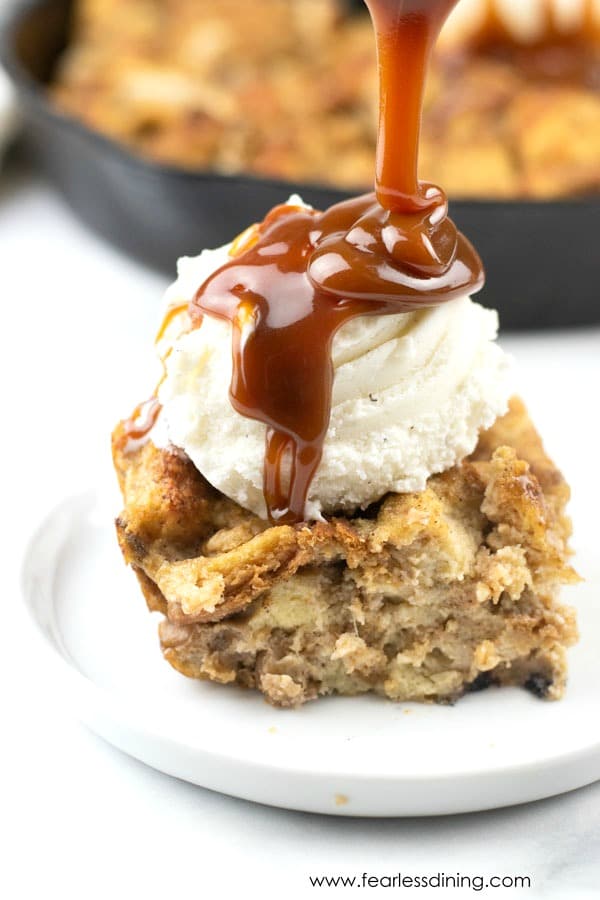
Serve warm or cool with vanilla ice cream or whipped cream.
How to Ripen Bananas Quickly:
One of the biggest questions in my banana recipes is how to ripen bananas.
- The quickest way would be to bake them in the oven. Leave the peel on the bananas and bake at 350º F for 12 to 20 minutes. Once the skin is black, then you know it is ready. Remove the banana from the oven and let it cool. Once cool, remove the banana from the peel and mash. Then, it is ready to be added to your favorite recipes. (This can be done on a grill, too!)
- The best way to ripen bananas is to place them with an apple in a paper bag. Keep the bag out of direct sunlight to prevent the paper from overheating.
Tasty Flavor Options:
- Banana Chocolate Chip – Bananas and chocolate go together perfectly.
- Caramel Pecan – Caramel makes everything better!
- Raisins – Banana pudding and raisins are a match made in heaven.
If you are in a hurry, try this easy 3-minute Gluten-Free Banana Nut Mug Cake recipe!
Frequently Asked Questions:
Yes, you can make gluten free banana bread pudding ahead of time. Mix ingredients in an airtight dish and place them in the refrigerator overnight. Then, it can be baked the next day.
It is best to serve the bread pudding within 2-3 days of placing it in the refrigerator, because it will start drying. Store in an airtight container.
Store it in a freezer-safe container. This bread pudding will last for up to two months in the freezer. To warm it up, thaw it and microwave it, or toss it in the oven.
More Gluten-Free Dessert Recipes:
Love This Recipe?
If you made and enjoyed this recipe, I would be incredibly grateful if you could leave a comment below. Please include which brand of gluten free bread you used. This will help others know this recipe is delicious. Thank you!
Gluten-Free Banana Bread Pudding with Maple and Cinnamon
Equipment
- 10 inch cast iron skillet
Ingredients
- 8 cups bread cubes
- 3 large eggs
- ¼ cup maple syrup
- 2 large ripe bananas
- 2 tablespoons light oil
- 1 cup milk or non-dairy milk
- 1 teaspoon ground cinnamon
Instructions
- Preheat the oven to 350º F.
- Cut the gluten-free bread into cubes.
- In a large mixing bowl, add 2 large ripe bananas and mash them with a fork or pastry cutter.
- Add 3 large eggs, 1/4 cup maple syrup, smashed bananas, 2 tablespoons light oil, 1 cup milk or non-dairy milk, and 1 teaspoon ground cinnamon. Whisk to blend.
- Pour in the bread cubes and mix well so that all cubes are well coated.
- Allow the bread to sit for 15 minutes minimum to absorb all of the liquid. To make ahead, cover the bowl with plastic wrap and place it in the refrigerator. You can bake it the next day.
- Pour the bread mixture into a cast-iron skillet and bake for 20-25 minutes until the top is golden.
- Remove from the oven.
- Optional: Top with vanilla ice cream and caramel.
Notes
- You can use any brand of gluten-free bread to make this recipe. I save ends and slices with large air holes in a bag in the freezer to use to make this recipe. Stale gluten-free bread also works well.
- I used coconut oil, but any oil works. If using coconut oil, melt it before adding to the wet ingredients.
- Store in an airtight container in the refrigerator for up to 4 days.
Email This Recipe To Me!
SPECIAL NOTE
Please know that every gluten free flour blend has a different starch to grain ratio. If you use a blend I didn’t test, my rule of thumb is to add more flour if your dough or batter is wet and add more liquid if the dough or batter is too dry!
Nutrition
Nutrition Disclaimer
Nutritional information is an estimate provided to you as a courtesy. You should calculate the actual nutritional information with the products and brands you are using with your preferred nutritional calculator.
I truly hope you enjoy this recipe. I have been testing and creating gluten-free recipes for over 15 years. Creating gluten-free recipes that do not taste gluten-free is my goal for every recipe. Sometimes I only have to test a new recipe a couple of times, and others it takes multiple times. I do this so you get reliable, delicious results every time!

Very good and tasty.
Thank you so much!
How do you know when it’s fully cooked?
What kind of bread cubes did you use so that it is gluten free?
Hi Emily, I used regular gluten free bread and cut it into cubes. Have a nice weekend.
This looks absolutely delicious! Would it work to bake it in a regular baking dish or bread pan? I don’t have any cast iron cookware, and no time to get any before the event I’ll be baking for.
Hi Sessha, I should mention this in the post, thank you. You can definitely make this in a regular dish!! Have a great week.
This was amazing! Made my GF son so happy. 🙂
I am so glad he liked this Samantha!! My kids hate the ends so I use those up with this recipe.
I made this for a gluten free friend and she absolutely loved it! And so did I 🙂 definitely making again soon!
OMG I am so glad you came back to let me know. Thank you so much Tayler 🙂