
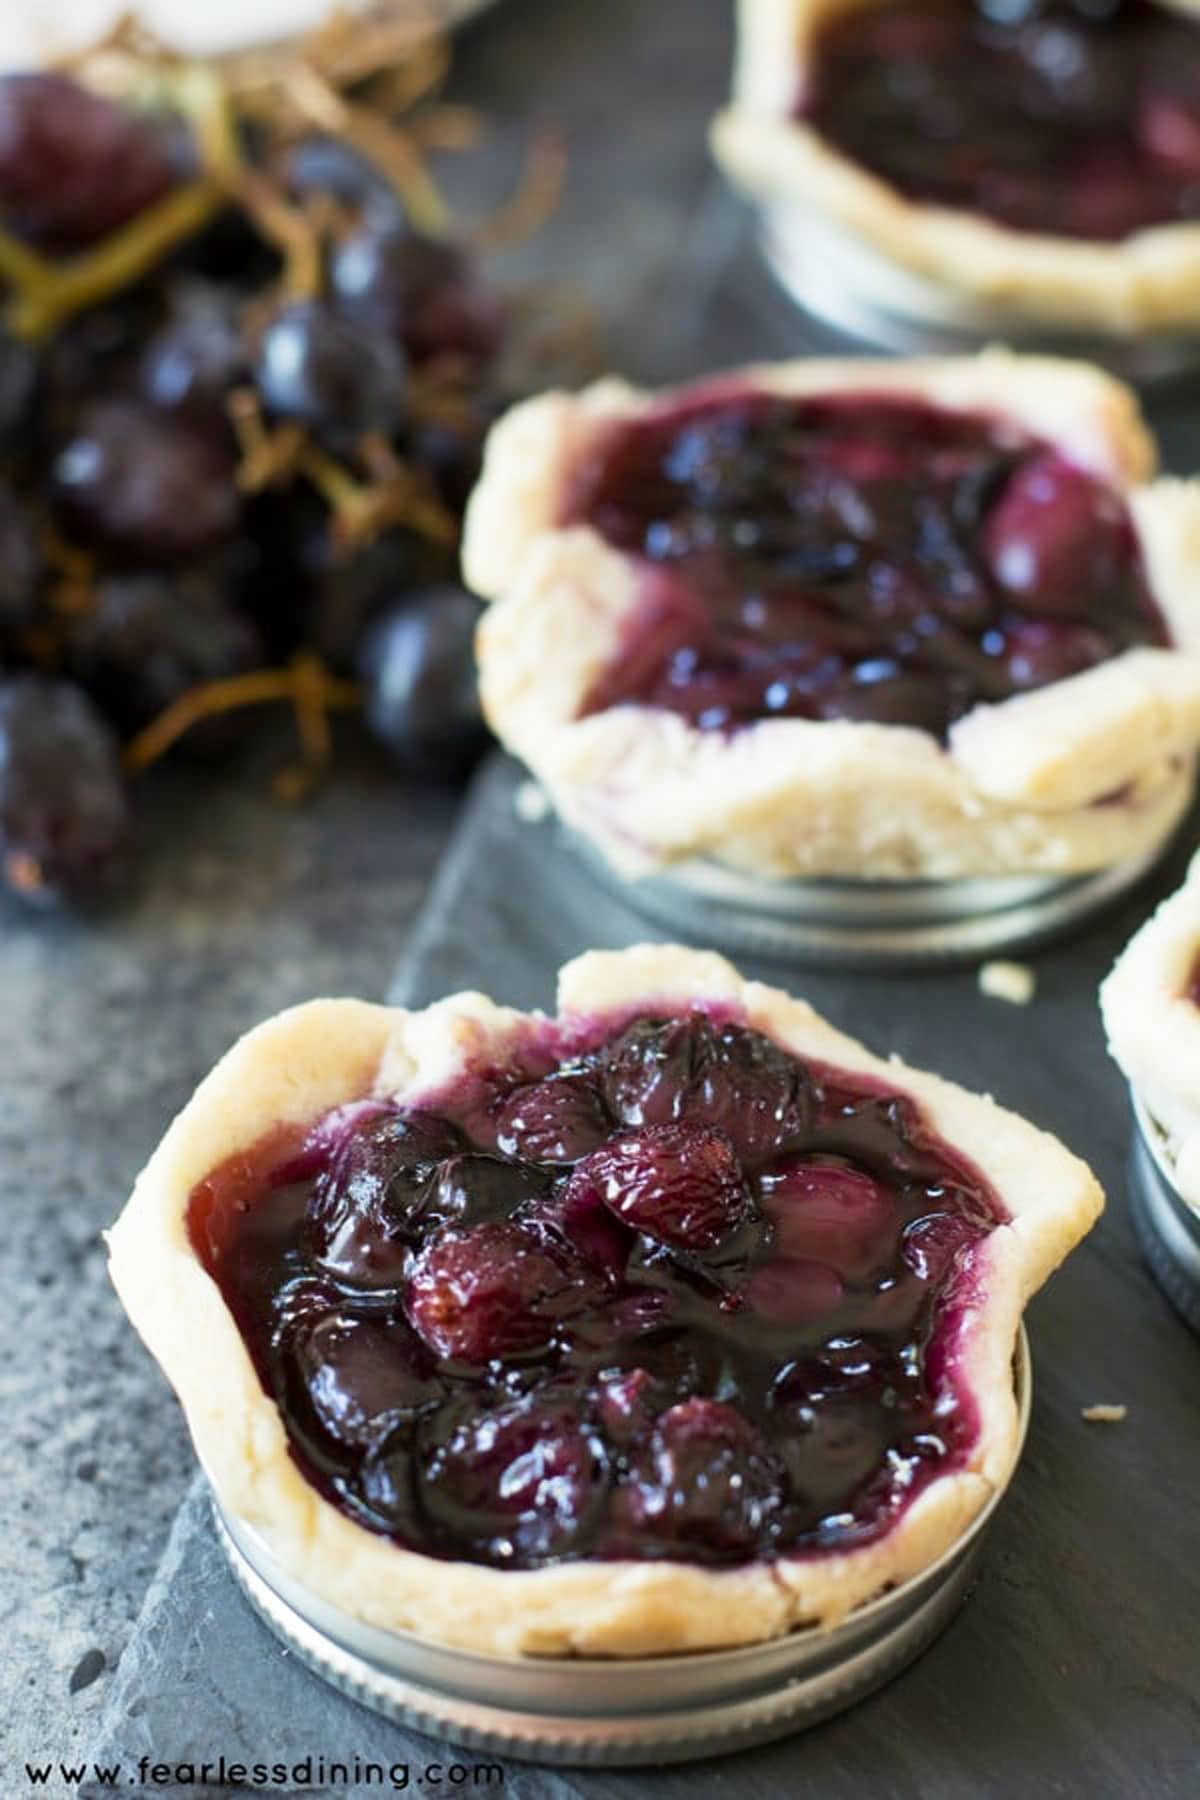
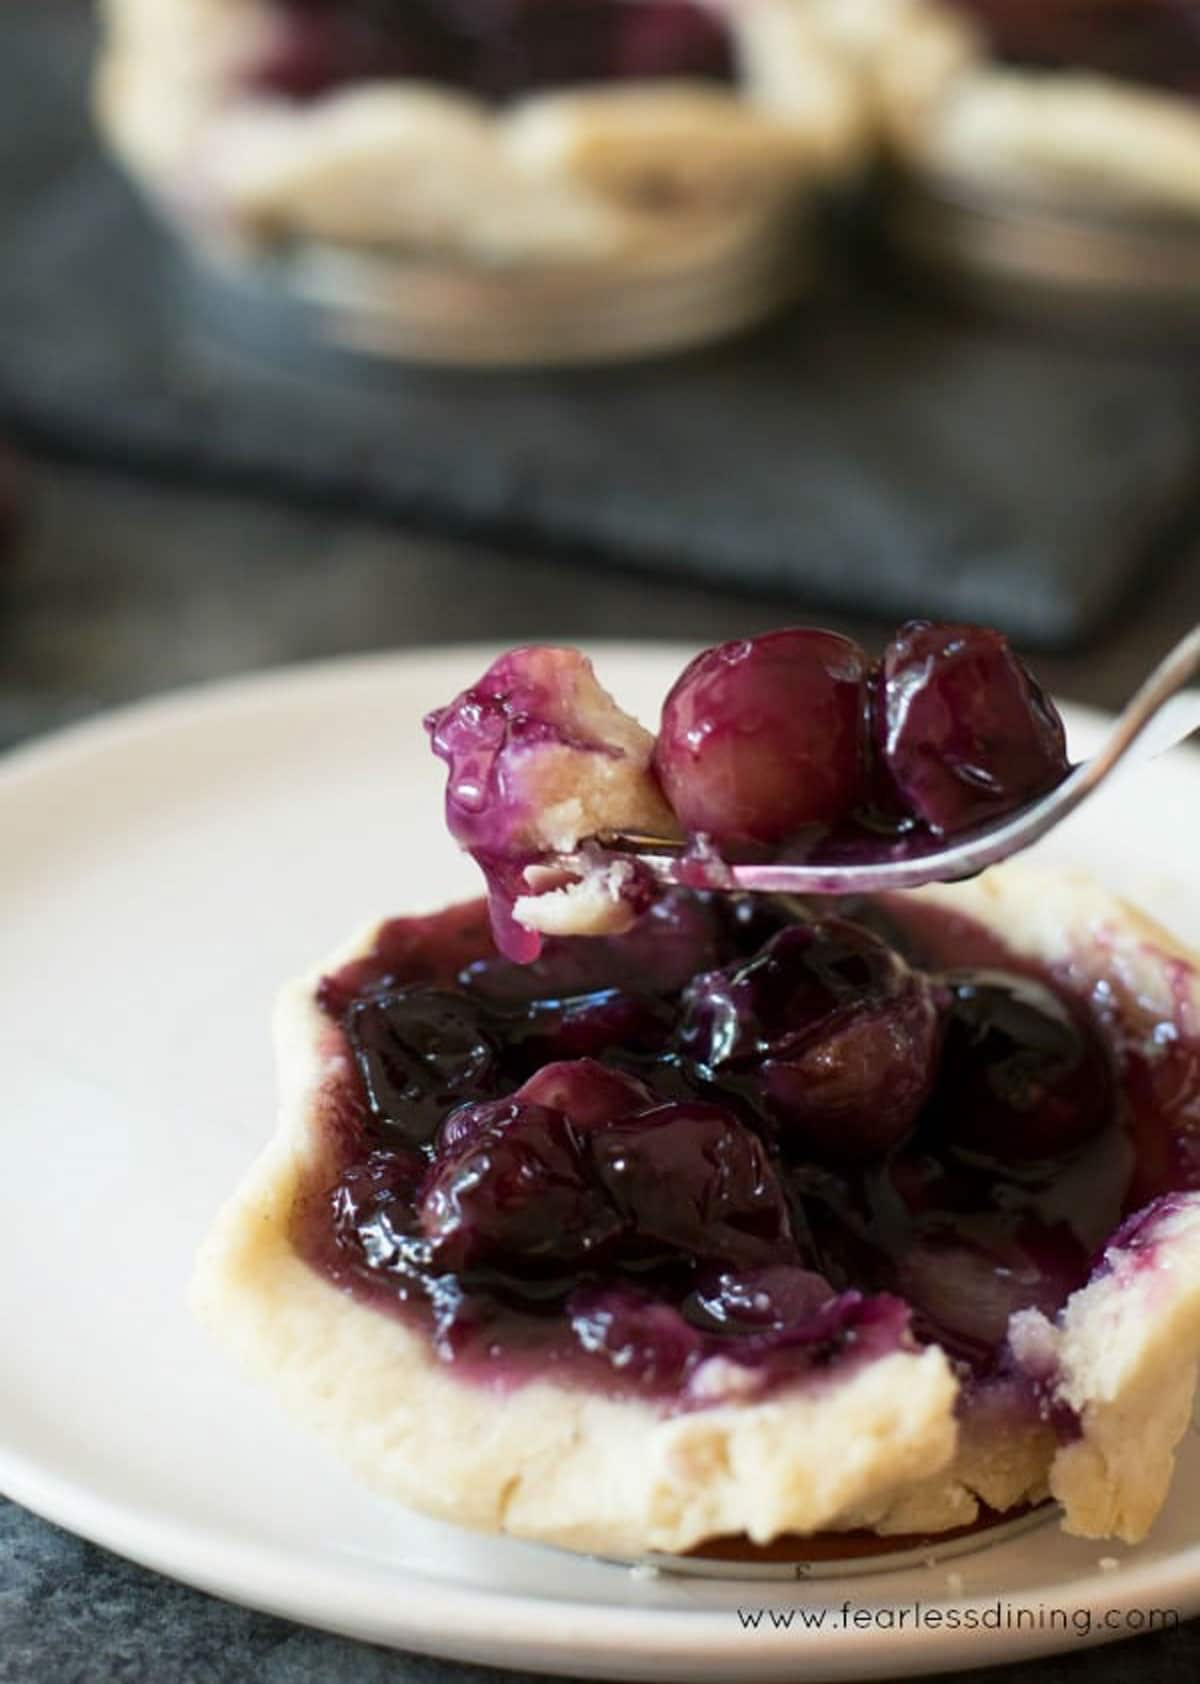
If you love pie, these mini gluten free grape galettes are a delicious fruity dessert for you to try. They taste like a juicy grape pie, but you only need to make a bottom crust. Bake these mini fruit galettes in mason jar lids, or make one gluten free grape pie.
This post may contain affiliate links. Please read our Disclosure Policy.
(*This post is sponsored by Grapes from California, the juicy fresh recipe and all opinions are my own.)
With the holidays coming up, I wanted to create a delicious dessert that was easy to make but was also fancy enough to be offered to guests. These gluten free grape galettes are not only full of grape pie-filling flavor, but they are fun to make. I use my popular, tried, and true Gluten Free Pie Crust recipe as the base for this grape pie.
I first made these because they are so adorable, but I will make them again because they are so dang delicious!”
wilhelma, blog comment
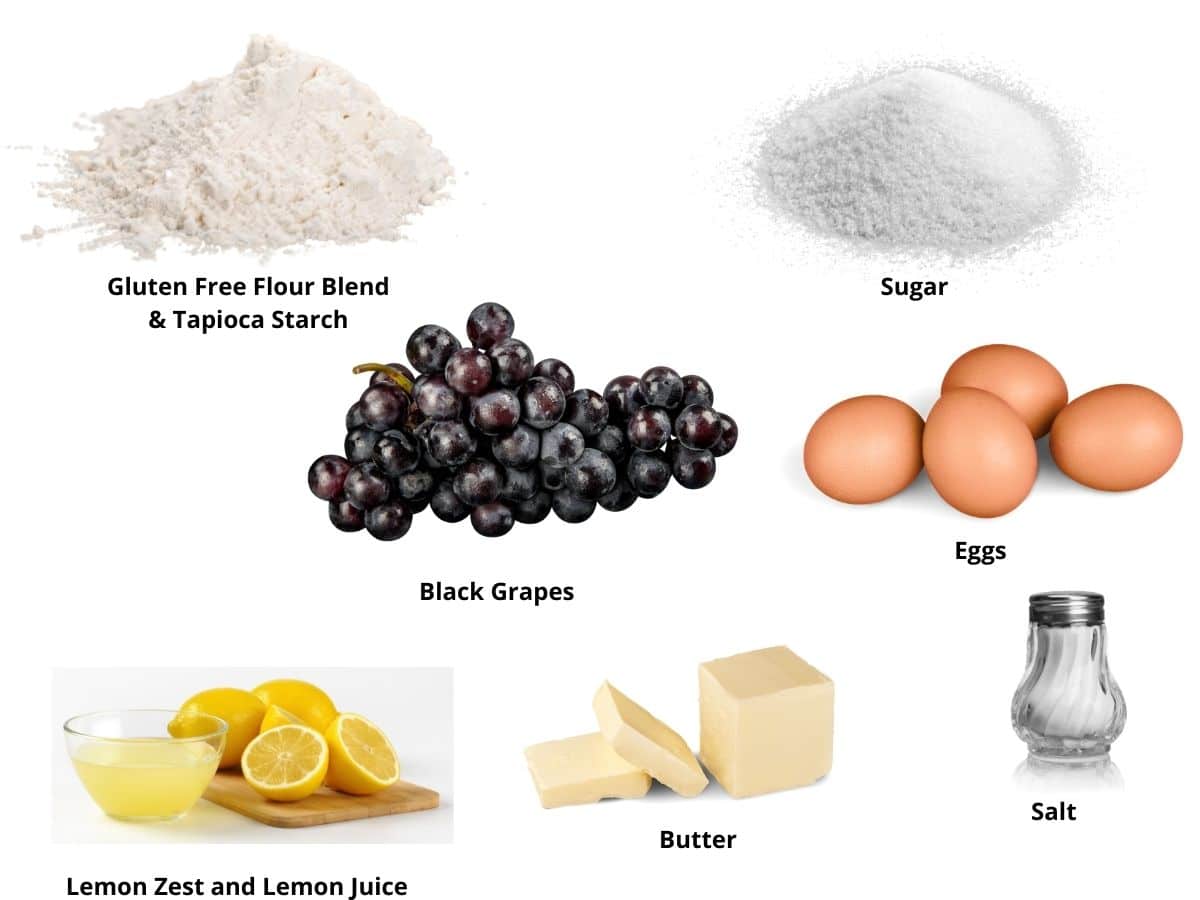
Ingredient Notes:
For the full list of ingredients and amounts, please go to the recipe card below.
- Gluten Free Flour Blend – I have tested this recipe with King Arthur Measure for Measure GF and Cup4Cup blends. That doesn’t mean others will not work; I have not tested other flours. Note: Cup4Cup has dried milk powder.
- Sugar – Use cane sugar.
- Xanthan Gum – If your gluten free flour blend doesn’t contain Xanthan Gum or Guar Gum, please add 1 teaspoon.
- Eggs – Use size large.
- Butter – Use unsalted butter. To make this recipe dairy-free, substitute the butter for vegan butter.
- Lemon Juice
- Grapes – You can use any color you like. I used black grapes for this recipe.
Check out this Gluten Free Pie list next because there are over 50 gluten free pie recipes to try!
Substitutions:
- Make this gluten free grape dessert dairy-free by using a dairy-free plant-based butter.
- If you are gum-free, meaning you can’t eat xanthan or guar gum, use my DIY Gluten Free Flour Blend for the flour in this recipe. It uses psyllium husk as a binder and is gum-free.
Step-By-Step Photos and Directions:
These mini gluten free pies are so easy to make! The first step is to make the grape pie filling recipe. Grape pie filling is a little less traditional, but it is so full of flavor!

Step 1: The filling is just grapes, lemon juice, and zest, sugar, and tapioca starch.
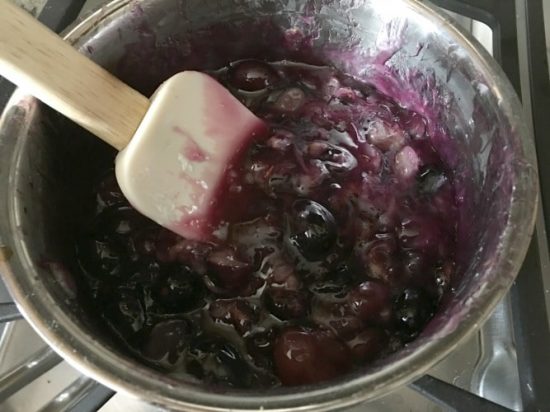
The grapes cook into this wonderful thick pie filling.
Email This Recipe To Me!
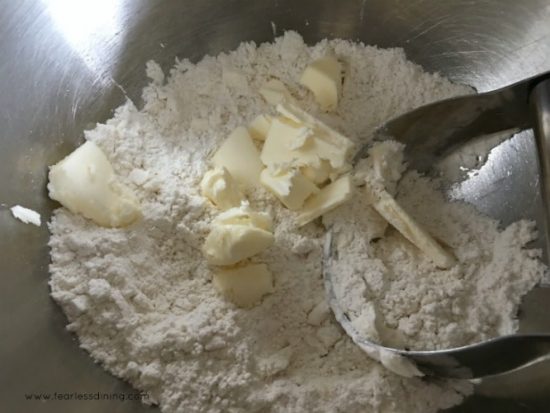
Step 2: Add the flour, sugar, and salt to a large
The final mixture should resemble crumbs.
Step 3: Add the wet ingredients to a small bowl. Mix them into the dry ingredients to make the soft pie dough.
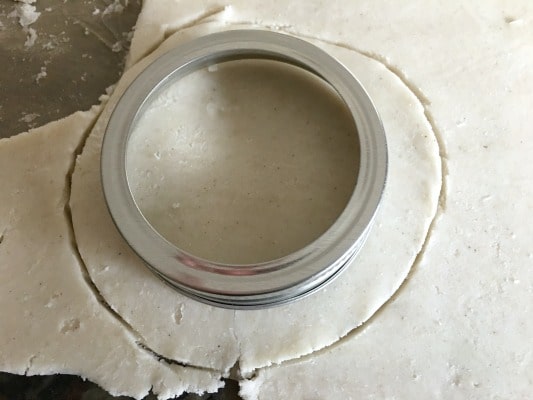
Step 4: Roll the pie crust dough on a silicone mat to 1/4 to 1/2 inch thickness.
Step 5: Prepare your baking dish to prevent the crust from sticking. I sprayed my lids with gluten free baking spray.
- If you make a large grape galette, shape the dough in a circle. Add the grape pie filling and fold the crust edges over part of the filling.
- If you are making mini galettes, Use the mason jar lid to cut around to size the mini crusts out.
- Place the dough into the bottom of a greased pie pan to make a single big grape pie.
Step 6: Bake the mini galettes at 350º F for 20 minutes. If you make a large galette, the baking time will be around 25 minutes. If you are making a pie with a top crust, bake until the top crust is golden, about 30 minutes.
More Pie Filling Ideas:
- Apples – Use them to make this recipe or this Gluten Free Apple Pie.
- Berries can add great flavor to this recipe or Gluten Free Mixed Berry Pie.
- Apricots
- Peaches
- Plums like in this Gluten Free Plum Galette recipe.
Tips For Success
1. Use cold butter! This helps the crust get those flaky layers.
2. Check the mason jar lids for rust…sometimes lids get old and rust a little.
3. If you can’t find little lids, you can make them without making little circles of dough and adding the pie filling. You would fold the edges over the filling like a large galette.
If you want a full-sized, delicious galette, try this easy gluten-free honey apple galette. I made it in a cast iron skillet, but you can also bake it on a
Storage:
These galettes will keep fresh for up to 4 days in an airtight container in the refrigerator or up to 4 months in the freezer.
Frequently Asked Questions:
Store your grapes unwashed, and then wash the grapes before you eat them. 3/4 a cup of grapes has only 90 calories, with no fat or cholesterol, making them a delicious healthy snack. Grapes of all colors are a source of antioxidants and polyphenols.
You will know the galette is done baking when the crust is golden, and the fruit is cooked.
More Gluten Free Fruit Desserts:
- Gluten Free Blueberry Pie – Mom’s recipe made gluten free.
- Gluten Free Peach Cobbler – A classic recipe with a sweet biscuit topping.
- Gluten Free Lemon Tart – A beautiful tart for any occasion.
- Fresh Raspberry Mousse – Light and fluffy with lots of fresh raspberries.
Love This Recipe?
If you made and enjoyed this recipe, I would be incredibly grateful if you could leave a comment below. Please include which flour blend you used. This will help others know this recipe is delicious. Thank you!
Gluten Free Black Grape Galettes Baked in Jar Lids
Ingredients
- 3 cups grapes * see note
- 1 tablespoon lemon zest
- 1 ½ tablespoons lemon juice
- ½ cup sugar
- 3 tablespoons tapioca flour
- dash salt
- 1 ½ cups gluten free flour blend * see note
- ¼ teaspoon salt
- 9 tablespoons unsalted butter cold
- 1 large egg
- ¼ cup water may need more, add 1 TBSP at a time.
Method
- Preheat the oven to 350º F.
- In a sauce pan, add the first 6 ingredients. Cook on medium low for 10 minutes. Mash the grapes while cooking with the back of a spatula.
- Remove the grape pie filling from the heat and set aside.
- In a bowl, add flour, salt, and butter. Use a pastry blender to cut the butter into the flour until it is crumbly.
- Add water a little at a time. Mix well. When crust is formed, stop adding milk.
- Put down a piece of wax paper and put the dough on top. Cover with another piece of wax paper and roll to 1/4 inch thickness.
- Use the mason jar lid to cut out the pie crust circles. Remove the dough circle and put into the mason jar lid. Continue until all 10 are filled with dough. Spoon in some grape pie filling into each.
- For a large galette, roll the dough in a large circle. Add the pie filling and then gently fold the edges of the crust over the grape filling.
- For a pie, you will need to double the crust recipe if you are including a top crust.
- Bake for about 20 minutes until the crust is flaky. The baking time for a large galette is closer to 25 minutes. The baking time for a pie is 30-35 minutes.
Nutrition
Notes
- I have tested this recipe with King Arthur Measure for Measure GF and Cup4Cup blends. That doesn’t mean others will not work; I have not tested other flours.
- If your gluten free flour blend doesn’t contain Xanthan Gum or Guar Gum, please add 1 teaspoon.
- To make this recipe dairy-free, substitute the butter for vegan butter. Also note, Cup4Cup contains dried milk powder.
- You can use any color grape to make this recipe.
- These galettes will keep up to 4 days in an airtight container in the refrigerator or up to 4 months in the freezer.
Private Notes
Tried this recipe?
Let us know how it was!
This post was updated from an old October 2016 post with a lot more recipe details.
I truly hope you enjoy this recipe. I have been testing and creating gluten-free recipes for over 15 years. Creating gluten-free recipes that do not taste gluten-free is my goal for every recipe. Sometimes I only have to test a new recipe a couple of times, and others it takes multiple times. I do this so you get reliable, delicious results every time!
