

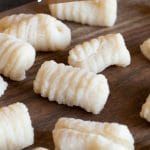
This homemade gluten-free gnocchi recipe turns out light and pillowy, and they hold onto any sauce you add. They are easy to make with or without special equipment, and I walk you through every step. The secret is using baked potatoes, not boiled, to keep the extra moisture out.
This post may contain affiliate links. Please read our Disclosure Policy.
❤️ Sandi’s Recipe Summary
The Quick Bite: I created this recipe with simple ingredients like potatoes, gluten-free flour, egg yolks, and salt. This gluten free gnocchi pairs perfectly with your favorite pasta sauces!
GREAT and simple recipe! I used Pamela’s cup for cup and it was the most successful
gnocchi I have ever made!”Sarah, Pinterest pin comment
Gnocchi is a traditional Italian pasta made with flour, egg yolks, salt, and baked potatoes. We used to enjoy it often…until our family went gluten-free. Regular gnocchi contains wheat, and our family went without it for years. I am really excited about this recipe because you do not need a lot of fancy ingredients to make gluten free gnocchi. This gnocchi is made without ricotta cheese, so it is dairy-free as well as gluten-free.
If you have been missing gnocchi, too, I think you will be excited to try this recipe. I share my best tips for making light, pillowy gnocchi and share some delicious sauce pairings to complete your meal. Plus, if you love gluten-free Italian recipes, try some of these gluten free Italian recipes to get more cooking inspiration!
Testing Notes From My Kitchen
I tested this recipe with 3 different gluten free flour blends. I really liked the Cup4Cup, which is one of my favorites for making gluten free pasta like this Gluten-Free Ravioli. The King Arthur and Bob’s flour blends also worked surprisingly well. For fun, I did try using boiled potatoes. I had hoped it would be a good time-saver, but this experiment turned out poorly. Boiled potatoes have way too much moisture to hold together well.
Ingredient Notes:
For the full list of ingredients and amounts, please go to the recipe card below.
- Gluten Free Flour Blend – I tested this recipe with King Arthur Measure for Measure, Bob’s Red Mill 1:1 Blend, and most recently the new Cup4Cup formulation. Other blends should also work, but I haven’t tested them. You may need to tweak the moisture by adding more flour.
- Egg Yolks – You do not need the whole egg, so use your leftover egg whites to make these Meringues for dessert.
- Potatoes – I recommend russet potatoes for gnocchi. They have a good texture and are not waxy like other potato varieties. In a pinch, you can also use Yukon Gold potatoes.
- Binder – If your flour blend doesn’t contain a binder, add 1/2 teaspoon of xanthan gum to the dry ingredients.
How to Make Gluten Free Gnocchi (Step-by-Step):
Before you get started, I recommend washing the potatoes to remove all the dirt. A potato brush is handy for getting dirt out of all the grooves.
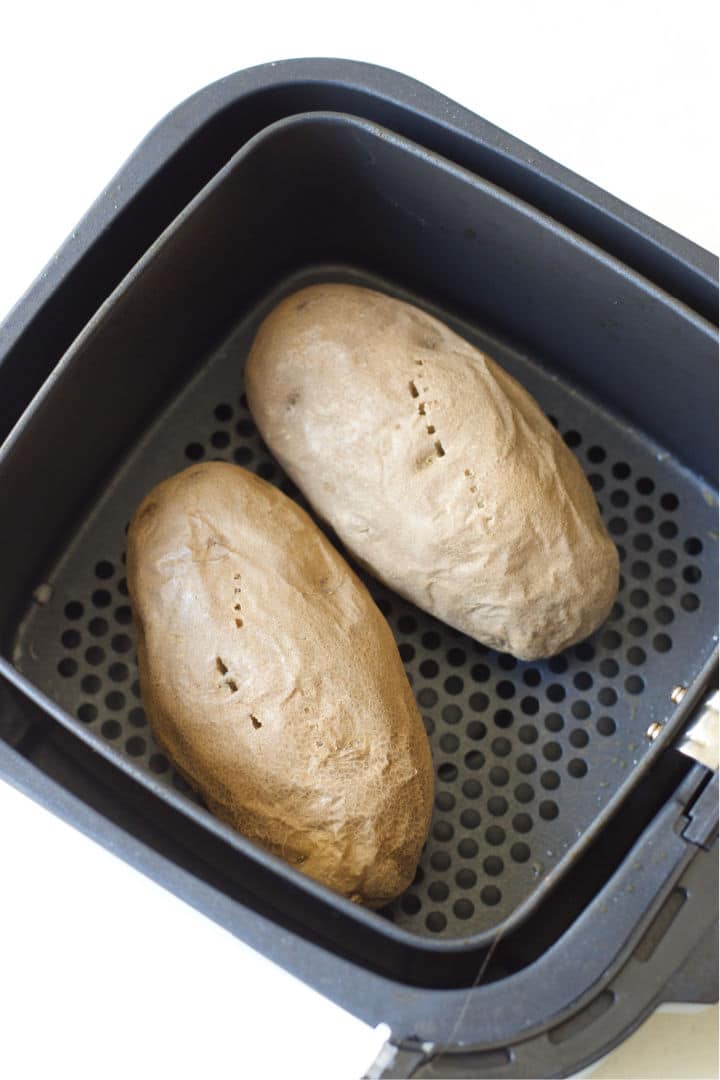
Step 1: Bake the potatoes in an air fryer, or you can bake them in the oven.
Oven Method:
- Preheat your oven to 400º F.
- Use a fork to poke holes in the top of the potatoes. This allows steam to escape.
- Bake them for 45-60 minutes, depending on the size of your potatoes. Potatoes are ready when a fork slides in easily.
Air Fryer Method:
- Place the washed potatoes in the air fryer and poke holes in the tops to vent steam.
- Place them in the air fryer basket and cook at 400º F for 40-50 minutes, checking for doneness with a fork.
👀 Sandi Says: Do NOT boil the potatoes! Boiling adds too much moisture, which will make the gnocchi dense and gummy instead of light and fluffy.
Let the potatoes cool slightly until they’re easy to handle. Cut the baked potatoes into chunks.
Step 2: Place a few cooked potato chunks into a potato ricer and press them through. Repeat until you have pressed all of the potatoes through the ricer. If you do not have a potato ricer, use a fork to mash the potatoes, but avoid overworking them to keep the gnocchi light.
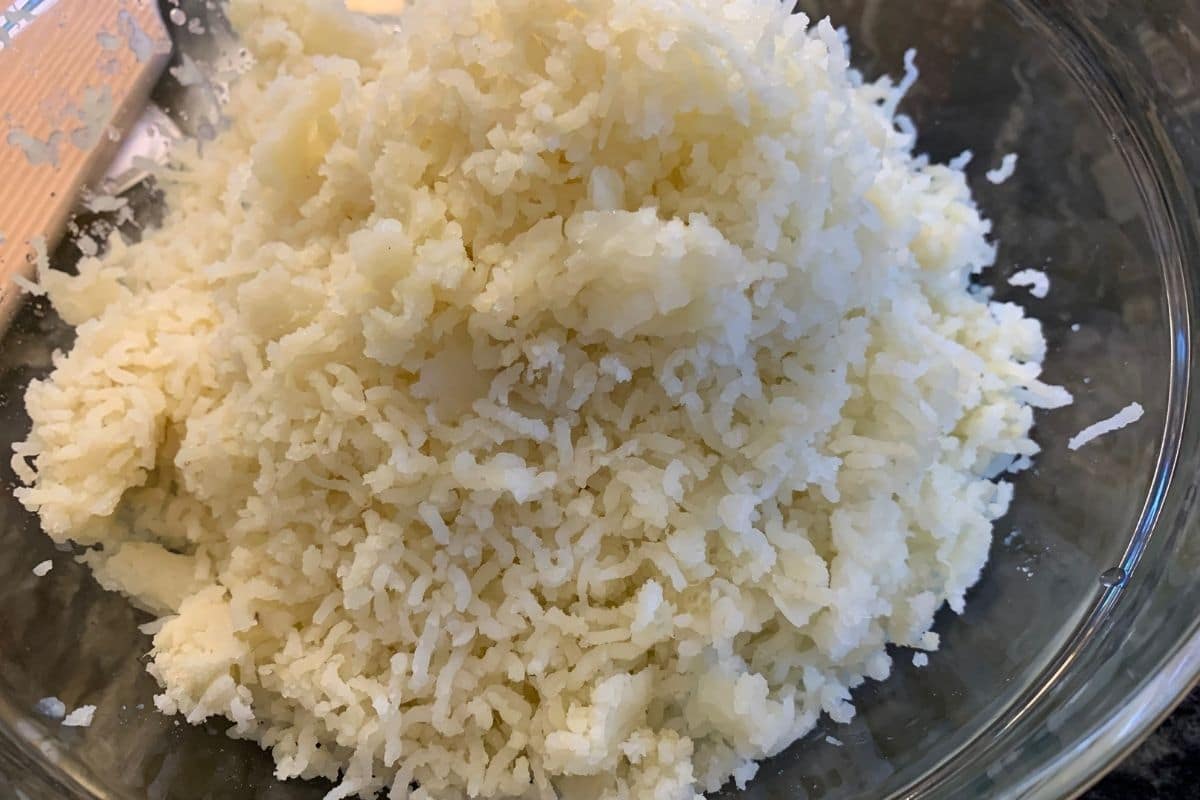
Step 3: Check the Texture of Your Riced Potatoes. This is what your potatoes will look like after you rice them.
👀 Sandi Says: Using the potato ricer adds more fluffiness to the dough. You can use a food processor or potato masher, but the texture will be slightly different.
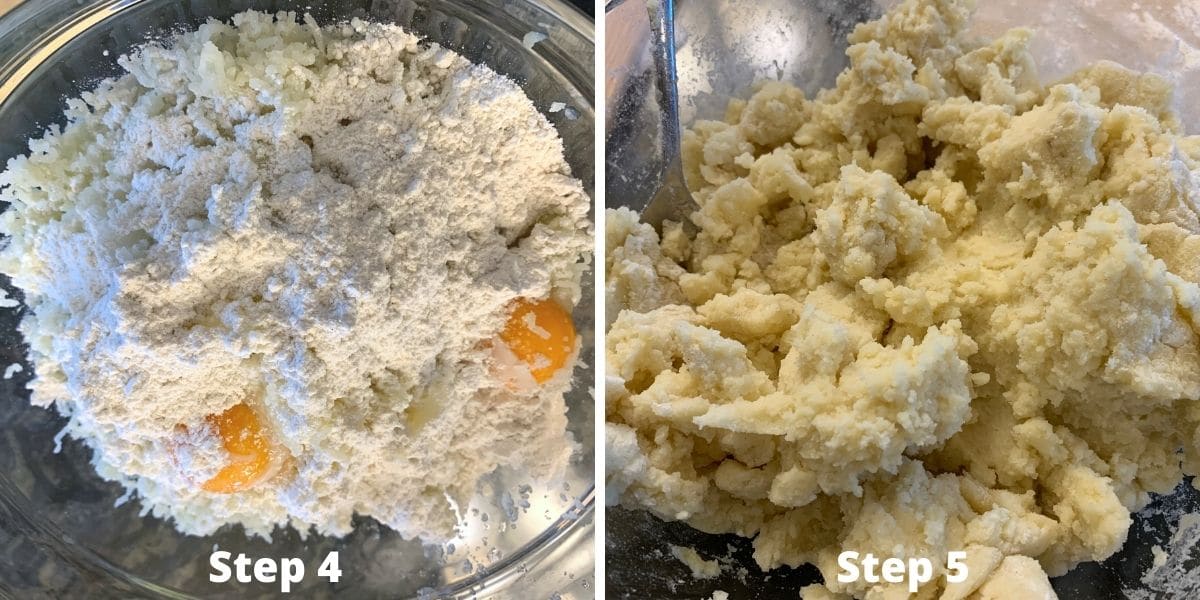
Step 4: Add the gluten free flour blend, salt, and egg yolks to the riced potatoes.
Step 5: Gently mix until a soft dough forms. You may need to adjust the amount of gluten-free flour based on your blend. Every gluten free flour blend varies because they all have different starch-to-grain ratios. Start with the recommended amount and add more flour if the dough feels too sticky.
Email This Recipe To Me!
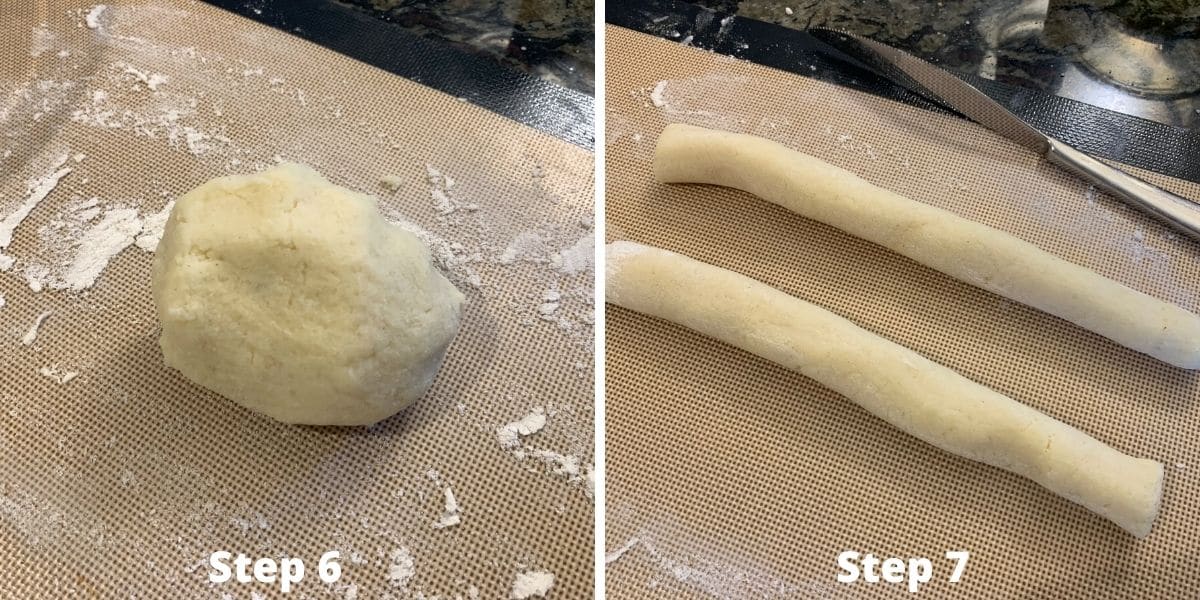
Step 6: Place a handful of dough onto a clean surface, such as a silicone mat or kitchen counter. Form the gnocchi dough into a ball.
Step 7: Divide the dough into sections and roll each section into a long rope, about ½ inch thick.
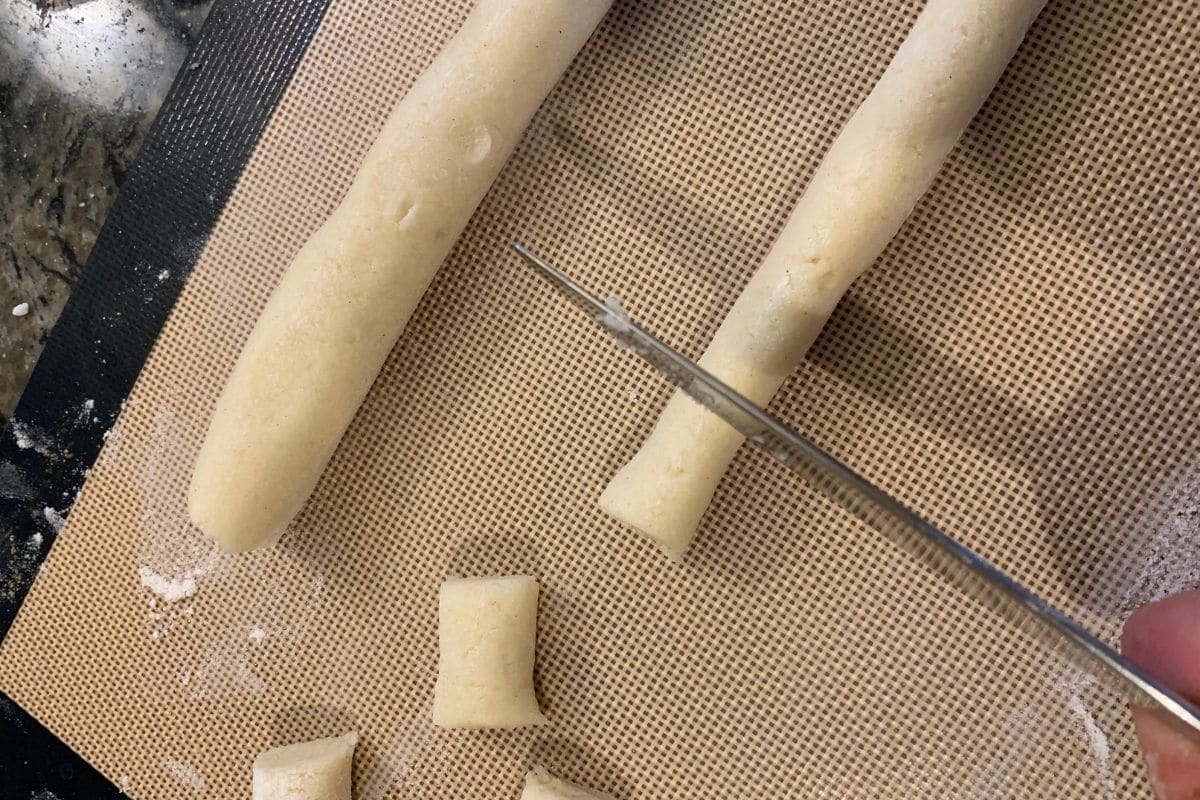
Step 8: Use a knife to cut the rope into small pieces, about 1 inch long (or your preferred size). Repeat until you use all the dough.
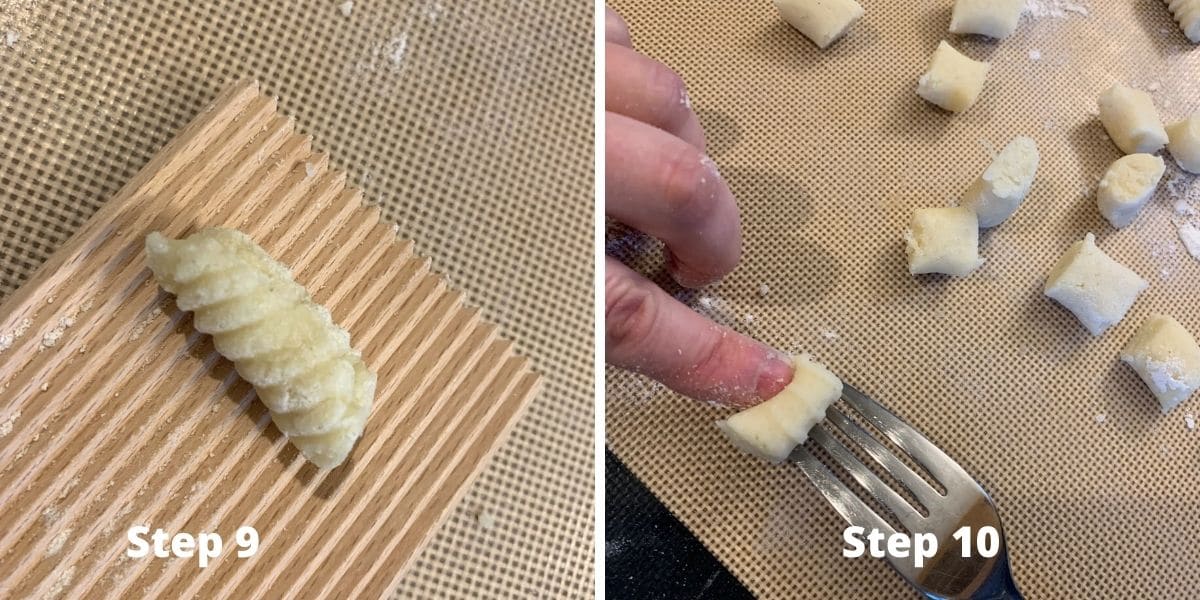
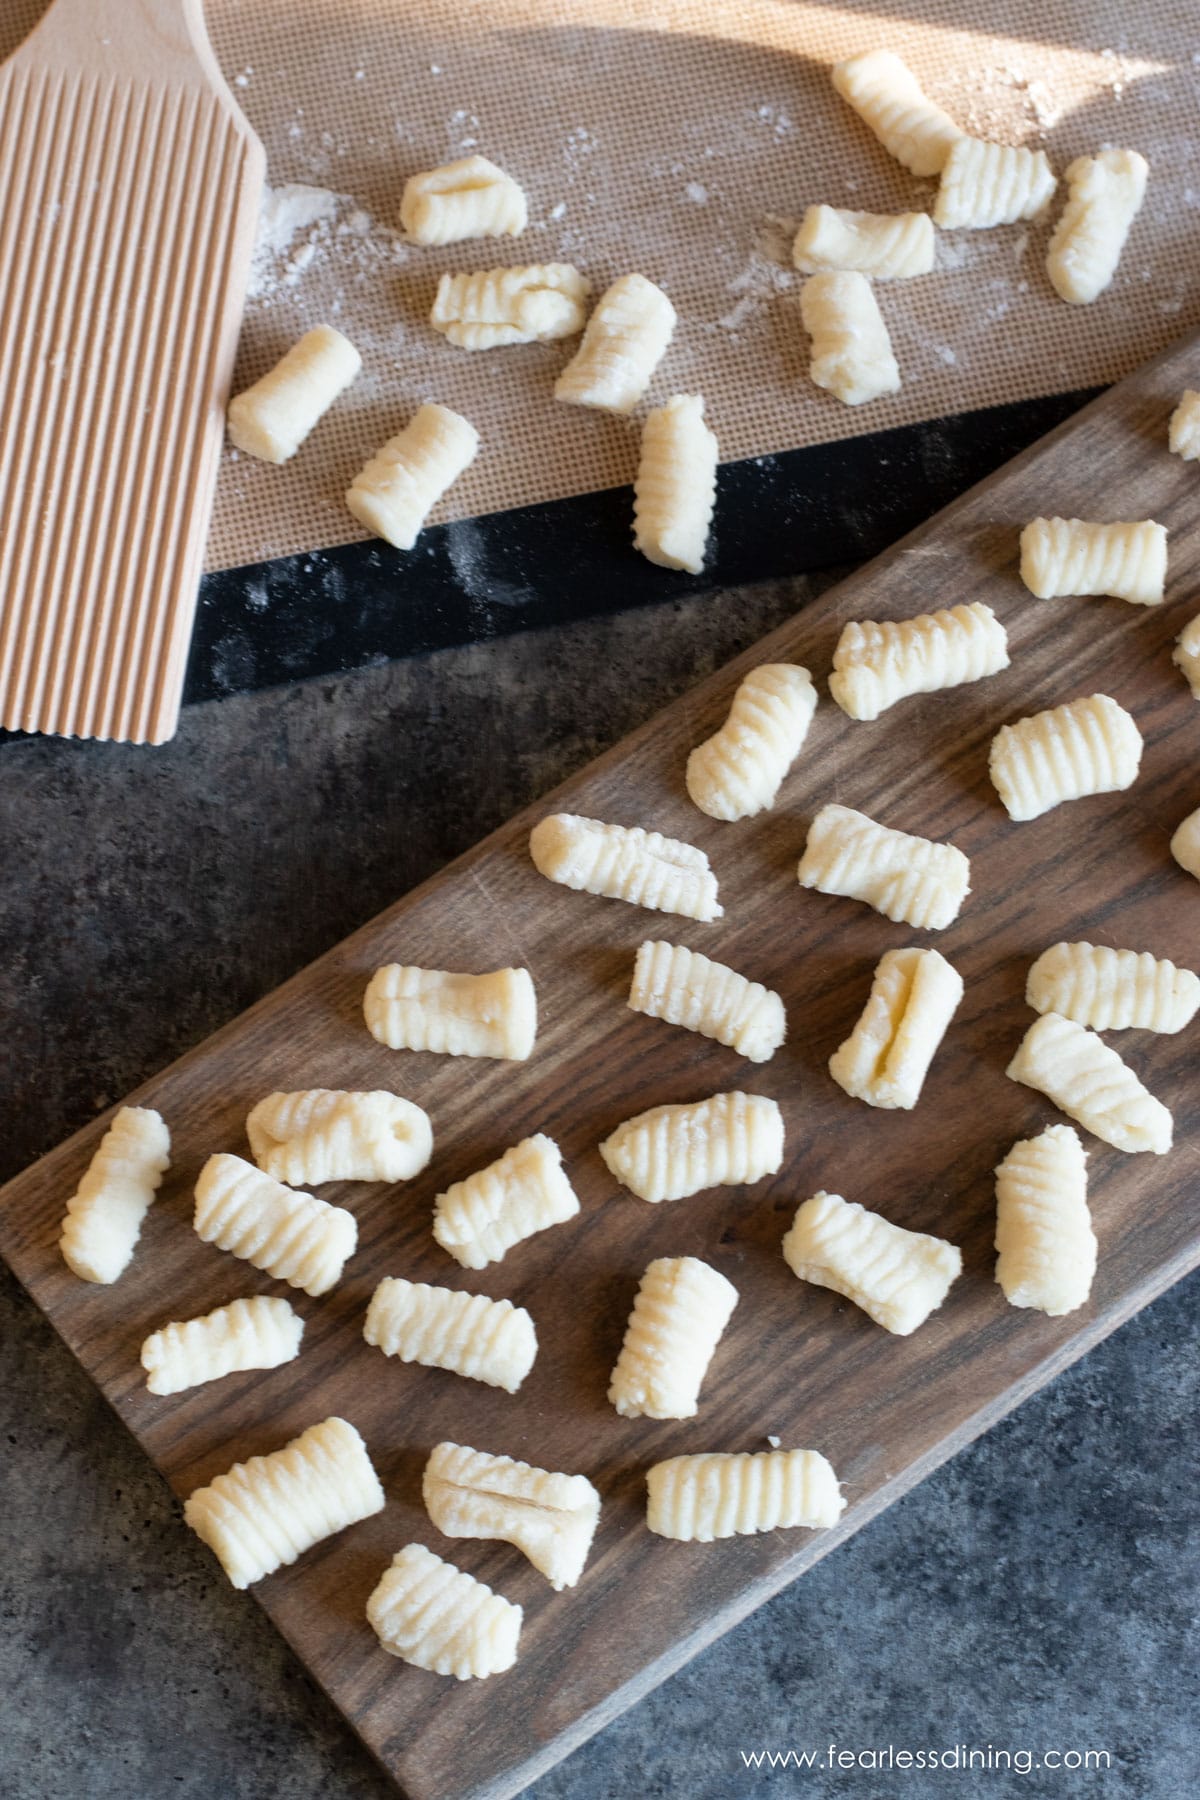
There are two ways to add grooves to the gnocchi. You can use a gnocchi board or a fork. I like using the gnocchi board because it is longer and easier to roll the gnocchi on.
Step 9: Gnocchi Board Method. To use a gnocchi board, place a piece of dough on the top of the board. Gently press and roll it down the board to create ridges.
Step 10: Fork Method. To use a fork, tip the fork upside down on the silicone mat. Place a piece of dough at the top of the fork tines. Roll it down the fork to create grooves. This is a little more difficult because the fork is a lot shorter.
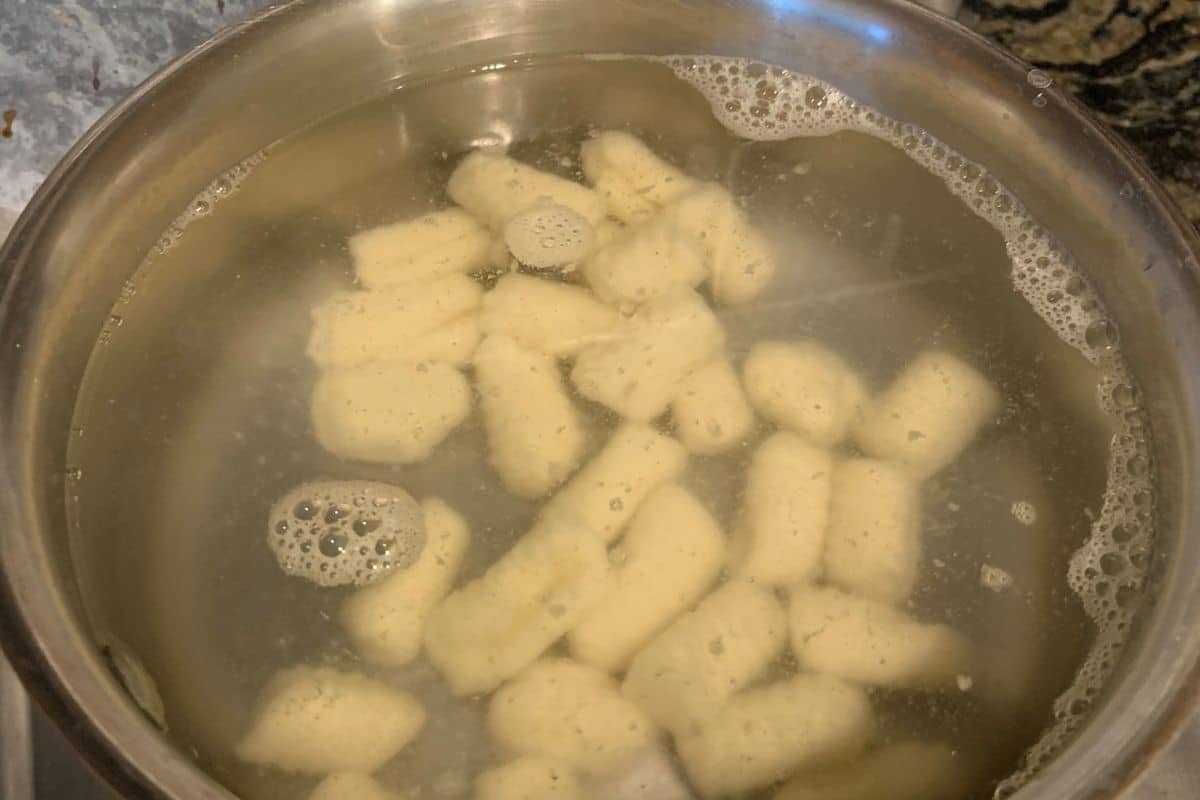
Step 11: Bring a large pot of water to a boil. Add the gnocchi a few at a time. They will sink at first, and this is normal.
Once the gnocchi rise to the surface, let them cook for one more minute. Use a slotted spoon to remove the gnocchi from the boiling water.
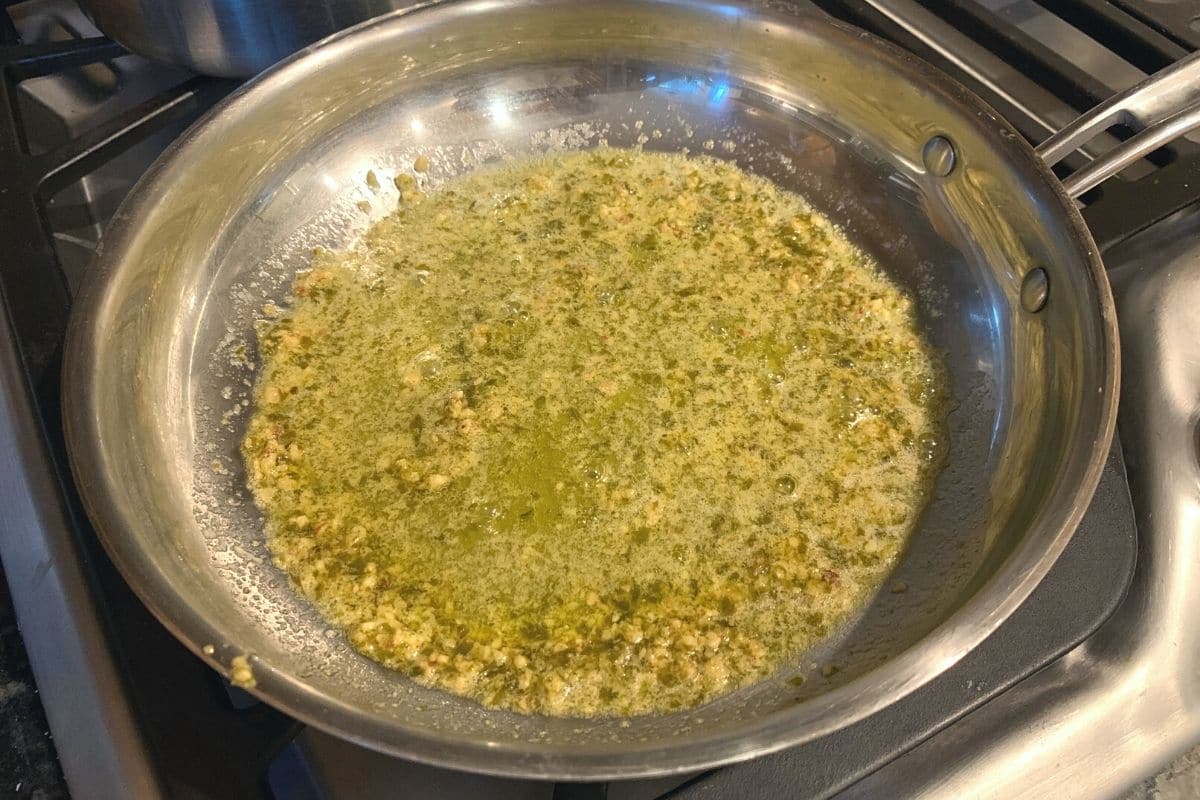
Step 12: I decided to fancy up a jar of pesto for this recipe. I added 3 tablespoons of pesto to 4 tablespoons of butter. I melted them over medium-low heat for 5 minutes.
Top with a good sauce and lots of Parmesan cheese. There is nothing like fresh homemade pasta! If you love fresh pasta too, try my homemade gluten free ravioli recipe!
My favorite sauces for gnocchi:
We are sauce fanatics, and you can enjoy so many tasty sauces slathered over your gluten-free potato gnocchi. See all of the yummy gluten free sauce recipes on my blog! Here are some of my favorites:
- Ground Pork Pasta Sauce
- Nut-Free Pesto
- Gluten Free Pasta Sauce with Meat
- Gluten Free Alfredo Sauce
- Or keep it simple with this Gluten Free Marinara Sauce
Frequently Asked Questions:
I tested my recipe with King Arthur Measure for Measure and more recently, Cup4Cup (the new formulation). Both worked well and held their shape when added to the sauce.
You can pan-fry the gnocchi. Toss them into the butter sauce and cook until they are slightly crisp on the outside.
No, gnocchi shouldn’t be chewy. Gnocchi should be pillowy and soft. If your gnocchi turned out chewy, make sure you used baked, not boiled, potatoes.
You can use sweet potatoes to make sweet potato gnocchi. I still recommend using baked potatoes and not boiled for better texture.
Made this tonight for the first time. Easier than I expected & was fantastic! I used Bob’s Red Mill Gluten Free 1 to 1 Baking Flour.”
Vicky P., Blog comment
More Easy Gluten Free Italian Recipes:
If you love Italian recipes, I have so many incredible recipes for you to try. These are all well-tested recipes that even your picky eaters will love!
Love This Recipe?
If you made and enjoyed this recipe, I would be incredibly grateful if you could leave a comment below. Please include which flour blend you used. This will help others know this recipe is delicious. Thank you!
Gluten Free Gnocchi Recipe (No Fancy Equipment Needed)
Ingredients
- 2 pounds russet potatoes
- 2 egg yolks
- ⅔ cup gluten free flour blend * see note
- ½ teaspoon sea salt
Equipment
Method
- Oven Directions: Preheat your oven to 400º F. Poke holes in the top of the potato so hot steam can vent out. Wash 2 pounds russet potatoes and bake them for 45-60 minutes.
- Air Fryer Directions: Place the washed potatoes in the air fryer basket. Poke holes in the tops to vent steam. Cook at 400º F for 40-50 minutes, checking for doneness with a fork.
- You will know your potatoes are done baking when you can insert a fork in and it goes through the soft potato easily.
- Important Tip: Do NOT boil the potatoes! Boiling adds too much moisture, making the gnocchi dense and gummy instead of light and fluffy.
- Let the potatoes cool slightly until they’re easy to handle. Cut the baked potatoes into chunks.
- Place a couple of cooked potatoes into a potato ricer and rice the potatoes. Repeat until you have pressed all of the potatoes through the ricer. After ricing, your potatoes should look light and fluffy. Using a potato ricer helps create a smooth, airy texture, which makes the gnocchi softer.
- If you do not have a potato ricer: You can also use a fork to mash the potatoes, but avoid overworking them to keep the gnocchi light.
- Add the 2/3 cup gluten free flour blend, 1/2 teaspoon sea salt, and 2 egg yolks to the riced potatoes.
- Mix into a soft dough. Flour amounts may need adjusting based on the gluten-free blend you use. Start with the recommended amount and add more if the dough feels too sticky.
- Place a handful of dough onto a clean surface like a silicone mat or your kitchen counter. Form a ball with the gnocchi dough.
- Divide the dough into sections and roll each section into a long rope, about ½ inch thick.
- Use a knife to cut the rope into small pieces, about 1 inch long (or your preferred size). Repeat until you have used all of the dough.
- To use a gnocchi board, place a piece of dough on the top of the board and gently press and roll it down the board to create the ridges.
- To use a fork, tip it upside down on the silicone mat. Place a piece of dough on top of the fork and roll the piece down the tines. This is a little more difficult because the fork is much shorter.
- Bring a large pot of water to boil. Add the potato gnocchi a few at a time. You will notice when you first add the gnocchi, they sink to the bottom.
- As the gnocchi cook, they will rise up to the top of the water. Cook them for one minute longer after they rise. Use a slotted spoon to remove the gnocchi from the boiling water.
- Top with a good sauce and lots of parmesan cheese. There is nothing like fresh homemade pasta! If you love fresh pasta too, try my homemade gluten free ravioli recipe!
Nutrition
Notes
- You can use any gluten free flour blend for this gluten free potato gnocchi recipe. I used King Arthur Measure for Measure and had good results.
- Storage: Store leftover gnocchi in an airtight container in the refrigerator. They will keep fresh for up to 3 days.
- Freezing Gnocchi: Freezing gluten-free gnocchi is a great way to save time and have a quick meal ready when you need it! Line a baking sheet with parchment paper to prevent sticking. Spread the uncooked gnocchi in a single layer, ensuring they don’t touch. Place the tray in the freezer for about 1-2 hours or until the gnocchi are firm. Add the frozen gnocchi to a freezer-safe zipper bag or container.
- Thawing/Cooking Frozen Gnocchi: Don’t thaw! Simply add the frozen gnocchi directly to boiling water.
- Ground Pork Pasta Sauce
- Nut-Free Pesto
- Gluten Free Pasta Sauce with Meat
- Gluten Free Alfredo Sauce
- Or keep it simple with this Gluten Free Marinara Sauce
Private Notes
Tried this recipe?
Let us know how it was!
I truly hope you enjoy this recipe. I have been testing and creating gluten-free recipes for over 15 years. Creating gluten-free recipes that do not taste gluten-free is my goal for every recipe. Sometimes I only have to test a new recipe a couple of times, and others it takes multiple times. I do this so you get reliable, delicious results every time!

Will rate later. How much is in a serving, please?
This recipe makes 4-6 servings, depending on your portion size.