
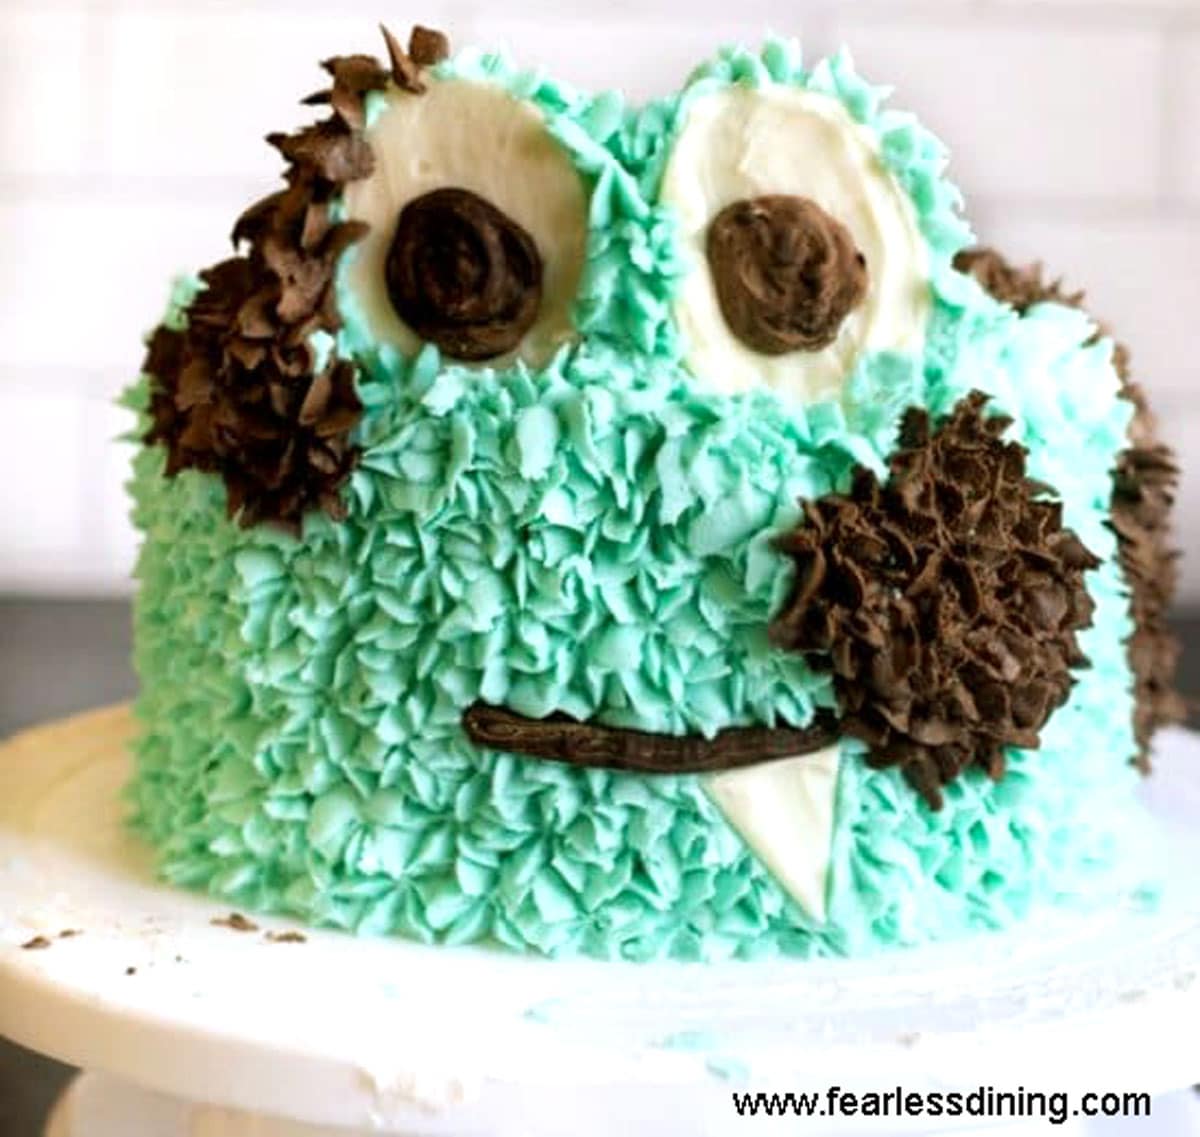
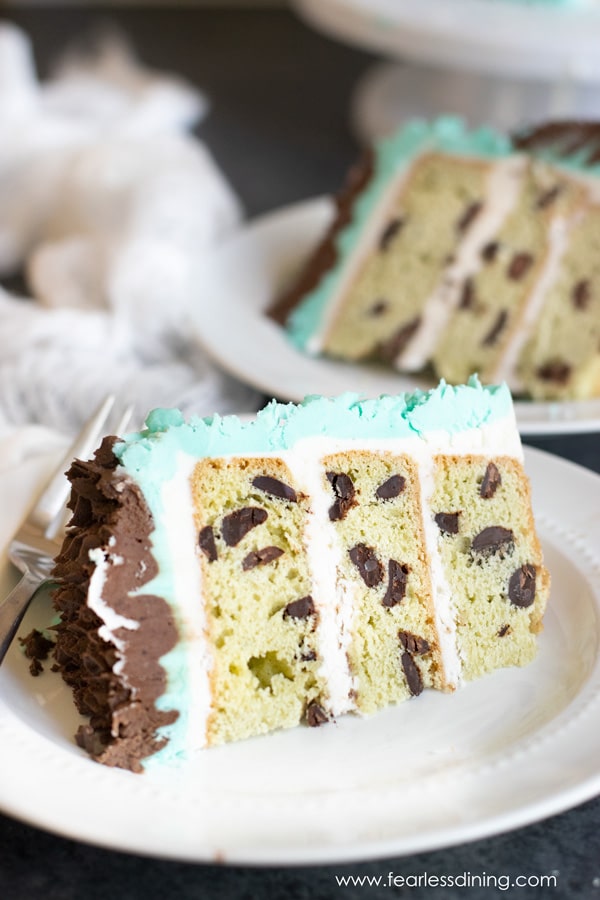
Super moist gluten free mint chocolate chip cake with three delicious layers will knock your socks off. It tastes just like mint chip ice cream!! What makes my mint chocolate chip cake extra special is the intense mint flavor and the fact that it’s decorated so cute with rich, creamy buttercream icing.
This post may contain affiliate links. Please read our Disclosure Policy.
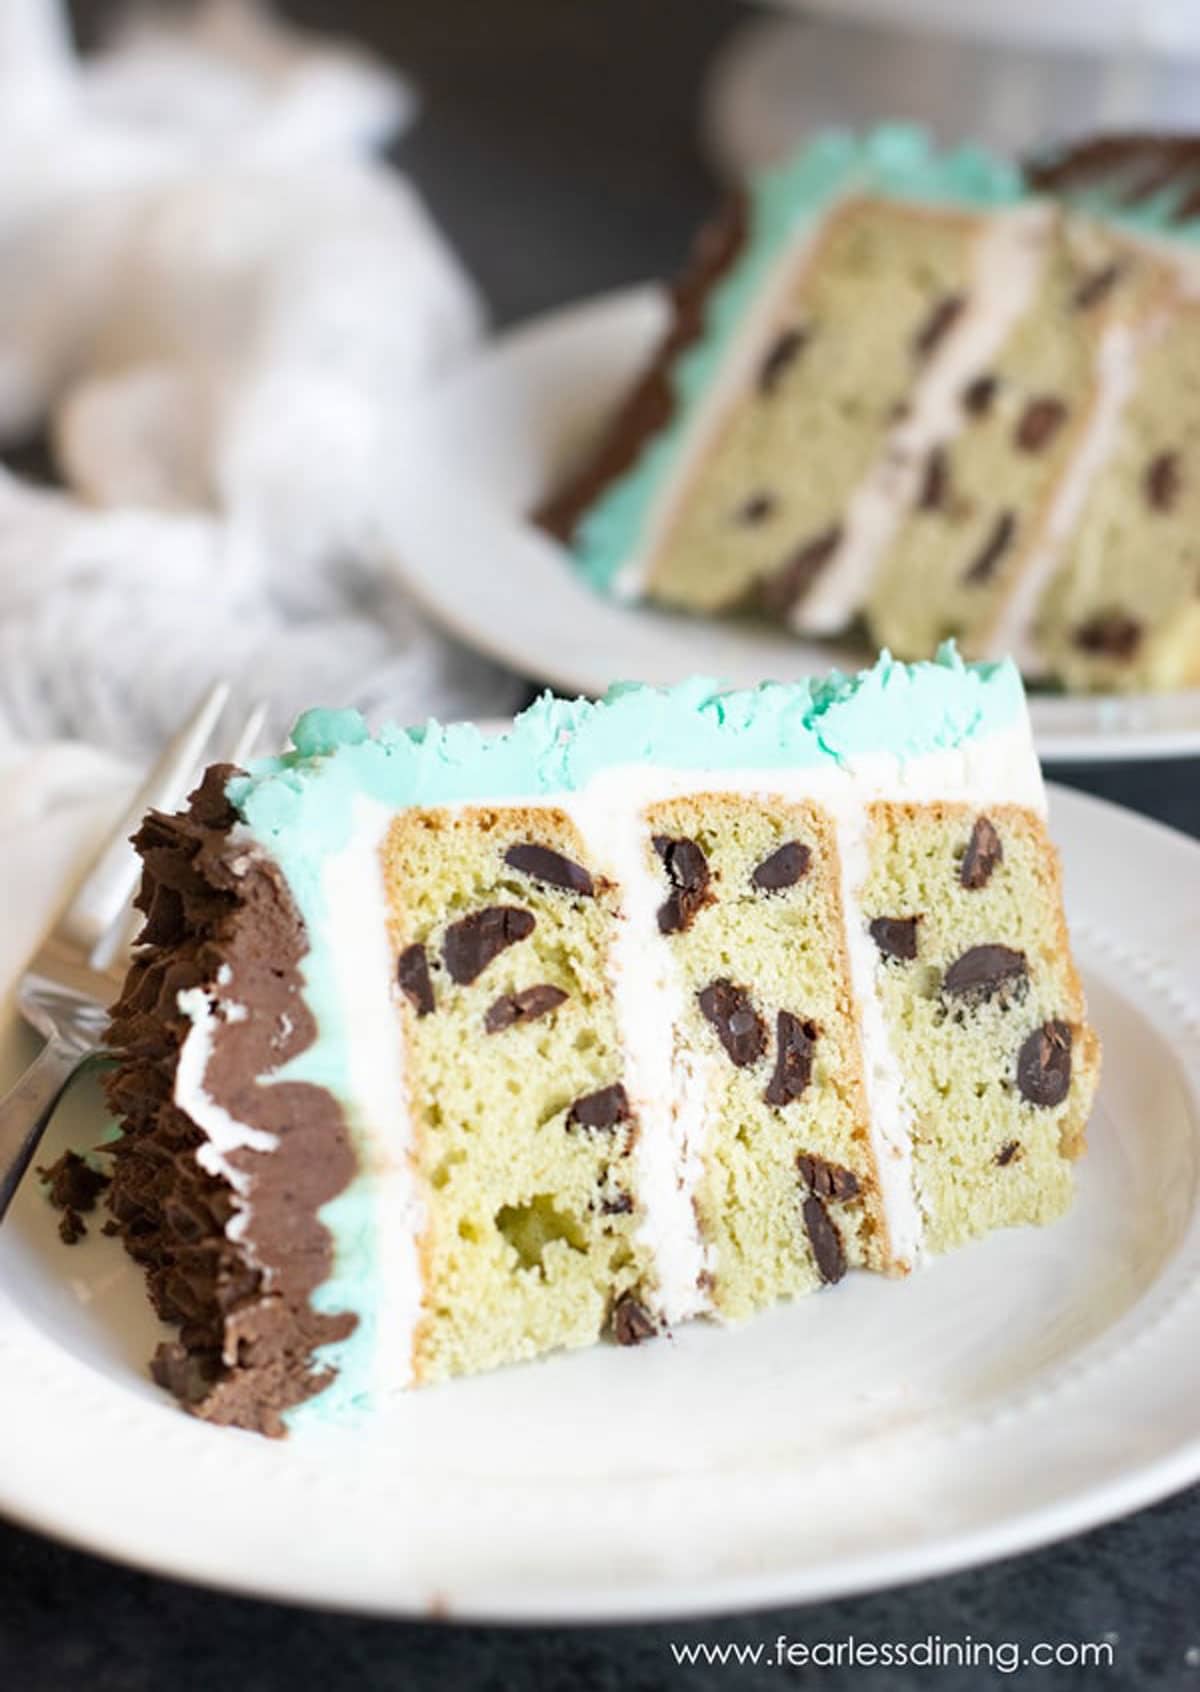
One of the things we love to do at the Fearless Dining House is to bake and decorate cakes. My daughter is a whiz at creating the most adorable cake ideas. This gluten free mint chocolate chip cake is no exception.
This cake is decorated as a monster and is perfect for a kid’s birthday party! We share step-by-step decorating instructions so you can easily make this monster cake!
If you can’t get enough of this gluten free chocolate mint chip cake, you should see some of my other heavenly gluten free cakes.
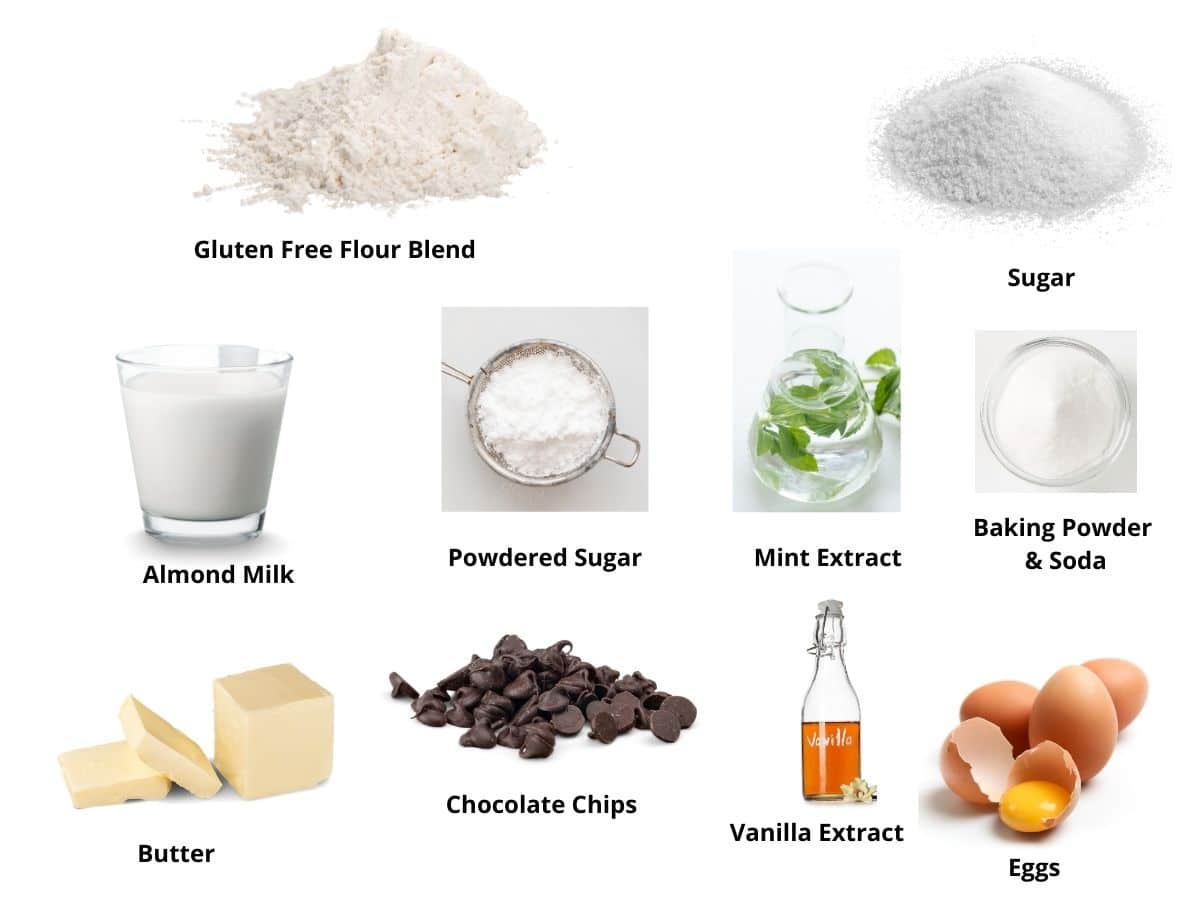
Ingredient Notes:
For the full list of ingredients and amounts, please go to the recipe card below.
- Gluten Free Flour Blend – I tested this recipe using Bob’s Red Mill 1 to 1 and King Arthur Measure for Measure. That doesn’t mean others will not work; I just have not tested other flours.
- Xanthan Gum – If your gluten free flour blend doesn’t contain xanthan gum or guar gum, please add 1 teaspoon.
- Baking Powder – Use aluminum-free.
- Non-Dairy Milk – I used almond milk, but other dairy-free kinds of milk will work. I do not recommend canned coconut milk.
- Butter – Use unsalted butter
- Eggs – Use size large.
- Vanilla Extract – Use pure vanilla extract.
- Powdered Sugar – This is for the frosting.
- Chocolate Chips – You can use any gluten free brand.
For more recommendations, check out my Gluten Free Cake Troubleshooting Guide. You may also want to see my Tools For Making Gluten Free Cake.
Step-By-Step Photos and Directions:

Step 1: Preheat your oven to 350º F. The first step to make this gluten free chocolate mint cake is to mix your dry ingredients in a large
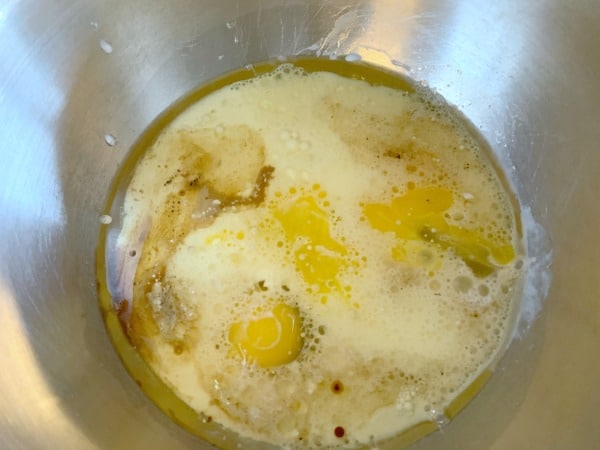
Step 2: Add the wet ingredients to a smaller
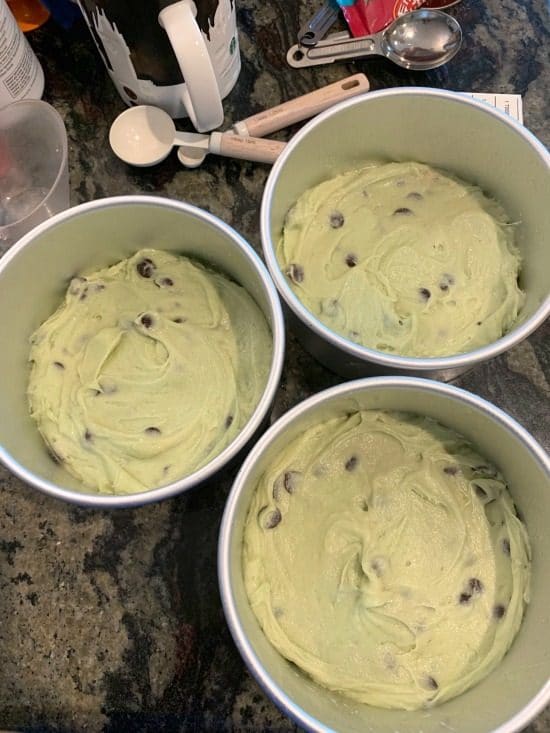
Step 3: Add your cake batter to the cake pans. Bake for 30-40 minutes (this will depend on the size of your cake pans.)
Remove the cakes from the oven. Insert a toothpick into the thickest part of the cake and check to see if it comes out clean. A clean toothpick means the cake is done. Allow the cakes to cool completely on a cooling rack before frosting!
How to frost a cake to look like a monster:
Email This Recipe To Me!
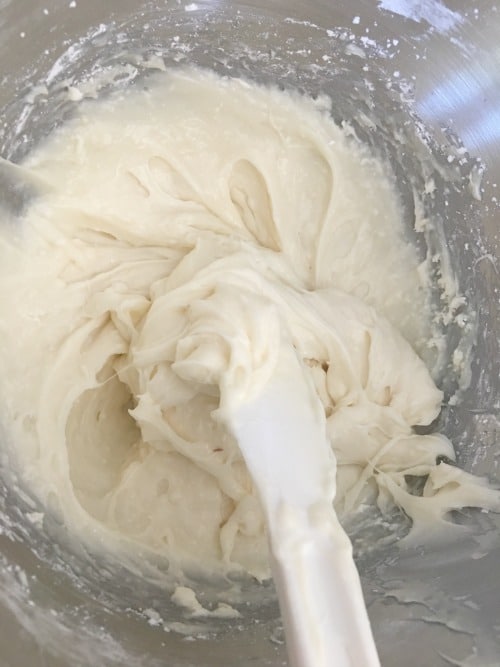
Mix your frosting in a stand mixer with a whisk attachment (see directions in the recipe card below.) Separate the frosting into bowls, one for each color you plan to use.
Most of this cake was turquoise, so my daughter put most of the frosting in a larger
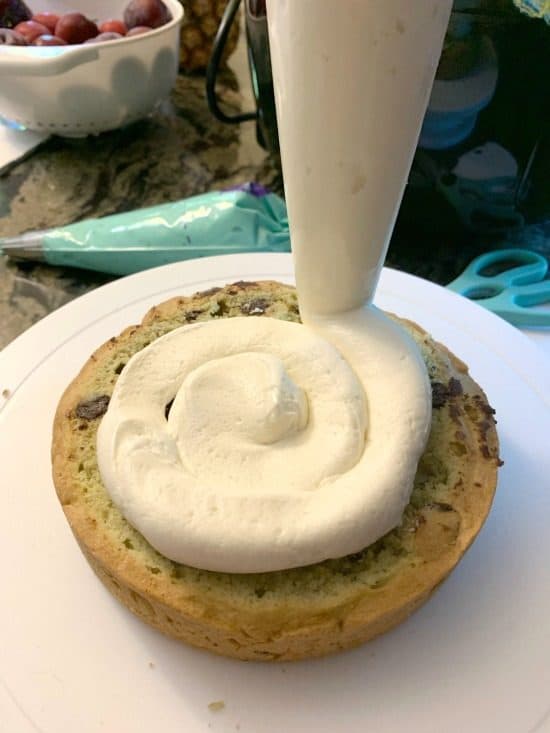
The first step is to frost the layers and build your cake. If the tops of your cake are not flat, use a knife or cake leveling tool to remove part of the rounded top. Fill a frosting bag and pipe a small dab of frosting on the swiveling cake stand.
Trust me, if you are frosting an elaborate cake like this, you need a cake stand that spins so that it is easier to frost the cake.
Once the layers are assembled, frost the outside of the cake. Use a frosting smoother (it comes with the swiveling stand I listed above) to coat and smooth the frosting on the top and sides of the cake.
When coloring frosting, add color very slowly. Just a drop or two can change the color depth. I mixed 3-4 drops first, then add more slowly, a few at a time if needed.
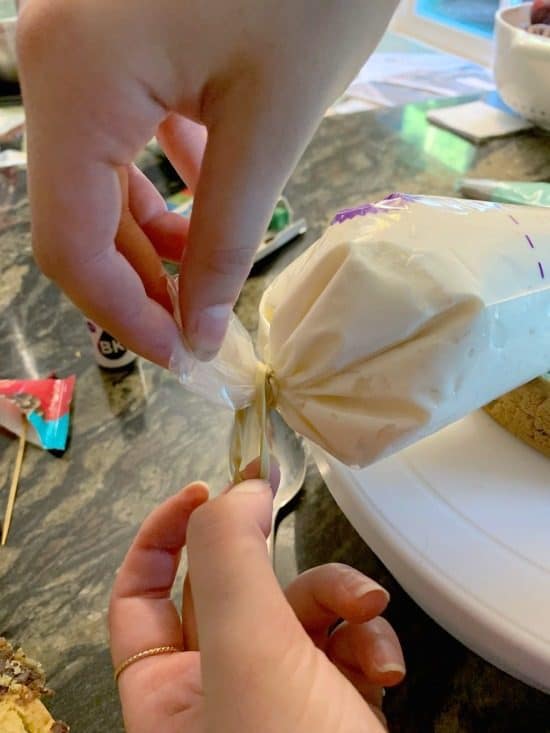
Tie off your frosting bag to prevent frosting from squirting out the top. My daughter recommends doing this. Use a rubber band to tie off the end of the frosting bag. This will prevent frosting from leaking out all over your hands while you are frosting the cake.
You want to use this star tip if you are making frosting “stars” to cover your cake.

Sketch or plan how you want to decorate your cake. Do you want spots, all one color, etc.? Cover the cake with the frosting stars as shown.
How to make the chocolate eyes and mouth:
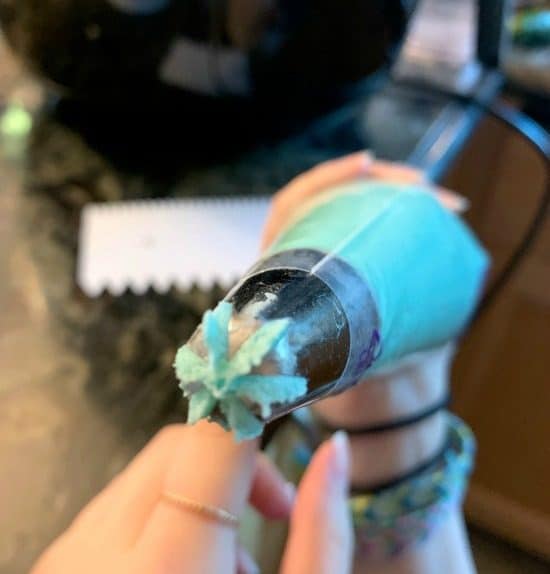
When making this gluten free chocolate mint chip cake, the chocolate eyes and mouth are one of the most important parts. You only need to melt chocolate and pipe them out onto wax paper. You can do all sorts of designs and shapes for all your cake decorating this way.
Then, after you have it piped out the way you want, place it in the fridge until it sets up. Once the chocolate has hardened, add it to the cake with some icing to keep it in place.
You can also buy pre-made candy eyes. but note they may not be large enough for your cake.
Tips For Success
1. Do not use a standing mixer. They tend to overmix the cake batter, making your cake turn out dense.
2. To make this cake dairy-free, use plant-based butter.
3. Be sure to set your oven rack in the middle position of the oven so your cake bakes evenly.
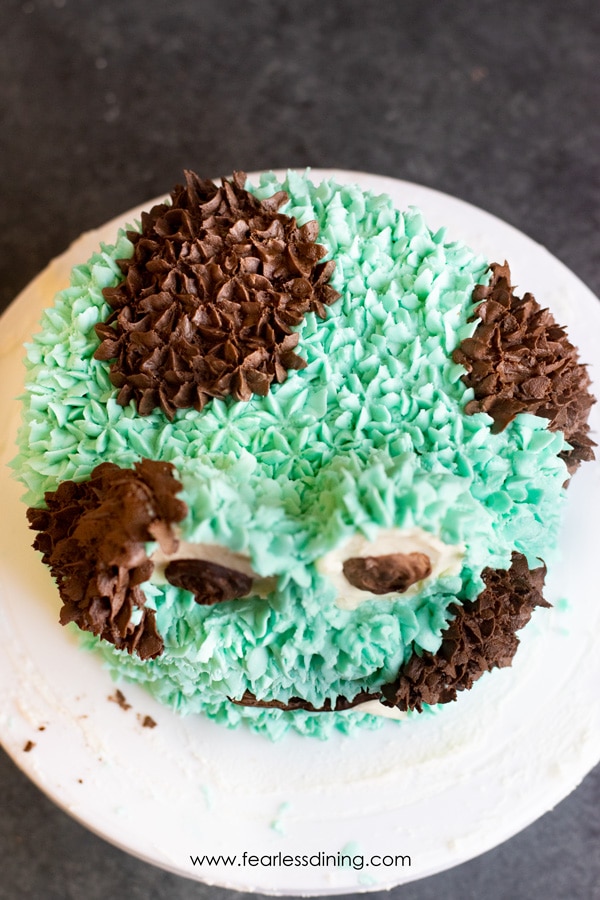
Here is the top of the cake; see how she used the frosting to fill in around the back of the eyes to give them stability.
Frequently Asked Questions:
You can use any flavor of cake to make this monster birthday cake.
This cake will keep fresh for up to 4 days in an airtight container or up to 4 months in the freezer. I recommend freezing the cake layers unfrosted. I like to store my cake in this cake container. It also makes it easy to transport the cake.
More Gluten Free Cake Recipes:
- Gluten Free Unicorn Cake {Gluten Free Strawberry Cake}
- Chocolaty Gluten Free Chocolate Brownie Cake
- Gluten Free Carrot Cake With Cream Cheese Frosting
Love This Recipe?
If you made and enjoyed this recipe, I would be incredibly grateful if you could leave a comment below. Please include which flour blend you used. This will help others know this recipe is delicious. Thank you!
Gluten Free Mint Chocolate Chip Cake
Ingredients
- 2 cups gluten free flour blend * see note
- 1 cup cane sugar
- 1 teaspoon baking powder
- ½ teaspoon baking soda
- ⅛ teaspoon salt
- ¾ cup unsalted melted butter
- 2 large eggs
- 1 teaspoon pure vanilla extract
- 1 ½ teaspoons peppermint extract
- ½ cup chocolate chips
- ¾ cup milk or non-dairy milk
- 6 cups powdered sugar
- 1 cup butter
- 2 teaspoons pure vanilla extract
- ¼ cup water you will probably need more, but add a little at a time after 1/4 cup
- optional food coloring
Method
- Preheat the oven to 350º F and set the oven rack into the middle position in the oven.
- In a large bowl, add 2 cups gluten free flour blend, 1 cup cane sugar, 1 teaspoon baking powder, 1/2 teaspoon baking soda, 1/8 teaspoon salt; whisk to blend.
- Add 3/4 cup unsalted melted butter, 2 large eggs, 1 teaspoon pure vanilla extract, 1 1/2 teaspoons peppermint extract, and 3/4 cup milk or non-dairy milk to a small bowl and whisk to blend.
- Pour the wet ingredients into the dry ingredients, and 1/2 cup chocolate chips. Gently mix the ingredients into a smooth cake batter. NOTE: Do not overmix the cake batter, or your cake will be dense.
- Pour the cake batter into three 8 inch cake pans or two 9 inch cake pans.
- Bake the cakes for 30 minutes. To test for doneness, insert a toothpick in the middle of each cake. If the toothpick comes out dry, the cakes are finished baking. If you see crumbs or batter, the cakes need to bake a little longer.
- Remove the cakes from the oven and place on a cooling rack. Let the cakes sit in the pan for 5-10 minutes, then gently slide the cakes out onto the cooling rack. This gives the cakes time to set. Let the cakes cool completely before frosting.
- Add 6 cups powdered sugar, 1 cup butter, 2 teaspoons pure vanilla extract, 1/4 cup water, and optional food coloring to a standing mixer. Wait until the cake is fully cooled before frosting it.
- Follow the cake decorating instructions in this post.
Nutrition
Notes
- I have tested this recipe with King Arthur Measure for Measure GF, Bob’s Red Mill 1 to 1 GF blend, and Authentic Foods Multi Blend in this recipe. That doesn’t mean others will not work; I have not tested other flours.
- If your gluten free flour blend doesn’t contain Xanthan Gum or Guar Gum, please add 3/4 teaspoon.
- *NOTE: If you do not decorate the cake as a monster, half the frosting recipe!
- Store leftover cake in an airtight container. It will keep fresh for up to 4 days.
Private Notes
Tried this recipe?
Let us know how it was!
This recipe was updated from an older August 2019 post with more recipe details.
I truly hope you enjoy this recipe. I have been testing and creating gluten-free recipes for over 15 years. Creating gluten-free recipes that do not taste gluten-free is my goal for every recipe. Sometimes I only have to test a new recipe a couple of times, and others it takes multiple times. I do this so you get reliable, delicious results every time!
