This delicious gluten free wedding cake recipe not only makes a fluffy cake, but it is also simple to decorate! No advanced piping skills are required; I share many tips for decorating a wedding cake, including using your favorite flowers. This cake tastes incredible, and nobody will know it is gluten free!
This post may contain affiliate links. Please read our Disclosure Policy.

A custom wedding cake can be expensive. You can make your own gluten free wedding cake for a fraction of the cost!! The first time you make a wedding cake may seem scary, but it is not as complicated as it looks!
This cake recipe is based on my popular gluten free vanilla cake recipe, which has received rave reviews from 100s readers. Many bakeries also use this recipe for their gluten free customers.
A wedding cake doesn’t have to be ridiculously fancy to make an impression at your special event. My homemade gluten free wedding cake recipe is full of delicious flavor. I share some tips and tricks so your cake will turn out perfectly.
All good cakes need excellent frosting. This gluten free frosting recipe is not only a delicious, fluffy buttercream frosting recipe, but it also has lots of ideas to color and flavor your frosting. These tips will help you customize your cake however the bride would like!
Why people love this gluten free wedding cake recipe:
- The gluten free vanilla cake is light and fluffy.
- It can be made in any size. Simply scale the ingredient quantities to make more batter for larger wedding cakes.
- You can bake the cake batter in any shape, from square to round, or even as cupcakes.
- You can use any frosting flavor, though I include a yummy gluten-free vanilla buttercream frosting recipe.
- This cake can be made ahead, then assembled and frosted later.
- Decorate the cake with fresh flowers for a simple, elegant look. No fancy cake decorating skills are needed!
If you are new to cake baking, here is a good write-up of my favorite Kitchen Tools For Baking Cakes.
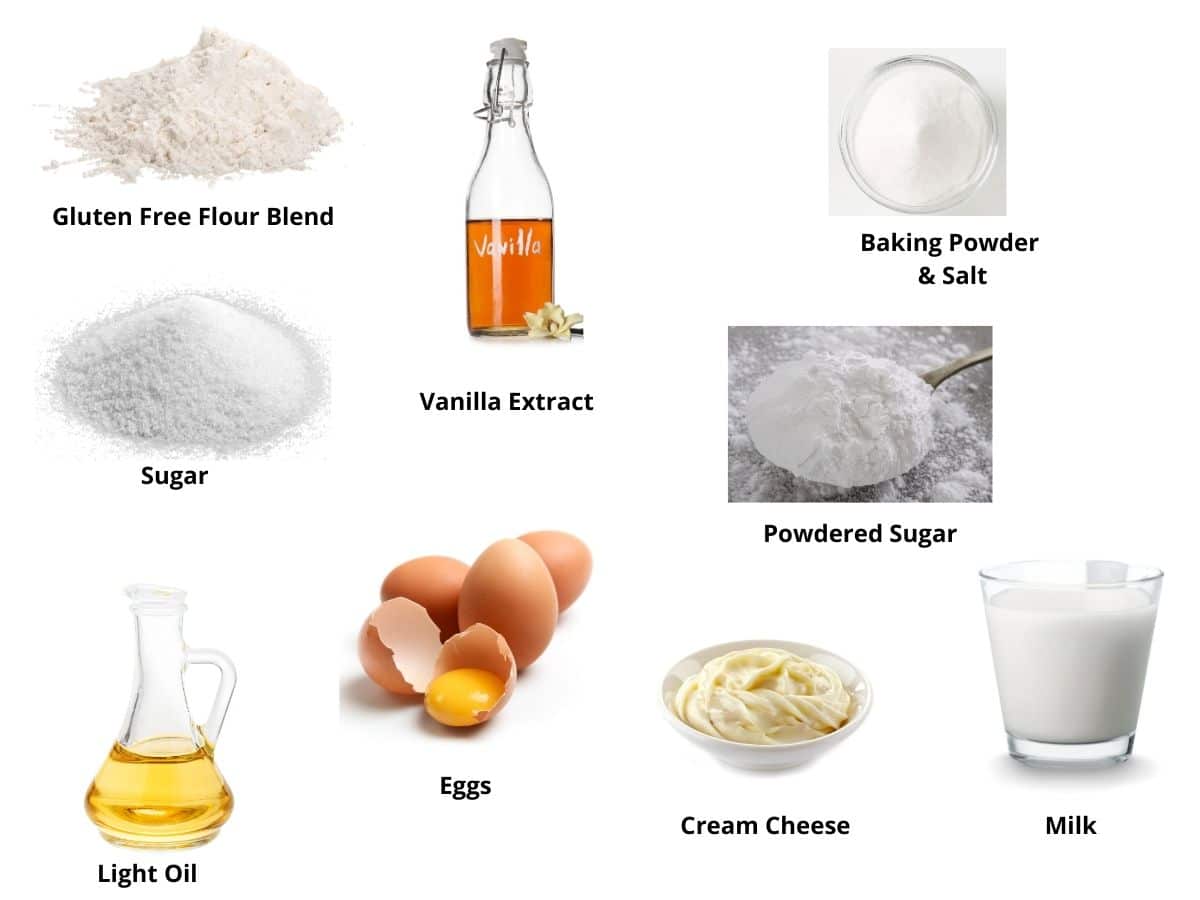
Ingredient Notes:
For the full list of ingredients and amounts, please go to the recipe card below.
- Gluten-Free Flour Blend – I tested this recipe with King Arthur Measure For Measure. Other blends should work well, and you can see my gluten free vanilla cake recipe to see all of the flour blends used to make that cake above.
- Xanthan Gum – If your gluten free flour blend does not contain xanthan gum or guar gum, please add 1 teaspoon.
- Baking Powder – Use aluminum-free. This is important because baking powder with aluminum can leave a bitter flavor.
- Vanilla Extract – Please use pure vanilla extract. Imitation vanilla will not give this cake the same flavor.
- Eggs – I recommend using size large eggs.
- Oil – I used avocado oil. I think using a very mild oil is important. Canola is another nice, mild oil.
- Milk – I used almond milk, but any non-dairy or regular milk should be fine.
- Food Coloring – This would be used only if you use colored frosting to decorate your cake.
- Cream Cheese or Butter and Powdered Sugar – You can decide whether to make a buttercream or cream cheese frosting for your wedding cake. If dairy-free, you can use vegan butter to make the frosting.
How to Make and Decorate a Gluten Free Wedding Cake (Step-By-Step)
If you are an avid cake baker, check out this Gluten Free Cake Troubleshooting Guide.
When making this recipe, you must know how many people will be at the wedding. If there are many people, you will need to triple or even quadruple this cake recipe. Preheat the oven to 350º F.
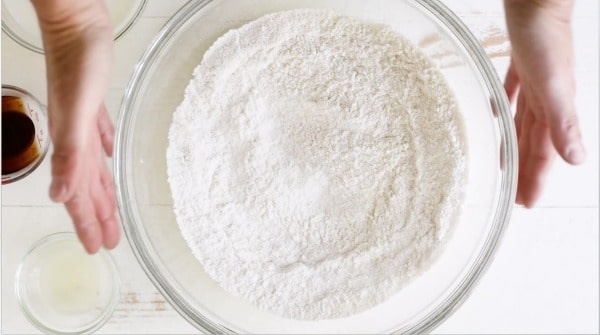
Step 1: In a large
Using the right amount of flour is very important when making a cake. To measure your gluten free flour, I recommend using either the spoon method or the leveling method.
Spoon Method: You can also use a spoon to fill the measuring cup. Use a knife to level along the top to remove the extra flour. Leveling Method: Put the measuring scoop into the flour and fill. Do not pack the flour. Use a knife to scrape along the top to remove the extra flour.

Step 2: In a medium bowl, add the eggs, oil, vanilla extract, and milk. Whisk for 30 seconds to combine them.
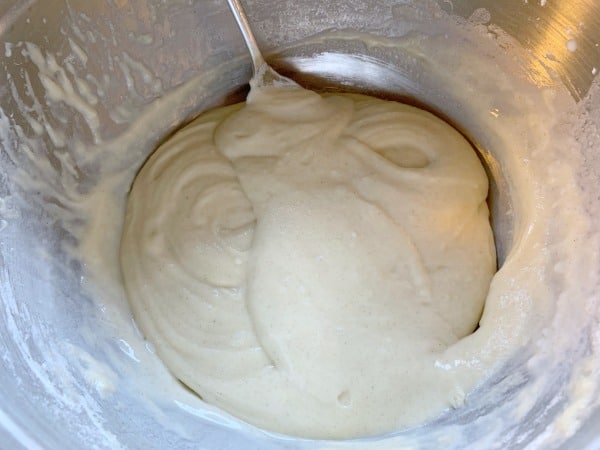
Step 3: Combine the ingredients by pouring the wet ingredients into the dry ingredients. Mix the two until they are just barely mixed. This will help keep your cake fluffy.
I do not recommend using a standing mixer to make the cake batter, as it can overmix.
Step 4: Line the bottoms of two small cake pans with parchment paper. Pour the cake batter into the pan and use a rubber spatula to spread it evenly over the bottom of the pan. Scrape the bottom of the bowl to collect all of the batter.
Step 5: Bake the cakes for 25 minutes. Baking time varies based on the size, quantity, and depth of the cakes. Remove the cakes, tilt them gently, and transfer them from the pans onto a wire rack to cool.
To test the cakes, insert a toothpick into the center of each cake. If the toothpick comes out clean, it is done baking. If you see batter or crumbs, the cake must be baked longer.
Email This Recipe To Me!
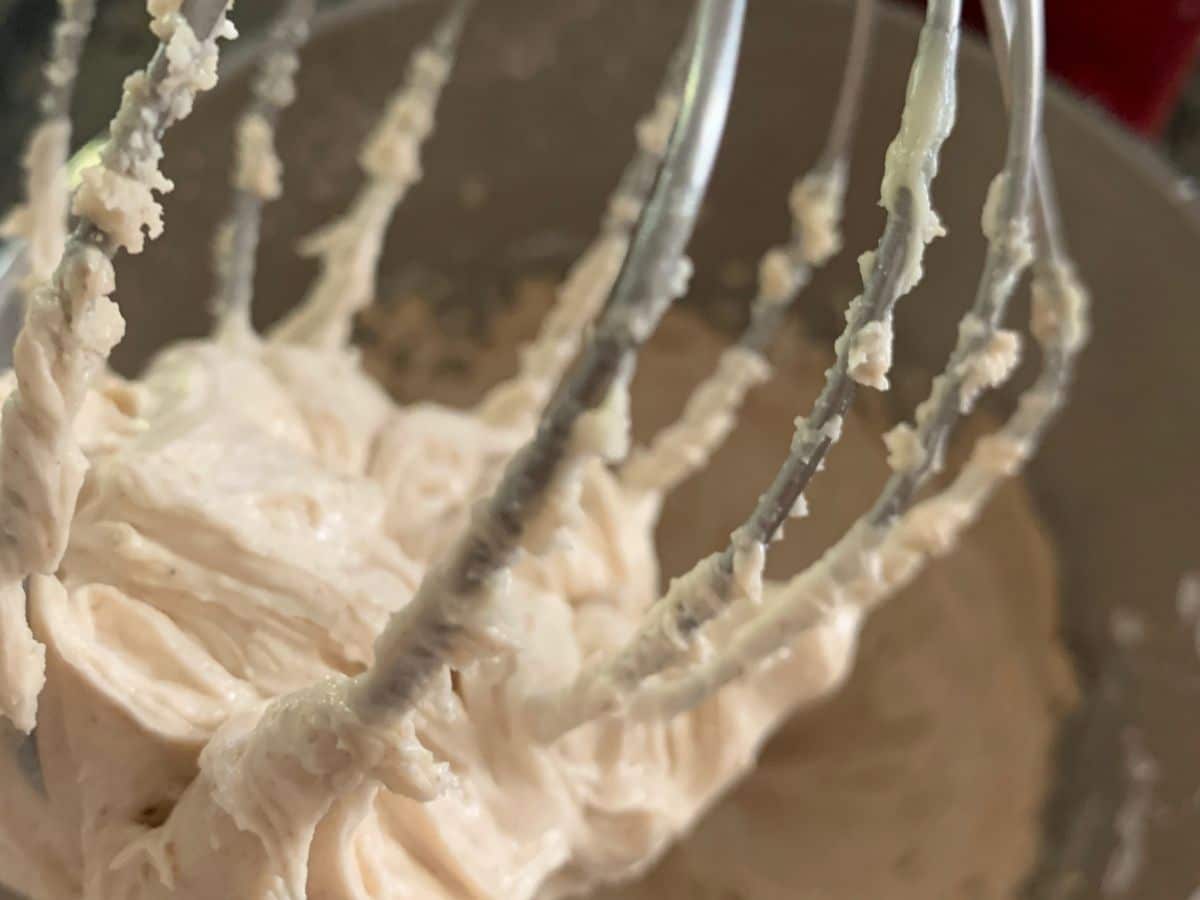
Step 6: Add the frosting ingredients to a standing mixer bowl. Use the wire whisk attachment. Turn it on to low speed and gradually increase it to medium speed until the frosting is creamy. (If you don’t have a whisk attachment, a paddle attachment is fine.)

Step 7: Use a cake knife to remove the dome top from the baking. Then, cut the cake in half to make two layers. If you want thicker layers, skip this and use each cake as one layer.
Put a small dab of frosting onto the cake spinner. I like this spinner because it comes with the spatulas and edgers you need for frosting the cake. This will prevent the cake from sliding and make it easier to frost it evenly.
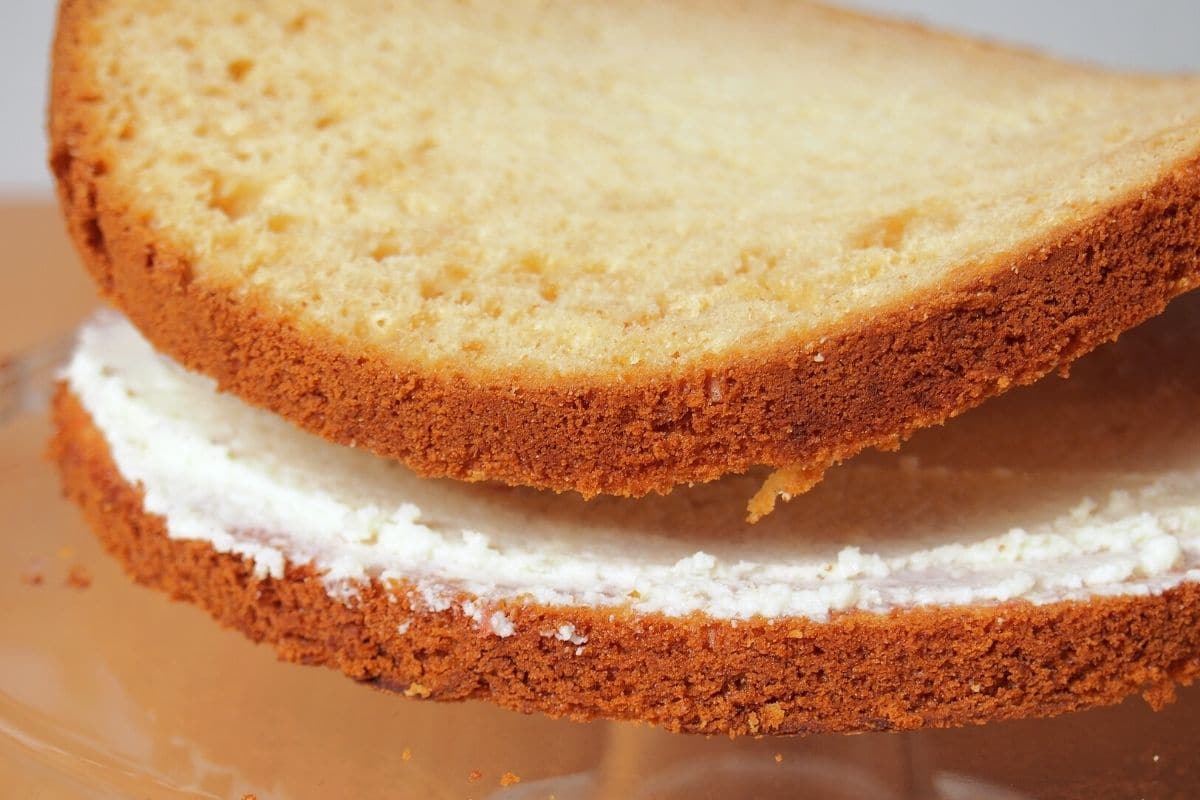
Step 8: Place the cake’s bottom layer on the dab of frosting and press gently. Add frosting to the top of that cake layer.
You can add the lemon curd, thinly sliced fresh strawberries, or a seedless raspberry jam on top of that layer of frosting for flavor between the layers.
I used lemon curd when I made this Gluten Free Lemon Layer Cake. I used seedless raspberry jam in this Gluten Free Chocolate Raspberry Layer Cake.
Step 9: I recommend using these dowels if you are assembling multiple-size layers for a tiered cake. Insert the dowel after adding and frosting the cake layers. This will make your cake sturdy.
Cut the dowel to just shorter than the cake height. Hold the dowel over the middle of the top of the cake and gently push the dowel into the cake. Be sure it is long enough to go through all layers to the bottom of the cake.
Use five dowels in total. Place one in the middle, then box the center dowel with the remaining four dowels.
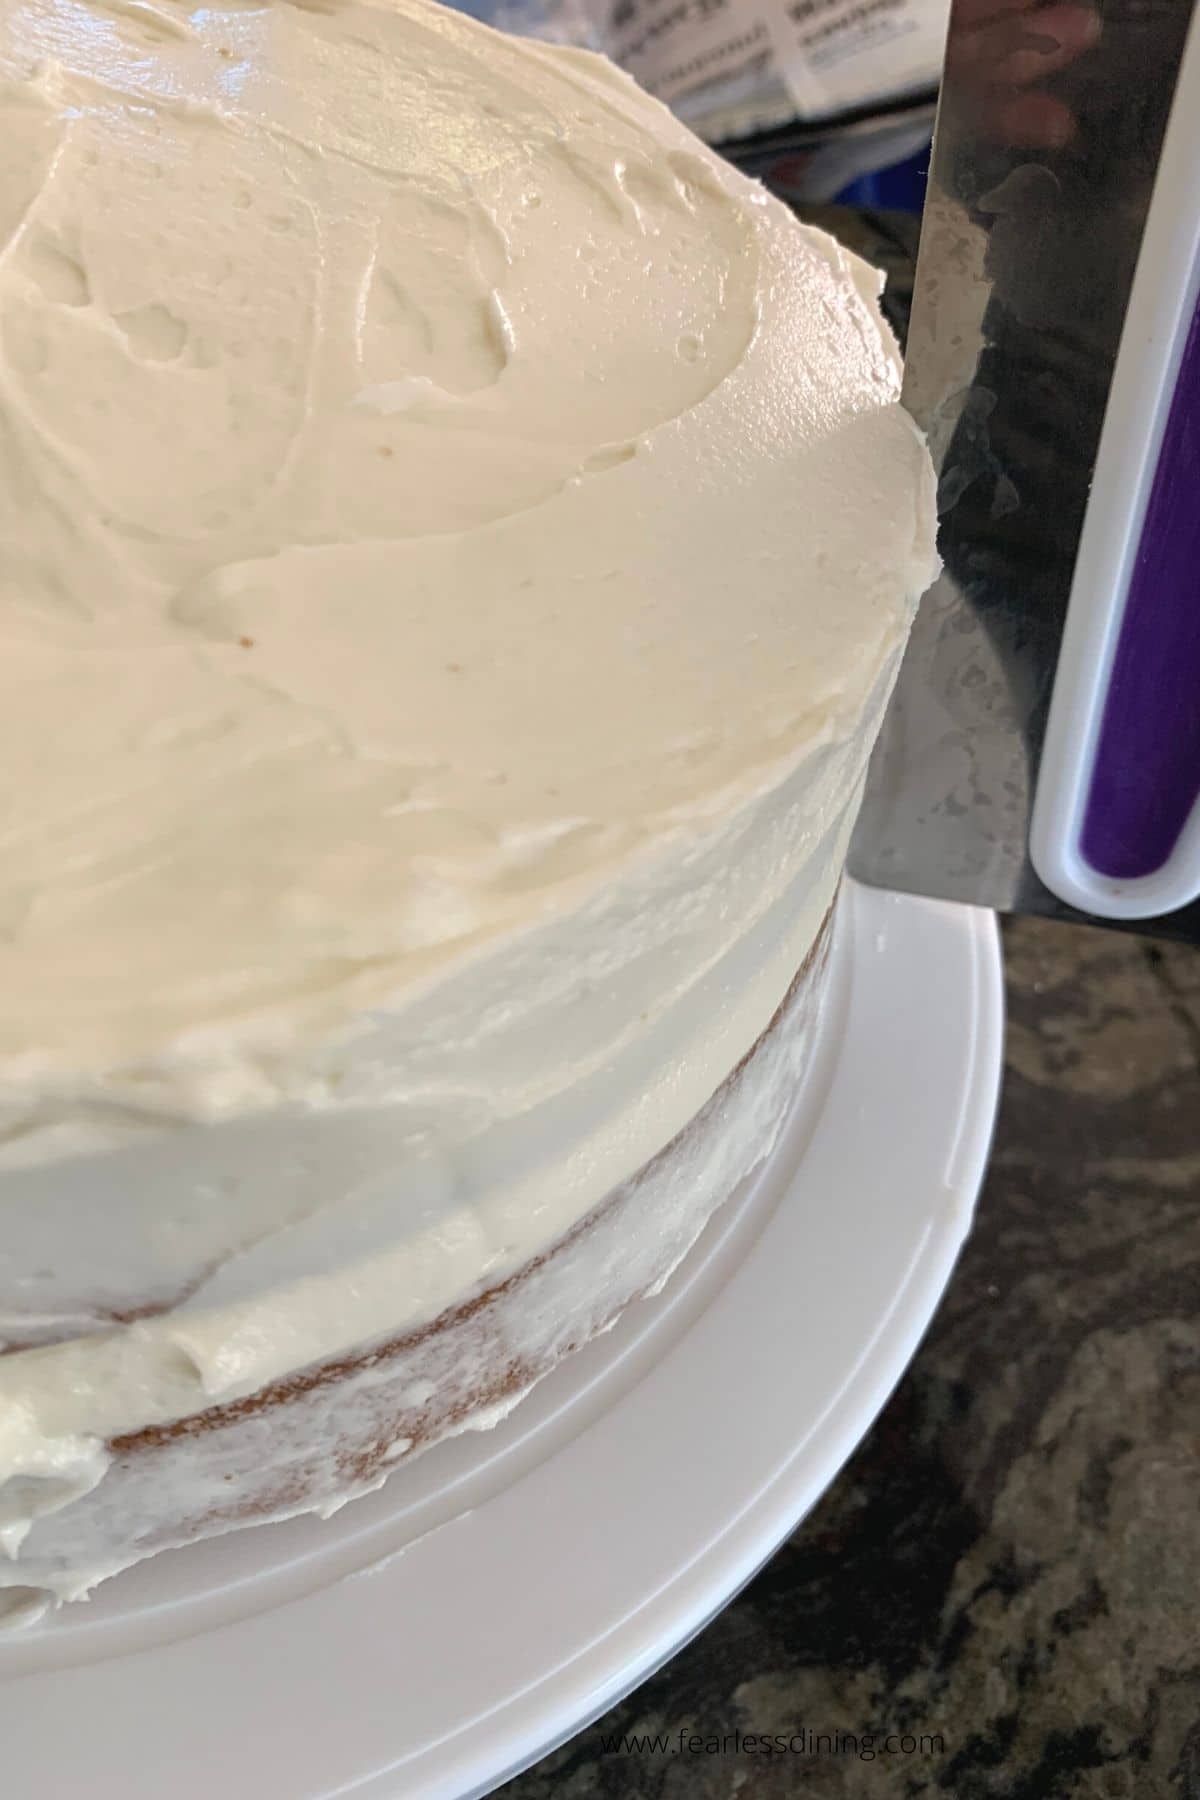
Step 10: Now that the gluten free wedding cake is built and filled, it is time to frost the sides and top of the cake. Use the cake spatula to spread frosting on the side of the cake. This is where using a cake spinner becomes handy!
Ways to Decorate a Gluten Free Wedding Cake:
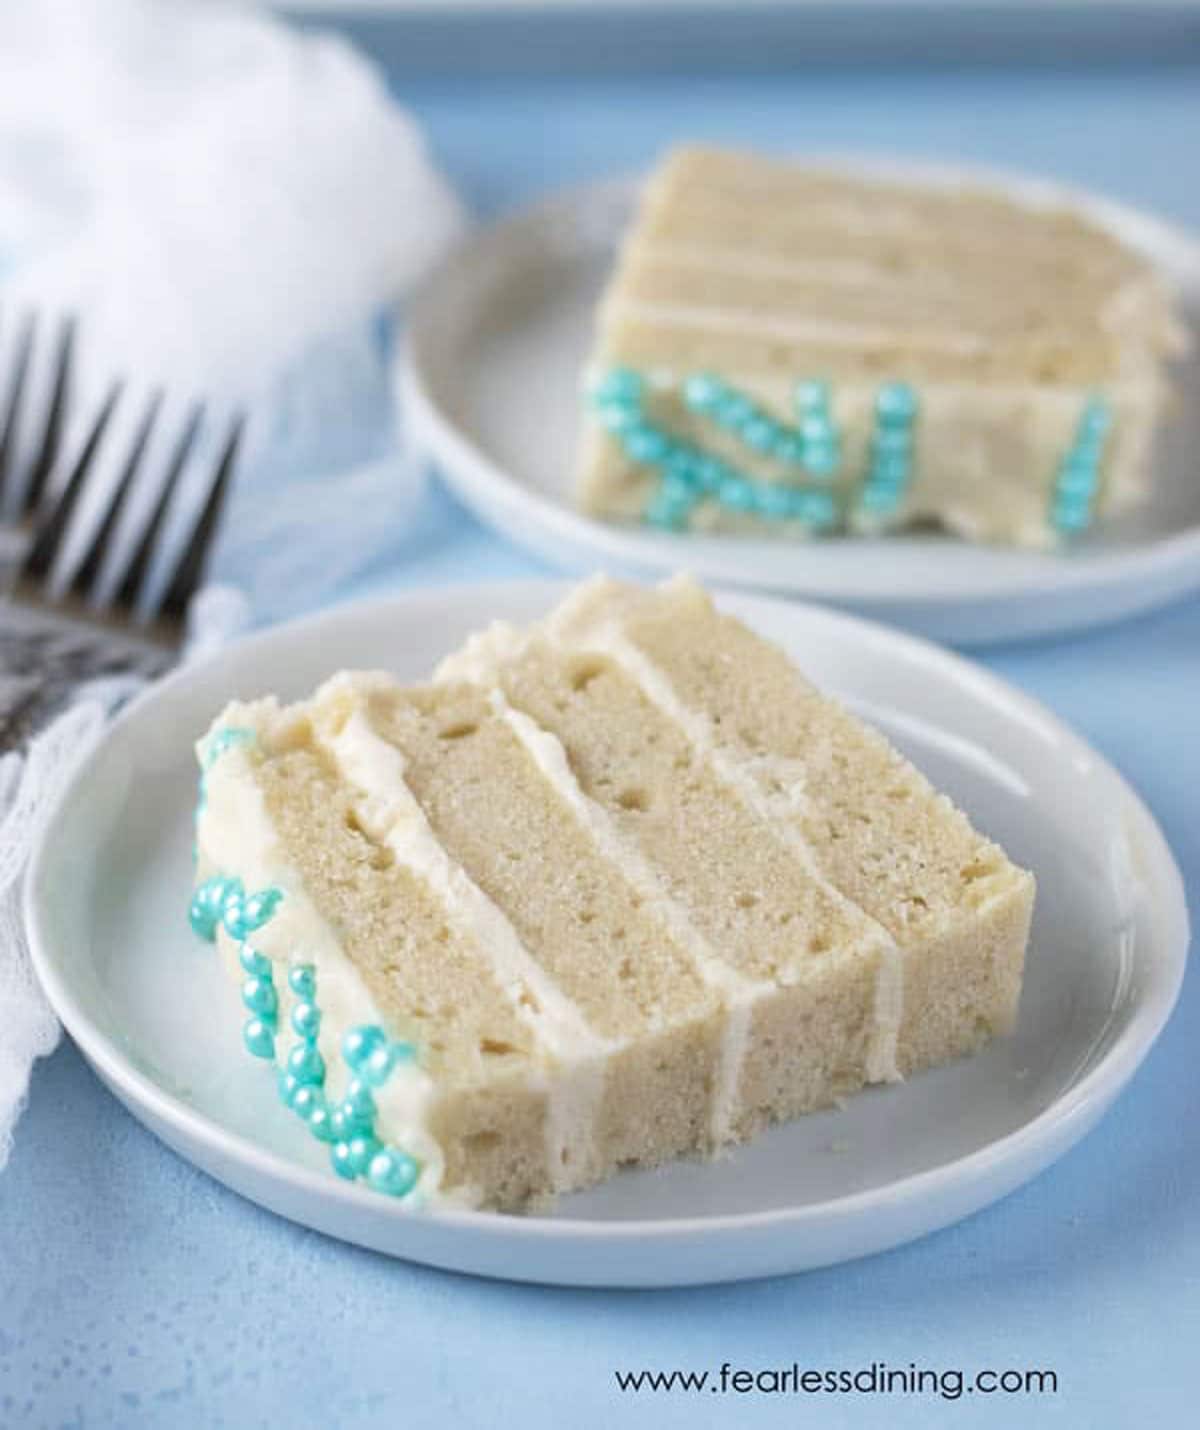
The most crucial step is to decide if the cake will have frosted sides or be a naked-style cake. A naked cake has most of the frosting scraped off the sides. The frosting is pictured above. The sides are mostly frosted to fill the gaps between the cake layers.
Use a cake scraper to smooth the sides of the cake and remove excess frosting. The linked cake scraper also features several textured edges to create decorative frosting patterns.
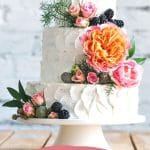
You can also use a cake spatula to smear frosting across the sides and top of the cake, as in the main featured photograph at the top of this post. I love the way the frosting smears add to the artistic look of the cake.
Now that the side of the cake is done, spread frosting along the top. Use your spatula to smooth the top for a flat frosting surface.
Decorating Tools:
Use different-sized frosting tips to decorate the cake. I used star tips to pipe a decorative edge around the top and or the base of the cake. There are a ton of great videos on YouTube and TikTok that demonstrate how to use different frosting tips.
Grab a large frosting bag. Hold up the tip to the bottom triangle. Use scissors to cut off the pointed end of the bag so the tip sits snugly inside. Insert the tip in the bag.
Fill the bag with frosting. A quick squeeze will make a nice puffed floral design. If you look at the image above, you will see this. Star tips come in multiple sizes, so you can choose the puff size you want to make.
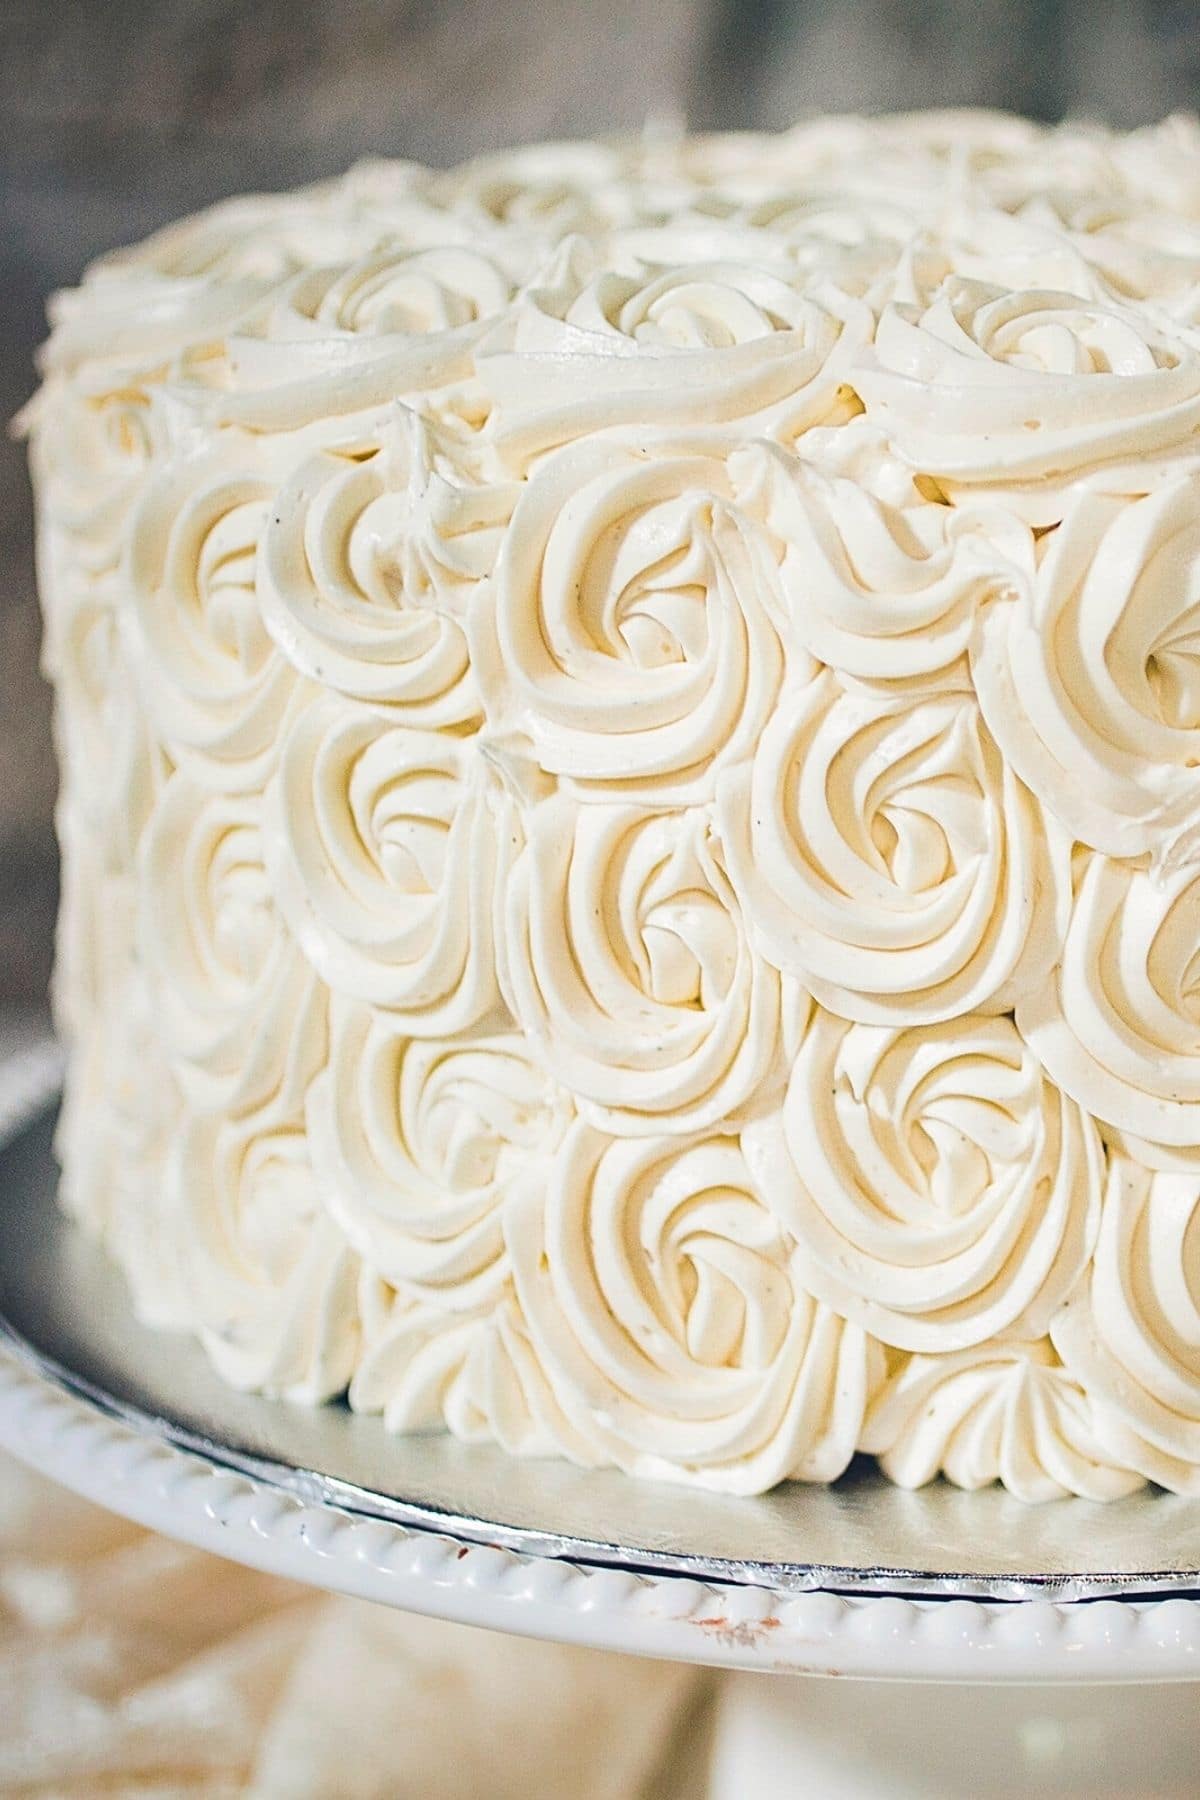
Use a larger star tip to create a swirled floral design across your cake, as shown in the photo above. Squeeze your frosting out with gentle, steady pressure to make circles all around the cake. This adds a fancy look to the cake!
Lastly, visit a florist to arrange a bouquet of flowers and greens in a color that matches the wedding colors. Arrange the flowers on the cake. Use as many as you like. You can completely top the cake like the photo above, or keep the number of flowers used minimal.
When you are finished, you need to remove the cake from the cake spinner. I highly recommend using a cake lifter to move the cake to a disposable tall cake box for transport to the reception location.
After the wedding ceremony, slice the cake and enjoy!
Frequently Asked Questions:
If you are an avid cake baker, check out this Gluten Free Cake Troubleshooting Guide. I also have many great Gluten Free Baking Tips written up to help!
Dowels are the best way to secure the wedding cake so it won’t break or fall.
I recommend a special disposable tall cake box to transport your cake even better if you have a trusted person with you to hold the box.
This cake should be put together and frosted the day before the wedding so it is at its freshest. You can bake the cakes and freeze them until you need them.
It is easy to freeze the cake before frosting. Place each cake layer into a zipper freezer bag and freeze it flat. To thaw the cake, remove it from the bag and let it come to room temperature on the counter.
More Gluten Free Cake Flavors To Try:
I also have lots of delicious gluten free cake recipes, so you can make any cake flavor for a wedding. You can use any flavor of cake. Try one of these other popular gluten free cake flavors!!
- The Best Gluten Free Chocolate Cake
- Gluten Free Banana Cake (use this cupcake recipe to make the cakes)
- Simple Gluten Free Carrot Cake
- Easy Gluten Free Hummingbird Cake
Love This Recipe?
If you made and enjoyed this recipe, I would be incredibly grateful if you could leave a comment below. Please include which flour blend you used. This will help others know this recipe is delicious. Thank you!
How to Make and Decorate a Gluten Free Wedding Cake
Ingredients
- 2 cups gluten free flour blend * see note
- 1 cup cane sugar
- 2 teaspoons baking powder aluminum free!
- ⅛ teaspoon sea salt
- 3 large eggs * see note for white cake
- ¾ cup light oil
- ¾ cup milk or non-dairy milk * see note
- 2 teaspoons pure vanilla extract
- 3 cups powdered sugar
- ½ cup unsalted butter
- 1 ½ teaspoons pure vanilla extract
- 3 tablespoons milk *use more or less depending on how stiff you want your frosting.
Method
- This is a recipe I am going to tell you to scroll up and read the ENTIRE post. It is full of tips and tricks to ensure your wedding cake is perfect.
- Preheat the oven to 350º F.
- In a large mixing bowl, add the 2 cups gluten free flour blend, 1 cup cane sugar, 2 teaspoons baking powder, and ⅛ teaspoon sea salt. Use a whisk to blend the dry ingredients together.
- In a medium bowl, add the 3 large eggs, ¾ cup light oil, 2 teaspoons pure vanilla extract, and ¾ cup milk or non-dairy milk. Whisk for 30 seconds to combine them.
- Combine the ingredients by pouring the wet ingredients into the dry ingredients. Mix the two together until they are just barely mixed. This will help keep your cake fluffy.
- Line the bottom of two small cake pans with parchment paper. Pour the cake batter into the pan and use a rubber spatula to spread the cake batter evenly over the bottom of the pans. Scrape the bottom of the bowl to get all of the batter out.
- Bake the cakes for 25 minutes. Note that the baking time will vary depending on the size, quantity, and depth of the cakes. Remove the cakes and tilt them gently to remove them from the pans onto a wire rack to cool.
- To test the cakes, insert a toothpick into the center of each cake. If the toothpick comes out clean, it is done baking. If you see batter or crumbs, the cake needs to bake longer.
- Add the 3 cups powdered sugar, softened ½ cup unsalted butter, 1 ½ teaspoons pure vanilla extract, and 3 tablespoons milk to a standing mixer bowl. Use the wire whisk attachment. Turn it on to low speed and gradually increase it to medium speed until the frosting is creamy. (If you don't have a whisk attachment, a paddle attachment is fine.)
- Use a cake knife to remove the dome top from baking. Then cut the cake in half to make two layers. If you want thicker layers, you can skip this and use each cake as one layer.
- Put a small dab of frosting onto the cake spinner. I like this spinner because it comes with the spatulas and edgers you need for frosting the cake. This will prevent the cake from sliding and make it easier to frost the cake evenly.
- Place the bottom layer of cake on the dab of frosting and press down gently. Add frosting to the top of that cake layer.
- Optional: You can add lemon curd, thinly sliced fresh strawberries, or a seedless raspberry jam on top of that layer of frosting for flavor between the layers.
- If you are assembling multiple-size layers for a tiered cake, I recommend using these dowels. You would insert the dowel after your have added and frosted the between layers of cake. This will make your cake more sturdy.
- Now that the gluten free wedding cake is built and filled, it is time to frost the sides and top of the cake. Use the cake spatula to spread frosting to the side of the cake. This is where using a cake spinner becomes really handy!
Nutrition
Notes
- I used King Arthur’s Measure for Measure to make this cake. That doesn’t mean others will not work, I just have not tested other flours.
- Xanthan Gum – If your gluten free flour blend doesn’t contain xanthan gum or guar gum, please add 1 teaspoon.
- This cake is dairy-free. To make the frosting dairy-free, use dairy-free or vegan butter.
- Use only egg whites. Save your yolks for another recipe.
- Whip the egg whites until they form soft peaks (not stiff!) Add the rest of the wet ingredients in and gently fold them into the egg whites.
- You will need ½ cup more milk to make the cake a white cake.
- If you want this cake pure white, use clear vanilla extract.
- Gently fold the wet ingredients into the dry ingredients. Be careful not to overmix the batter.
- Add to your cake pans and bake as directed.
Private Notes
Tried this recipe?
Let us know how it was!
I truly hope you enjoy this recipe. I have been testing and creating gluten-free recipes for over 15 years. Creating gluten-free recipes that do not taste gluten-free is my goal for every recipe. Sometimes I only have to test a new recipe a couple of times, and others it takes multiple times. I do this so you get reliable, delicious results every time!

I followed this recipe meticulously, using the flour mentioned. I feel like this is a solid gluten-free cake with good flavor. Those of us who have eaten gluten free for a long time are going to be grateful for cake. I feel a person not accustomed to eating gluten-free stuff would say this is a little dense. The next time I make this, I’m going to replace a Tablespoon of the flour with arrowroot starch to see if it fluffs it up a bit. But when you’re used to not having cake almost ever, this is very good.
Hi Kim, I am so glad you loved this recipe. It isn’t normally dense. Did you use a stand mixer?
Quick question did you bake the cake one day then frost it the next day? Do you refrigerate it if you are planning to make it 3 days ahead?
Hi Tammie, I did frost it the next day. You need to be sure to really wrap the cake layers so they don’t dry out. I think 3 days in advance is pushing it…gluten free is very different and I worry the cake will dry a bit.
We are going to try this recipe right now for a wedding cake but I’m really unclear on what size baking pans you’re using. Throughout the article you refer to “two small baking pans”.. what exactly does that mean? I want to get the correct size plans for the correct amount of ingredients. Thanks for your answer!
Hi Patty, it is from this recipe: https://www.fearlessdining.com/gluten-free-vanilla-cake-with-cream-cheese-frosting/ and I used the thin little Wilton 4 layer 6″ diameter pans. They are linked in the vanilla cake recipe so you can see exactly which I used. I can’t put the Amazon link in comments. Depending on the size of cake you make, I think this would fill a 9″ single cake pan, which is a lot deeper than the 6″ cake.
Hi Sandi. Thank you so much for getting back to me so quickly. We want to try making a tiered cake starting with a 10 and a half inch cake pan, followed by an 8-in cake followed by a 6-in cake. All single layer. Thanks for any more specific input you can give me.
Hi Patty, I would think a cake that large you may want to triple the recipe, depending on the depth of each pan.
I have made this recipe several times now, with King Arthur 1:1, with different variations of vanilla and almond extract. My daughter wants this cake for her wedding cake, the vanilla cake sold her, but she wanted wedding cake flavor. We found that 1 tsp of vanilla and 1 tsp of almond extract is the key for that “flavor.”
She has a concern about the frosting being white on the cake. She prefers the butter cream frosting and I feel like it is more on the yellow side. How do I make the frosting white for the cake?
Thank you for all your recipes! I’m still using them for “hubby to be” to select a cake flavor. I bake every weekend for the selection, and today is when I got the “flavor” right on the wedding cake. He really loved the hummingbird cake last week. Today I made your spice cake. He is leaning in that direction now. It was really good!
You are incredible for making your daughter’s wedding cake. I love adding a little almond extract for more flavor! For the frosting, there are recipes out there for stable white frosting that doesn’t contain butter, or you can use a cream cheese frosting, which will turn out a lot whiter. I do have a great cream cheese frosting recipe, that is the one on my hummingbird cake that you made. The hummingbird cake recipe is really popular. I haven’t thought about the spice cake for a groom’s cake. I know some people use my chocolate cake recipe. I can’t wait to hear about the wedding. Congratulations to the soon to be newlyweds!
This is perfect in a 9″ pan. It is a little thinner in a 10″ pan. I’ve been playing around with sizes for the “wedding cake.”
I am so glad you loved this cake recipe, Angie. I would love if you could send me a photo of the finished wedding cake! (admin@ fearlessdining. com
I am sorry to ask a question that deviates from your tried and true recipe, but… Do you know if using Buttermilk in place of milk will work? I see Buttermilk in so many cake recipes.
Hi Cathy, Without testing buttermilk, I can not advise how it will turn out in my recipe.
So I need to make. Fall wedding cake white gluten free cake. So I just omit the egg yolks?
I haven’t tested this specific cake with only egg whites. If you try it, please let me know how it turns out.
Can I turn this into almond flavor? Suggestions?
Hi Vanessa, I would think you could swap the vanilla or add almond extract.
This looks amazing. thank you for sharing.
You are welcome, I hope you get a chance to make the cake.