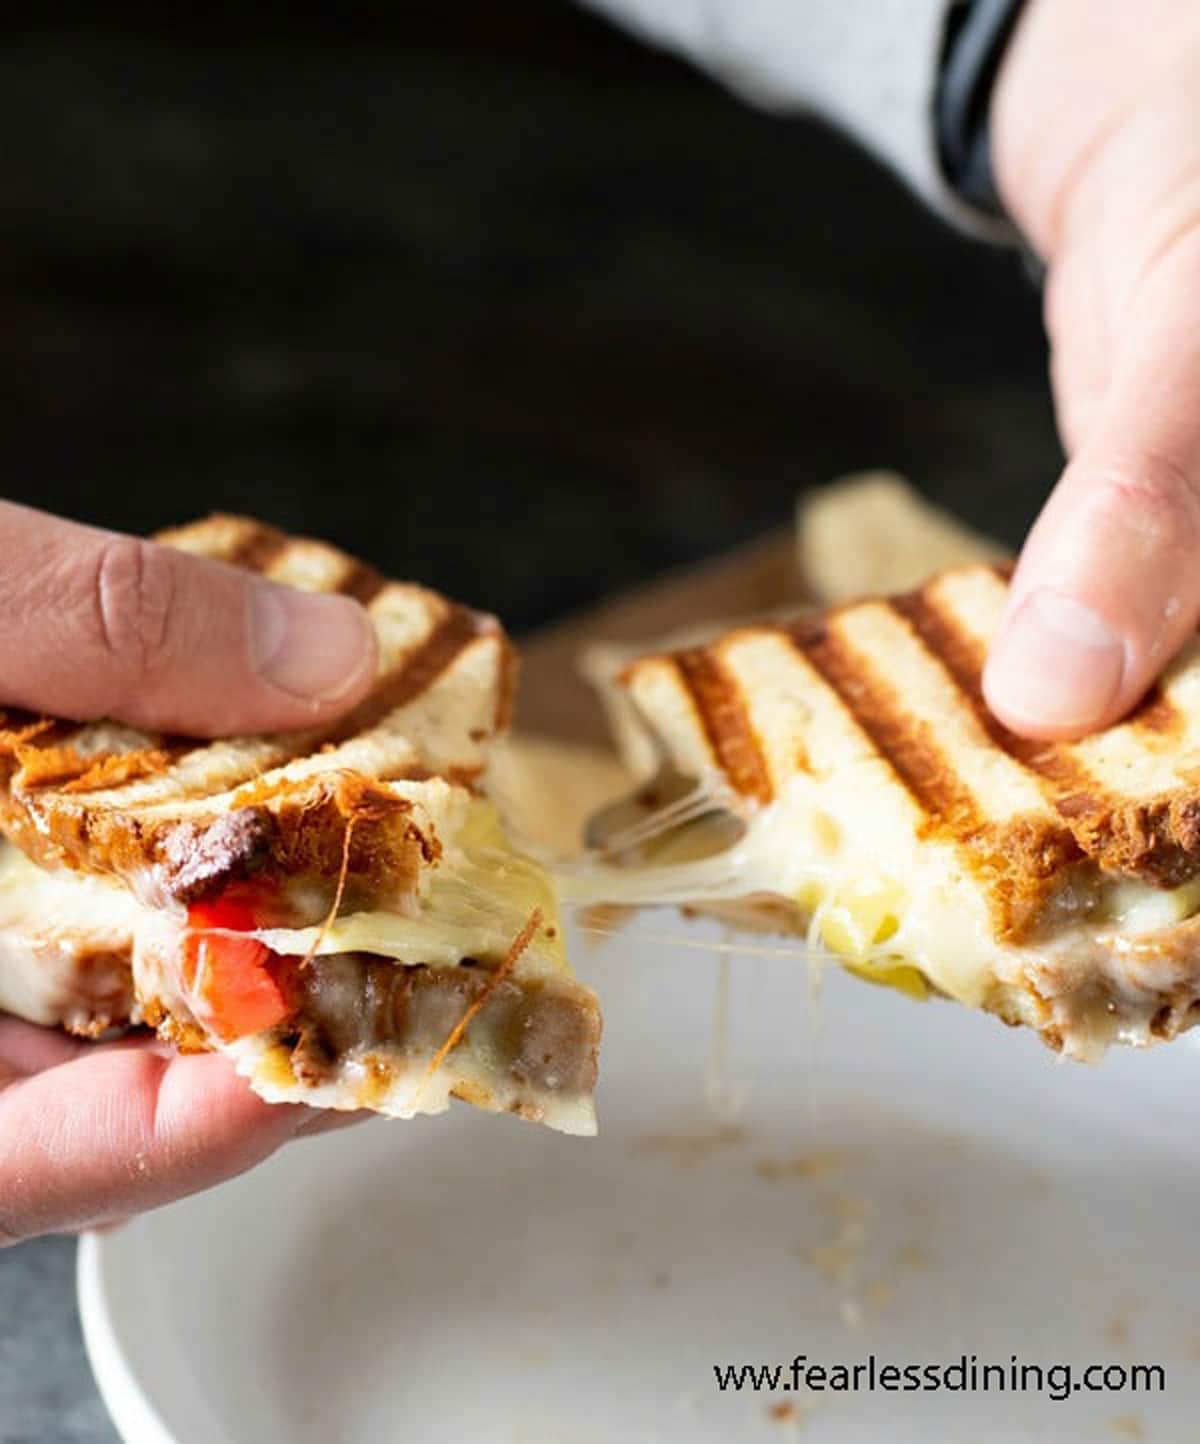
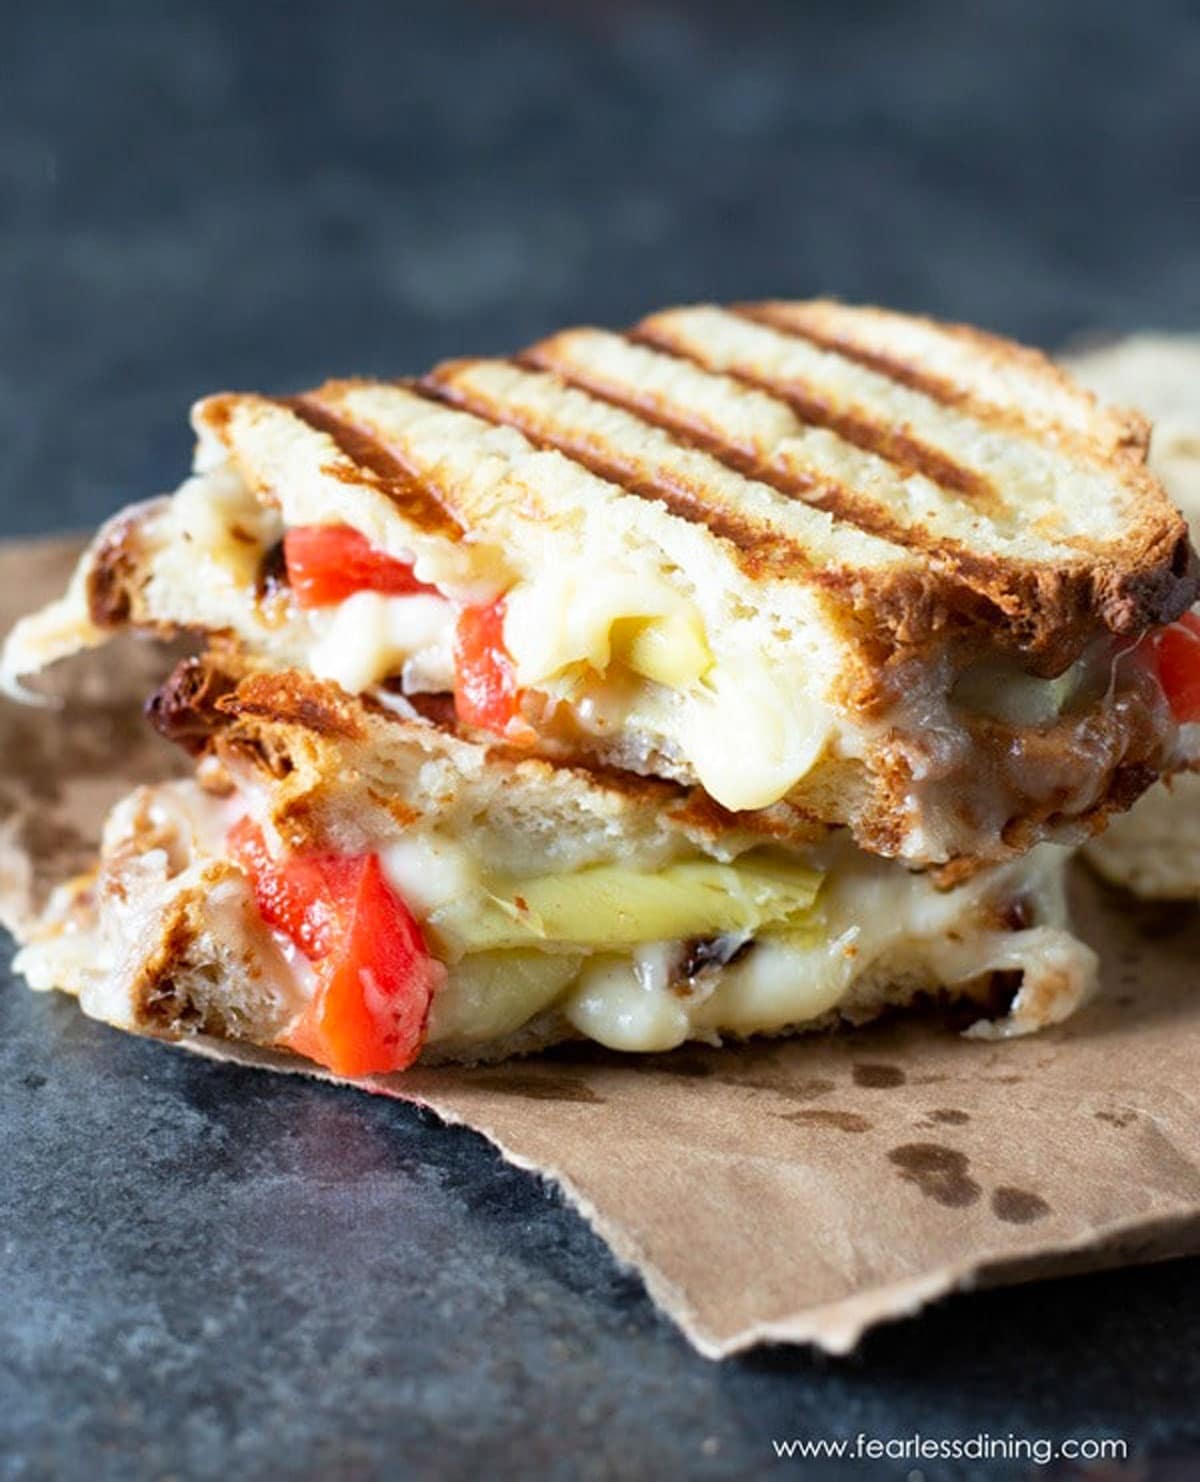
If you love crispy, buttery bread and melty cheese, you will LOVE the flavors in this Italian Gluten Free Panini recipe! Each bite is full of creamy roasted garlic cloves, roasted red peppers, and artichokes combined with Italian cheeses. Make it in just minutes!
This post may contain affiliate links. Please read our Disclosure Policy.
I can’t wait to share this panini Italiano sandwich with you. It is so good, with all sorts of flavors that blend together perfectly to make a party in your mouth!!
Just because we are gluten free doesn’t mean we can’t enjoy this popular sandwich! If you love a good panini, you will want to check out this delicious Hatch Chile Tuna Melt Panini!
What Is Panini?
Panini has become a popular menu item in cafes and restaurants around the world and is enjoyed by people of all ages. Panini is a type of grilled sandwich that originated in Italy. A traditional Italian panini is made using a long, narrow roll of bread known as a “panino.” The bread is sliced horizontally and filled with various ingredients such as meats, cheeses, vegetables, and sauces.
Unfortunately, it is hard to find gluten free Italian panino bread, so I am using regular gluten free bread for this recipe. If you have gluten-free Italian bread, definitely use it.
If you are looking for delicious gluten-free bread, try making my homemade Gluten Free Bread Machine Bread recipe! It makes the best gluten free bread!
What Is a Panini Press?
A panini press is a special mini grill with ridged plates that shape the panini sandwich while melting the cheese. The bread is pressed down with pressure as the ingredients inside cook.
The good news is you don’t need an expensive panini grill to make a panini! And even more importantly, you don’t need one at all :-). Feel free to use a pan and make grilled cheese with this recipe!
Allergen Information:
This quick and easy Italian panini recipe is gluten-free, soy-free, nut-free, egg-free, and oat-free.
🔑 Sandi says: Note, for this gluten free panini recipe, I used mozzarella slices. You can add some provolone cheese slices to give even more flavor!!
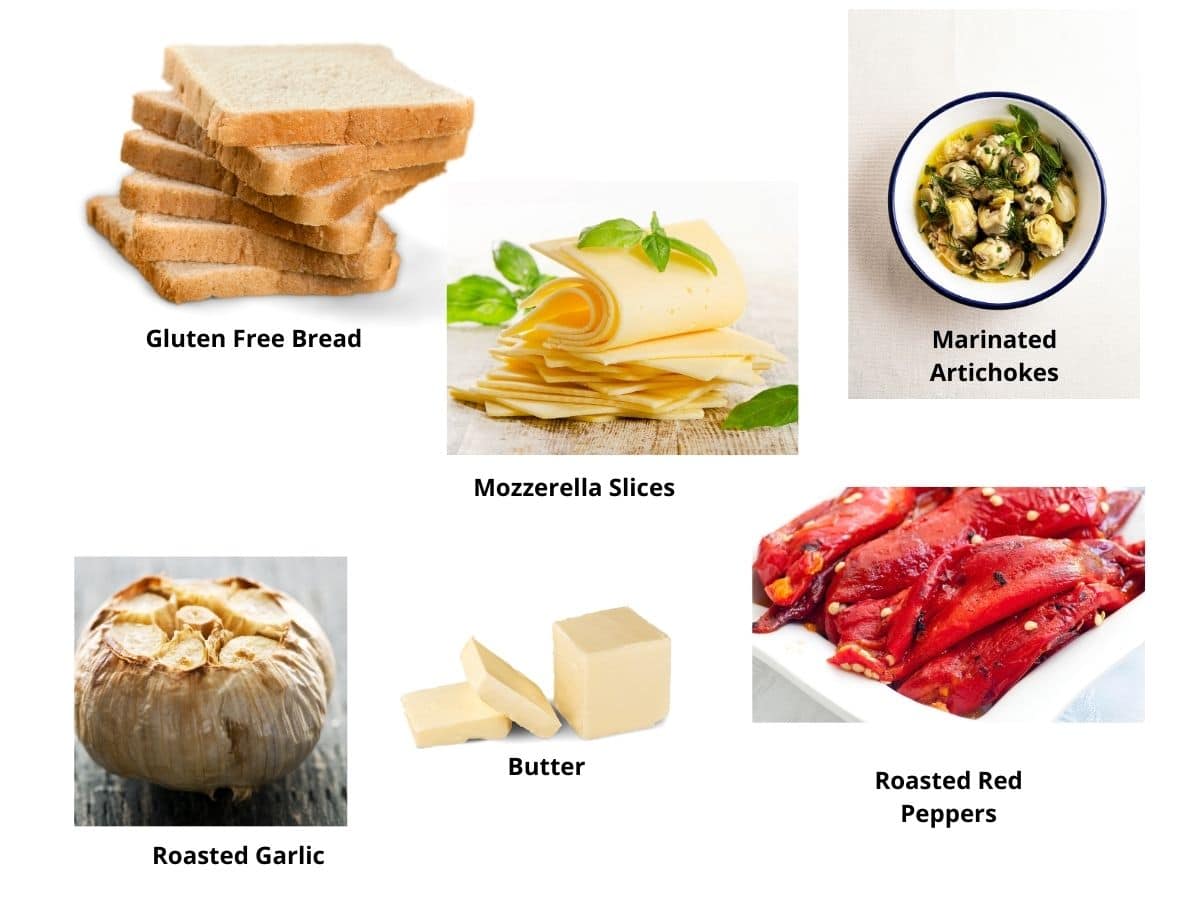
Ingredient Notes:
For the full list of ingredients and amounts, please go to the recipe card below.
- Gluten Free Bread – Use your favorite brand. I used Franz’s gluten-free white bread, but many brands make gluten free white bread.
- Mozzarella Cheese – You can use any sliced cheese as long as it melts well. Provolone is also delicious.
- Marinated Artichokes – I used canned artichokes. Ensure the artichokes you use are not packed in oil, or your sandwich will be oily.
- Roasted Red Peppers – I used jarred roasted red peppers. You can roast your own red peppers easily on a grill or over the stove.
- Garlic – I highly recommend fresh garlic for this recipe so you can roast the bulbs.
- Butter – I recommend using salted butter, but you can use unsalted.
How To Make Gluten Free Panini:
Are you ready to see how easy it is to make this gluten free panini grill sandwich recipe? It is so easy to make a panini! If you don’t have a panini grill, use a skillet and cook these as you would if making a grilled cheese sandwich.

Email This Recipe To Me!
Step 1: Roast the garlic bulb in your air fryer or oven. Chop off the tips of a garlic bulb to expose the bulbs. Next, rub olive oil on the garlic cloves.
For oven roasting, bake at 350º F until the garlic is golden brown, about 30 minutes.
For roasting in your air fryer, place the garlic in the air fryer on a piece of foil. Cook at 375º F for 20 minutes.
Heat your panini press when the garlic is finished according to your machine’s directions. If you don’t have a panini press, use a pan and grill your sandwich.
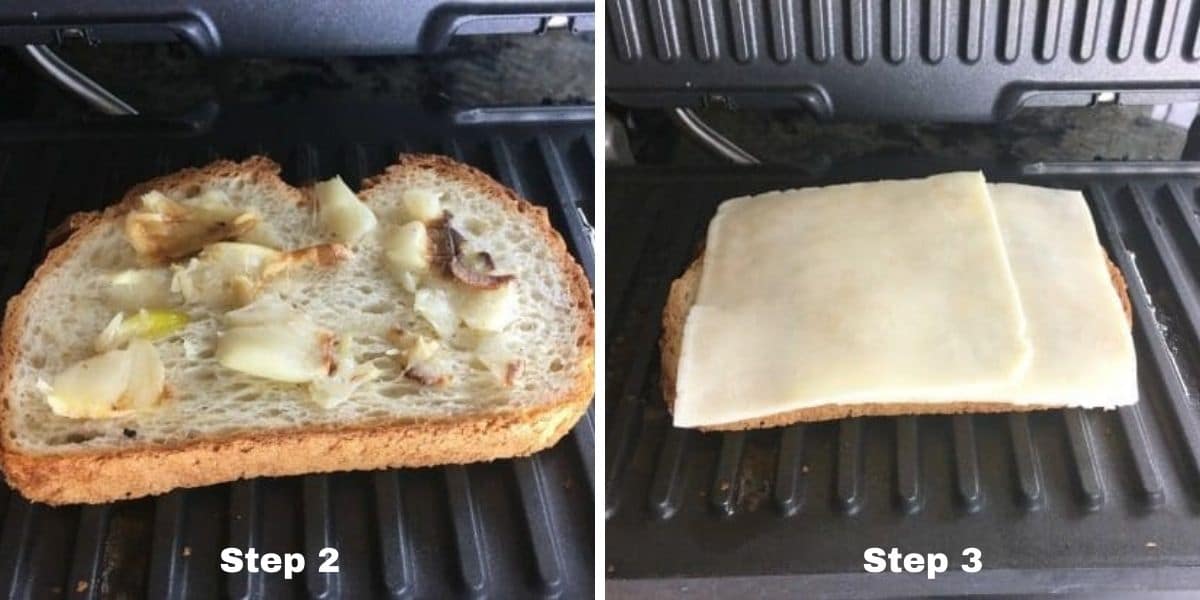
Step 2: Butter one side of the bread and put it on the hot panini press. Smear some roasted garlic bulbs on the bread.
Step 3: Next, add the cheese!

Step 4: Now for some pizzazz! Add roasted red pepper and canned artichoke slices on top of the cheese. Put cheese on top of the peppers and artichokes.
Step 5: Add another slice of bread and close the panini press. Cook for 5 minutes until the cheese is very melted and you see golden grill marks on your bread. Store the leftover panini in an airtight container in the fridge. The bread will get soggy if you store it, so reheat it in the oven or air fryer to crisp it.
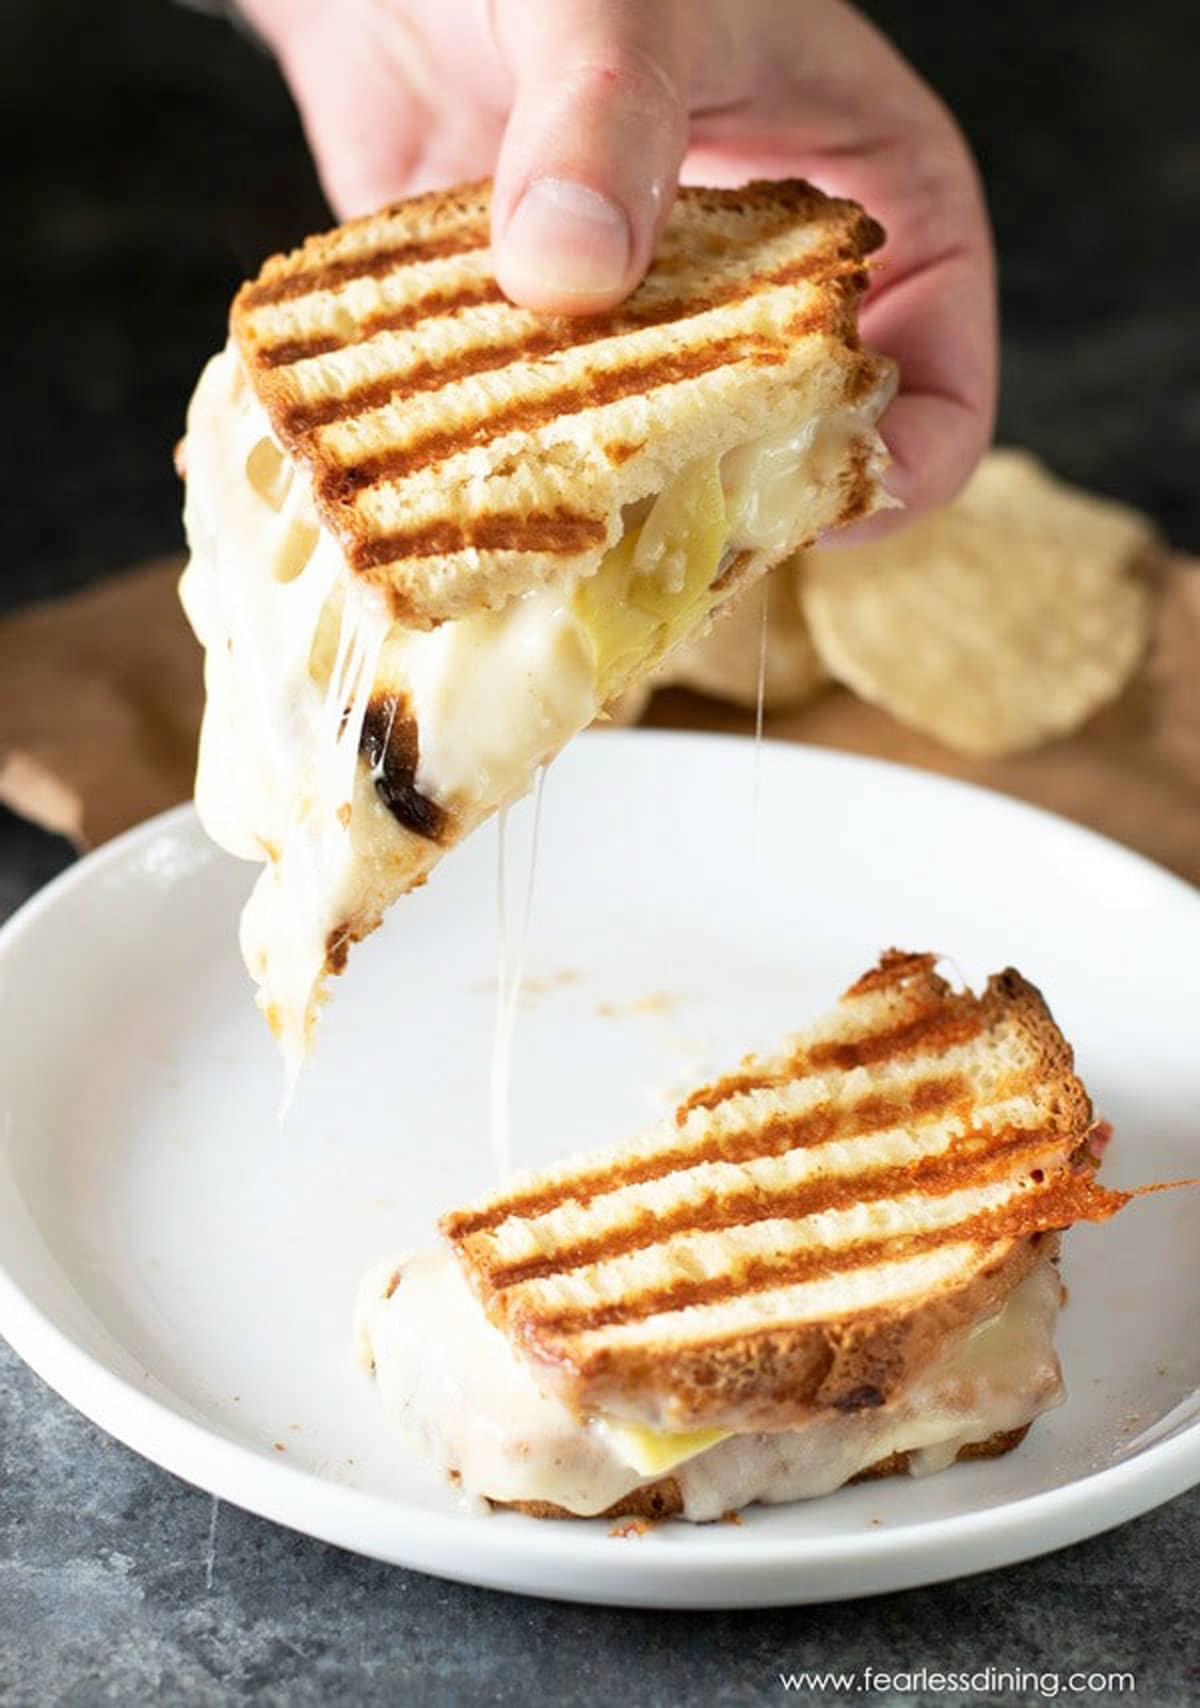
Look at all of that melty cheese! You are going to LOVE this with your first bite!!
What to Serve With Gluten Free Panini:
- Kale and Apple Salad – The flavors of this salad complement this panini.
- Italian Air Fryer Fingerling Potatoes – The Italian seasoning in this recipe is perfect with an Italian panini!
- Italian Roasted Green Beans – These green beans are also delicious.
Frequently Asked Questions:
Unfortunately, gluten-free people are more limited since we can’t eat real Italian bread. The best bread for a panini is any kind. I like using the best white bread by Canyon Bakehouse and Franz Bakery.
You can brush olive oil on the bread if you do not want to use butter.
You can make this sandwich in a pan the same way you would make a grilled cheese sandwich.
More Delicious Lunch Recipes:
- Chicken Chopped Salad – This is a great lunch filled with fresh veggies.
- Tuna Salad Stuffed Avocados – Avocado boats are perfect with a scoop of tuna salad.
- Chicken Filet Burgers – If you love grilling, these tender ones are delicious!
Love This Recipe?
If you made and enjoyed this recipe, I would be incredibly grateful if you could leave a comment below. This will help others know this recipe is delicious. Thank you!
Italian Panini Grill Sandwich
Ingredients
Method
- First you want to roast your head of garlic. You can do this in the air fryer or oven. Preheat an air fryer to 375º F or an oven to 350º F.
- Cut off some of the top of a head of garlic. Drizzle the olive oil onto it. Put it on foil.
- Bake the head of garlic for 25-30 minutes until golden. For the air fryer, cook it for 25 minutes.
- Preheat the panini press. Butter one side of four slices of gluten free bread.
- On a cutting board, slice roasted red peppers and artichokes.
- Place two slices of bread on your panini grill, butter side down on the hot grate.
- Spread some caramelized garlic onto each slice of bread. Add two slices of cheese on top of the garlic.
- Next, add roasted red pepper and artichoke slices.
- Add two more slices of cheese, then put the bread slice on top, butter side facing up towards the heated top grate.
- Grill until the cheese is melted.
Nutrition
Notes
- Use any gluten free bread. You can also use my homemade gluten free bread recipe to make your bread.
- You can use jarred or canned artichokes. If your artichokes were packed in oil, you might want to squeeze the oil out with a paper towel so your sandwich doesn’t turn out oily.
- I used jarred red peppers, but you can roast fresh peppers on the grill or stovetop.
- Mozzarella cheese or provolone works very well in this sandwich.
- If you don’t have a panini press, use a skillet and cook it like you would a grilled cheese sandwich.
- Store leftovers in an airtight container. Note the bread will get soggy in the refrigerator, so you will need to re-crisp the sandwich in the oven.
Nutritional Disclaimer
Nutritional information is an estimate provided to you as a courtesy. You should calculate the actual nutritional information with the products and brands you are using with your preferred nutritional calculator.
Tried this recipe?
Let us know how it was!This post was updated from an old May 2018 post with improved recipe instructions.


Oooh, will definitely have to try that, it looks scrumptious.
My adult son suggested using a very thin layer of mayo instead of butter on the outside of the bread. What do you know! It worked better than butter; golden, crisp, not oily or soft, exterior.
That is so interesting that he uses mayo instead of butter. I am intrigued and plan to try it sometime soon.
I can’t wait to see your remodel when it is finished! Glad you like this recipe :-).